How to Edit Food Photos: 7 Pro Steps for Stunning Results
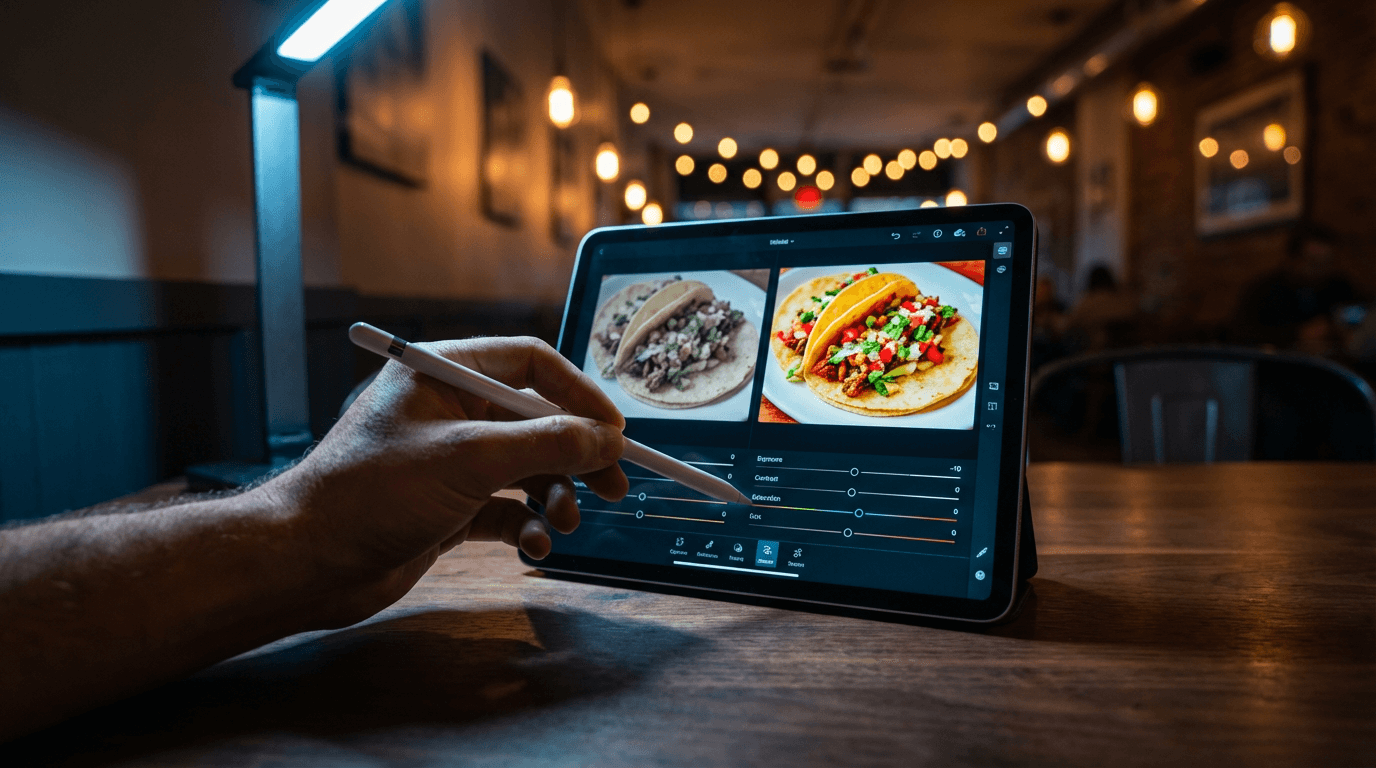 Hand using stylus on tablet to edit taco photo with split-screen before and after comparison in moody cafe lighting
Knowing how to edit food photos is the difference between "meh" and "I need to eat that right now." You snapped a gorgeous photo of your signature dish — but when you look at the image, the colors are flat, the lighting looks dull, and somehow that beautiful golden crust just looks... brown.
Here's the thing: every single food photo you've ever drooled over online was edited. Every one. Professional food photographers spend as much time editing food photography as they do shooting — because cameras simply don't capture food the way your eyes see it.
The good news? You don't need a photography degree or Photoshop mastery to make your food photos look incredible. These seven steps show you exactly how to edit food photos like a pro — whether you're using Lightroom, editing food photos on iPhone, or using AI tools that do the heavy lifting for you.
Quick Summary: Learn how to edit food photos in 7 steps: crop and compose, fix white balance, adjust exposure and contrast, boost vibrance (not saturation), sharpen textures, clean up distractions, and apply final polish. Manual photo editing takes 20–30 minutes per image. AI food photography tools like FoodShot can produce professional results in about 90 seconds.
Why Your Raw Food Photos Look Nothing Like the Real Thing
Your camera is lying to you — kind of. When you photograph a steaming bowl of ramen, your brain fills in the warmth, the aroma, the texture. Your camera just captures light hitting a flat sensor. The result? A 2D image that loses depth, flattens colors, and strips away the warmth that made the dish look so appetizing in person.
RAW photo files are intentionally flat. They preserve maximum data so you can shape the final look yourself. Even JPEGs from your iPhone apply automatic processing — but it's generic processing, not optimized for food photography.
That's why editing food photos isn't cheating. It's the standard. And the seven food photography tips below cover the exact workflow professional food photographers use, from basics anyone can follow to advanced AI-powered shortcuts that save hours of editing time.
Step 1: Crop and Compose Your Shot
Before touching a single color slider, crop your image. This is the foundation everything else builds on.
What to look for when you edit food photos:
- Distracting edges — stray utensils, napkin corners, someone's elbow. Crop them out.
- Dead space — empty areas that don't add anything. Tighten the frame around your food.
- Off-center subjects — use the rule of thirds. Place your hero dish where gridlines intersect, not dead center.
- Crooked horizon lines — tables and countertops should be perfectly level. Even 1–2 degrees of tilt looks sloppy.
Aspect ratios matter for food photography, too. Use 4:5 for Instagram food photos, 1:1 for delivery app listings on Uber Eats and DoorDash, and 16:9 for website banners or Facebook covers.
Pro tip: Always shoot slightly wider than you think you need. It's easy to crop in, but impossible to add pixels back. Leaving 10–15% extra around the edges gives you flexibility to recompose later — a tip every food photography guide recommends.
Step 2: Fix White Balance and Color Temperature
This is the single edit that makes the biggest difference when learning how to edit food photos — and it's the one most people skip.
Indoor lighting is the enemy of appetizing food photography. Fluorescent lights cast a sickly green tone. Tungsten bulbs push everything yellow-orange. Even warm "ambient" restaurant lighting creates color casts that make food look unappetizing.
How to fix white balance in your food photos:
- Find the Temperature slider (it's in every photo editing app — Lightroom, Snapseed, Photoshop, iPhone Photos).
- Start with neutrals. Look at anything white in the frame — a plate, a napkin, the table. Does it look white? If it looks yellow, slide the temperature cooler. If it looks blue, slide warmer.
- Then nudge slightly warm. For food, a slight warmth (just a touch past neutral) makes dishes look hot, fresh, and inviting. You're aiming for warm food on neutral surfaces.
Specific numbers if you're in Lightroom: Daylight-shot food typically lands around 5200–5500K. Restaurant indoor shots might need to come down to 4000–4500K to compensate for tungsten lighting. Adjust the Tint slider to correct any green/magenta shift — usually just ±5 is enough.
The goal isn't scientific color accuracy. It's making the food look the way it tasted. According to the Institute of Culinary Education, color is one of the most powerful appetite triggers in food photography — getting white balance right is the foundation of everything.
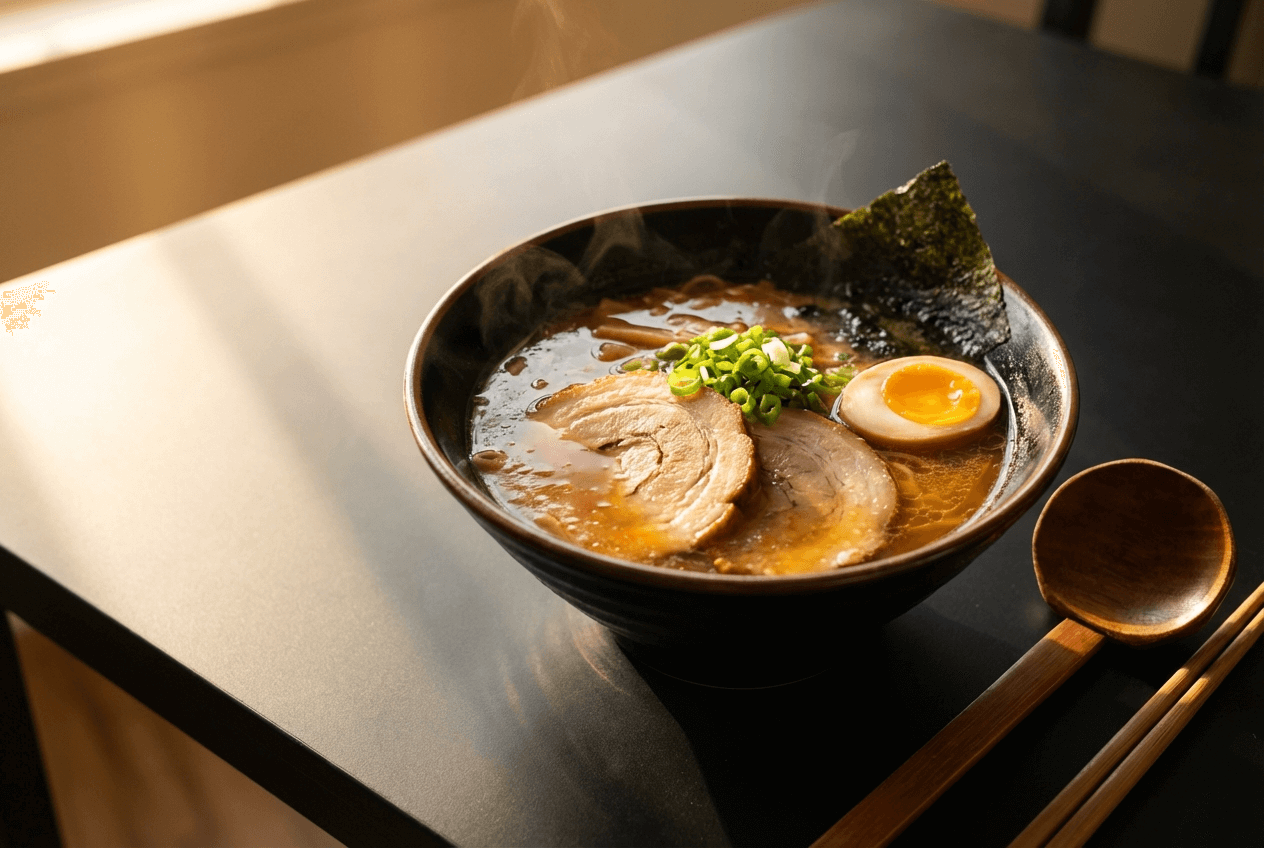 Warm-toned ramen bowl showing proper white balance editing with golden broth highlights and appetizing color temperature
Step 3: Dial In Exposure and Contrast
RAW photos look flat on purpose — they're preserving data in the highlights and shadows so you can decide where the brightness goes. Your job is to redistribute that light to make the food pop.
The four sliders that matter most:
- Highlights (pull down, –20 to –40): Recovers detail in bright spots like glossy sauces, glazes, and reflective garnishes. Without this, bright areas blow out to pure white.
- Shadows (push up, +15 to +30): Reveals texture hiding in darker areas — think the char on grilled meat or the crevices of a croissant. Don't overdo it or the image looks artificially HDR.
- Whites (boost, +10 to +20): Makes the bright areas of food pop without blowing them out. This is what makes a dish look luminous.
- Blacks (lower, –5 to –15): Adds depth by anchoring the darkest areas. Gives the photo a sense of dimension.
The S-curve trick: In the Tone Curve panel, create a gentle S-shape — pull the lower-left slightly down and push the upper-right slightly up. This adds contrast that looks natural and editorial, not like you cranked a slider. It's a food photography editing technique pros use on every single image.
One golden rule: The food should be the brightest element in the frame. If the background or props are competing for attention, darken them using local adjustments or masking tools in Lightroom and Photoshop.
Step 4: Boost Colors with Vibrance (Not Saturation)
Here's the #1 mistake new food photographers make: they grab the Saturation slider and crank it up. Suddenly, tomatoes look radioactive, cheese glows like a traffic cone, and the whole image screams "over-edited."
Use Vibrance instead. Here's why the difference matters:
- Saturation boosts every color equally — including colors that are already vivid. It's a sledgehammer.
- Vibrance is a scalpel. It boosts undersaturated colors while leaving already-vivid ones alone. Greens get greener without reds turning neon. Adobe originally developed the Vibrance tool specifically to prevent the unnatural over-saturation problem.
Recommended settings for food photo editing:
- Vibrance: +15 to +30
- Saturation: +5 at most (many pros leave it at 0 or even drop it to –3)
Want more control over your food's colors? Use the HSL (Hue, Saturation, Luminance) panel to target individual colors. Bump the orange luminance to make bread and pastries glow. Shift green hues slightly to make herbs and salads look fresh. Reduce blue saturation to keep backgrounds and plates neutral.
The goal: food that looks vibrant and appetizing, not like it went through an Instagram filter from 2012.
Step 5: Sharpen Details and Food Textures
Sharpening is what makes people feel the texture of your food through a screen. The craggy surface of artisan bread. The crystallized sugar on a crème brûlée. The grill marks on a steak. Without proper sharpening, these details and textures get lost in your food photos.
Important: always sharpen last, after all your color and exposure editing work is done. Sharpening first just amplifies problems.
Lightroom sharpening settings for food photography:
- Amount: 40–70 (higher for textured foods like bread and grilled meats, lower for smooth dishes like soup or ice cream)
- Radius: 1.0–1.2
- Detail: 25–40
- Masking: Hold Alt/Option while dragging. White areas get sharpened, black areas don't. Crank this up to avoid sharpening smooth backgrounds and plates.
The Clarity slider is your secret weapon. Clarity adds contrast specifically to midtones, which is exactly where food texture lives. Set it between +30 and +50. The food will look richer and more three-dimensional.
Warning: Over-sharpening makes food look dry, crunchy, and unappetizing. If bread starts looking like sandpaper, pull it back. If skin on fruit looks leathery, you've gone too far.
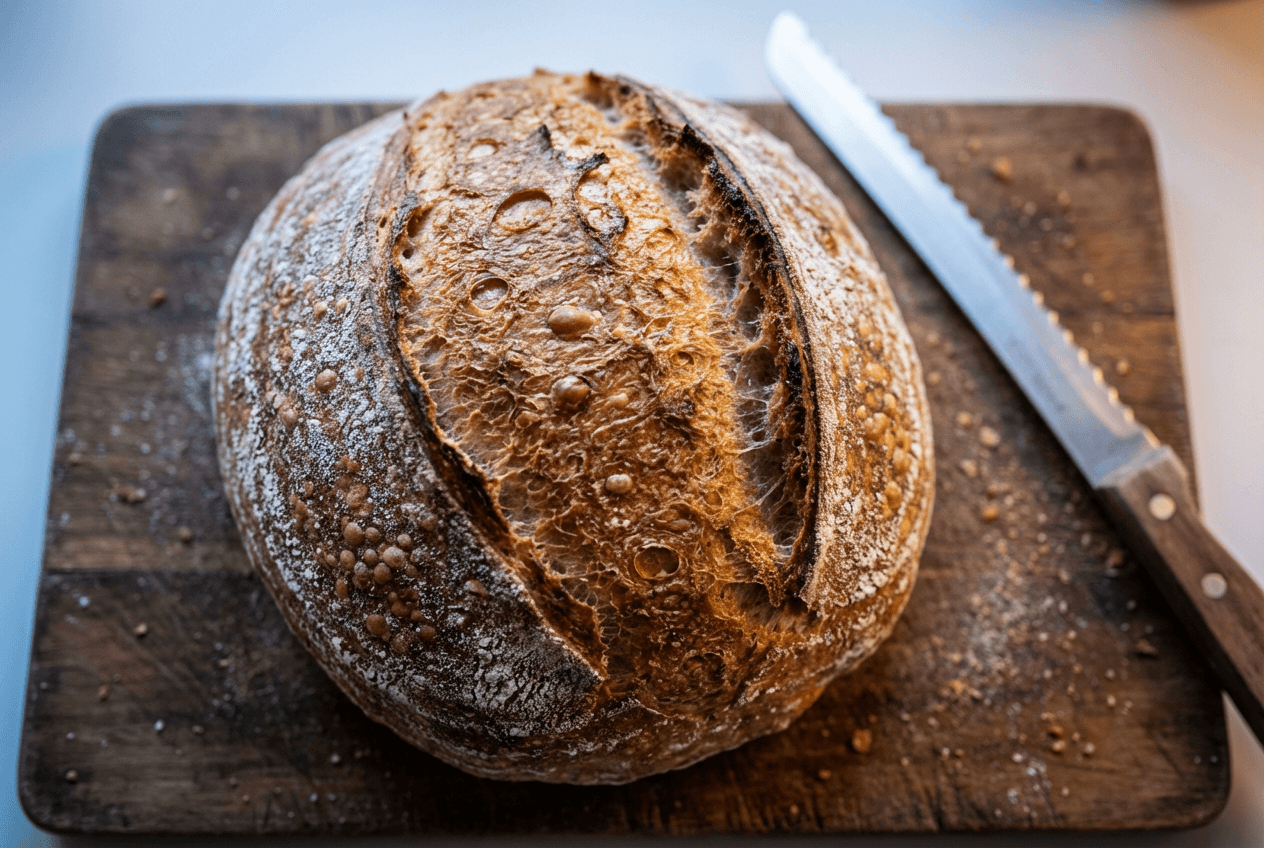 Close-up of artisan sourdough bread crust showing detailed texture enhanced by sharpening and clarity adjustments
Step 6: Clean Up Background Distractions
A perfect dish can be ruined by a crumb trail, a fingerprint on the plate rim, or a random straw wrapper in the background. This step is about removing anything that pulls attention away from the food.
Quick fixes for food photo cleanup:
- Spot Removal tool (Lightroom) or Healing Brush (Photoshop): Tap on crumbs, sauce splatters, and dust spots. Gone in one click.
- Clone Stamp: For larger distractions — a ketchup stain on the table, a visible outlet in the background.
- Content-Aware Fill (Photoshop): Select a larger area and let Photoshop intelligently fill it in. Works surprisingly well on textured surfaces like wood and linen.
Add a subtle vignette to draw the eye toward the food. In Lightroom's Effects panel, set the Amount to –15 to –25 and Feather to 70+. The darkened edges should be barely noticeable — if someone can see the vignette, it's too strong.
One caveat: Don't over-clean. A few natural imperfections — a slightly uneven sauce drizzle, rustic crumbs near bread — add authenticity. Sterile-looking food photos feel like stock images. Over-editing is actually one of the most common food photography mistakes that hurt delivery orders.
Step 7: Final Polish with AI Enhancement
Steps 1 through 6 work. They've been the professional food photography editing workflow for decades. But they also take 20–30 minutes per photo — and that's after you learn the tools.
If you're a restaurant owner editing 40 menu items, a food blogger processing a week's worth of recipe photos, or a delivery business needing consistent images across platforms, that math doesn't work.
This is where AI food photo editing changes the game.
FoodShot AI handles the entire editing workflow in one step: upload your food photo, pick a style preset, and get a studio-quality result in about 90 seconds. The AI adjusts white balance, corrects exposure, enhances colors, fixes lighting, and even replaces backgrounds — all at once.
What makes it different from generic photo editors is that it's built specifically for food photography. The 30+ style presets — Delivery, Restaurant, Fine Dining, Instagram, and more — are trained on professional food photography. The AI knows that a burger needs warm tones and high contrast, while a sushi platter needs cooler precision.
Beyond basic photo editing, FoodShot can also:
- Replace backgrounds with professional settings (luxury restaurant, marble counter, rustic wood)
- Add garnishes and toppings to enhance plating
- Fix imperfections and swap plates
- Adjust camera angles and lighting styles
- Generate food posters for social media using 50+ templates
For high-volume work like menu photo optimization for delivery apps, AI isn't just faster — it's more consistent. Every food photo gets the same professional treatment.
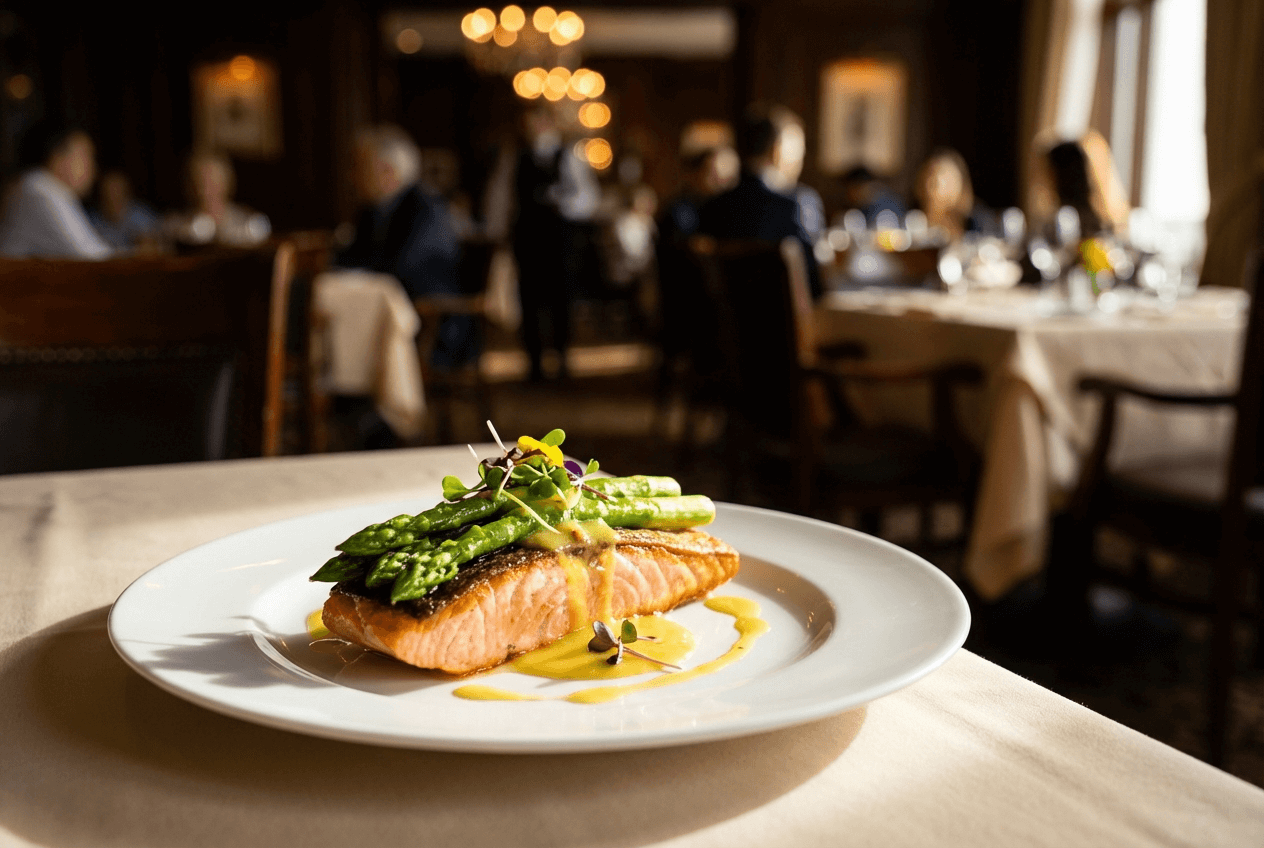 Professional food photo of gourmet salmon dish with vibrant colors showing AI-enhanced restaurant-quality food photography
Manual Editing vs. AI: The Real Comparison
Wondering whether to invest time learning Lightroom and Photoshop — or let AI handle your food photo editing? Here's how they stack up for food photography:
| Manual (Lightroom/Photoshop) | AI (FoodShot) | |
|---|---|---|
| Time per photo | 20–30 minutes | ~90 seconds |
| Skill required | Intermediate to advanced | None — upload and choose a style |
| Monthly cost | $10–55/mo (Adobe plans) | $15–99/mo |
| Best for | Hero shots needing precise control | Bulk menus, delivery apps, social media |
| Consistency | Varies with skill and fatigue | Uniform across all images |
| Background editing | Hours in Photoshop | Built-in, one click |
The smart approach? Use both. Manual editing for that one signature dish hero shot on your homepage. AI for the 40+ menu items, weekly social media posts, and delivery platform listings where speed and consistency matter more than pixel-level control.
For the full breakdown on costs, check out our detailed food photography cost comparison. And for a deeper look at how these approaches compare overall, see our guide to traditional vs AI food photography.
How to Edit Food Photos on iPhone
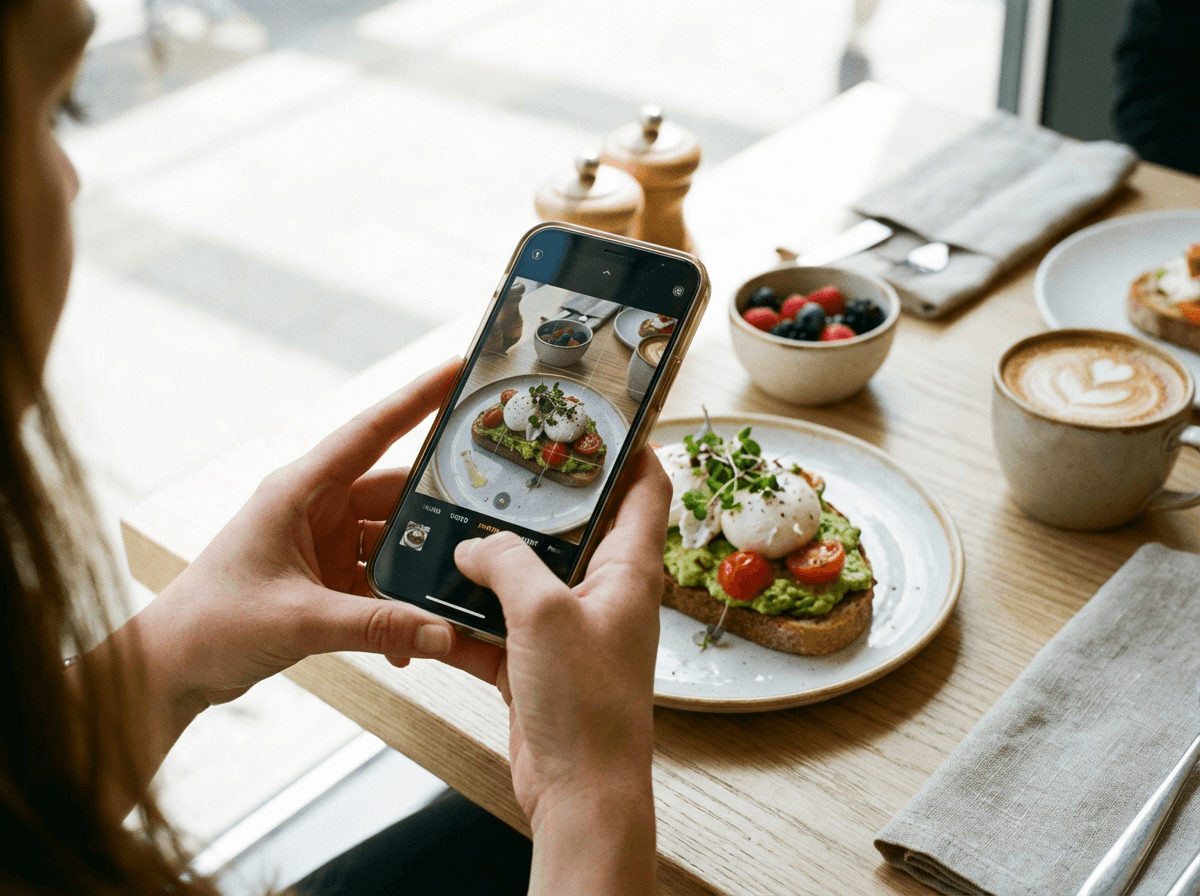 Editing food photos on iPhone showing brunch flatlay with avocado toast in bright natural daylight at a cafe
You don't always have a laptop handy — and sometimes you need to edit food photos on iPhone and post from the restaurant floor. Here's how to get great results using just your phone.
The iOS Photos app is better than you think for food photo editing. Open any photo, tap Edit, and focus on these four adjustments:
- Brilliance (+25 to +35): This iOS-exclusive tool adjusts exposure region-by-region, brightening dark areas and taming bright spots simultaneously. It's basically doing the work of four separate Lightroom sliders in one.
- Warmth (+5 to +15): Nudge slightly warm for that appetizing golden tone.
- Vibrance (+10 to +20): Pop the colors without oversaturating.
- Sharpness (+15 to +25): Bring out food textures and details.
That four-slider workflow takes about 30 seconds and handles 80% of what your food photography needs.
For more control, Lightroom Mobile is free and gives you the same powerful tools as the desktop version — including the tone curve, HSL panel, and selective adjustments. It's the best free app for serious food photo editing on mobile.
For the fastest results, the FoodShot AI iOS app lets you transform food photos right from your phone. Snap a photo in your restaurant, choose a style, and have a professional image ready to post before the dish leaves the kitchen.
Want more mobile shooting and editing tips? Read our complete guide to iPhone food photography.
Frequently Asked Questions
What is the best app to edit food photos?
For manual editing, Lightroom Mobile (free) gives you the most control on both iPhone and desktop. For quick, professional results without any editing skills, FoodShot AI is purpose-built for food photography and produces studio-quality results in 90 seconds. Snapseed is another solid free option for basic touch-ups on both iOS and Android.
How do I make my food photos look more professional?
The three edits that make the biggest impact are fixing white balance (removing color casts from indoor lighting), boosting vibrance (+15 to +30), and adding clarity (+30 to +50) for texture. These three adjustments alone will dramatically improve most food photos. Beyond editing, make sure you start with good lighting and composition — check our food photography tips for shooting guidance.
Should I edit food photos on my phone or computer?
Both work well for food photography. Phone editing is great for quick social media posts — the iOS Photos app and Lightroom Mobile are surprisingly powerful. Computer editing in Lightroom or Photoshop gives more precision for menu photos and print materials. AI tools like FoodShot work on both web and iOS, bridging the gap between speed and quality.
How long does it take to edit a food photo?
Manual editing in Lightroom or Photoshop takes 20–30 minutes per photo once you know the tools. Quick mobile edits take 2–5 minutes. AI-powered editing with FoodShot takes about 90 seconds per food photo, including background replacement and color enhancement. For detailed cost and time comparisons, see our traditional vs AI food photography breakdown.
Do professional food photographers edit their photos?
Yes, always. Every professional food photo you see in magazines, on restaurant menus, or on Instagram has been edited. Photo editing is a standard and essential part of the food photography workflow — it brings the image closer to how the food actually looked (and tasted) in person. The only question is whether you edit food photos manually or let AI handle it.
