
Fried Chicken Photoshoot: How to Shoot Crispy Chicken
 Ali Tanis27 min read
A fried chicken photoshoot is a race, and the clock starts the second the basket leaves the fryer. That golden, blistered, shatter-crisp coating you're staring at looks incredible on the rack — and dead on camera about six minutes later. Point a phone at it too late, under the wrong light, and you get the flat, greasy, beige lump that ruins most fried chicken photos: nothing like the piece steaming in front of you.
Fried chicken photography has its own hard, specific problems, which is why it earns a playbook separate from our complete chicken photography guide — that one covers wings, roasts, sandwiches and the whole bird. Here we get technical and real: why the crust dies so fast, how to light a craggy coating so you can almost hear the crunch, where the line sits between "appetizing sheen" and "greasy," how to catch steam without fogging your lens, and the one frame that sells crispy chicken better than any other.
Quick Summary: Crispy chicken food photography lives and dies on crust texture, and that texture starts collapsing within minutes as trapped steam softens it from the inside. Shoot fast, on a wire rack, with side or back light raking across the coating to reveal every ridge — never flat frontal light or phone flash. Keep the sheen to a soft glisten, add sauce and honey last, and get the tear-and-pull shot that shows the juicy interior. And when the crust dies before you get the shot, restyling a real phone photo with AI beats re-frying a whole batch.
Why Fried Chicken Is the Hardest Crispy Food to Photograph
Most dishes fight you on one front. Fried chicken fights you on four at once — which is exactly why the bucket that looks unbelievable at the counter, the kind of crave that built KFC, Popeyes and every great Korean fried chicken spot, can turn into a sad, muddy pile in a phone photo.
It's brown on brown. To your eye, a tray of fried chicken is gorgeous. To a camera sensor, it's a monochrome pile of tan and amber with nowhere for the eye to land. Without contrast and color, even a perfect piece reads muddy.
The texture is the entire product — and it's the hardest thing to capture. Crunch is a feeling, and you have to make someone feel it through a screen. Flat light erases the craggy ridges and turns shatter-crisp coating into a smooth, plasticky surface. Get the light wrong and even a flawless buttermilk fry looks soft.
Grease is a tightrope. A little sheen says hot and fresh. A little too much says oily and cheap. The gap between the two is narrow, and it keeps moving as the chicken cools.
And you're racing the clock the whole time. Hot chicken cools in minutes. As it does, the skin tightens, the sheen fades, the steam disappears, and the crust — the one thing you're selling — quietly goes soft. Every technique below exists to win that race, whether you fry Southern buttermilk pieces, Korean double-fried wings, or Japanese karaage.
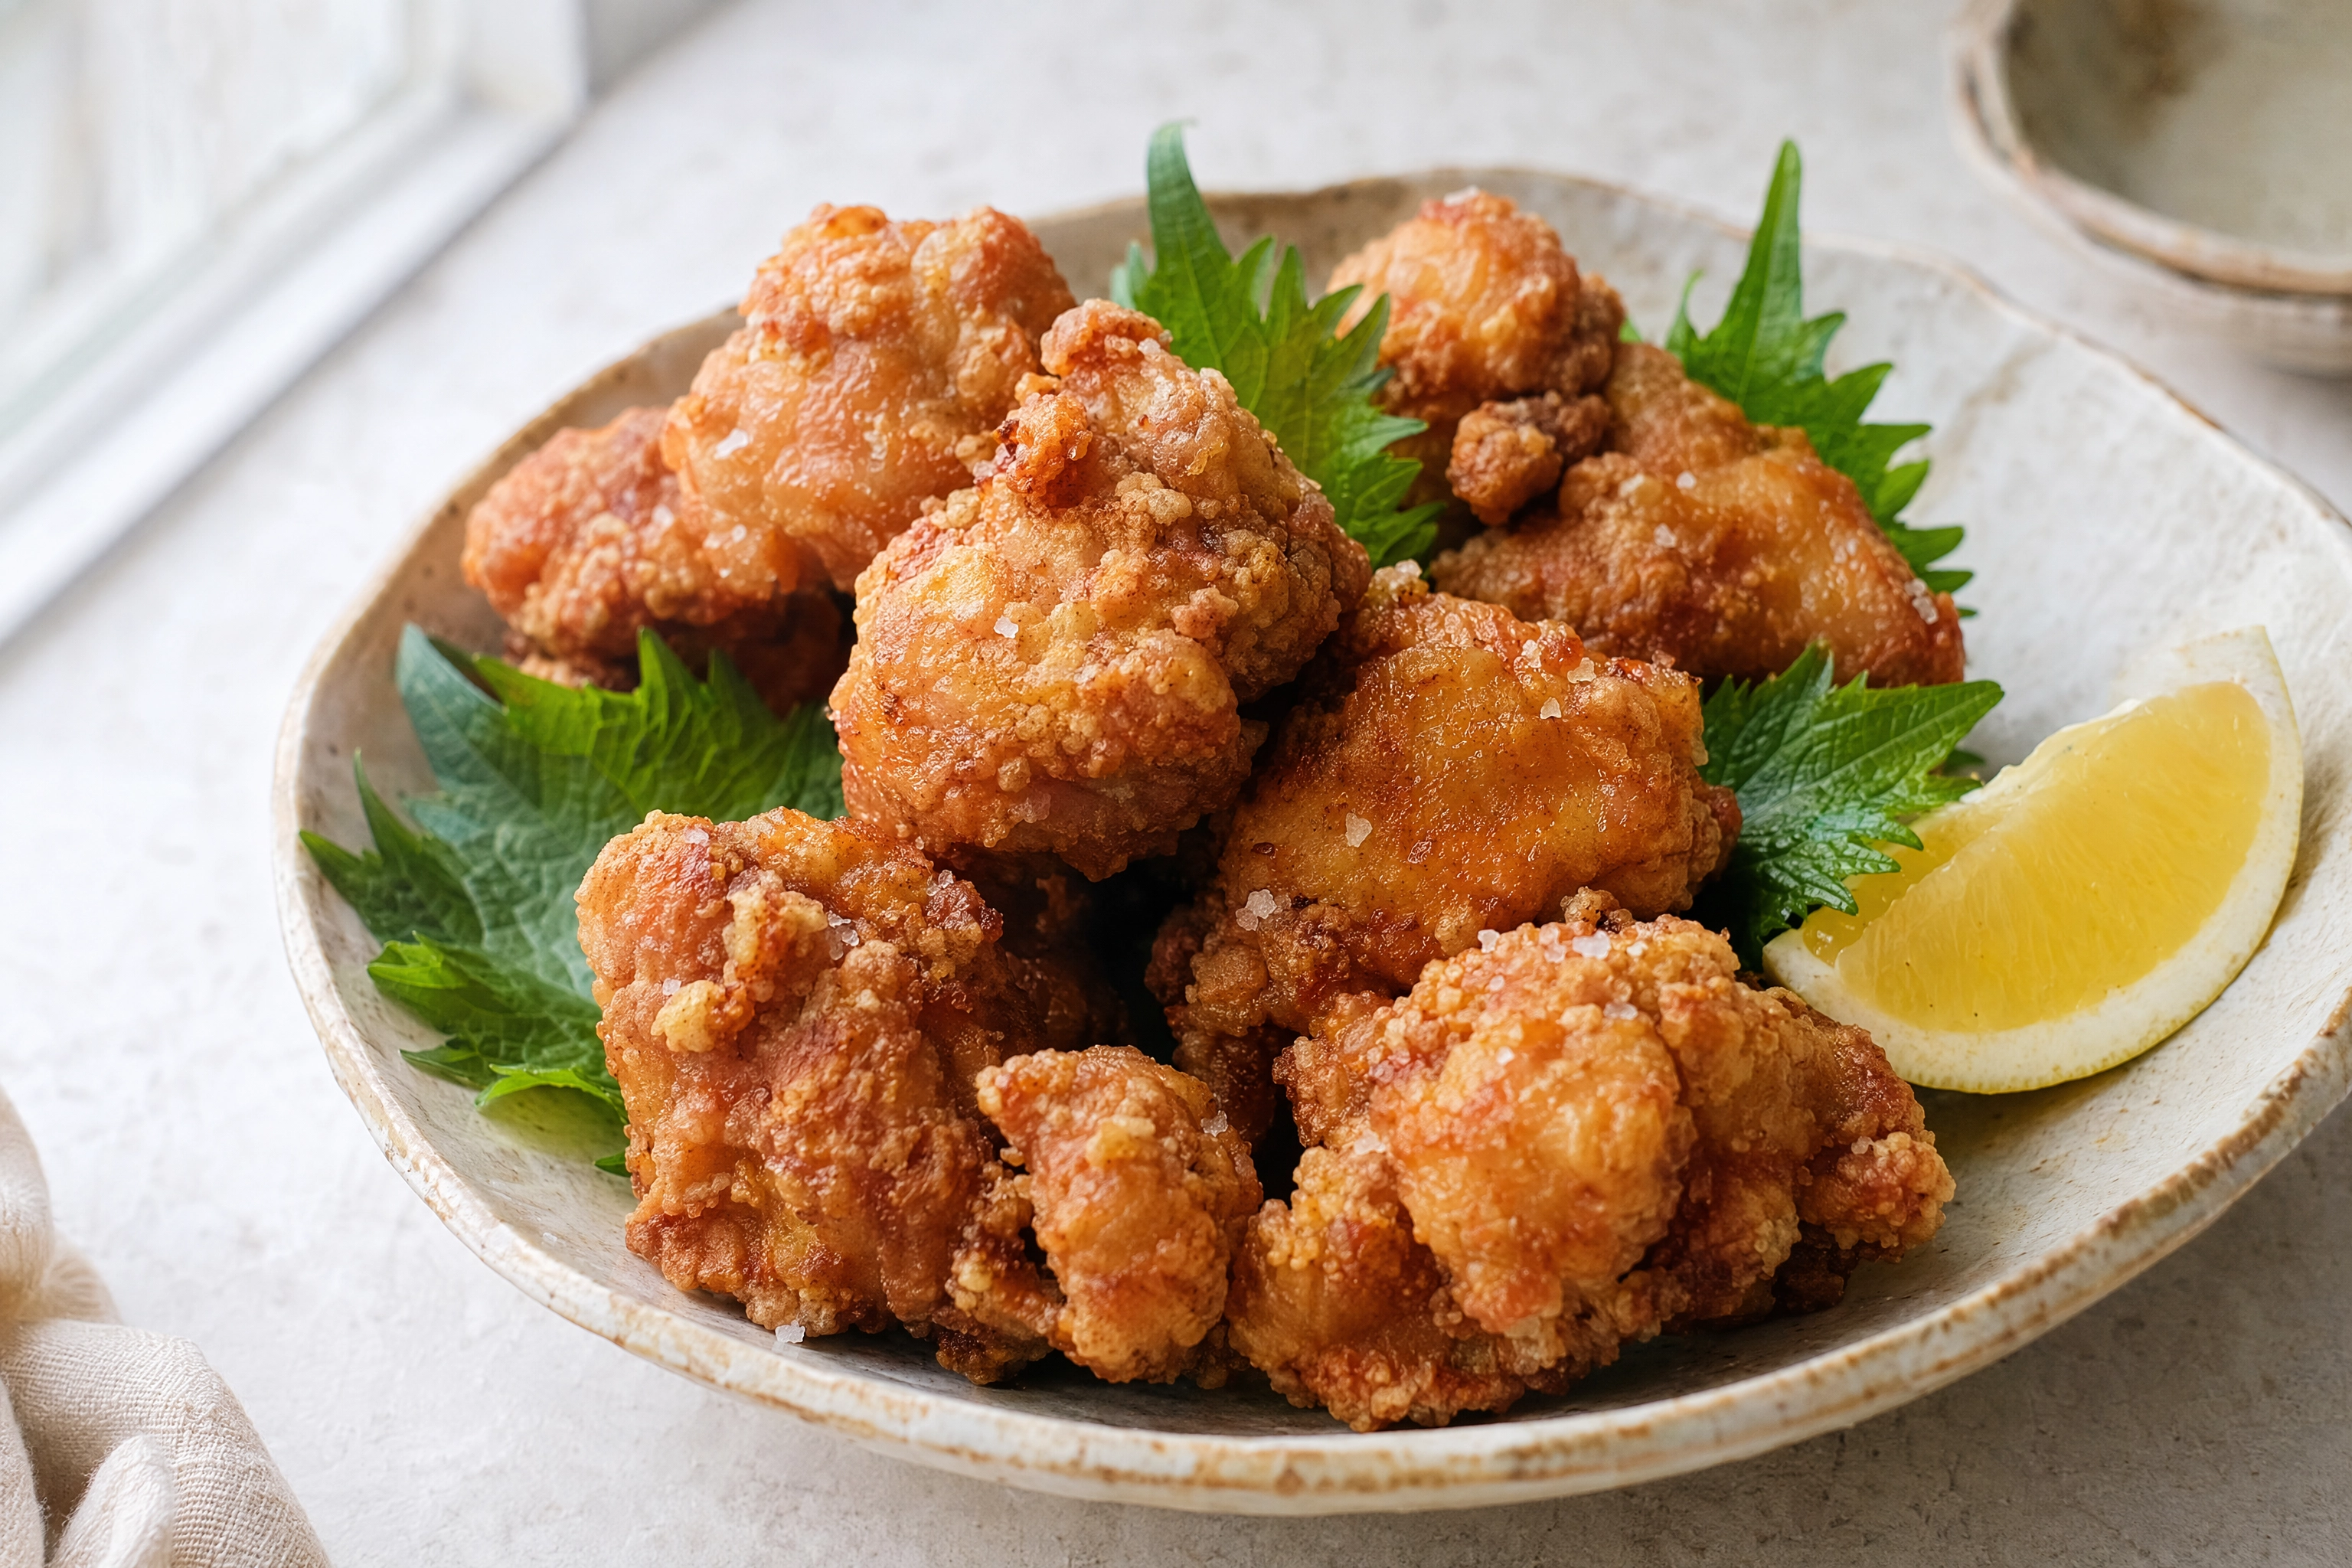 Japanese karaage fried chicken pieces in a ceramic dish with a lemon wedge under soft natural window light
If you shoot chicken only occasionally, start with the broad view in the five shots every chicken menu needs. If fried chicken is your business — a wing bar or sports-bar concept, a Nashville hot counter, a tender brand, or a delivery-only ghost kitchen — this is the deep end.
The Crust Clock: Why You Have to Shoot Within Minutes
What's happening inside the crust
Here's what's actually going on inside that coating, because once you get it, every rule below makes sense.
Frying works by violently evaporating surface moisture. Oil at 325–350°F blasts water out of the batter or dredge, and the escaping steam leaves behind a porous shell full of microscopic air pockets. Those air pockets are the crunch. That same evaporation drives the Maillard reaction — the browning of proteins and sugars that kicks in around 280–330°F and gives the coating both its flavor and its honeyed golden color.
The trouble starts the instant the piece leaves the oil. The interior is still hot and full of moisture, and that moisture has to go somewhere. It migrates outward as steam, and the porous crust — so good at letting water escape during frying — is just as good at reabsorbing it now. The crunch structure fills back in with moisture and softens. That's why a piece that shattered at the fryer bends limply fifteen minutes later.
Two things make it worse, fast:
- A solid surface traps steam underneath. Set hot chicken on a plate, a board, or straight into a paper-lined box and the steam has nowhere to go. It condenses against the bottom and re-wets the crust from below — which is why the bottom pieces in any pile go soggy first.
- Pooled oil seals the crust. A film of oil sitting on the surface acts as a moisture barrier. It stops steam from escaping and traps it inside the coating, speeding up the collapse.
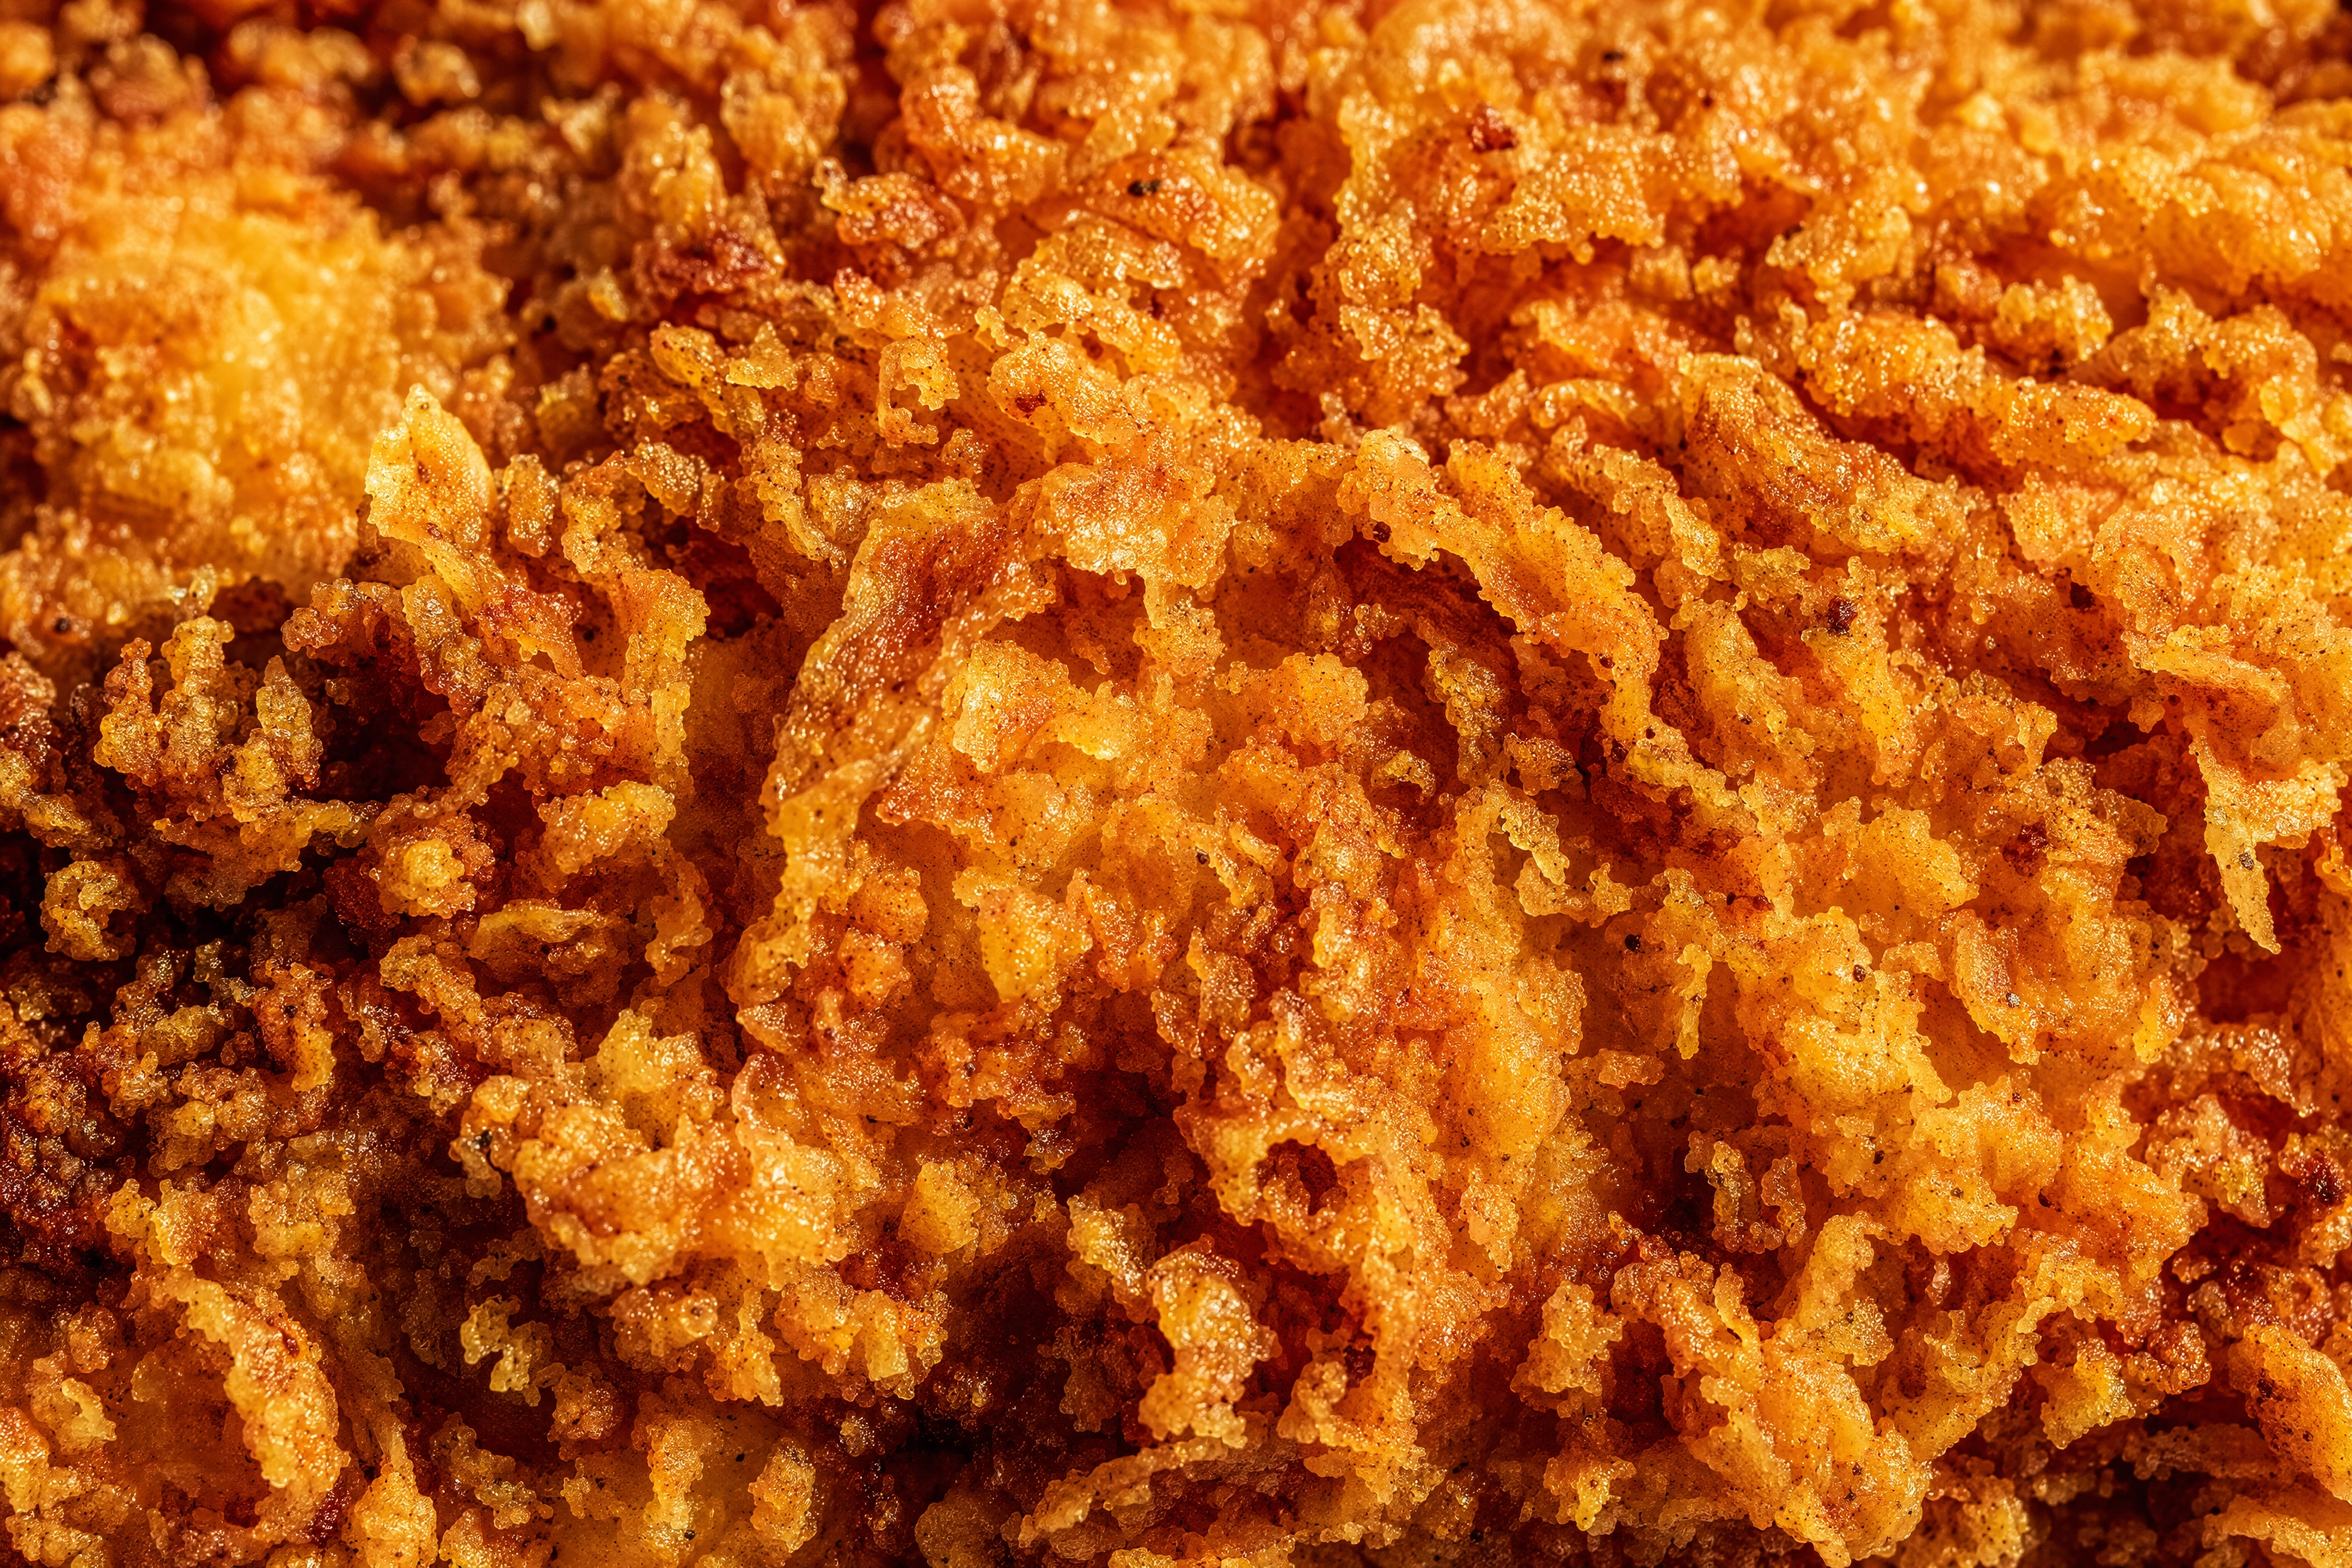 Extreme macro of shatter-crisp golden fried chicken crust with raking light revealing every craggy ridge and air pocket
So the practical window is short. For most fried chicken, the coating looks its shatter-crisp best for roughly the first three to five minutes. After that the sheen dulls, the ridges soften, the steam dies off, and the whole piece starts to slump. You can't fix this in editing — a soft crust photographs soft. Plan your chicken photoshoot around this window.
How to slow the clock down
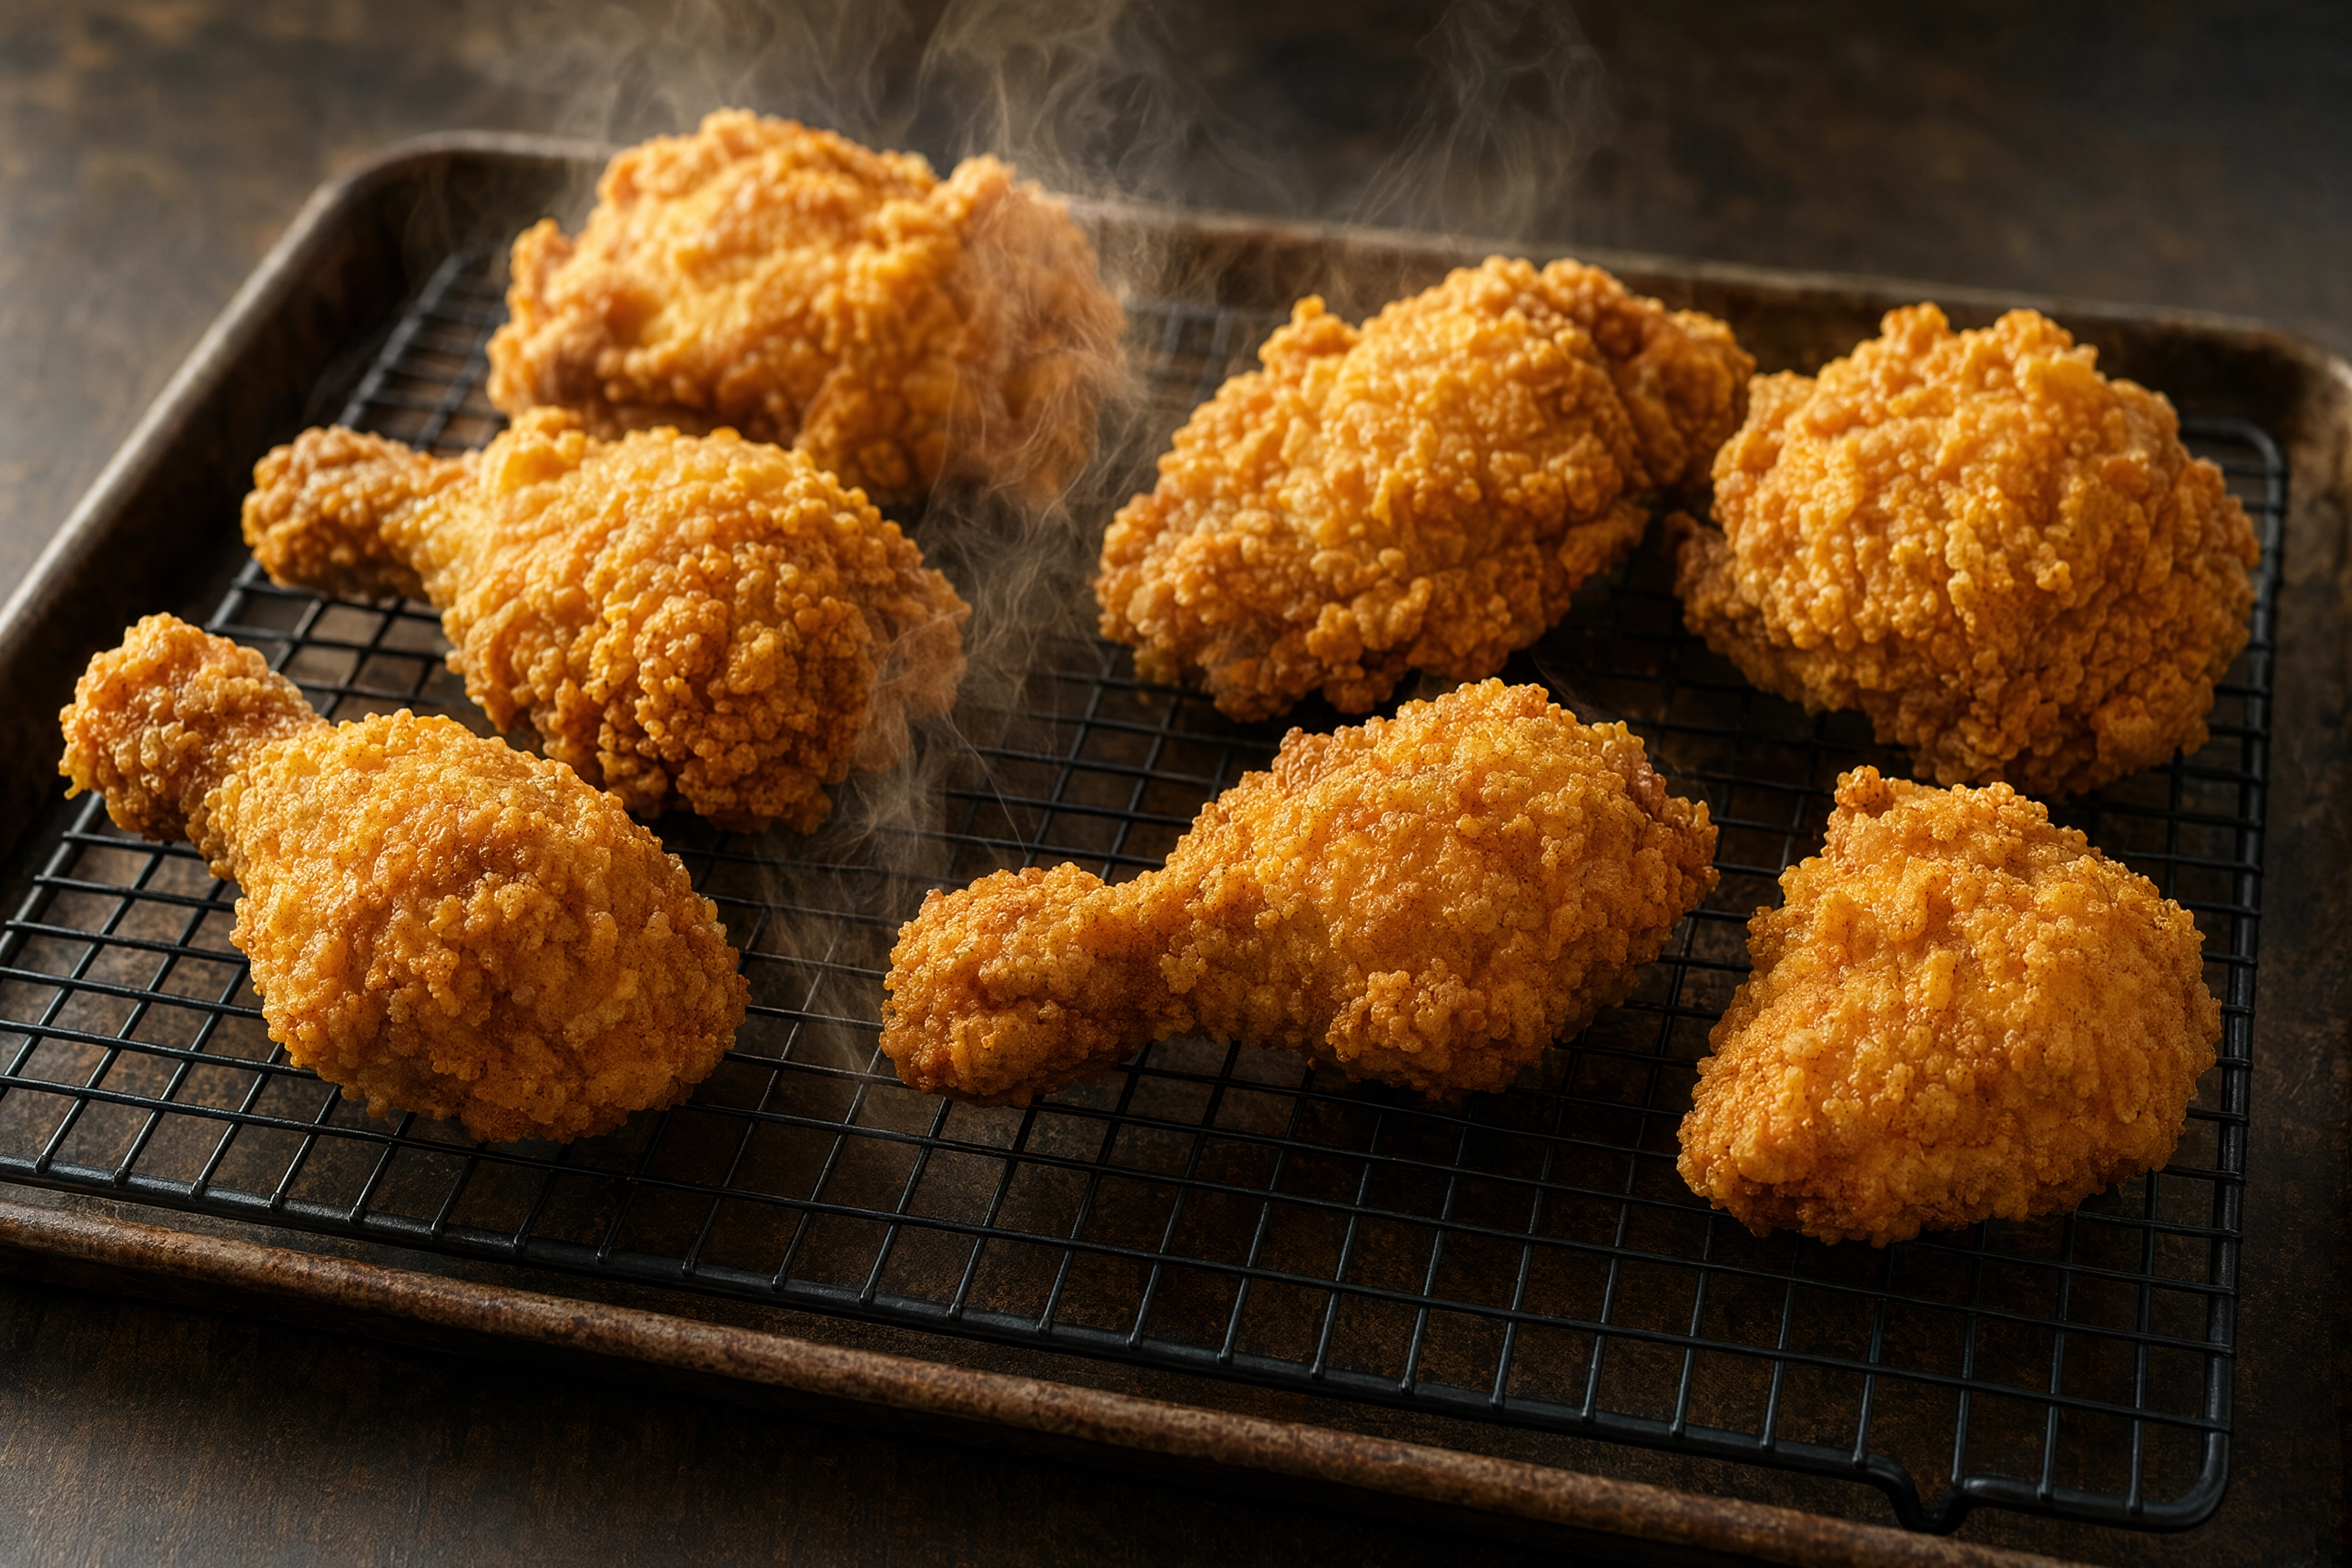 Freshly fried chicken pieces spaced on a black wire cooling rack with steam escaping to keep the crust crisp
Borrow the fixes straight from the kitchen:
- Shoot on a wire rack, not a plate. A rack lets air circulate underneath so steam escapes instead of condensing. It keeps the crust crisper for longer and it looks like it just came out of the fryer. It's the single best surface for a fried chicken photoshoot.
- Never stack, cover, or box your hero pieces. Every one of those traps steam. Keep the pile loose and shallow.
- Hold your backups hot with airflow. Chef Art Smith's trick works for shoots too: keep spare pieces in a 250°F oven with the door cracked open. The moving air holds them crisp so you always have a fresh hero ready to swap in.
- Build everything before the chicken arrives. This is the pro move that changes the whole day. Set your background, props, garnish, light and focus completely before the chicken comes out of the fryer. The chicken is the last thing on set, not the first. When you're ready, you drop it in and shoot immediately — spending your precious crisp minutes shooting, not fiddling with a tripod.
Lighting Crispy Chicken: Rake the Crust, Never Flatten It
Lighting is the single biggest factor in whether your chicken reads shatter-crisp or sad and soft. Most bad fried chicken photos are just badly lit fried chicken photos.
Where to put the light
The whole game is micro-shadows. Texture on camera isn't the crust itself — it's the thousands of tiny shadows cast by every craggy ridge and blister. Kill those shadows and you kill the crunch. Create them and the coating leaps off the screen.
Micro-shadows come from raking light: light that skims across the surface at a low angle instead of hitting it head-on. Picture your dish at the center of a clock face with your camera at six o'clock. Put your light to the side (three or nine o'clock) or at side-back (ten-to-eleven or one-to-two) and it rakes across the coating, throwing a small shadow into every nook. That's what makes the crunch readable. For the full breakdown of light positions, we wrote a whole guide on the clock method for food photography lighting.
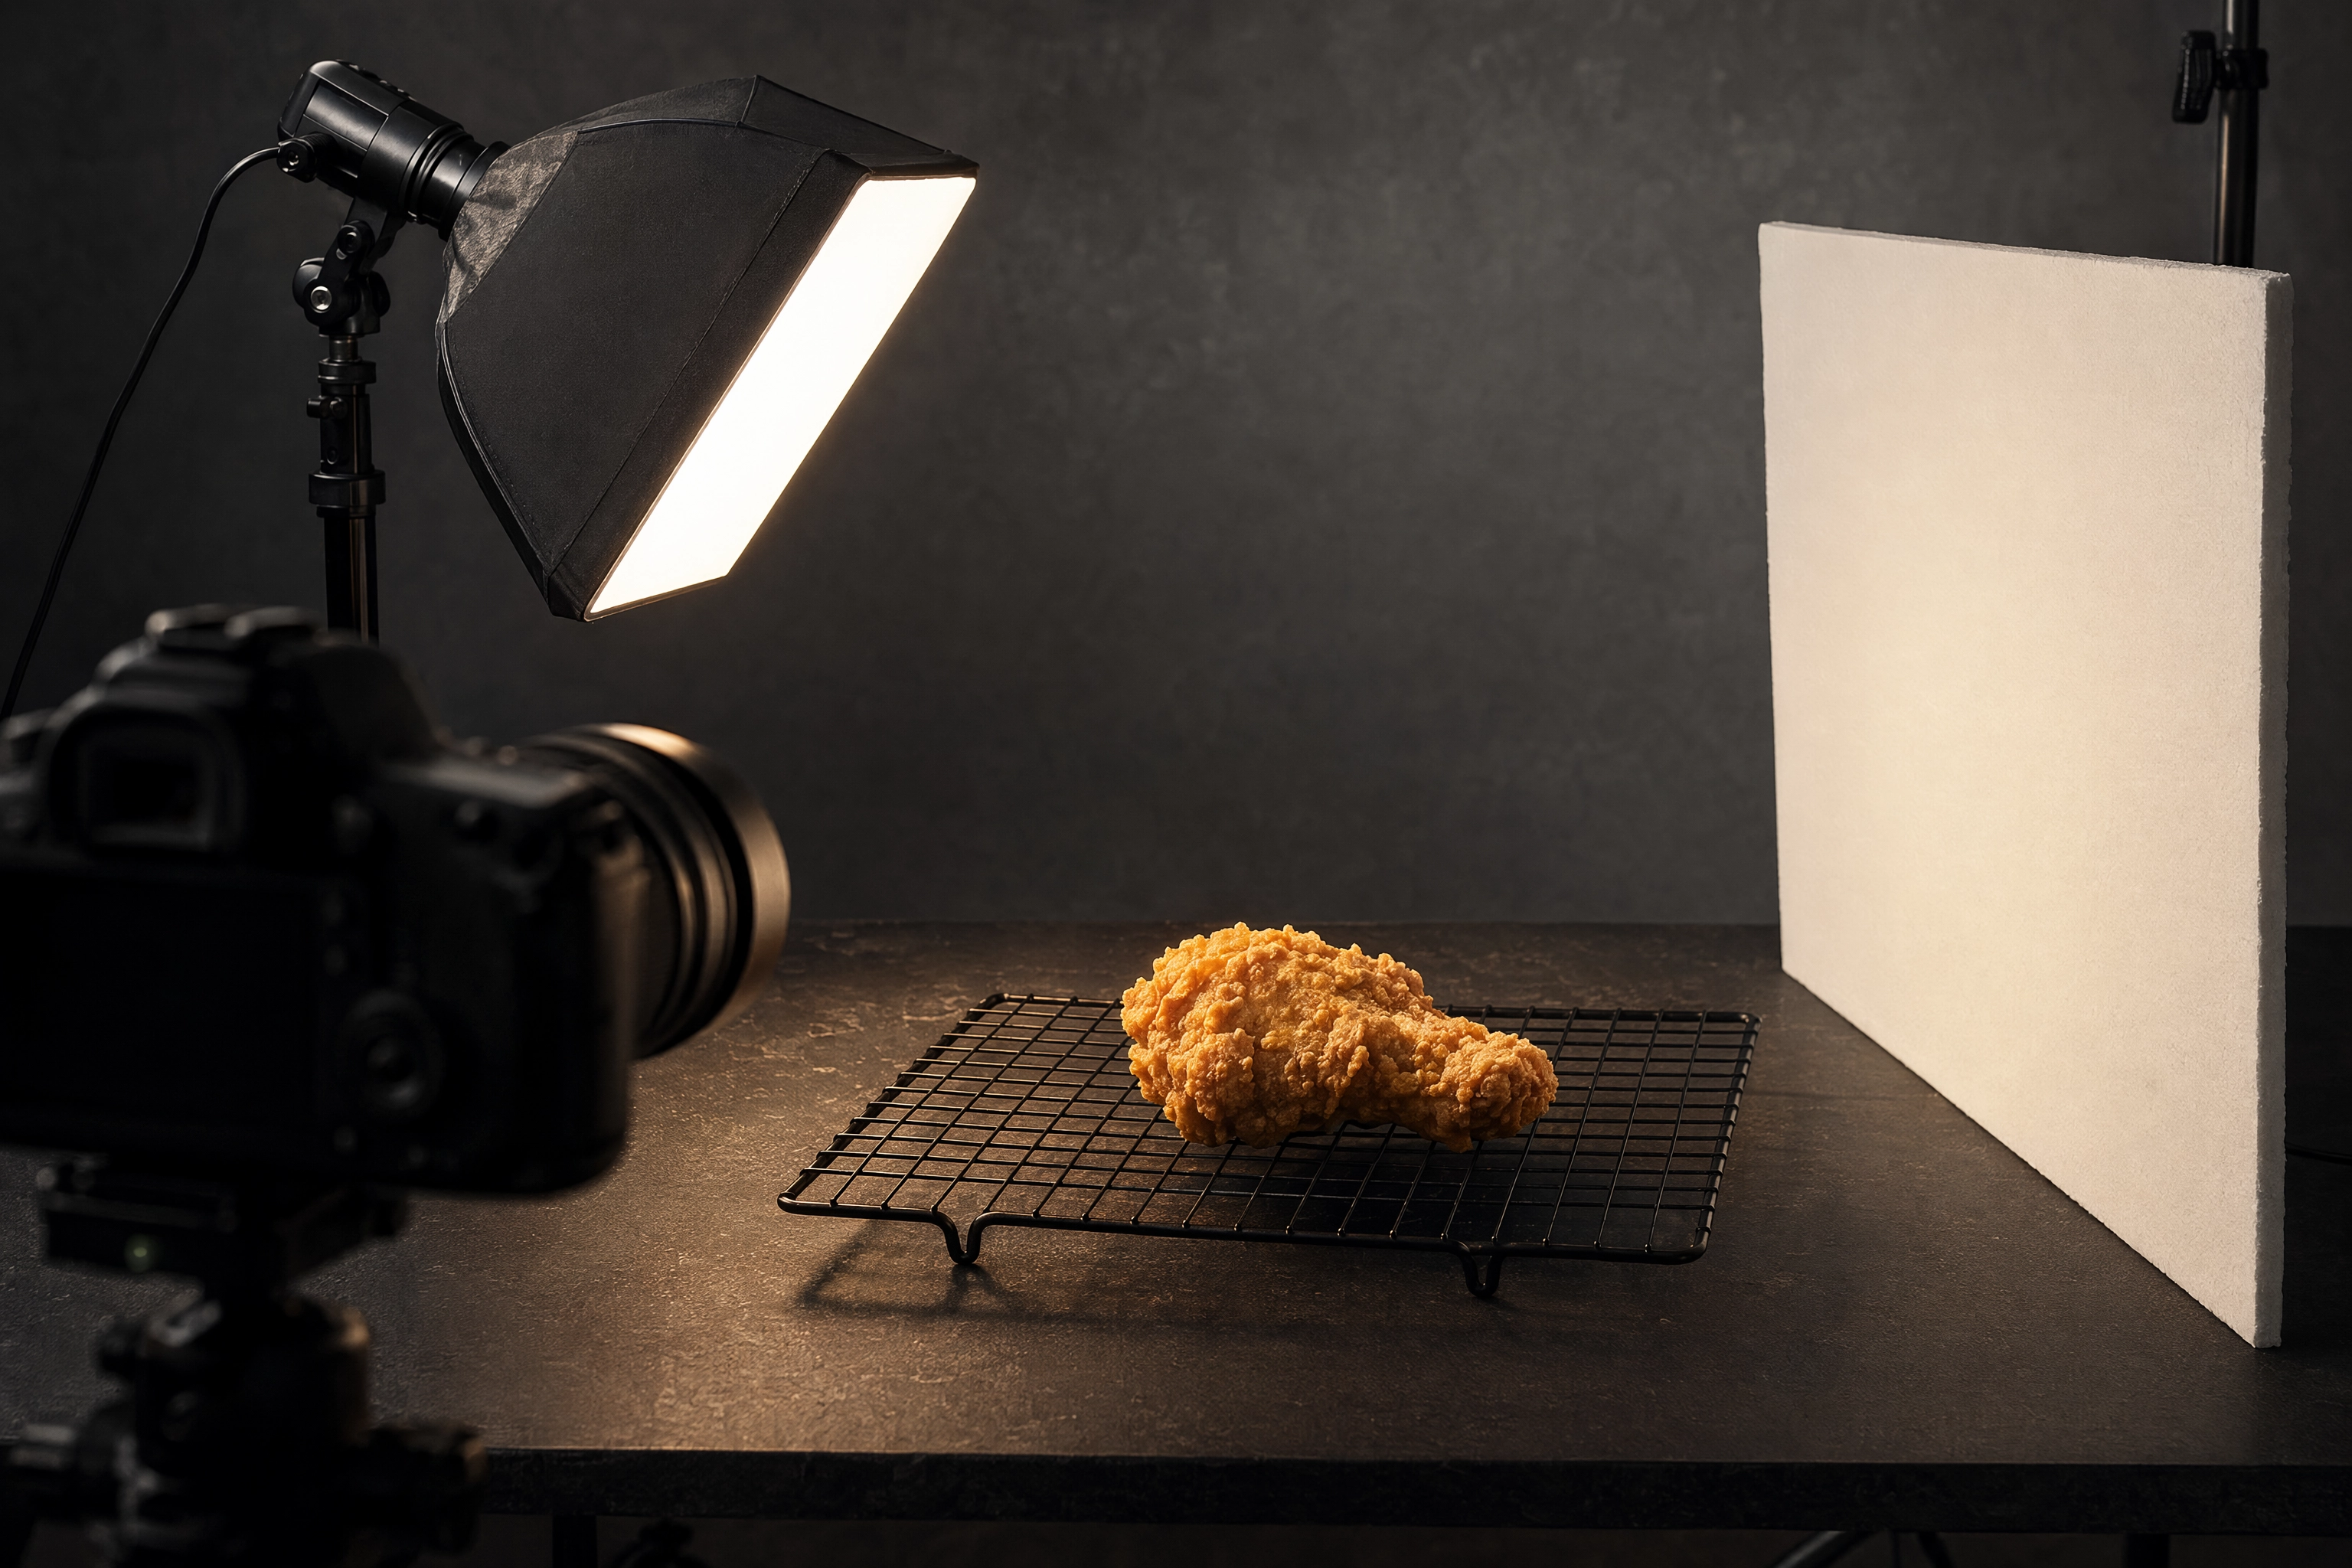 Studio lighting setup for fried chicken photography with a softbox raking from the side and a white bounce board opposite
A few things specific to fried chicken:
- It can take harder light than delicate foods. Soft, heavily diffused light flatters a cake or a salad, but it can under-render a craggy crust. Fried chicken wants contrast, so a slightly harder, more directional source — a smaller softbox, a bare-ish window, a light a touch further away — exaggerates the texture. Just watch your highlights.
- Backlight rims the edges and lights the steam. Placing the light behind the piece (twelve o'clock) draws a bright halo around the craggy silhouette and makes any steam glow. It's dramatic and craveable — but bounce a white card in front, below the frame, or you'll get a silhouette with no front detail.
- Fill the shadows so dark meat doesn't crush to black. A white foam board on the opposite side of your key light bounces a little light back in. Dark meat especially needs this, or thighs and drumsticks sink into featureless black.
- Tame the greasy hotspots. If the oil sheen blows out into hard white specular spots, a small black card (negative fill) near the shine knocks it down to a controlled highlight.
The one rule you can't break: kill the flash
A phone or built-in flash blasts the food dead-on from the camera position. It fills every micro-shadow, flattens the texture into a plasticky beige blob, blows the oily bits into hot white spots, and greys out that gorgeous golden tone.
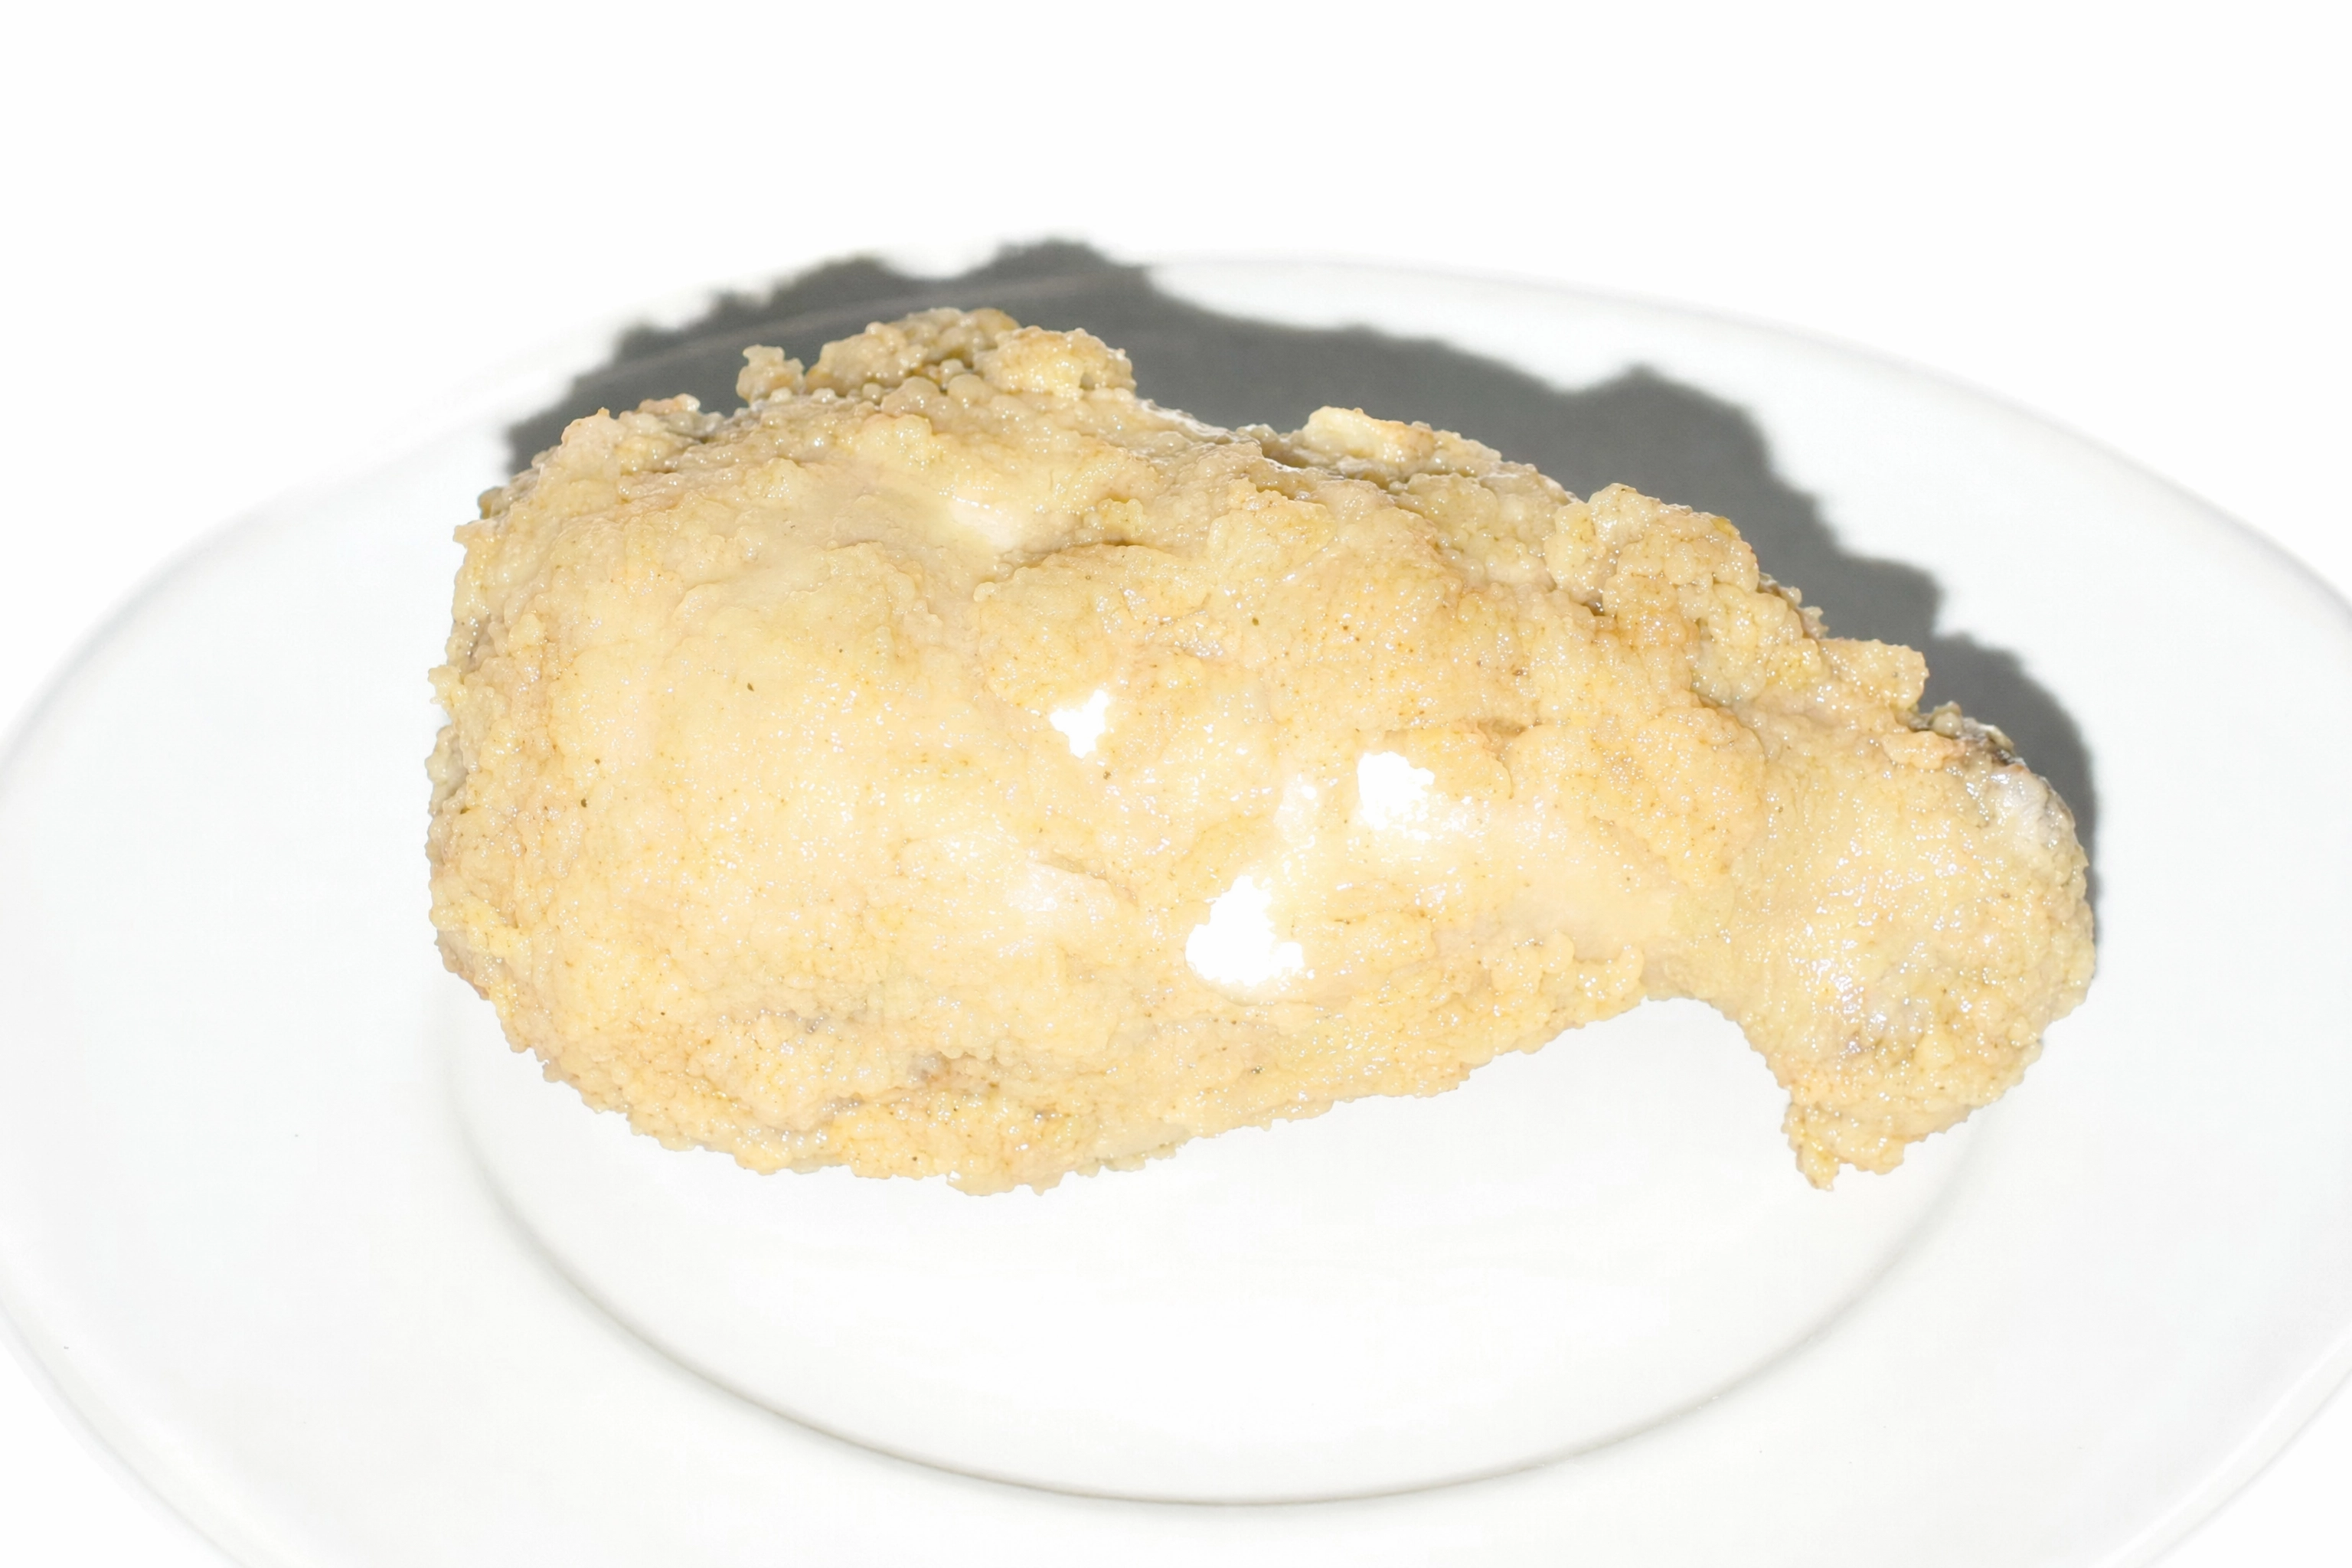 Fried chicken lit flat by harsh direct on-camera flash, looking plasticky and washed out with blown highlights
That washed-out, hot-spotted drumstick above is exactly what direct flash does to a beautiful piece of chicken. Flat frontal light is the fastest way to make great fried chicken look fake — soft, directional side light beats it every single time.
The Grease Line: Glisten vs. Greasy
Fried chicken has to look rich, but there's a razor-thin line between glistening and greasy — and crossing it makes an appetizing piece look cheap.
A soft, living sheen reads as hot, fresh, and just-fried. It catches the light in gentle highlights along the ridges. That's what you want. Too much shine — a wet, uniform, mirror-like slick — reads as oily and heavy, and it kills appetite instantly.
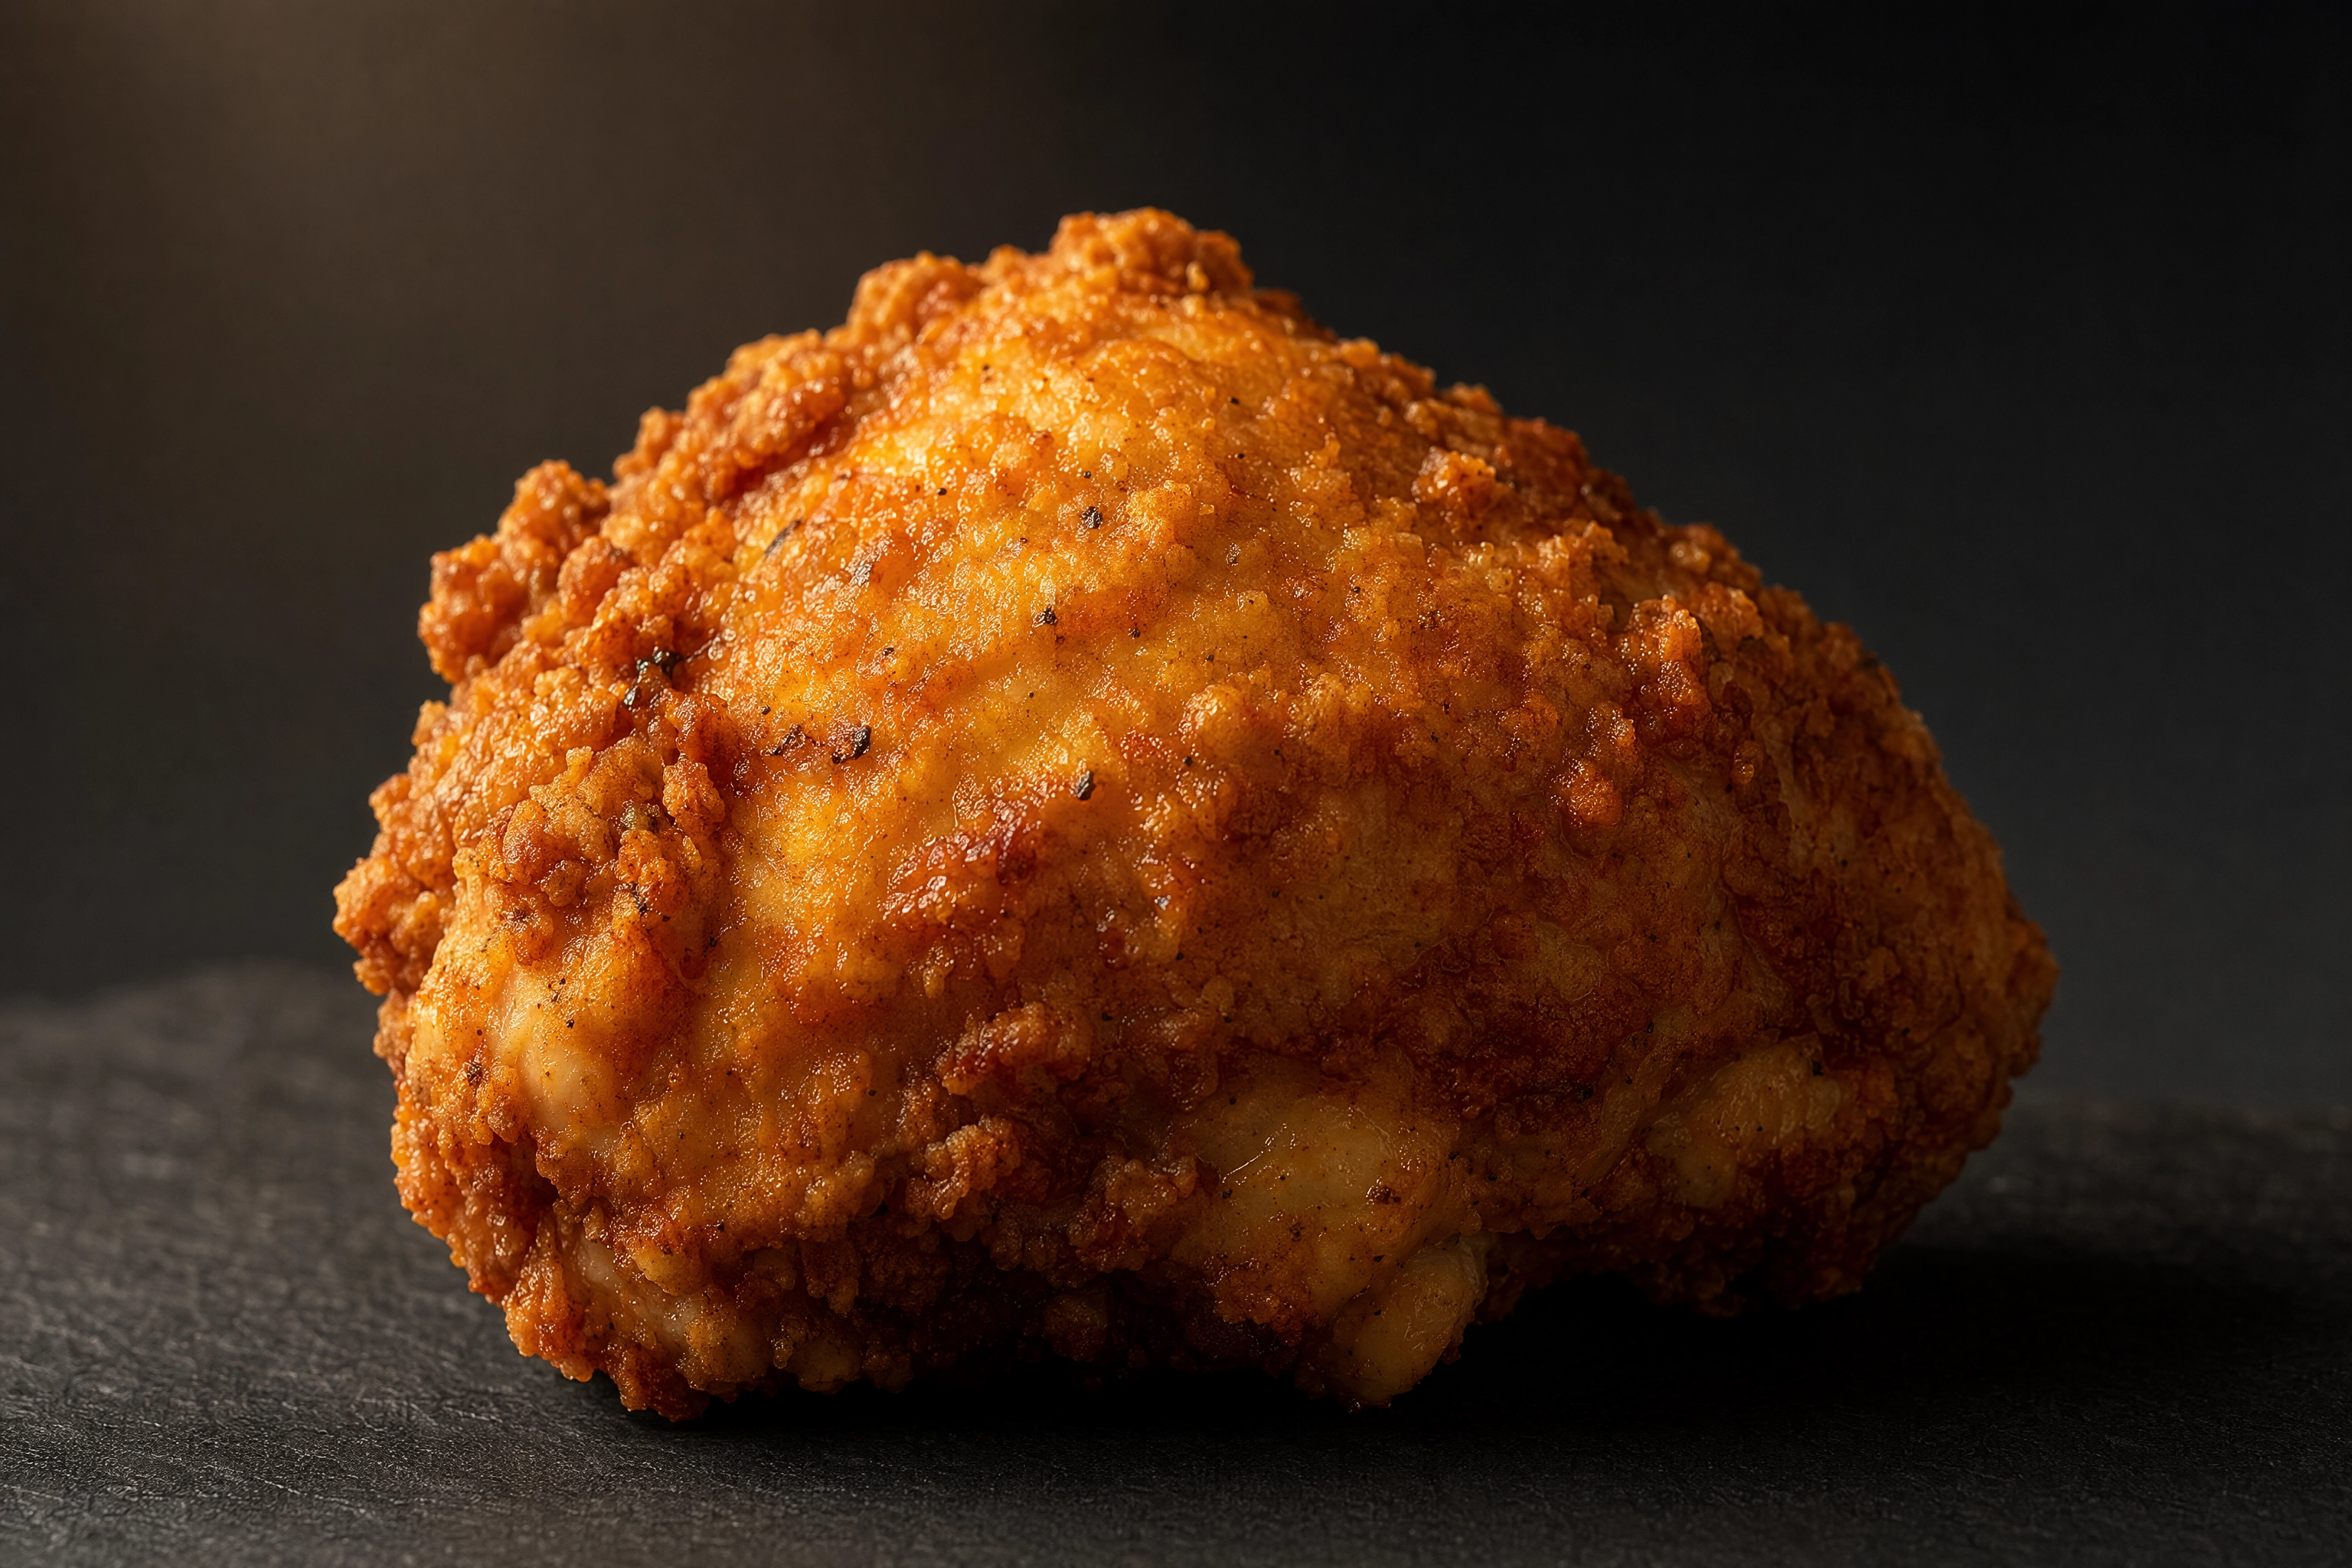 Side-lit fried chicken thigh on dark slate showing a soft satin sheen on the ridges, the ideal appetizing not-greasy look
Three things push you over the line:
- Pooled oil on the plate or paper. Nothing says "greasy" like a shiny puddle around the food or a translucent oil stain bleeding through the paper.
- Blown specular slicks. When a wet patch catches your light source directly, it flares into a hard white blob with no detail.
- No matte contrast. A crust that's shiny everywhere looks wet. A crust that's mostly matte with a few soft highlights looks crisp.
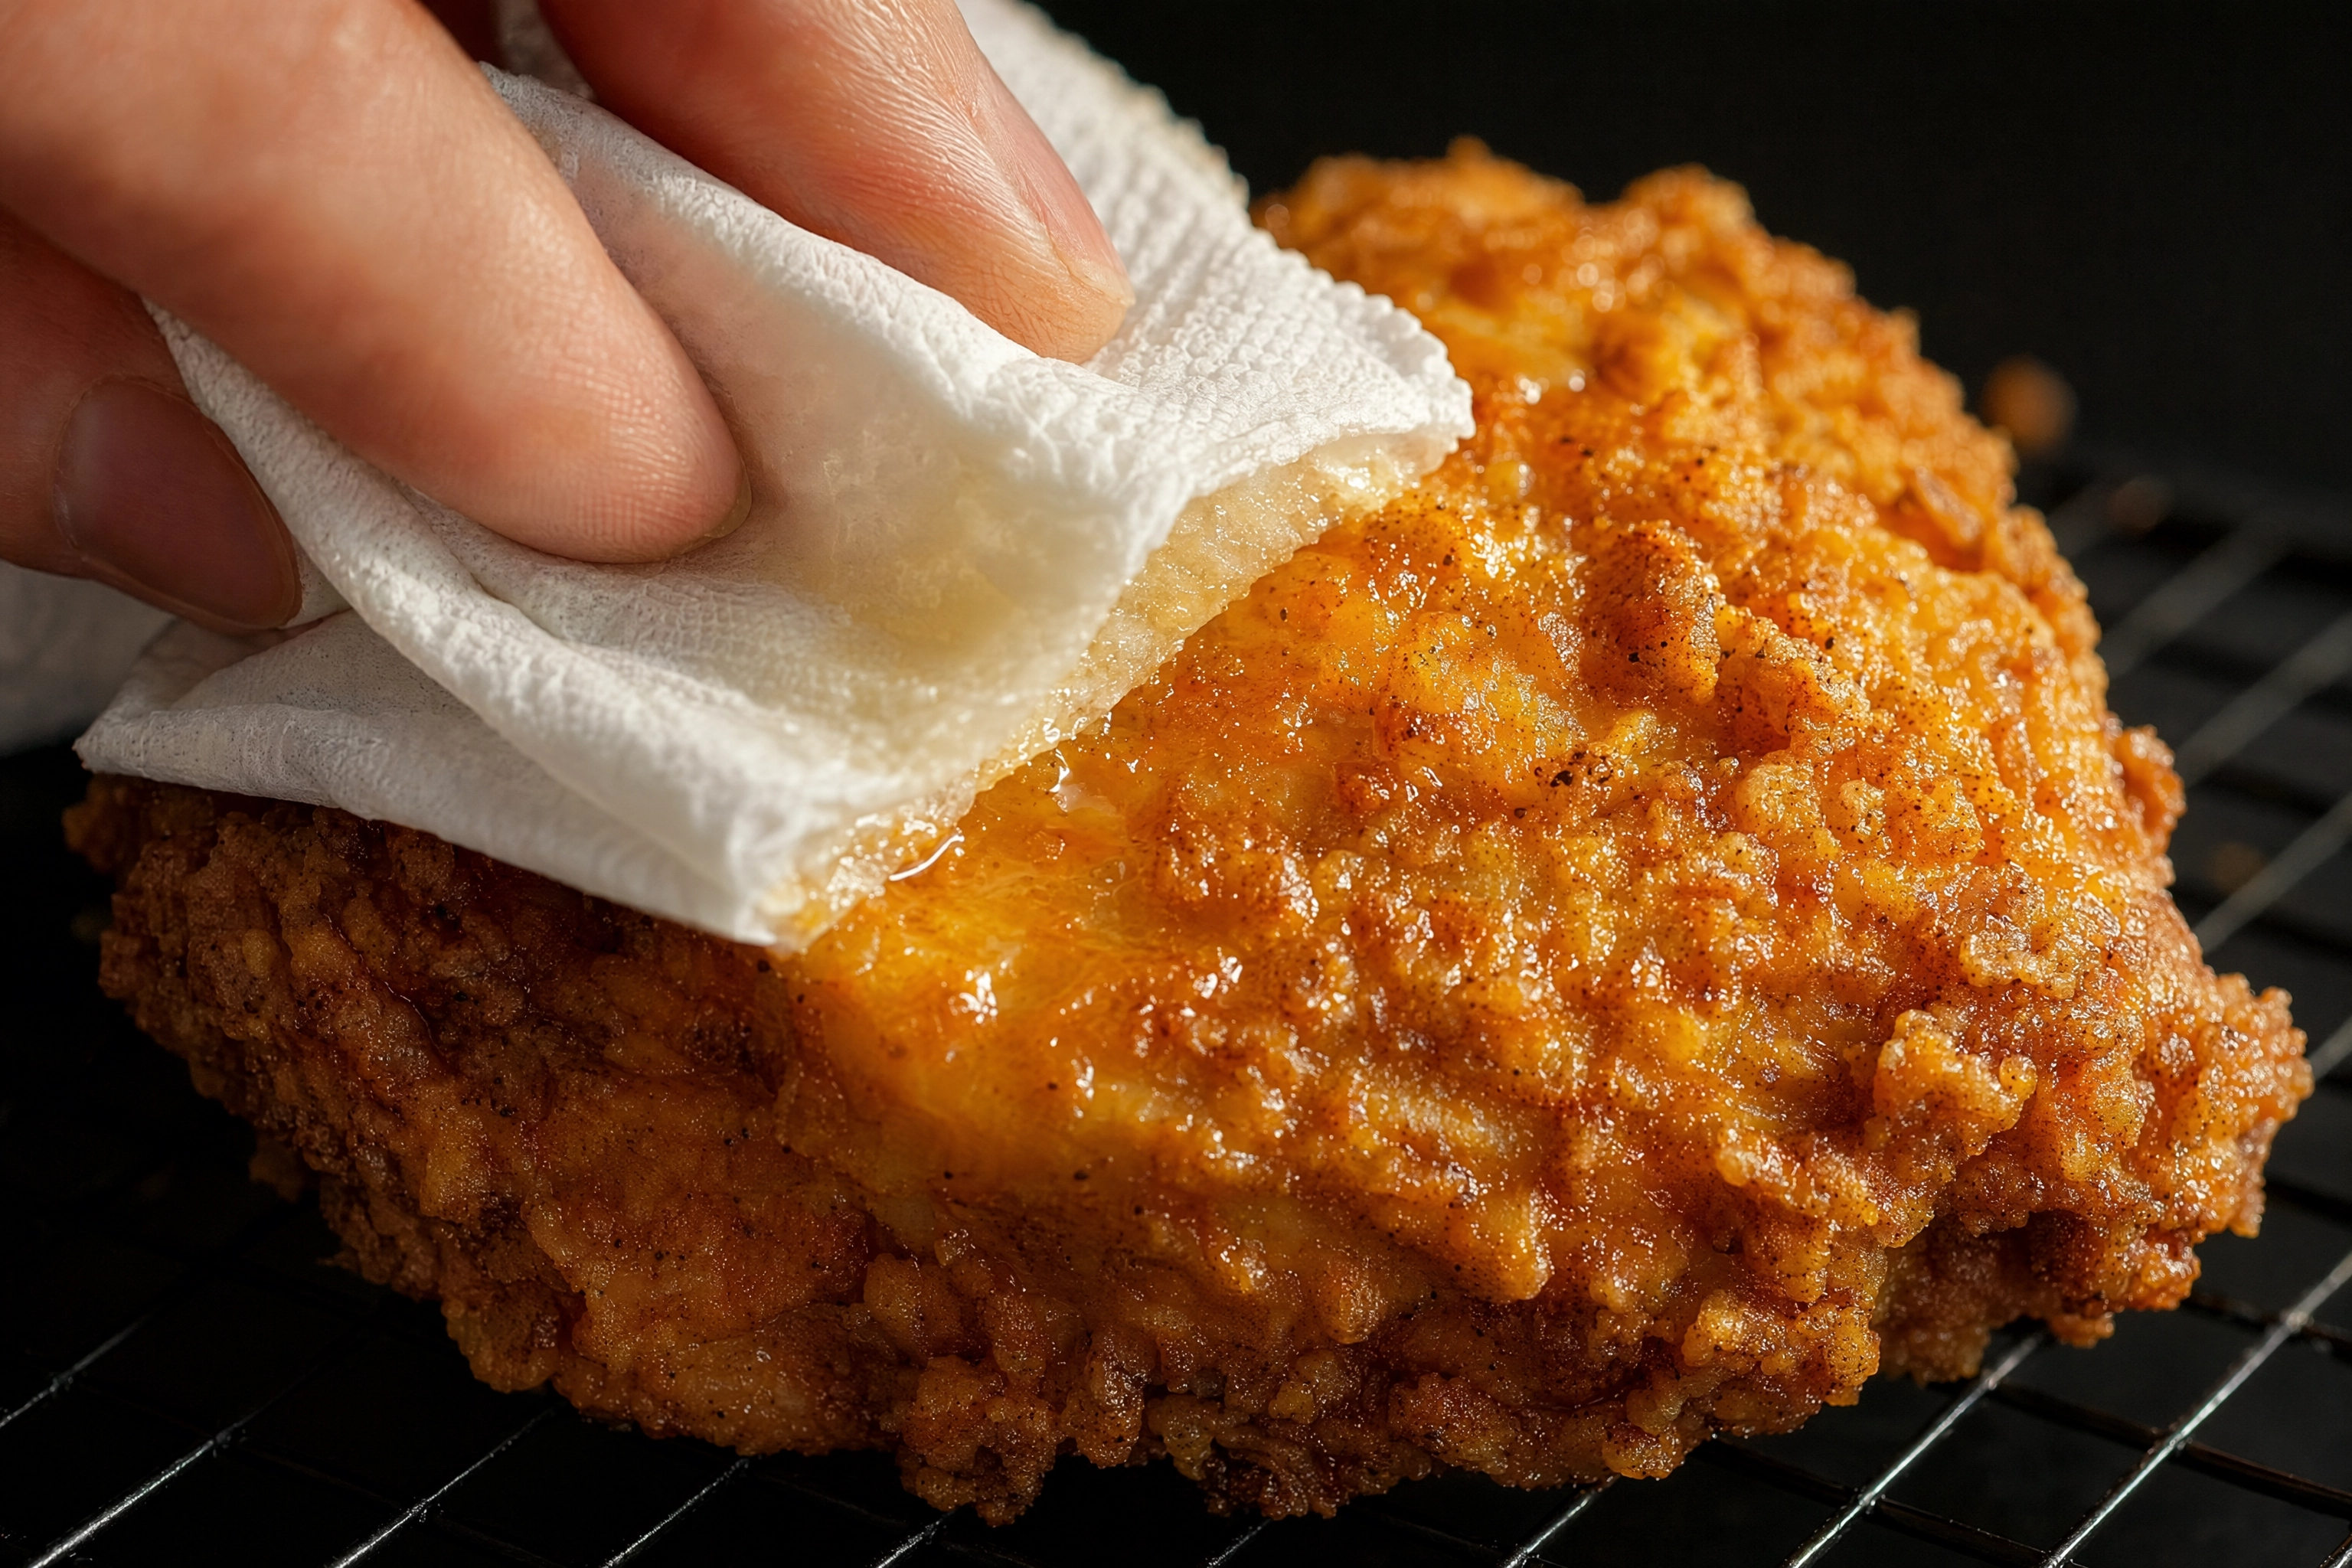 A paper towel blotting excess oil off a craggy golden fried chicken thigh to control the greasy sheen
Keep it on the right side:
- Blot before you shoot. Press a paper towel gently onto the pieces and wipe up any oil pooled around them. This one move fixes most "greasy" photos.
- Shoot on a clean surface. Fresh parchment, a clean wire rack, or a dry board — never the oil-soaked paper the chicken drained on.
- Rescue a dull crust with restraint. If the coating has gone matte while you were setting up, brush a whisper-thin coat of neutral oil onto the highlight areas only — the tops of the ridges the light will catch. It's a classic stylist trick to bring a piece back to life. The goal is a highlight, not a coat of varnish. When in doubt, use less.
- Steer the shine with angle. Move your light or your piece a few degrees so the reflection falls along a ridge instead of flaring off a flat wet patch.
Steam: The Hot-and-Fresh Signal That Fogs Your Lens
Steam is the most powerful "this is hot and just-cooked" cue you have. A wisp rising off a drumstick tells the whole story before anyone reads a word. It's also one of the most frustrating things to shoot, for three reasons: real steam fogs your lens up close, it's gone in seconds, and it barely shows up unless you light and back it correctly.
Get the setup right and it's very doable:
- Put a dark background behind the food. Steam is faint and pale; it only reads against something dark and shadowed. Against a bright background it vanishes.
- Light it from behind. Steam shows best in backlight or side-backlight (that ten-to-eleven or one-to-two position). Light passing through the wisps from behind makes them separate and glow. A small light aimed just above the piece, where the steam rises, works beautifully.
- Keep your shutter fast. At least 1/200 of a second to freeze the swirl without smearing it into a blur. Faster renders more detail in the wisps.
- Prep, focus, then introduce the heat. Set the whole frame, lock focus, then bring the hot piece in and immediately fire a burst. The first few seconds throw the biggest plume; it fades fast.
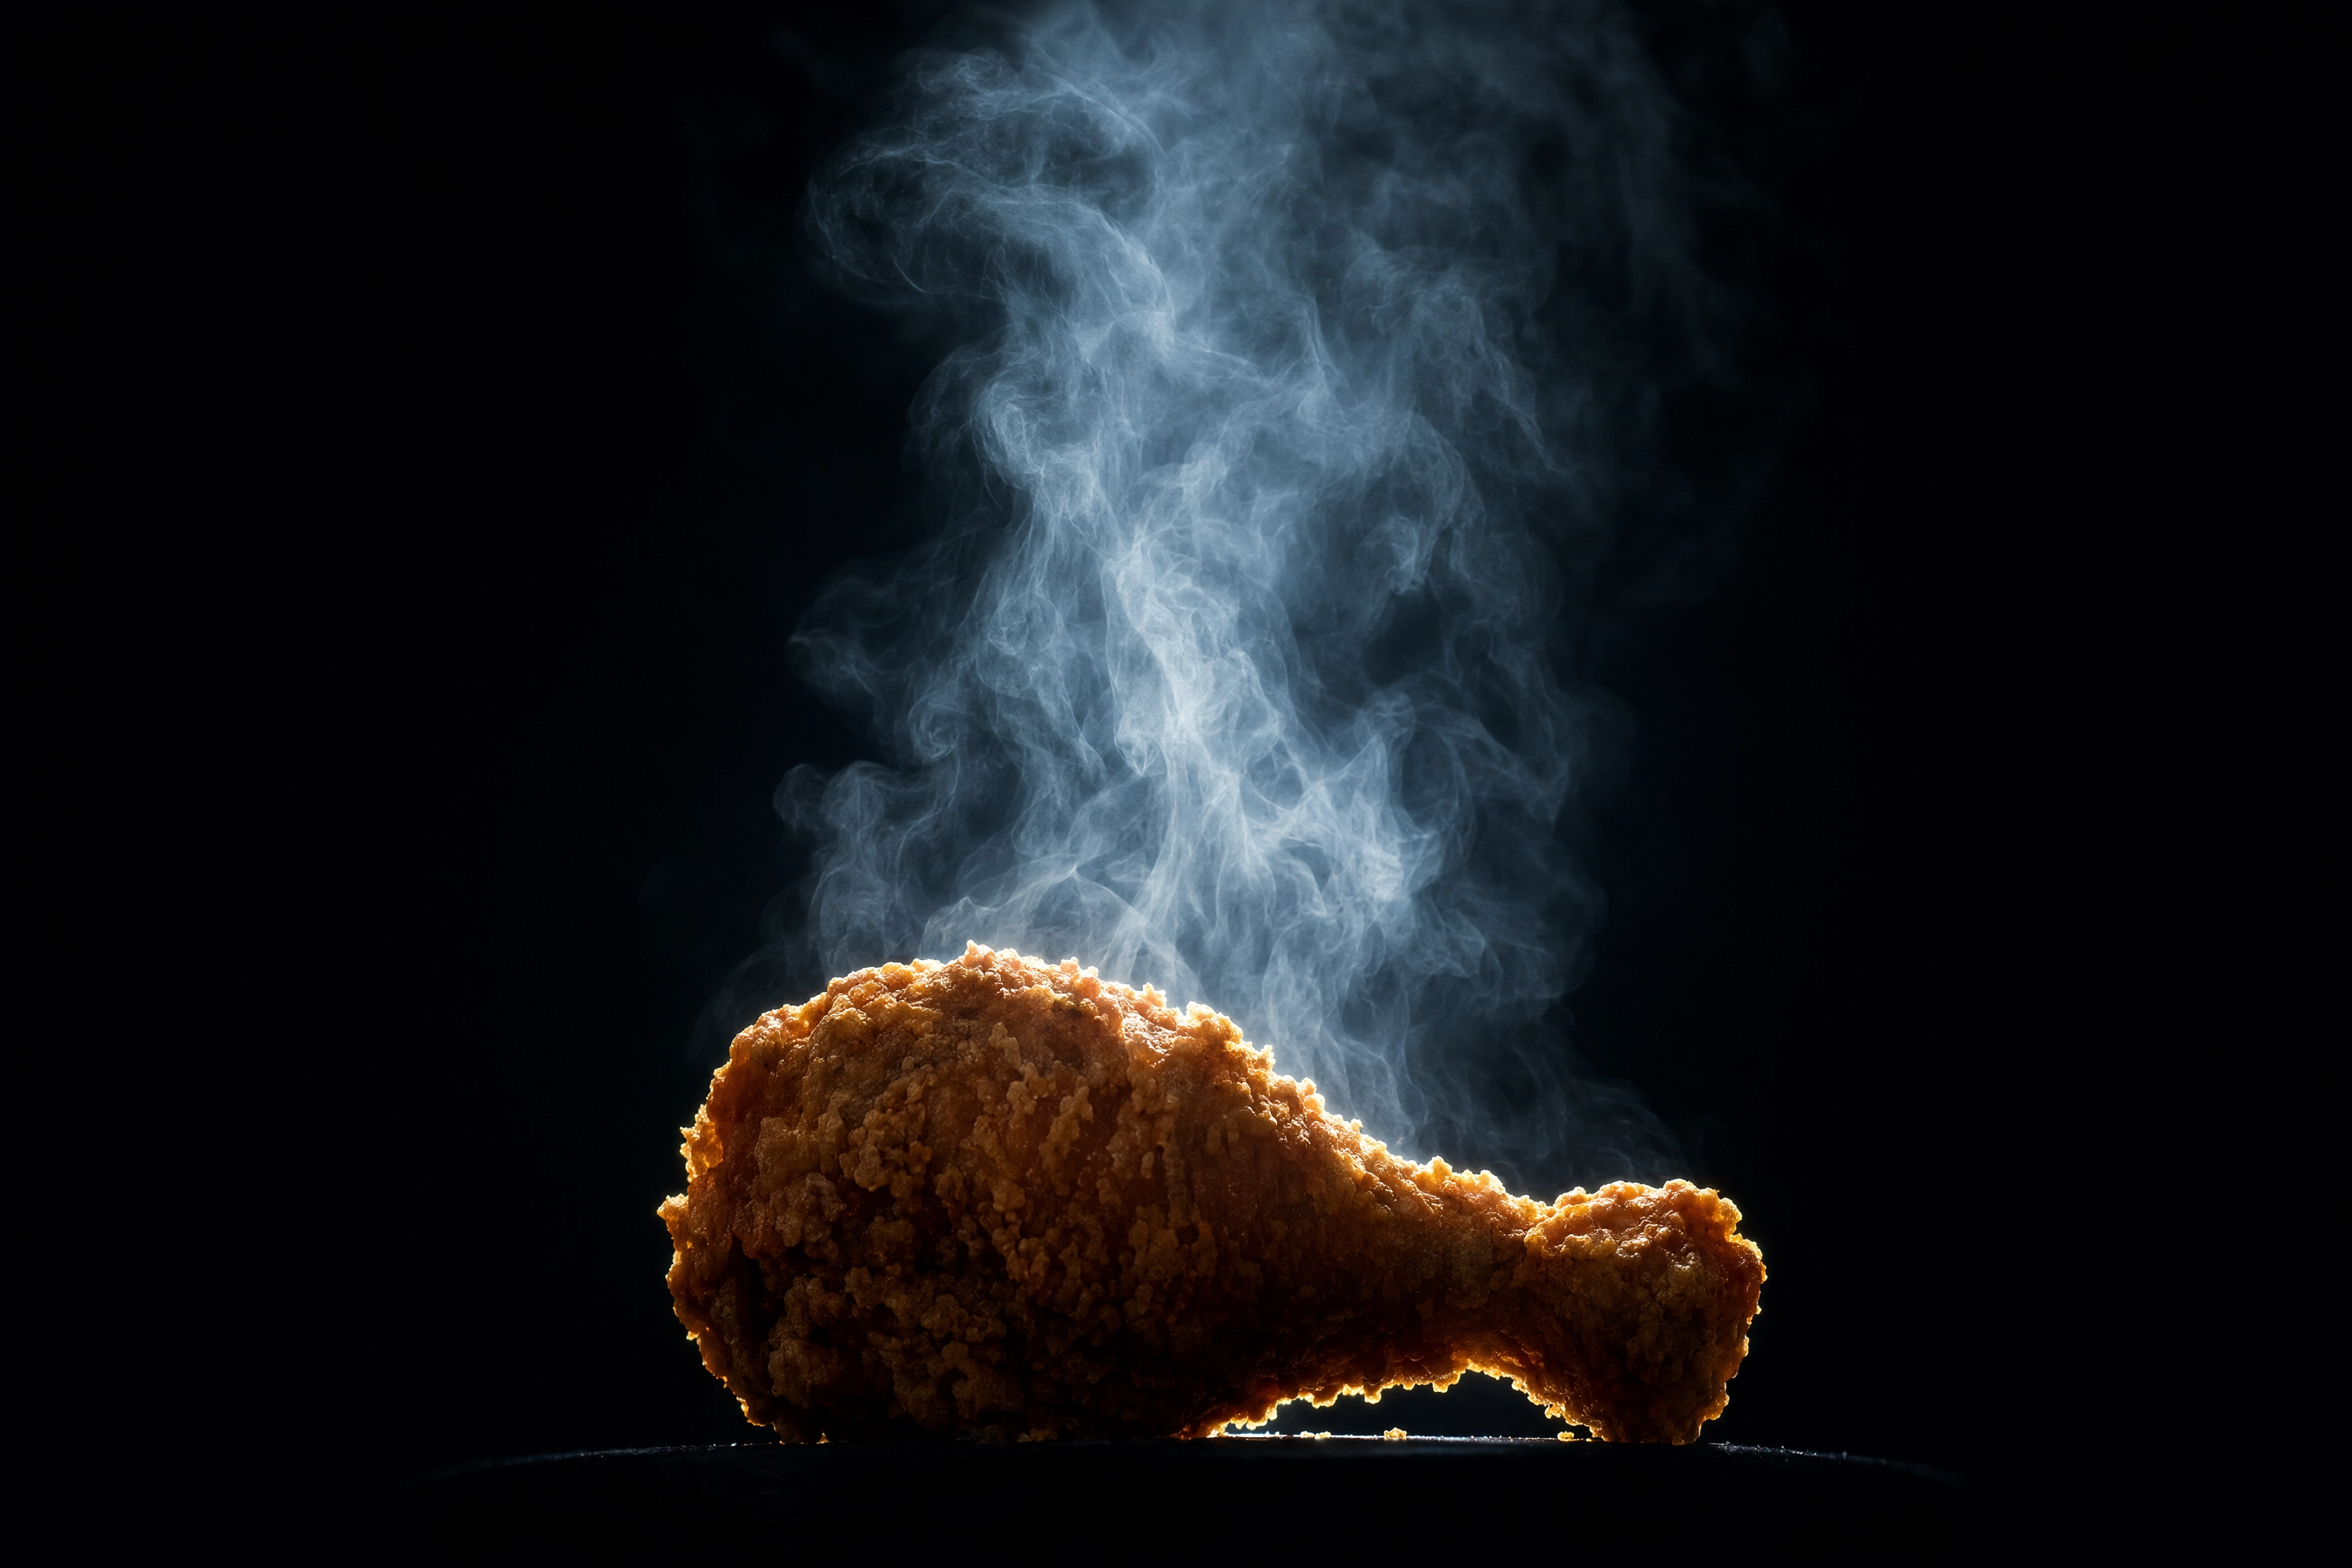 Hot fried chicken drumstick backlit against a black background with a glowing plume of steam rising and separating
Now the lens-fog problem, because it trips everyone up. If your front element sits in the rising steam column, it fogs and your shot is ruined. The fixes:
- Back up and zoom in. Shoot from farther away with a longer focal length so the lens sits outside the steam, not in it.
- Stay off-axis. Position slightly to the side of the plume so it drifts past the lens rather than straight onto it.
- Wipe and wait. Keep a microfiber cloth handy, wipe between takes, and if the very first burst fogs you, let it pass and catch the second wave.
When the real thing won't cooperate, food stylists cheat — cleanly. A cotton pad soaked in water and microwaved, then tucked behind the piece out of frame, releases a controllable wisp for a minute or two. A stick of incense behind the set reads as subtle steam in a pinch. Both are food-safe as long as they never touch what you'll serve.
One honest reality check: steam is a bonus, not a requirement. A dead-crisp, well-lit piece with no steam beats a steamy, soggy one every time. Don't blow your crisp window chasing a wisp.
The Money Frame: The Tear-and-Pull That Proves It's Juicy
If you shoot only one hero frame for your fried chicken, make it the one that answers the only question a hungry customer is really asking: is it juicy inside, or is it dry?
The crust sells the crunch. The interior seals the deal. Show both in a single frame — a piece torn open, or a tender or cutlet cross-sectioned so the camera sees the layered coating and the moist, steaming meat — and you've closed the sale. This is the frame every fried chicken photoshoot is really building toward. (The full five-shot lineup — the whole-bird hero, the wings platter, the stacked pile — lives in our main chicken photography guide; here we zoom all the way in on this one.)
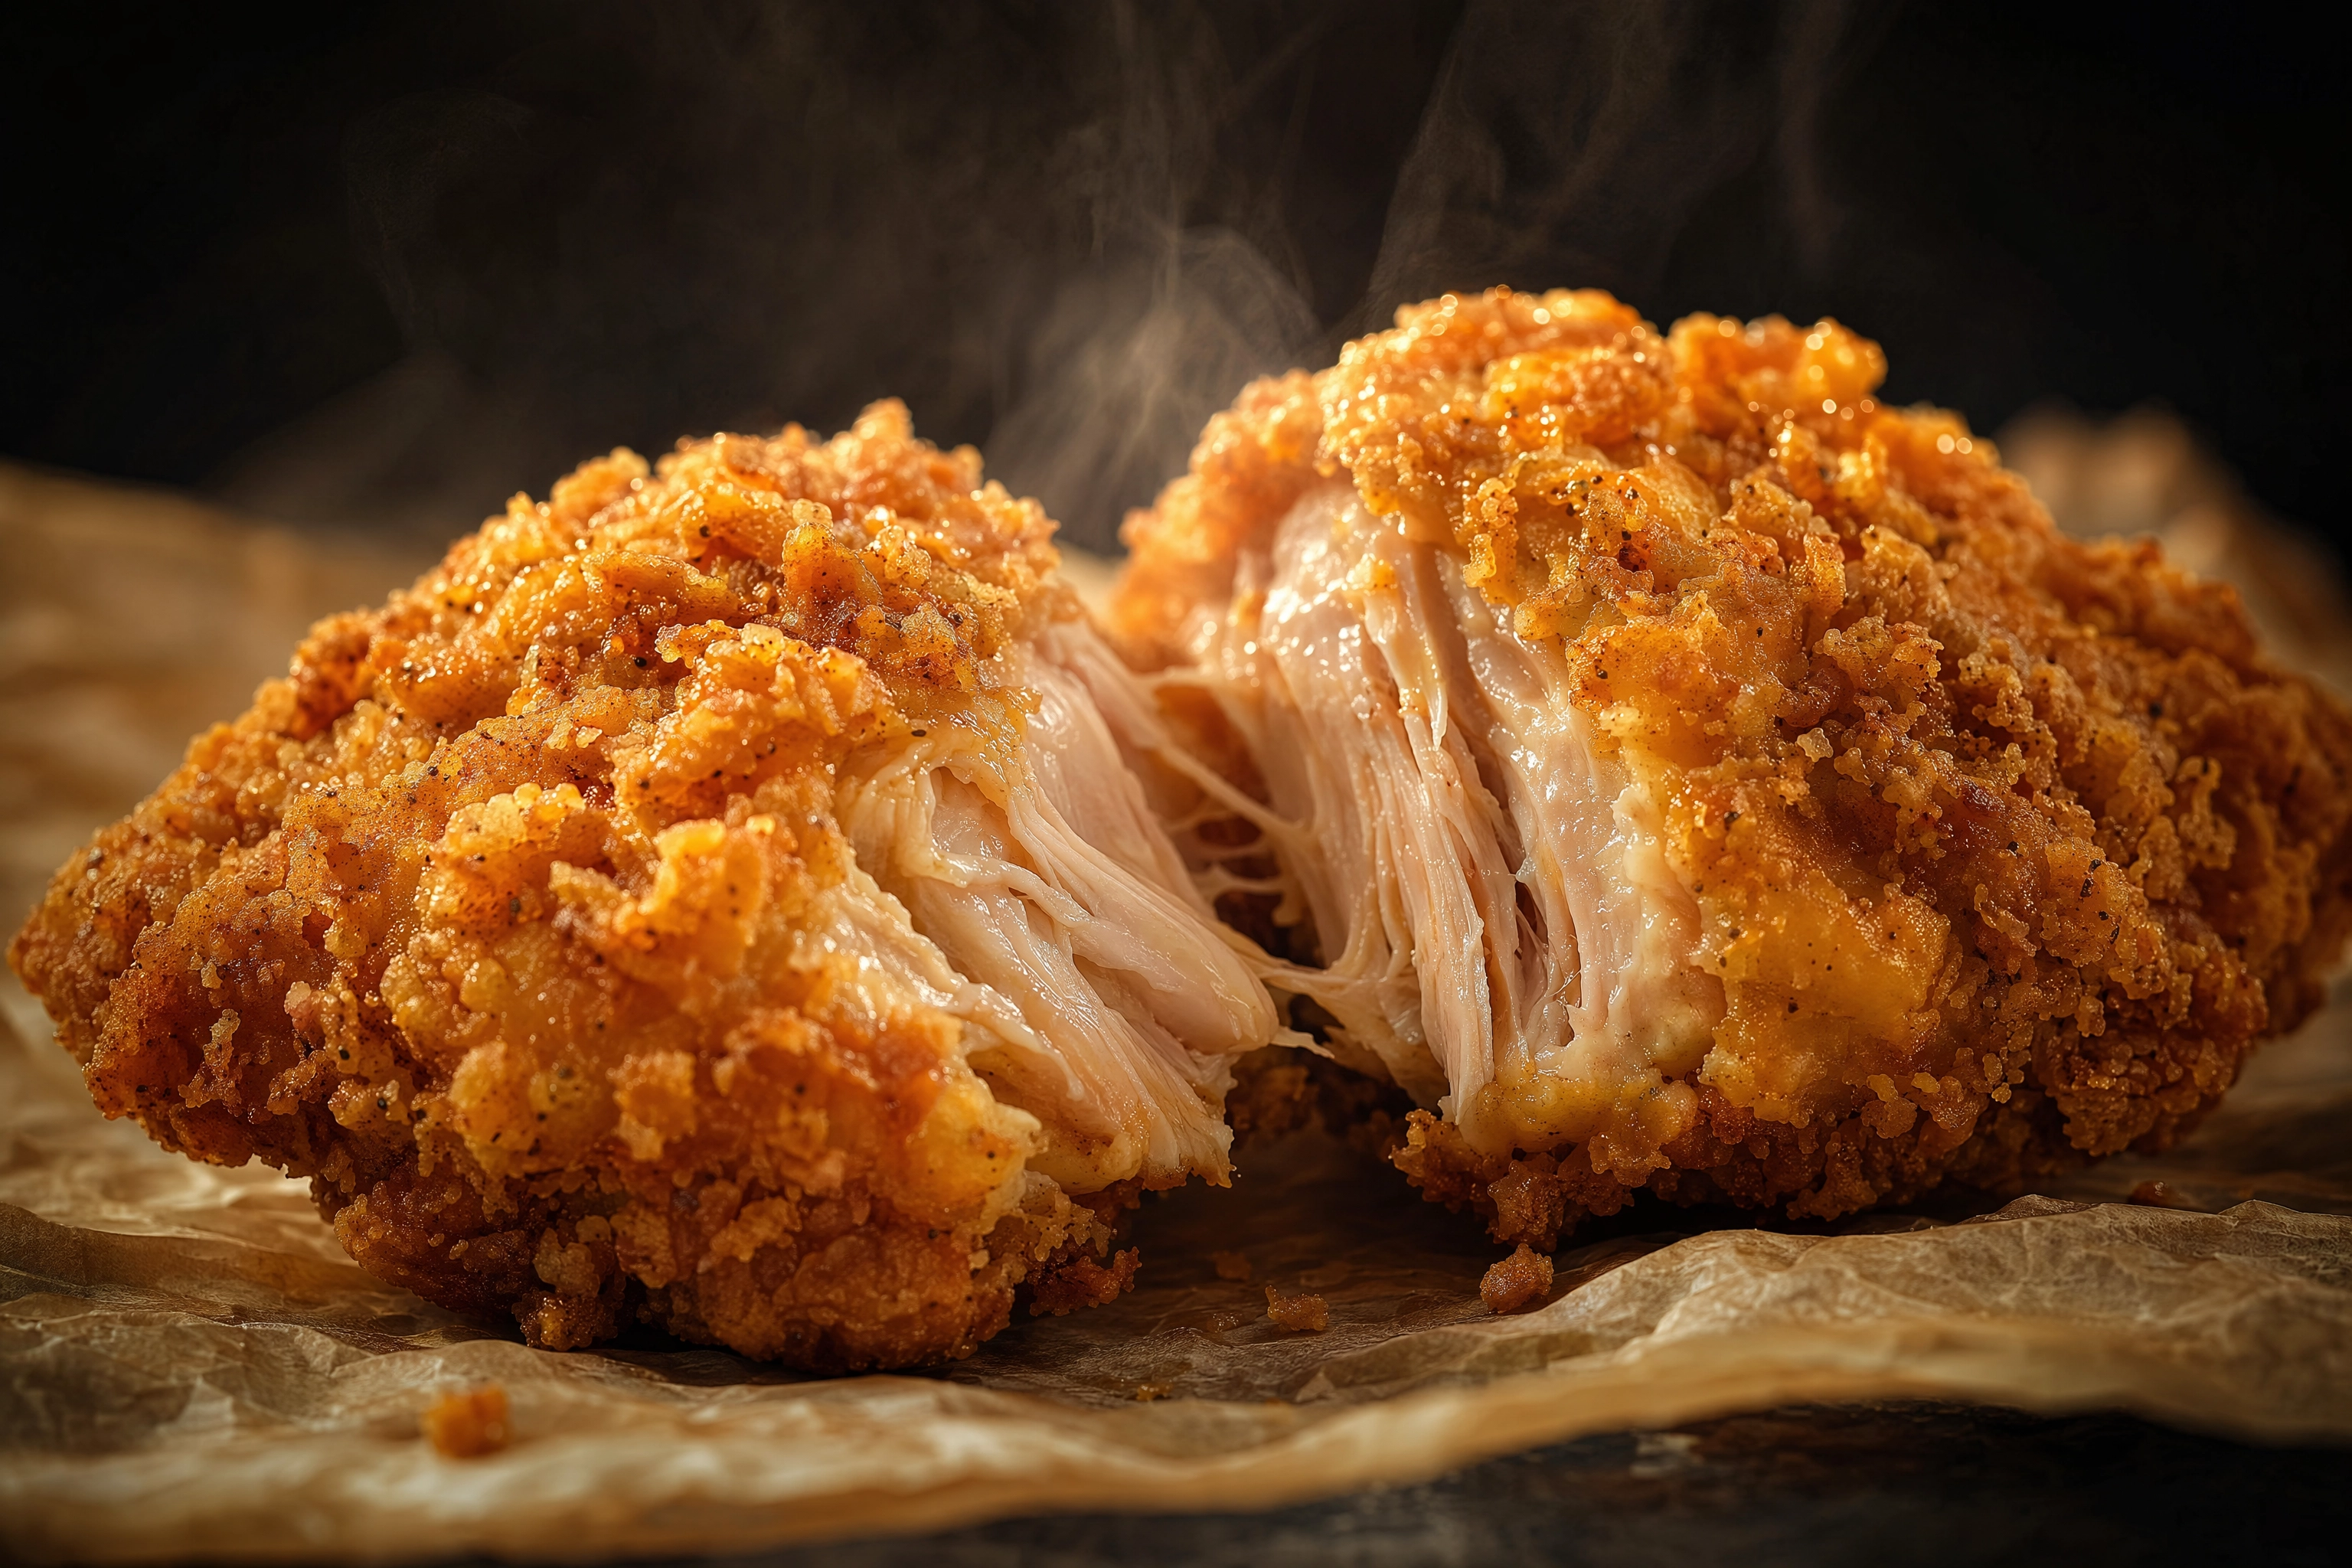 A fried chicken thigh torn open to reveal juicy interior meat and the thick craggy crust cross-section with a wisp of steam
The tear-and-pull
- Use dark meat. A thigh or drumstick stays juicy and glossy under lights. White meat is lean and photographs chalky and pale the moment it loses moisture — save yourself the fight.
- Tear along the grain. Pull the meat apart following the muscle fibers so you get a clean, moist, slightly stringy break, not a crushed mush. That stringy, glistening interior is the whole point.
- Mind the hands. If hands are in frame, keep them clean and dry — no rings or loud nail polish. Hands say "someone is about to eat this," which is exactly the feeling you want.
- Shoot a burst. Fire 8–10 frames as you make the break to catch the split second the crust shatters and the interior is at its juiciest.
The cross-section
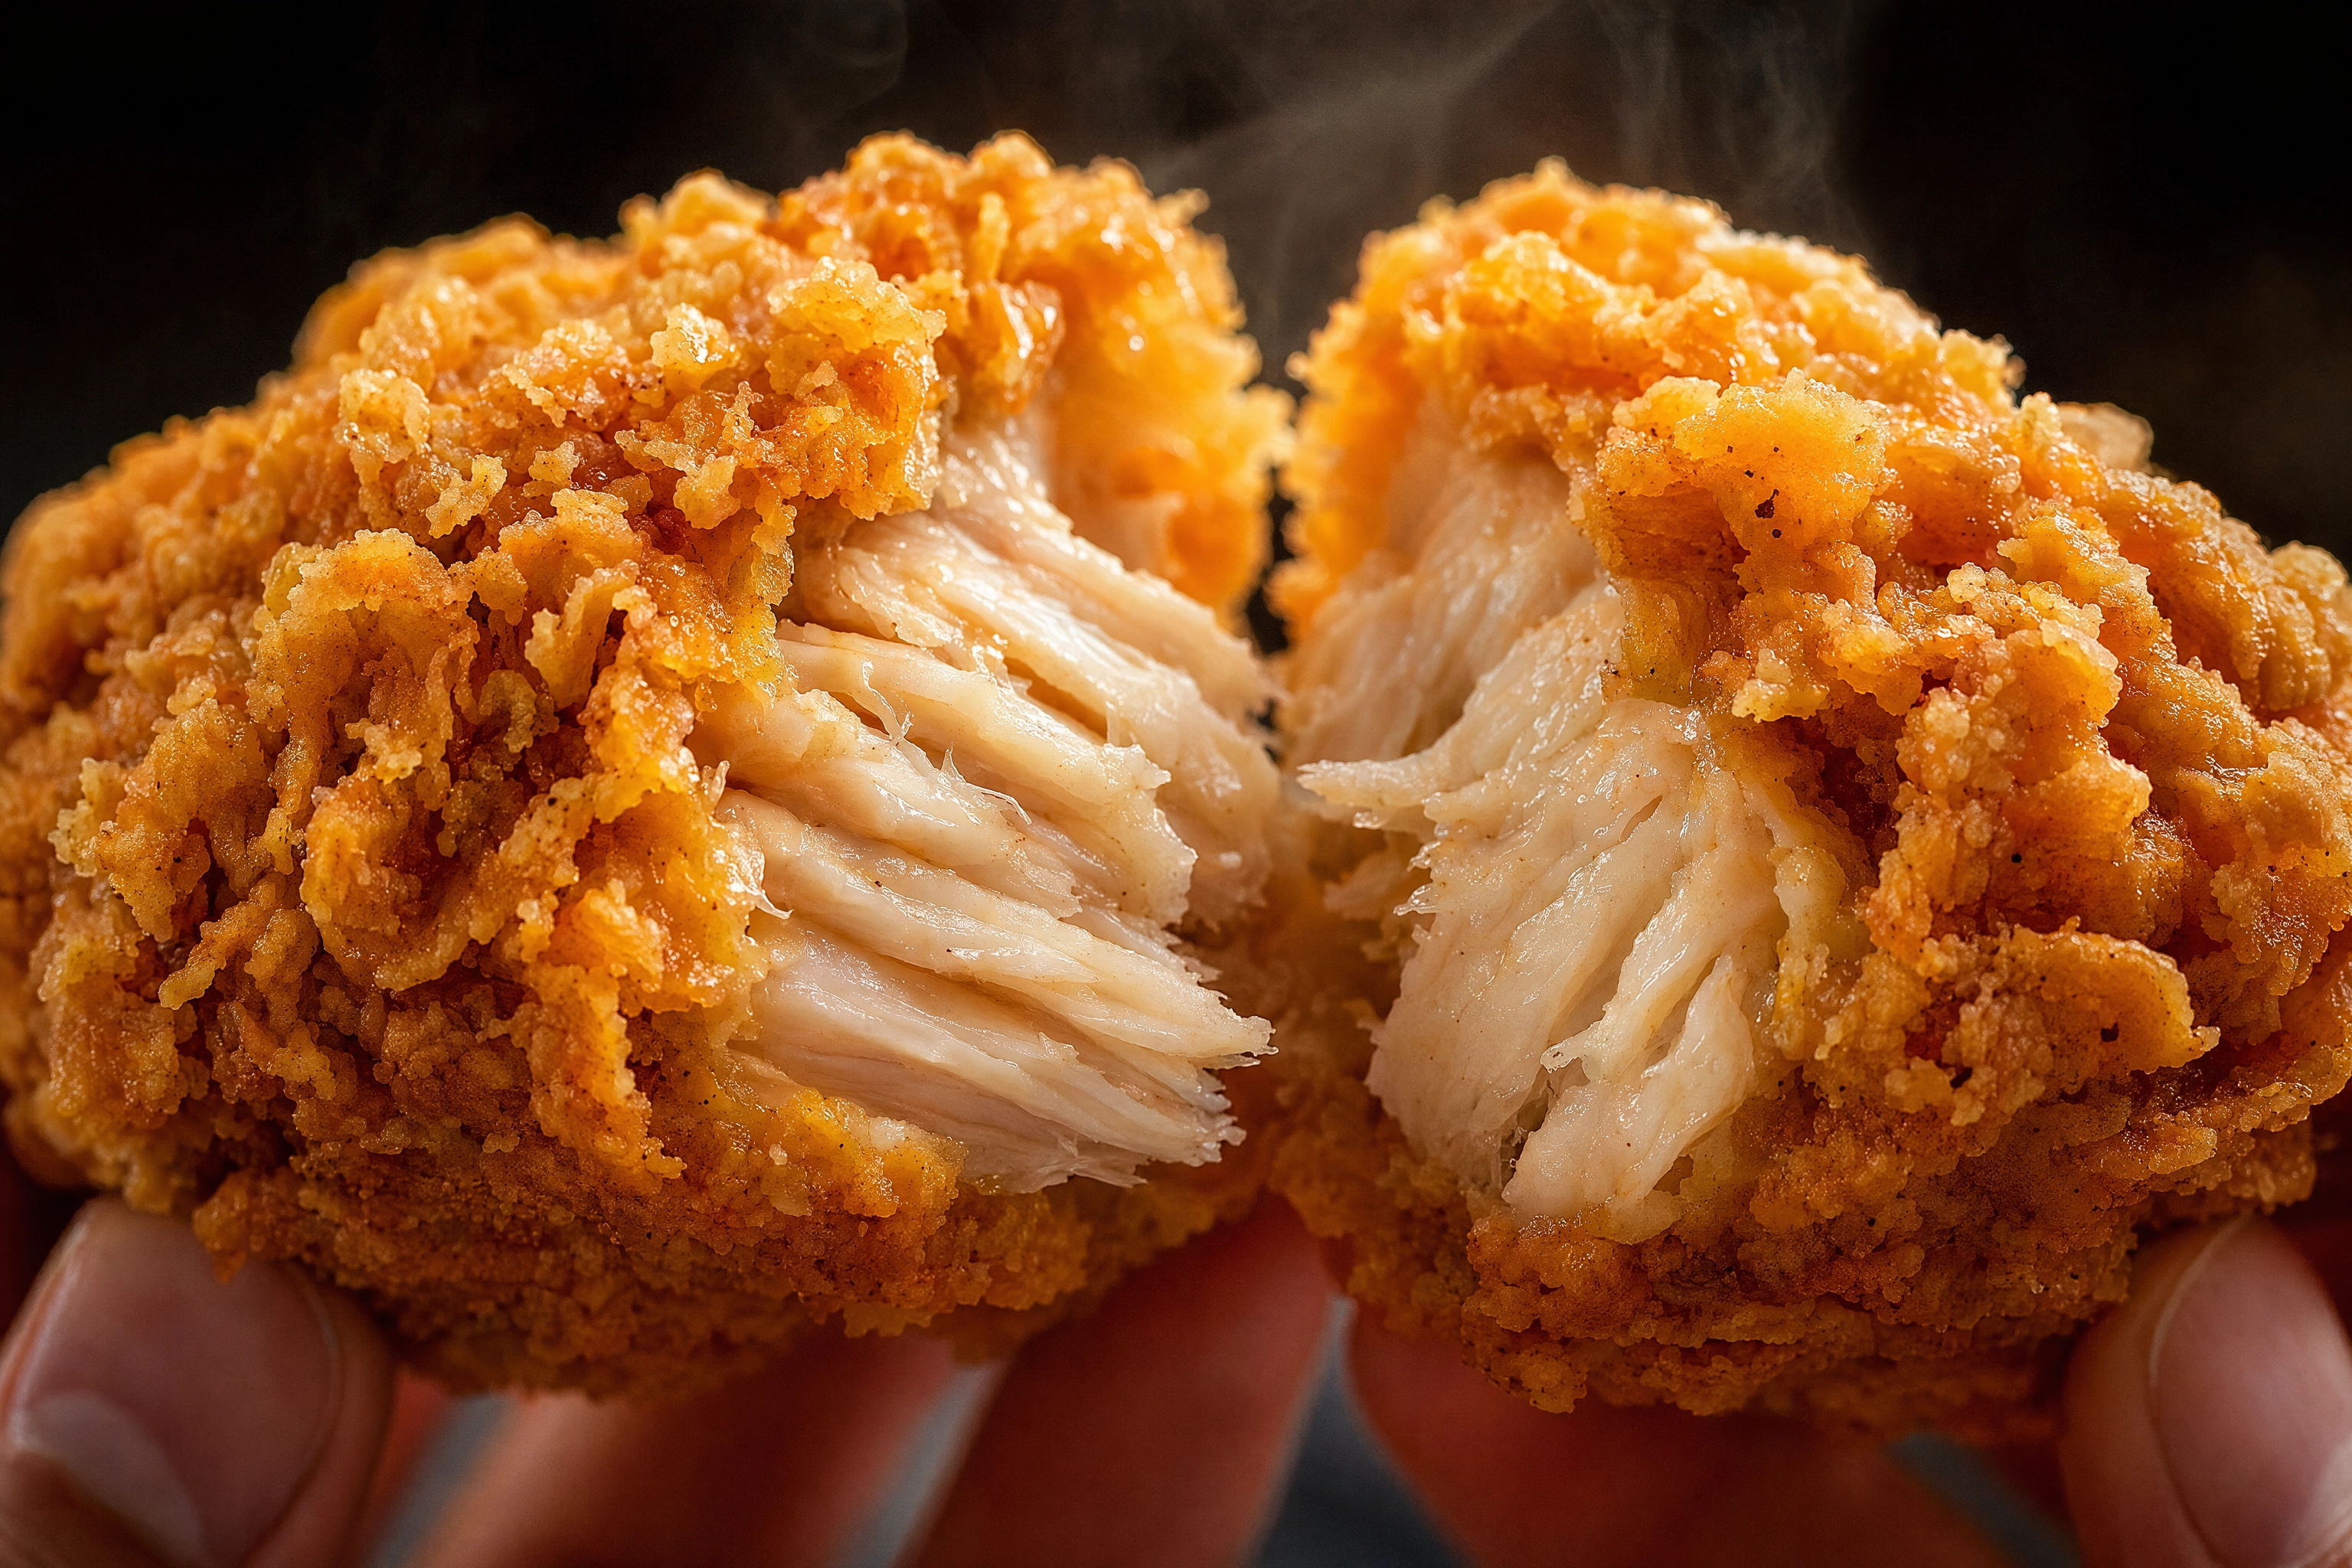 Close-up cross-section of a crispy fried chicken tender snapped in half showing the craggy crust and juicy interior
For tenders, cutlets, and sandwiches, the clean cut does the talking:
- Use a long, very sharp knife and make one clean cut — sawing tears the coating off.
- Ease the halves slightly apart so the camera reads the full stack: craggy crust, juicy meat, and every layer between.
- A knife drags sauce and moisture away from the cut face, so re-dab a little sauce or brush a touch of oil on the exposed interior to keep it looking fresh.
- Shoot at eye level so the layers read top to bottom, and let a fried cutlet bulge past the edges of the bun — overhang always looks more craveable than a piece tucked neatly inside.
Sauce and Honey Drizzle: It's All About Timing
Sauce is where a fried chicken photoshoot gets won or lost in the last thirty seconds, because sauce is moisture — and the instant it touches the crust, the sog clock starts again. The rule is simple: sauce goes on last, and you shoot immediately. Never sauce a piece and then spend two minutes adjusting your light.
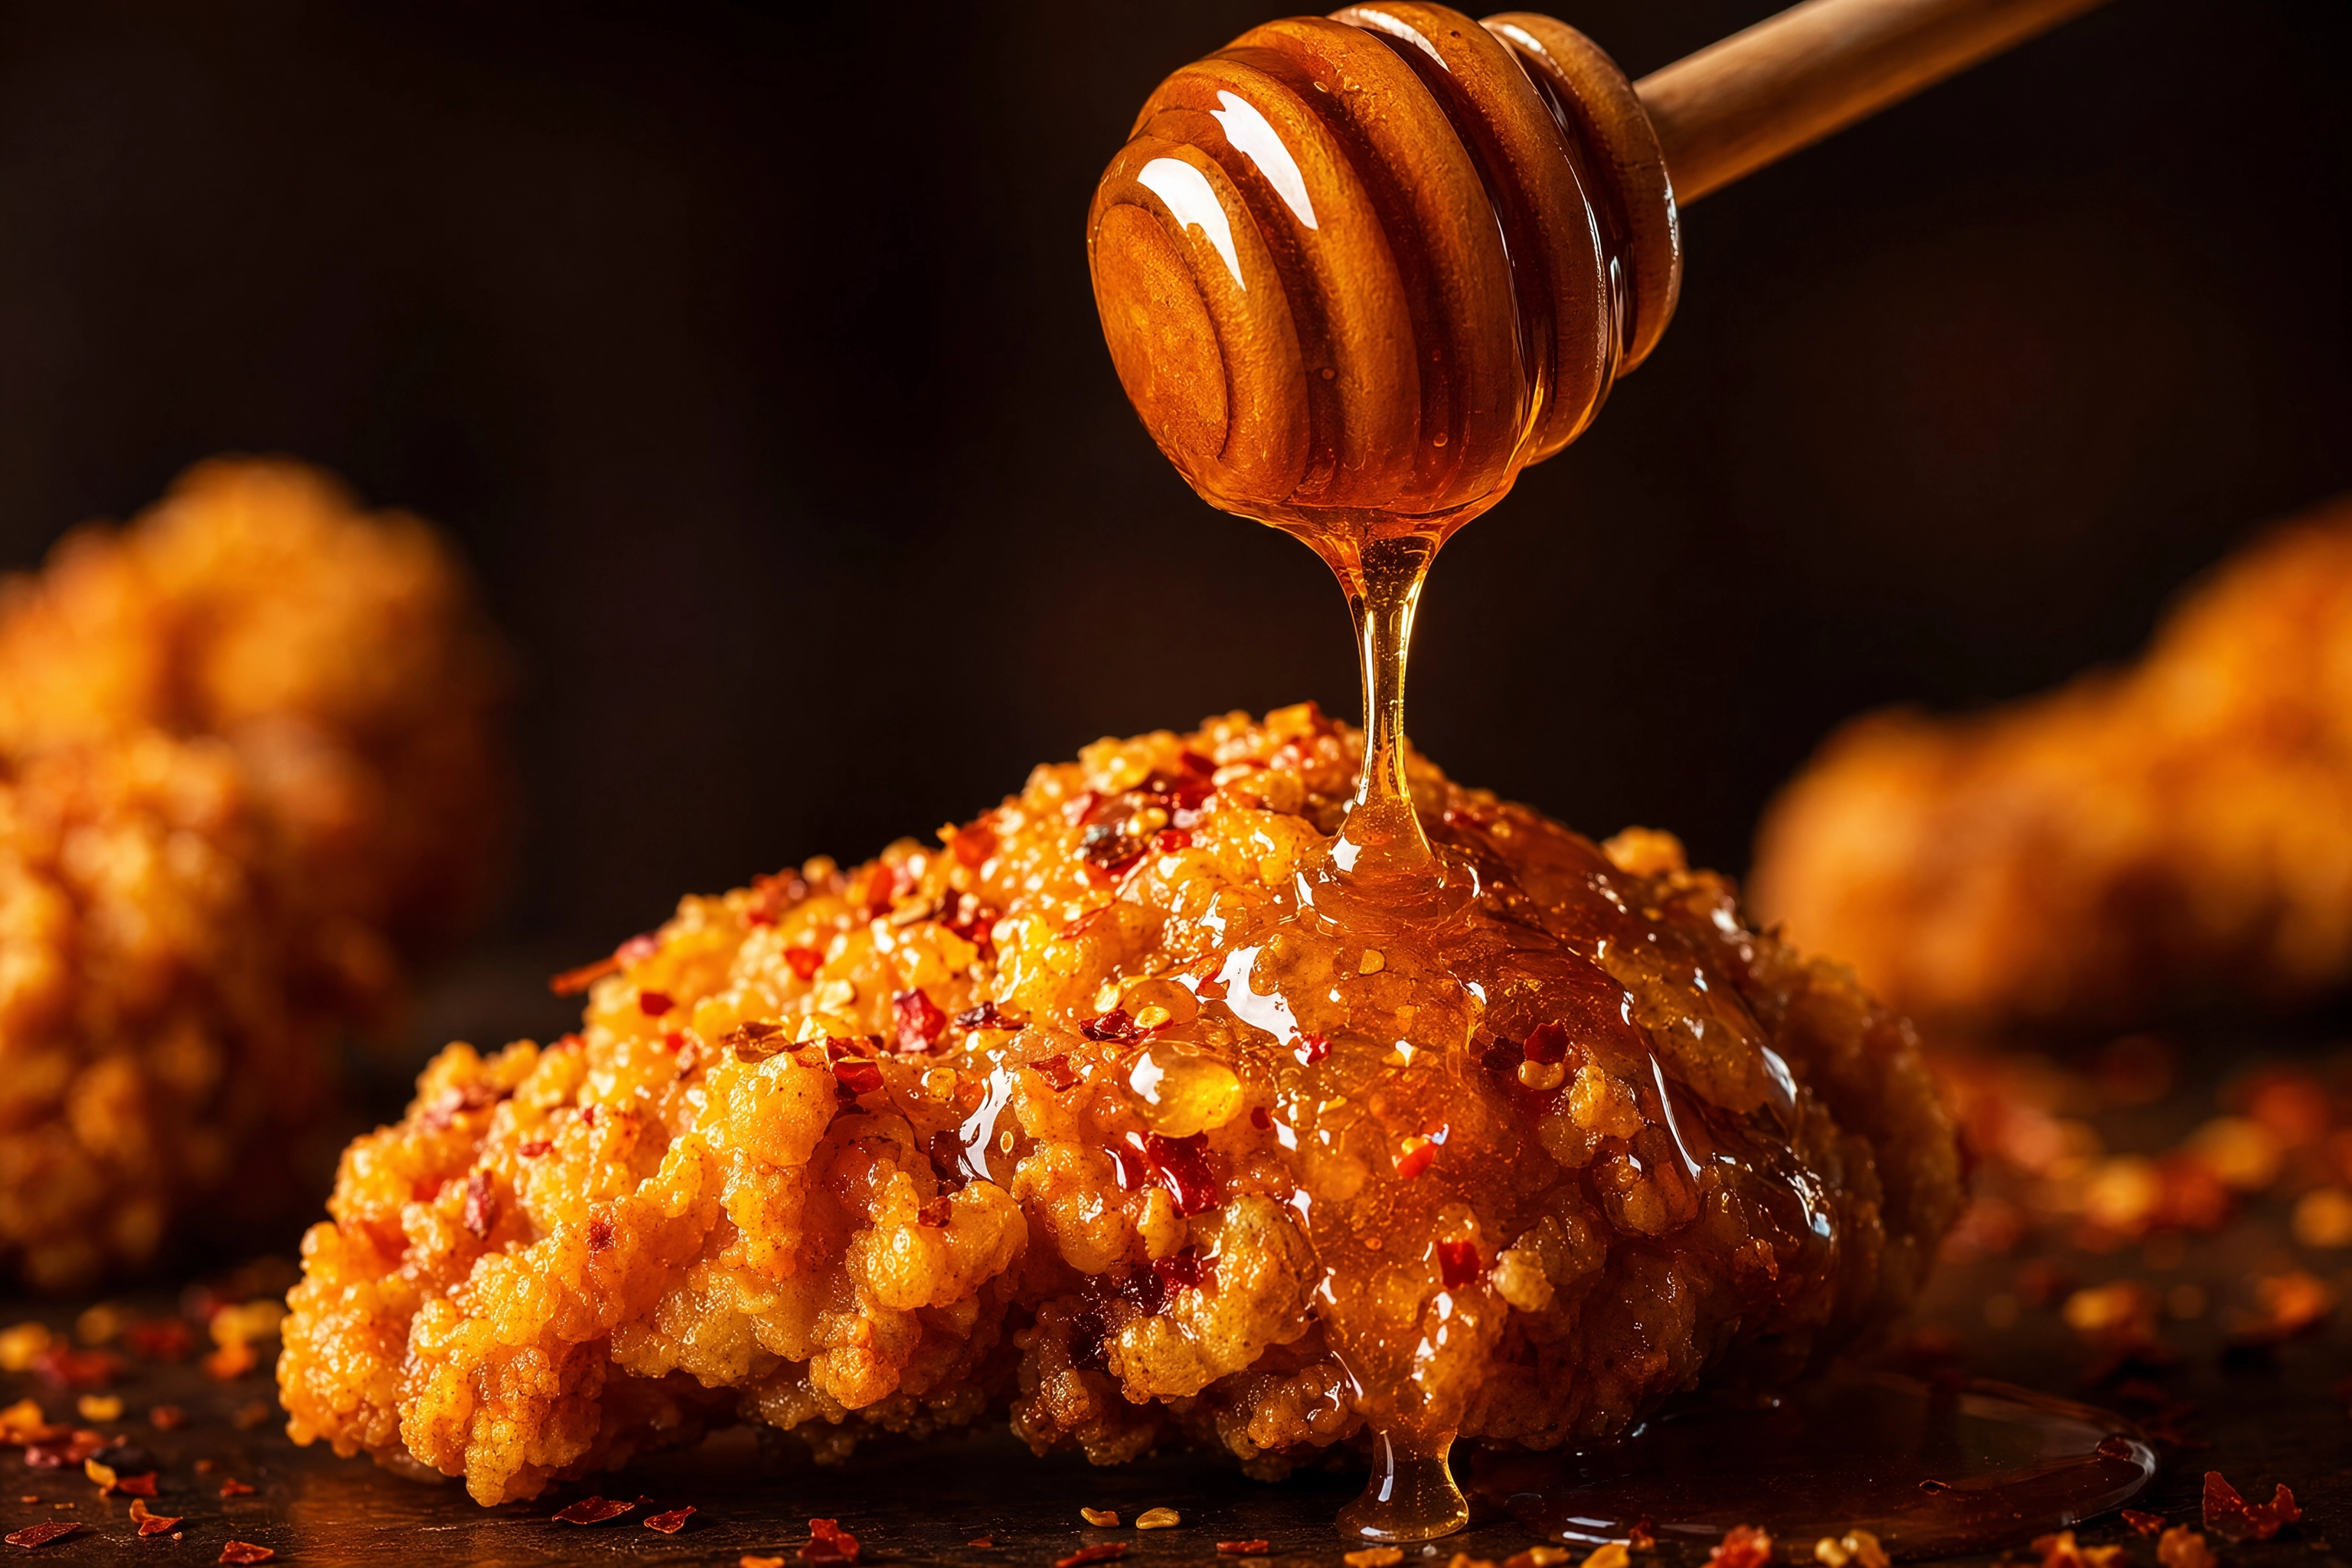 A glossy ribbon of amber hot honey drizzling mid-pour onto craggy golden fried chicken with a scatter of chili flakes
Different sauces, different timing:
- Nashville hot. That fiery, cayenne-red oil paste is stunning for about a minute before it soaks in and goes dull and dark. Brush a fresh coat on right before you shoot, keep a dry backup piece ready, and lean into the color — bold reds and oranges are the whole identity of the dish, and they pop hardest against a cool, dark background.
- Hot honey and honey drizzle. Honey's viscosity depends entirely on temperature, and that changes everything on camera. Warm honey runs thin and fast — great for an active mid-pour, but it disappears into the crust and leaves nothing behind. Cool, room-temperature honey is thick and slow and holds a glossy ribbon or pool right on top of the coating, exactly where you want it. Drizzle in a slow ribbon from a few inches up and catch it mid-pour with burst mode, or shoot the instant after while it's still beading on the surface.
- Buffalo, glazes, and tossed sauces. Toss lightly for an even, light-catching coat — you want each piece glossed, not drowned in a muddy puddle. Serving the sauce on the side in a ramekin is often the smarter photo: it protects the crust, adds a hit of color, and opens up a dip-action shot.
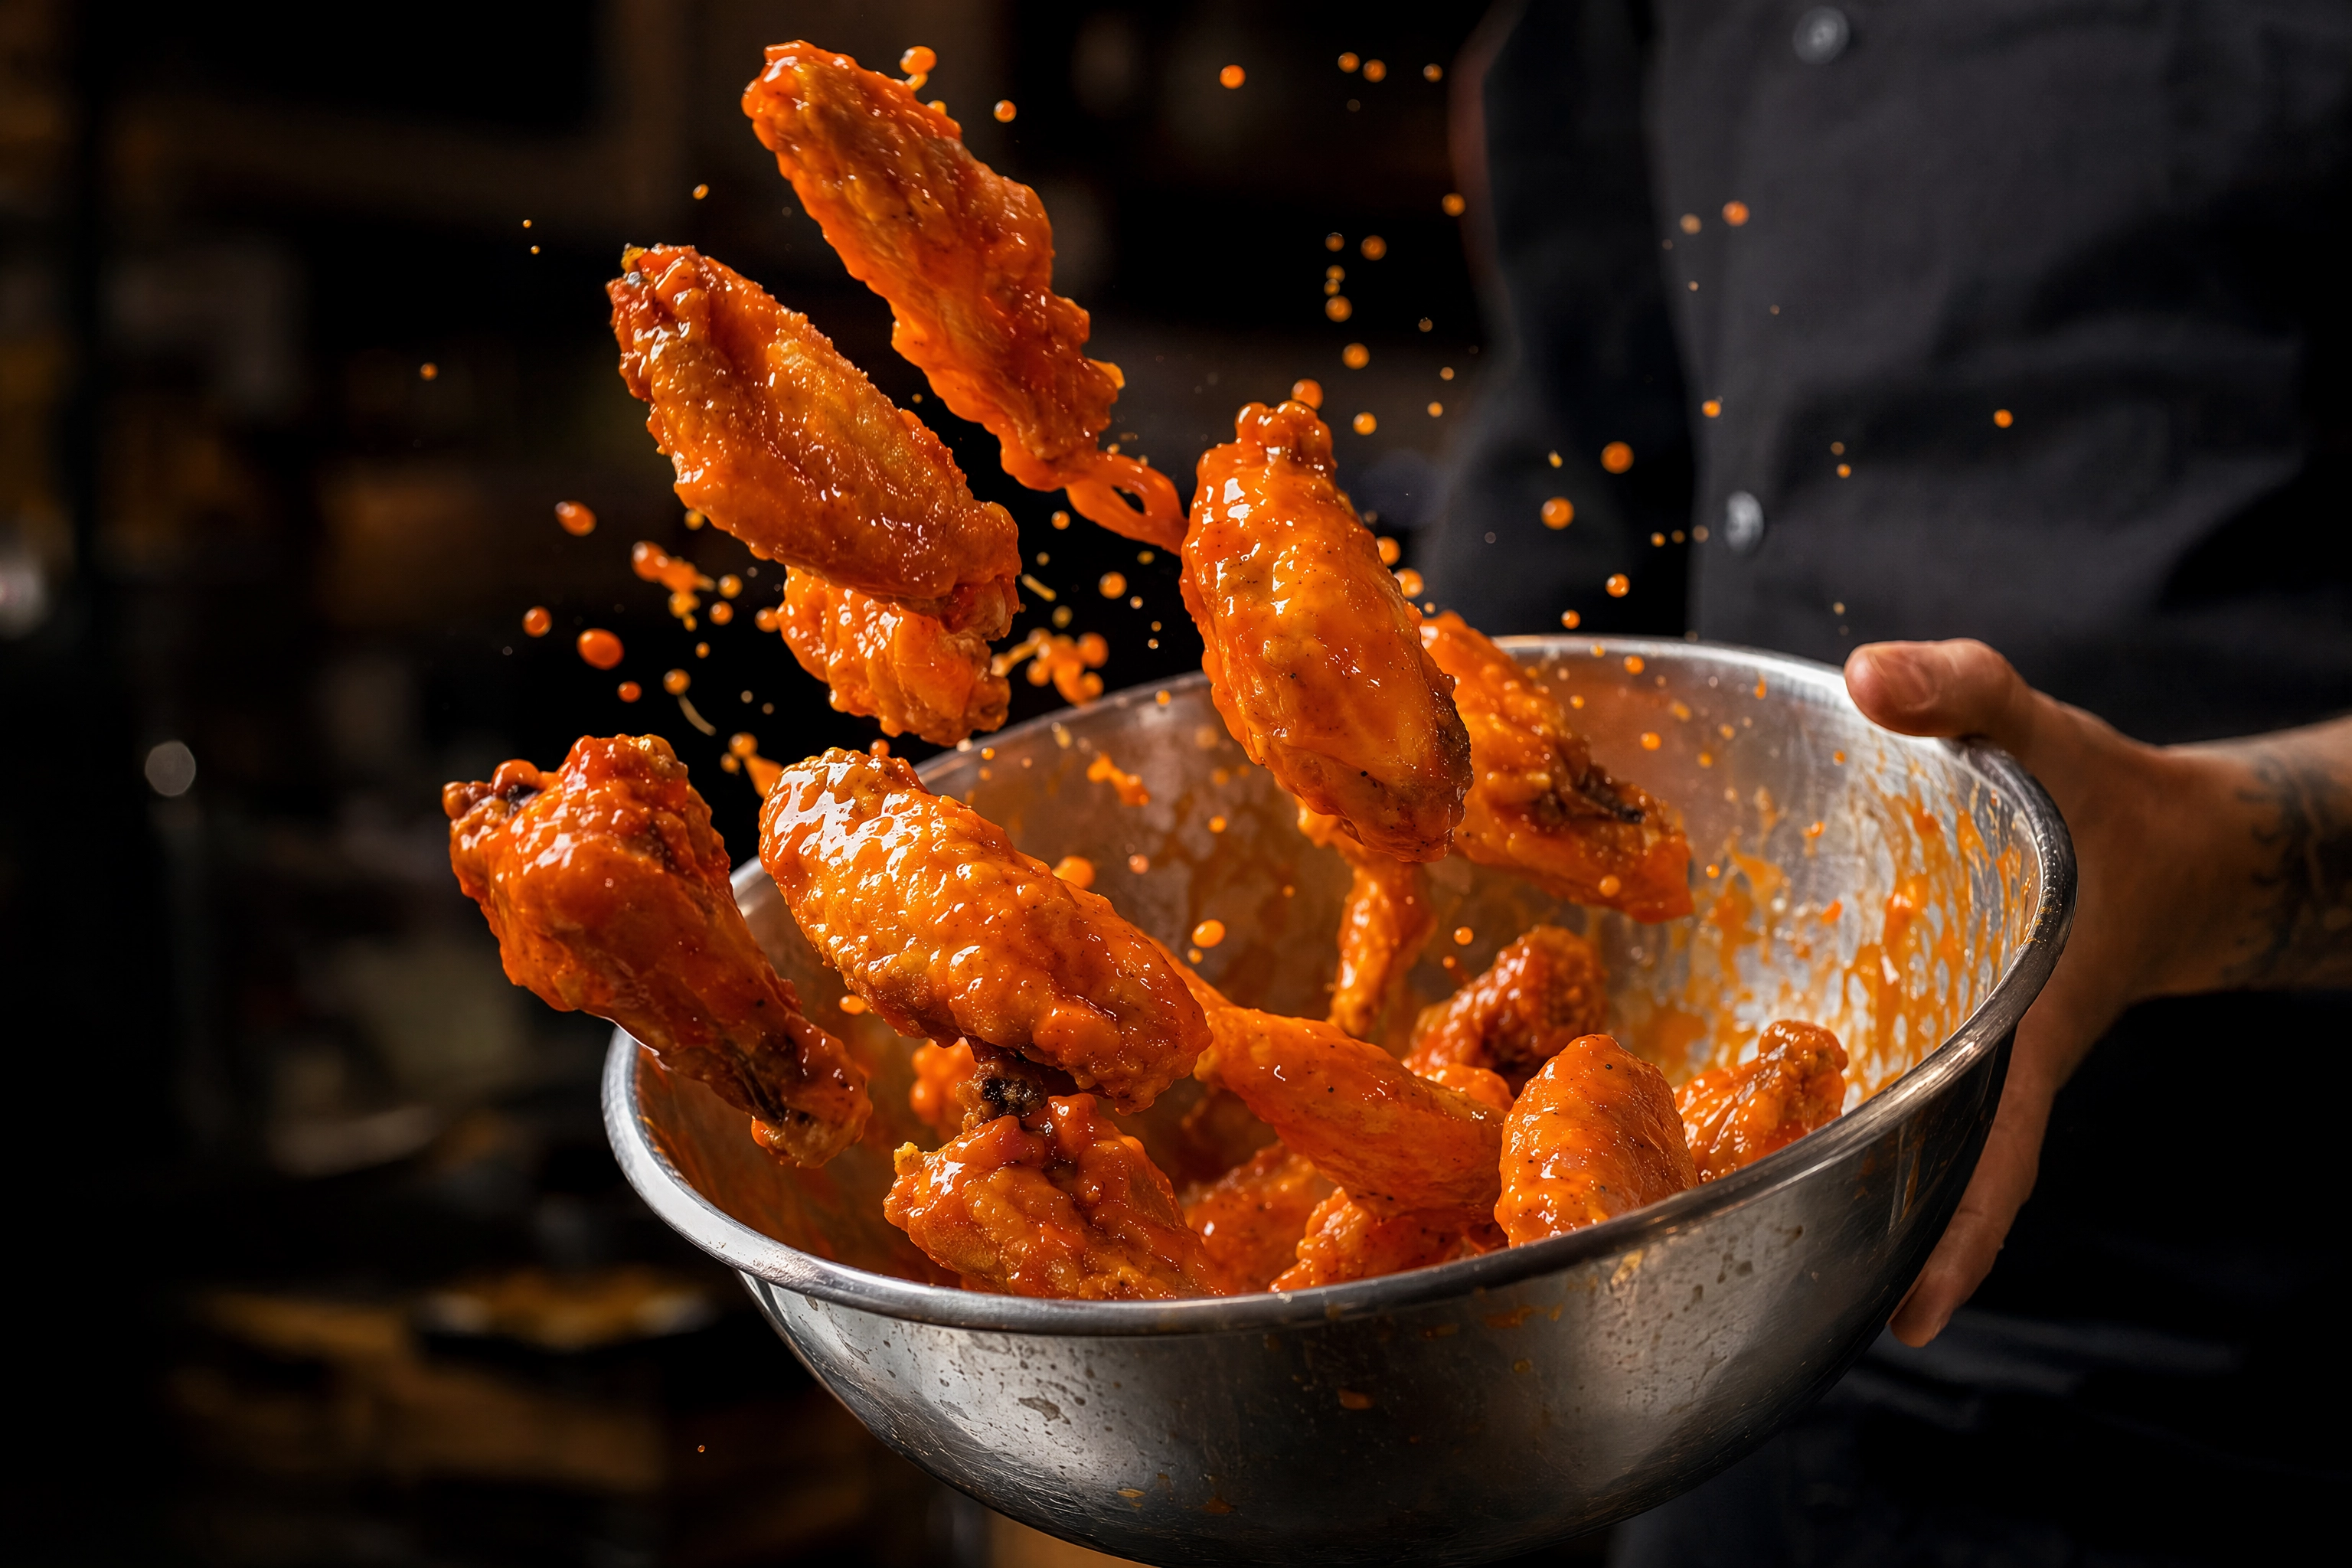 Crispy chicken wings tossed mid-air in a steel bowl coated with a light glossy layer of bright-orange buffalo sauce
Sauce and garnish are also your best weapon against the brown-on-brown problem. A wedge of lemon, a scatter of green scallion and sesame, a few bright pickles, a chili-red glaze, or a pale ramekin of ranch or blue cheese gives the eye somewhere to rest and instantly reads as fresh. We go deeper on complementary color in the main chicken guide, but the short version: cool colors make warm, golden chicken pop.
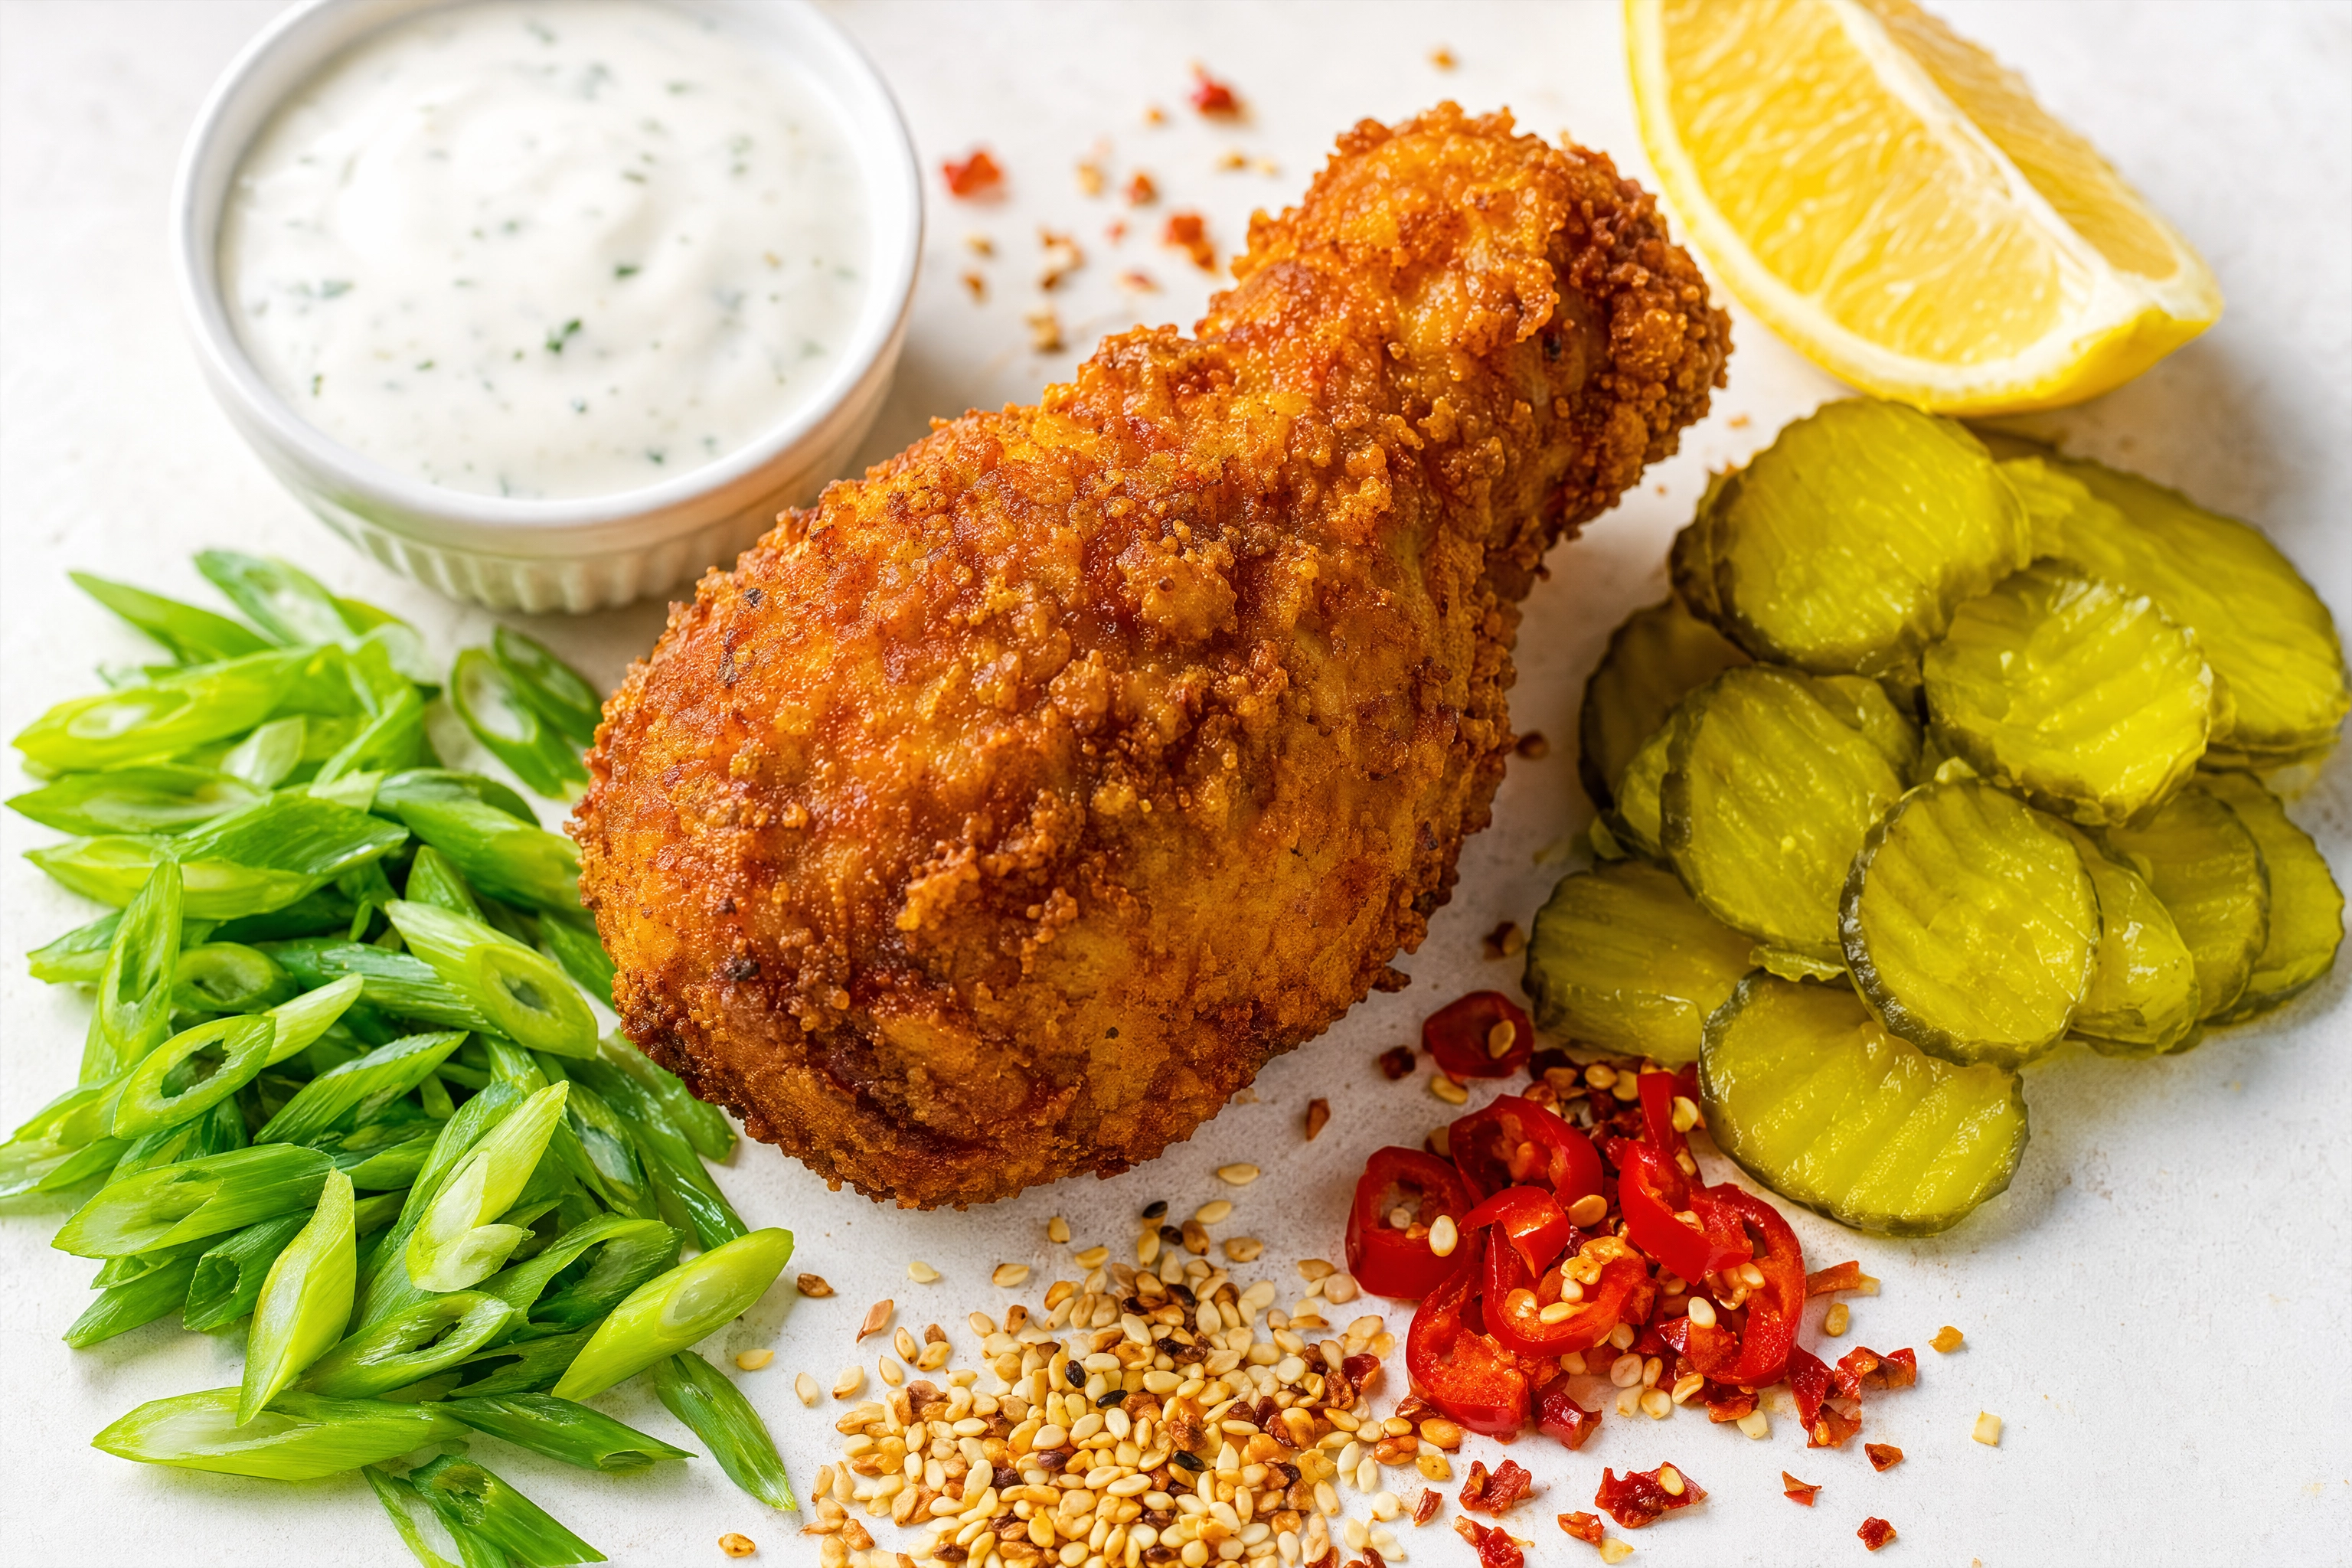 Crispy golden fried chicken drumstick surrounded by bright pickles, scallion, lemon and a ranch ramekin for color contrast
Three Fried Chicken Photo Setups: Delivery, Menu Board, and Social
Every fried chicken photoshoot ends up in one of three places, and each wants a different treatment. Decide which one you're making before you shoot — because a beautiful image in the wrong place is a wasted image. It helps to sort every shot into menu tiles vs marketing, a distinction we break down fully in our food photoshoot ideas guide.
Setup 1: The delivery listing
This is the most rule-bound and the most valuable slot — clean, high-contrast, and appetite-forward. Delivery-app tiles are pass/fail: a menu image must show a single, centered item, roughly a 5:4 to 6:4 ratio (Uber Eats wants a minimum of 1200 × 800px), with no text, logos, or watermarks, no strong shadows, no people except hands, good lighting, and a clean, sanitary surface. That means the dark-and-moody look you love for social will get rejected here — strong shadows are an explicit no. So shoot bright, clean side or side-back light with plenty of fill, put your single crispiest hero piece dead center on a neutral or on-brand surface, and add a small sauce ramekin for color. Boring converts. This is exactly the discipline we cover in our delivery-app photography rules.
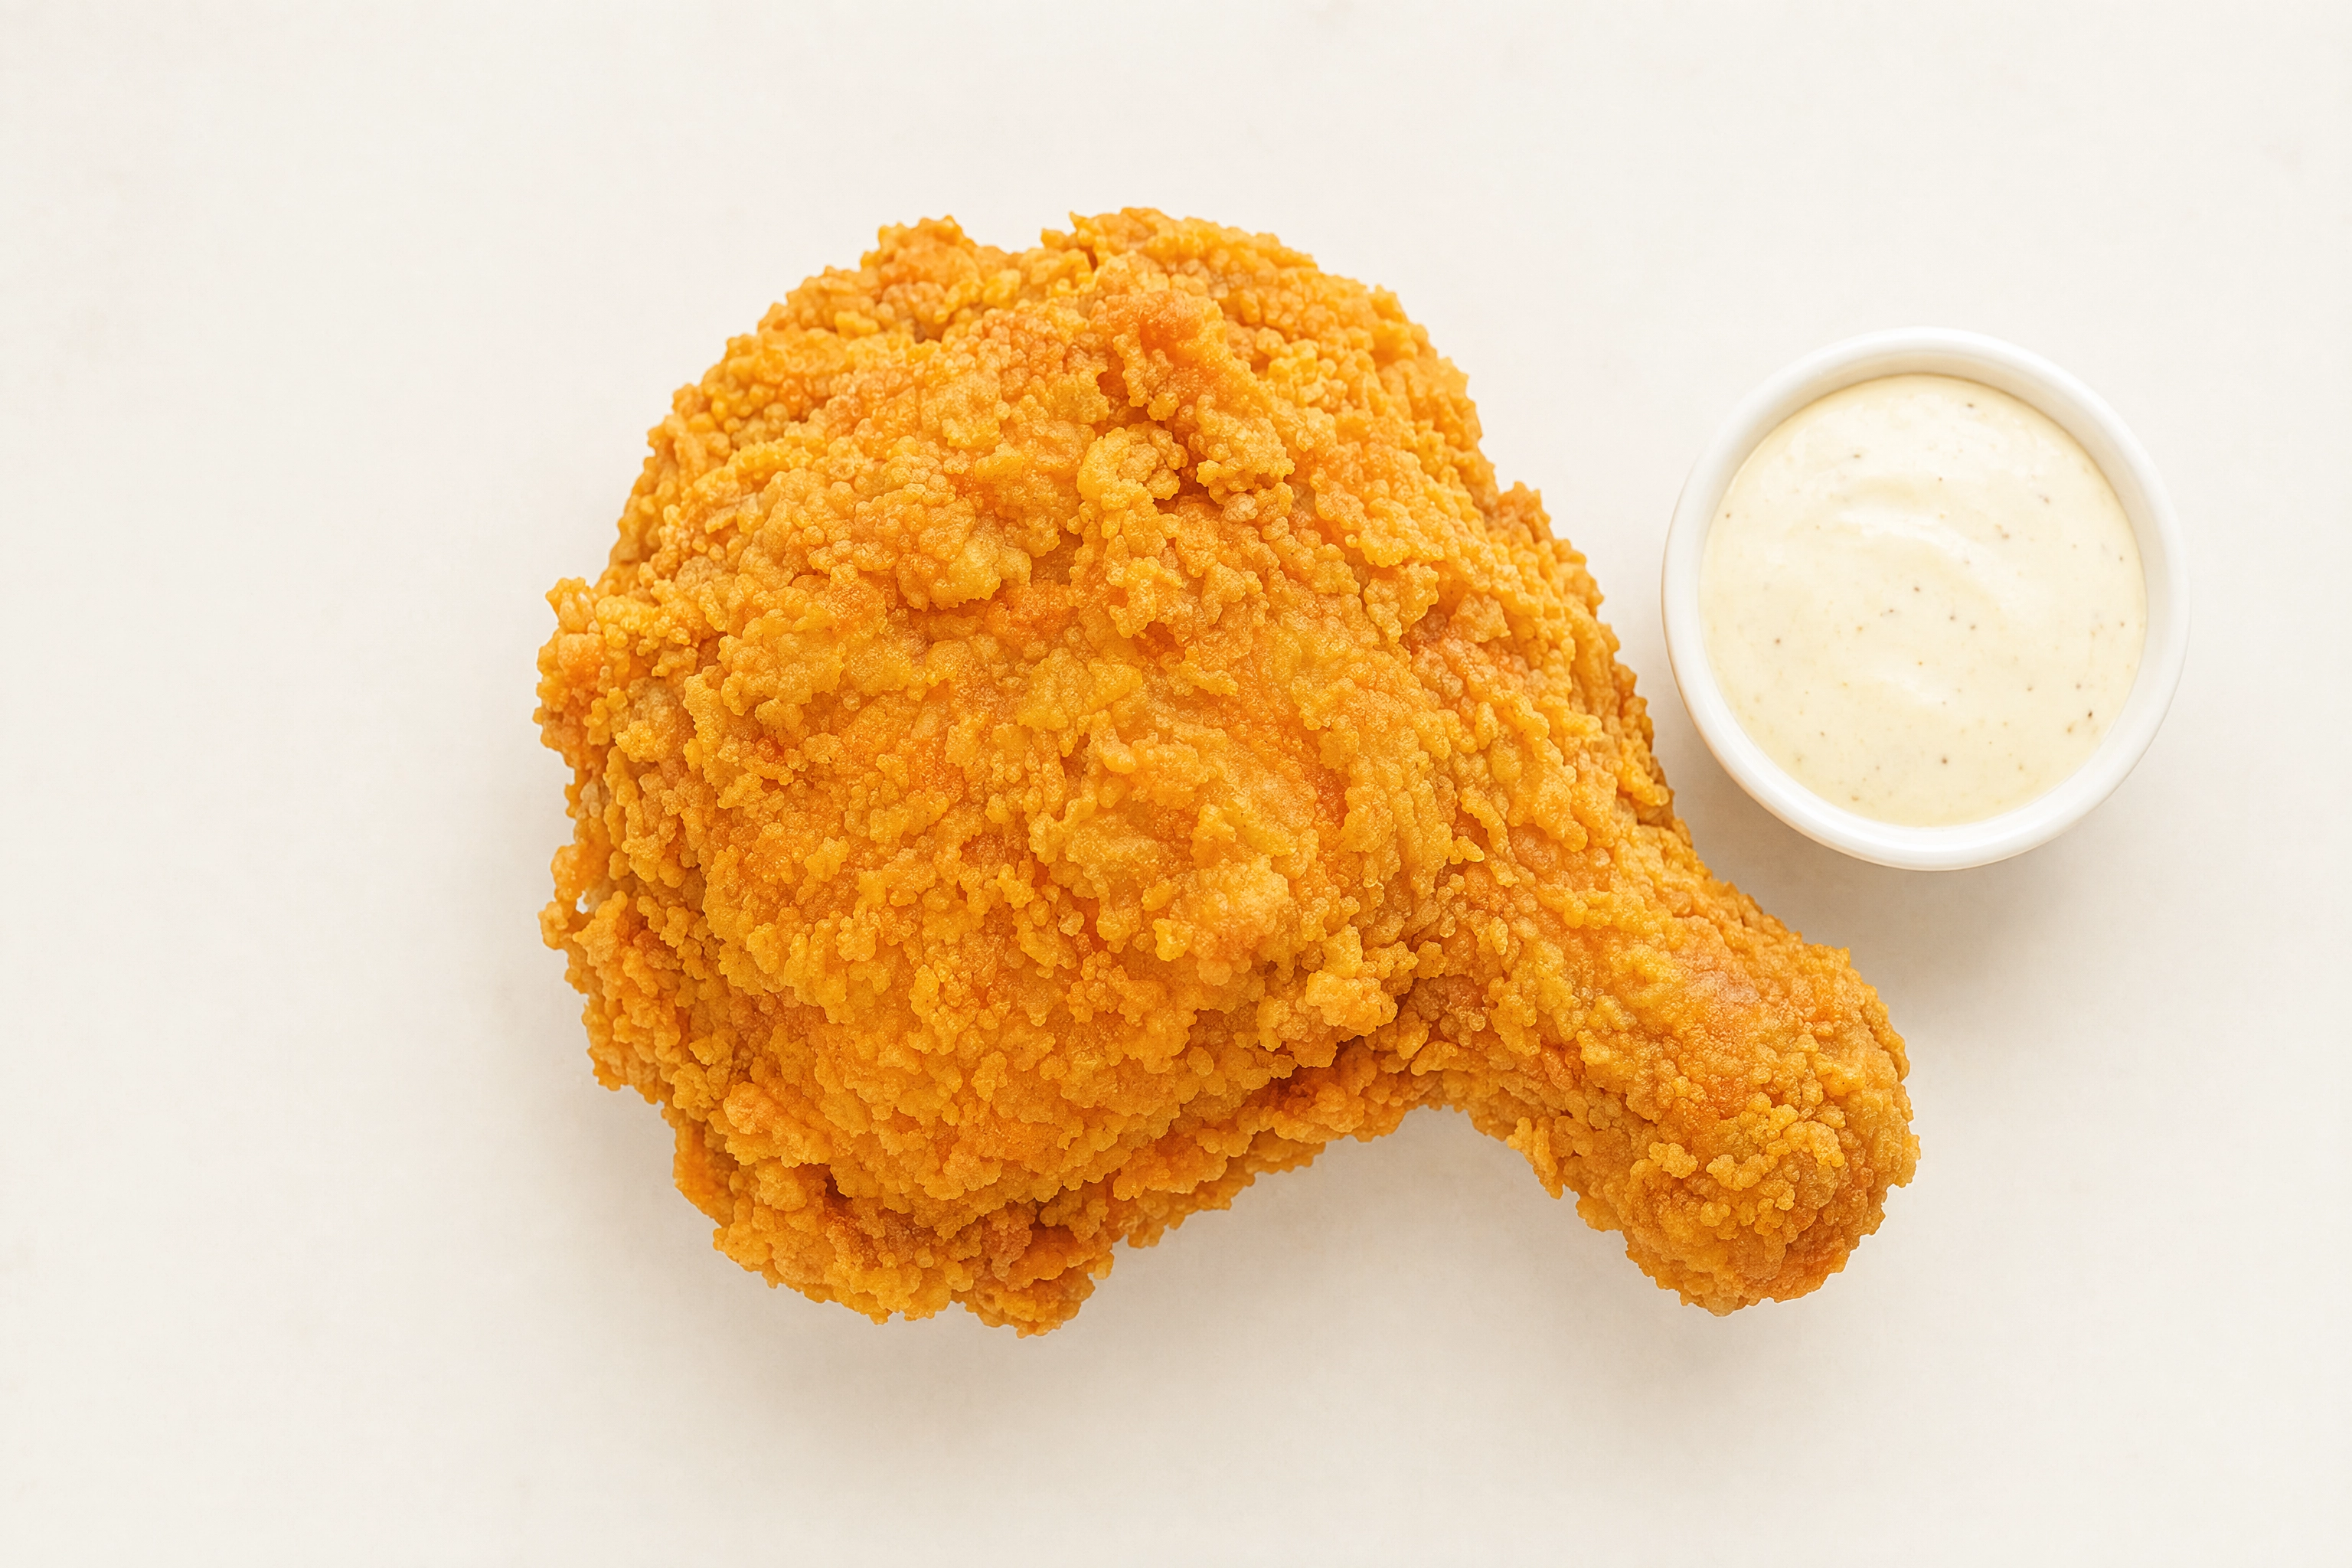 Bright, clean, centered overhead fried chicken photo with a small dip ramekin, styled for a delivery app menu tile
Setup 2: The menu board and print
Here resolution is king. The image gets blown up big — on a backlit board above the counter, a printed menu, a window poster — so the crust detail has to hold up at size. This is where a tight texture macro and a generous, abundant pile earn their keep.
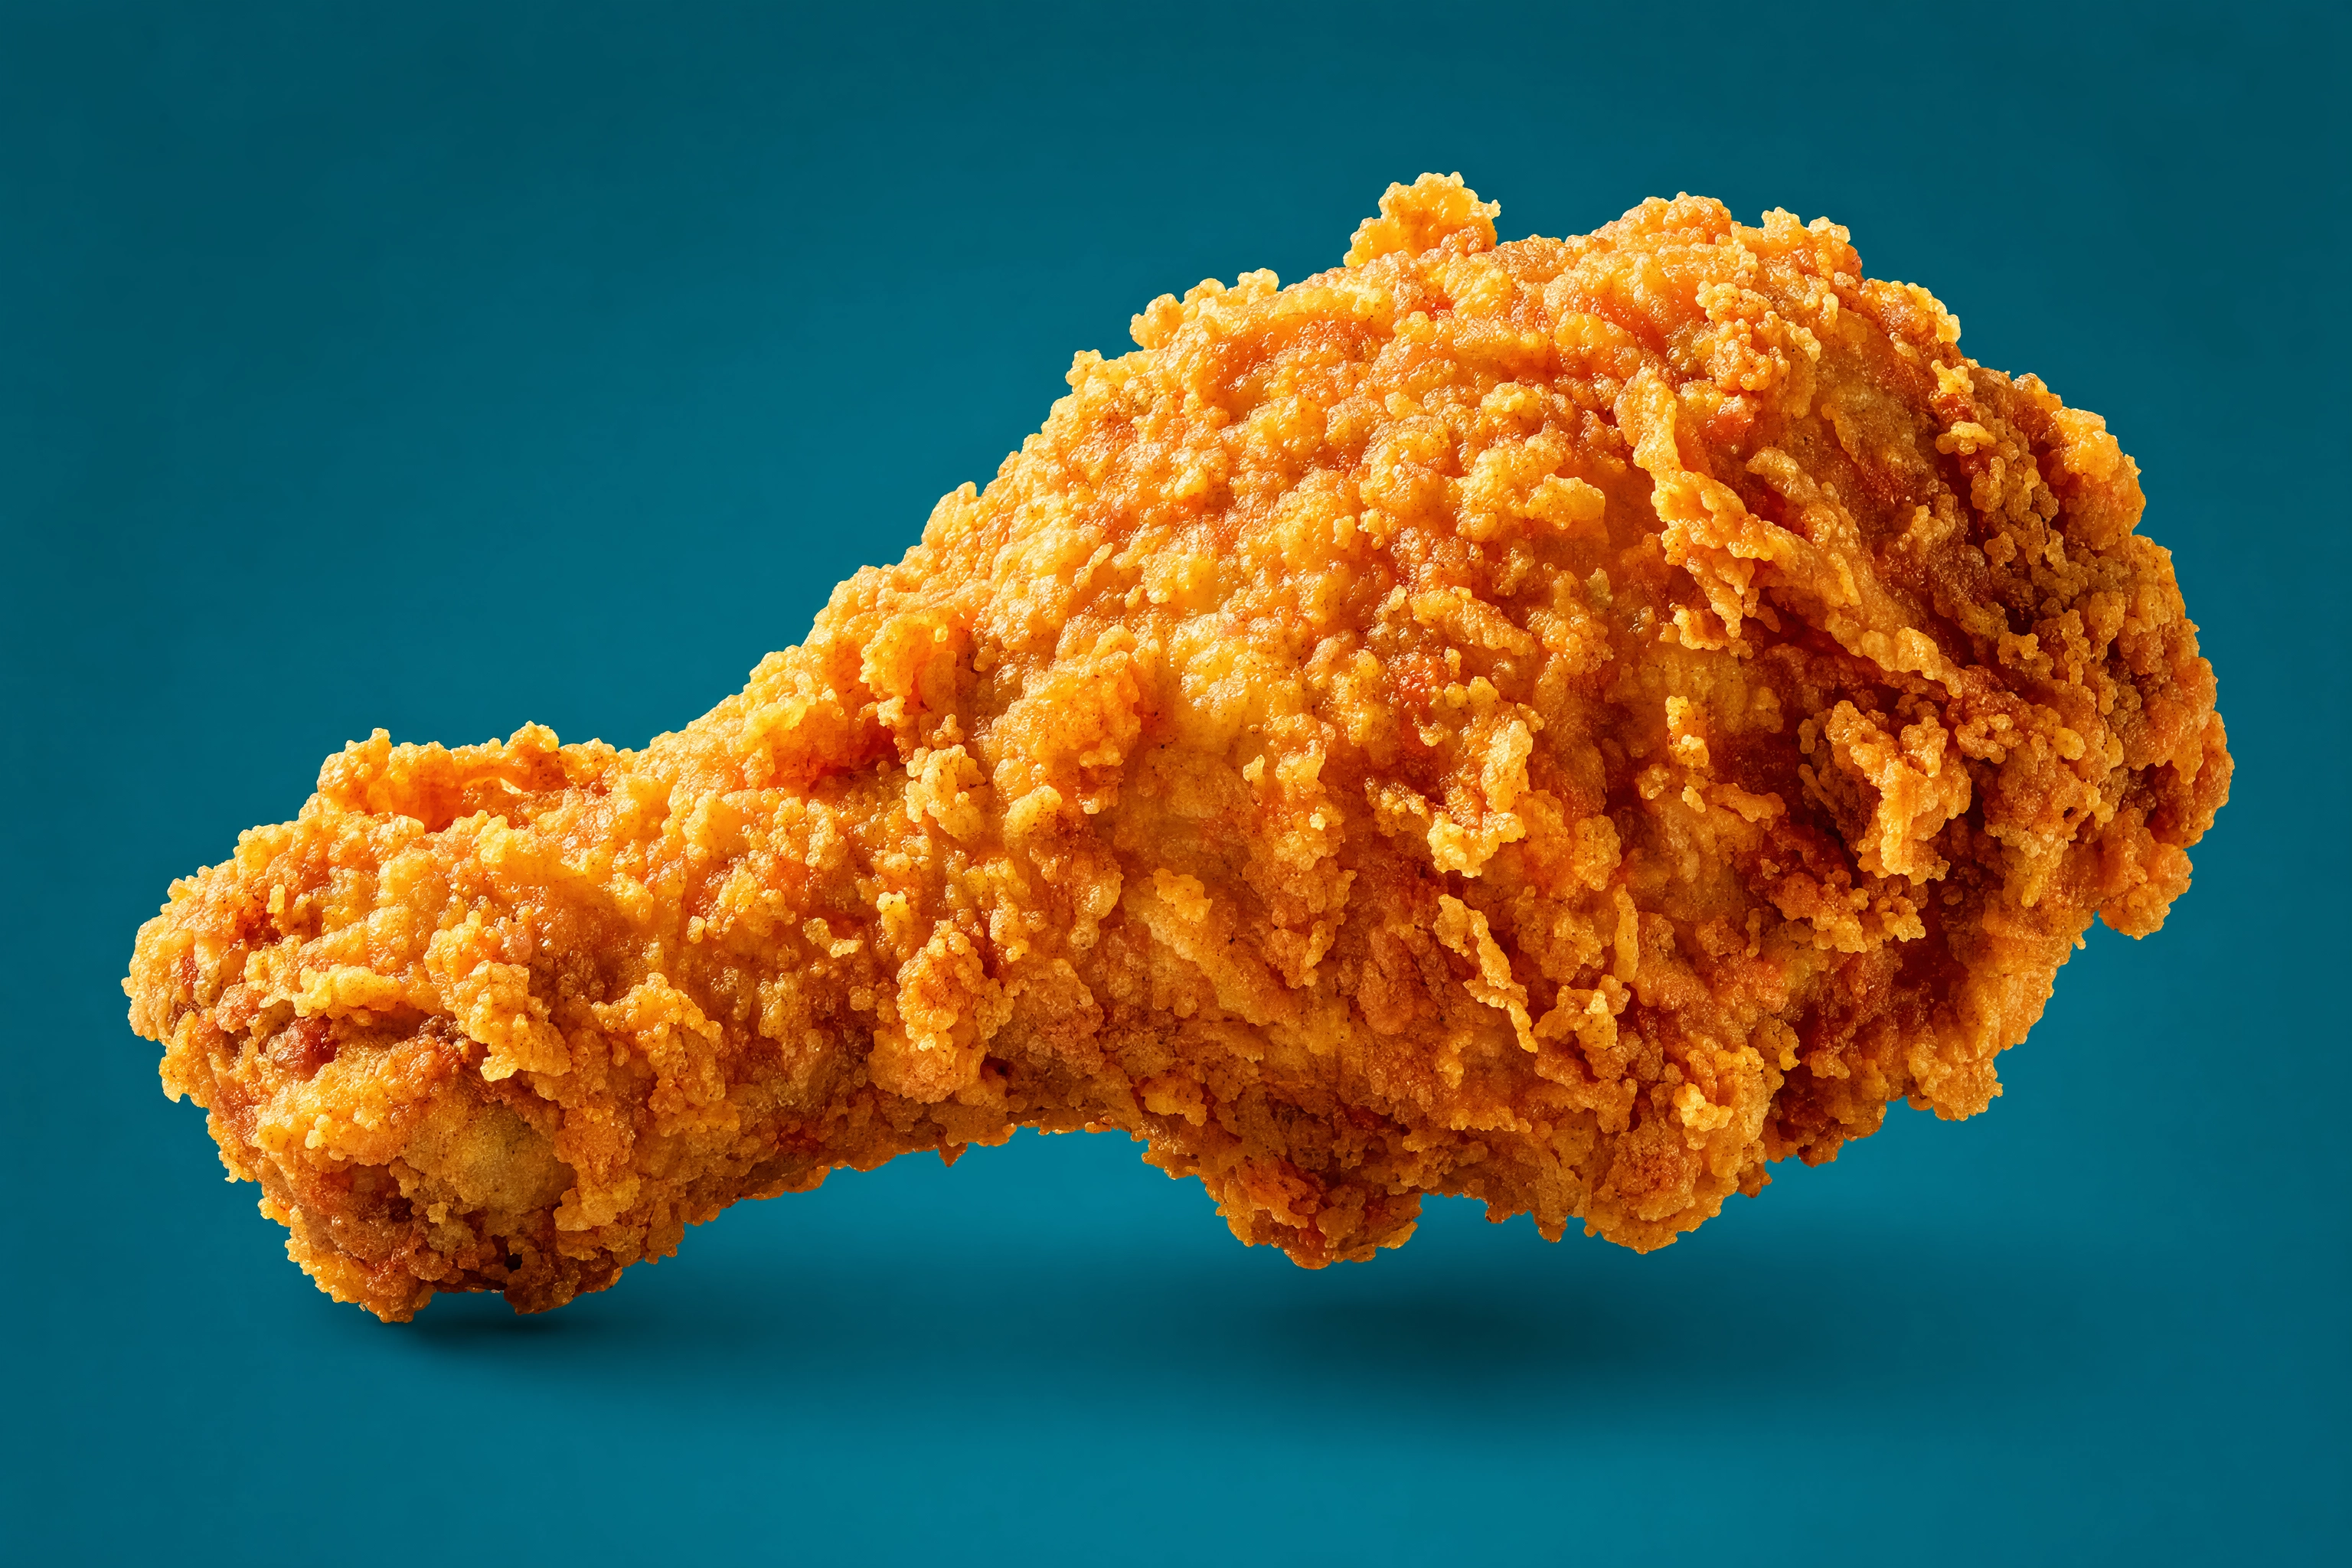 Bold high-resolution single fried chicken piece on a saturated deep-teal background styled for a backlit menu board
You have far more creative freedom than on a delivery tile (no single-item rule), so a family platter styled for advertising or a catering proposal works. The thing that matters most is consistency: shoot every item with the same lighting, angle logic, and color tone so the whole board looks like one brand, not a scrapbook. This matters as much for a counter-service spot as it does for full-service restaurants and food trucks.
Setup 3: Social
This is where you go bold. Social is the home of the tear-and-pull, the mid-drip hot honey, the moody Nashville-hot reds, and the hands-on eating moment. The rules here are your own taste. Shoot vertical (4:5 for the feed, 9:16 for full-screen stories and reels), lean into drama and motion, and tell a story rather than document a product. This is the playground for food content creators.
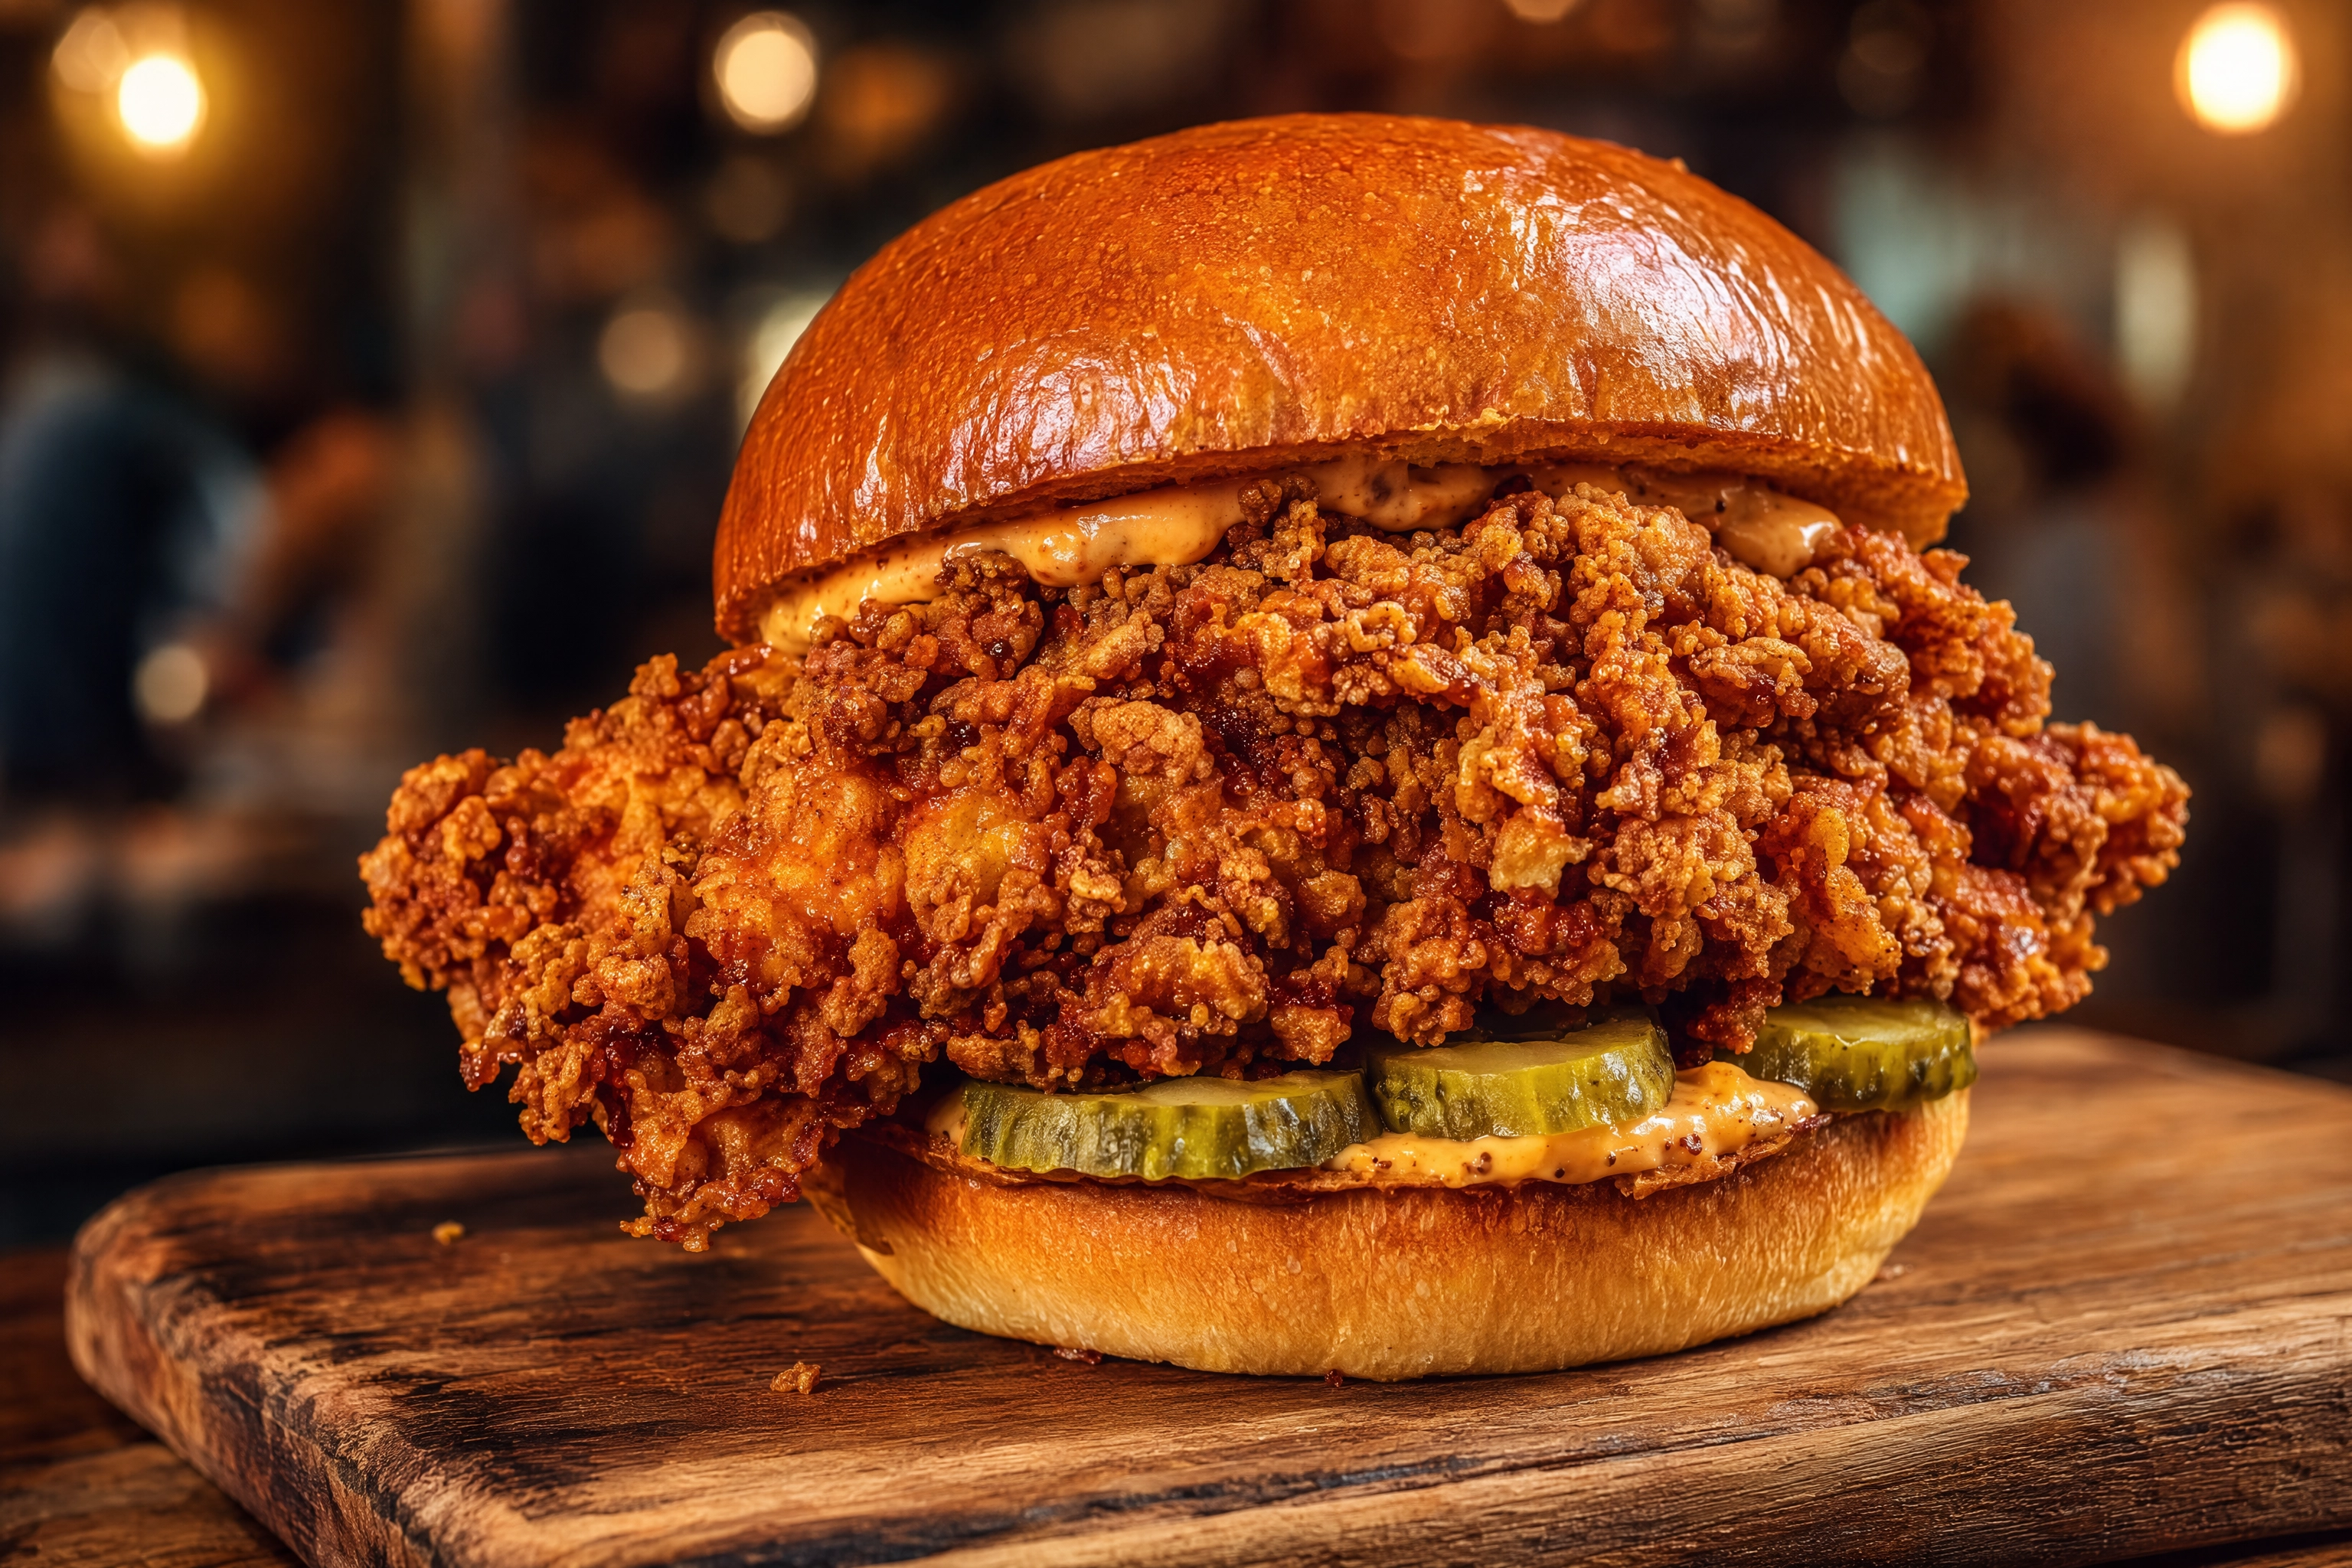 Towering crispy fried chicken sandwich with a craggy cutlet overhanging a toasted brioche bun and peeking pickles
A tall, craggy sandwich shot at a low angle or a fiery Nashville drumstick lacquered in red are exactly the kind of bold frames that stop a thumb mid-scroll.
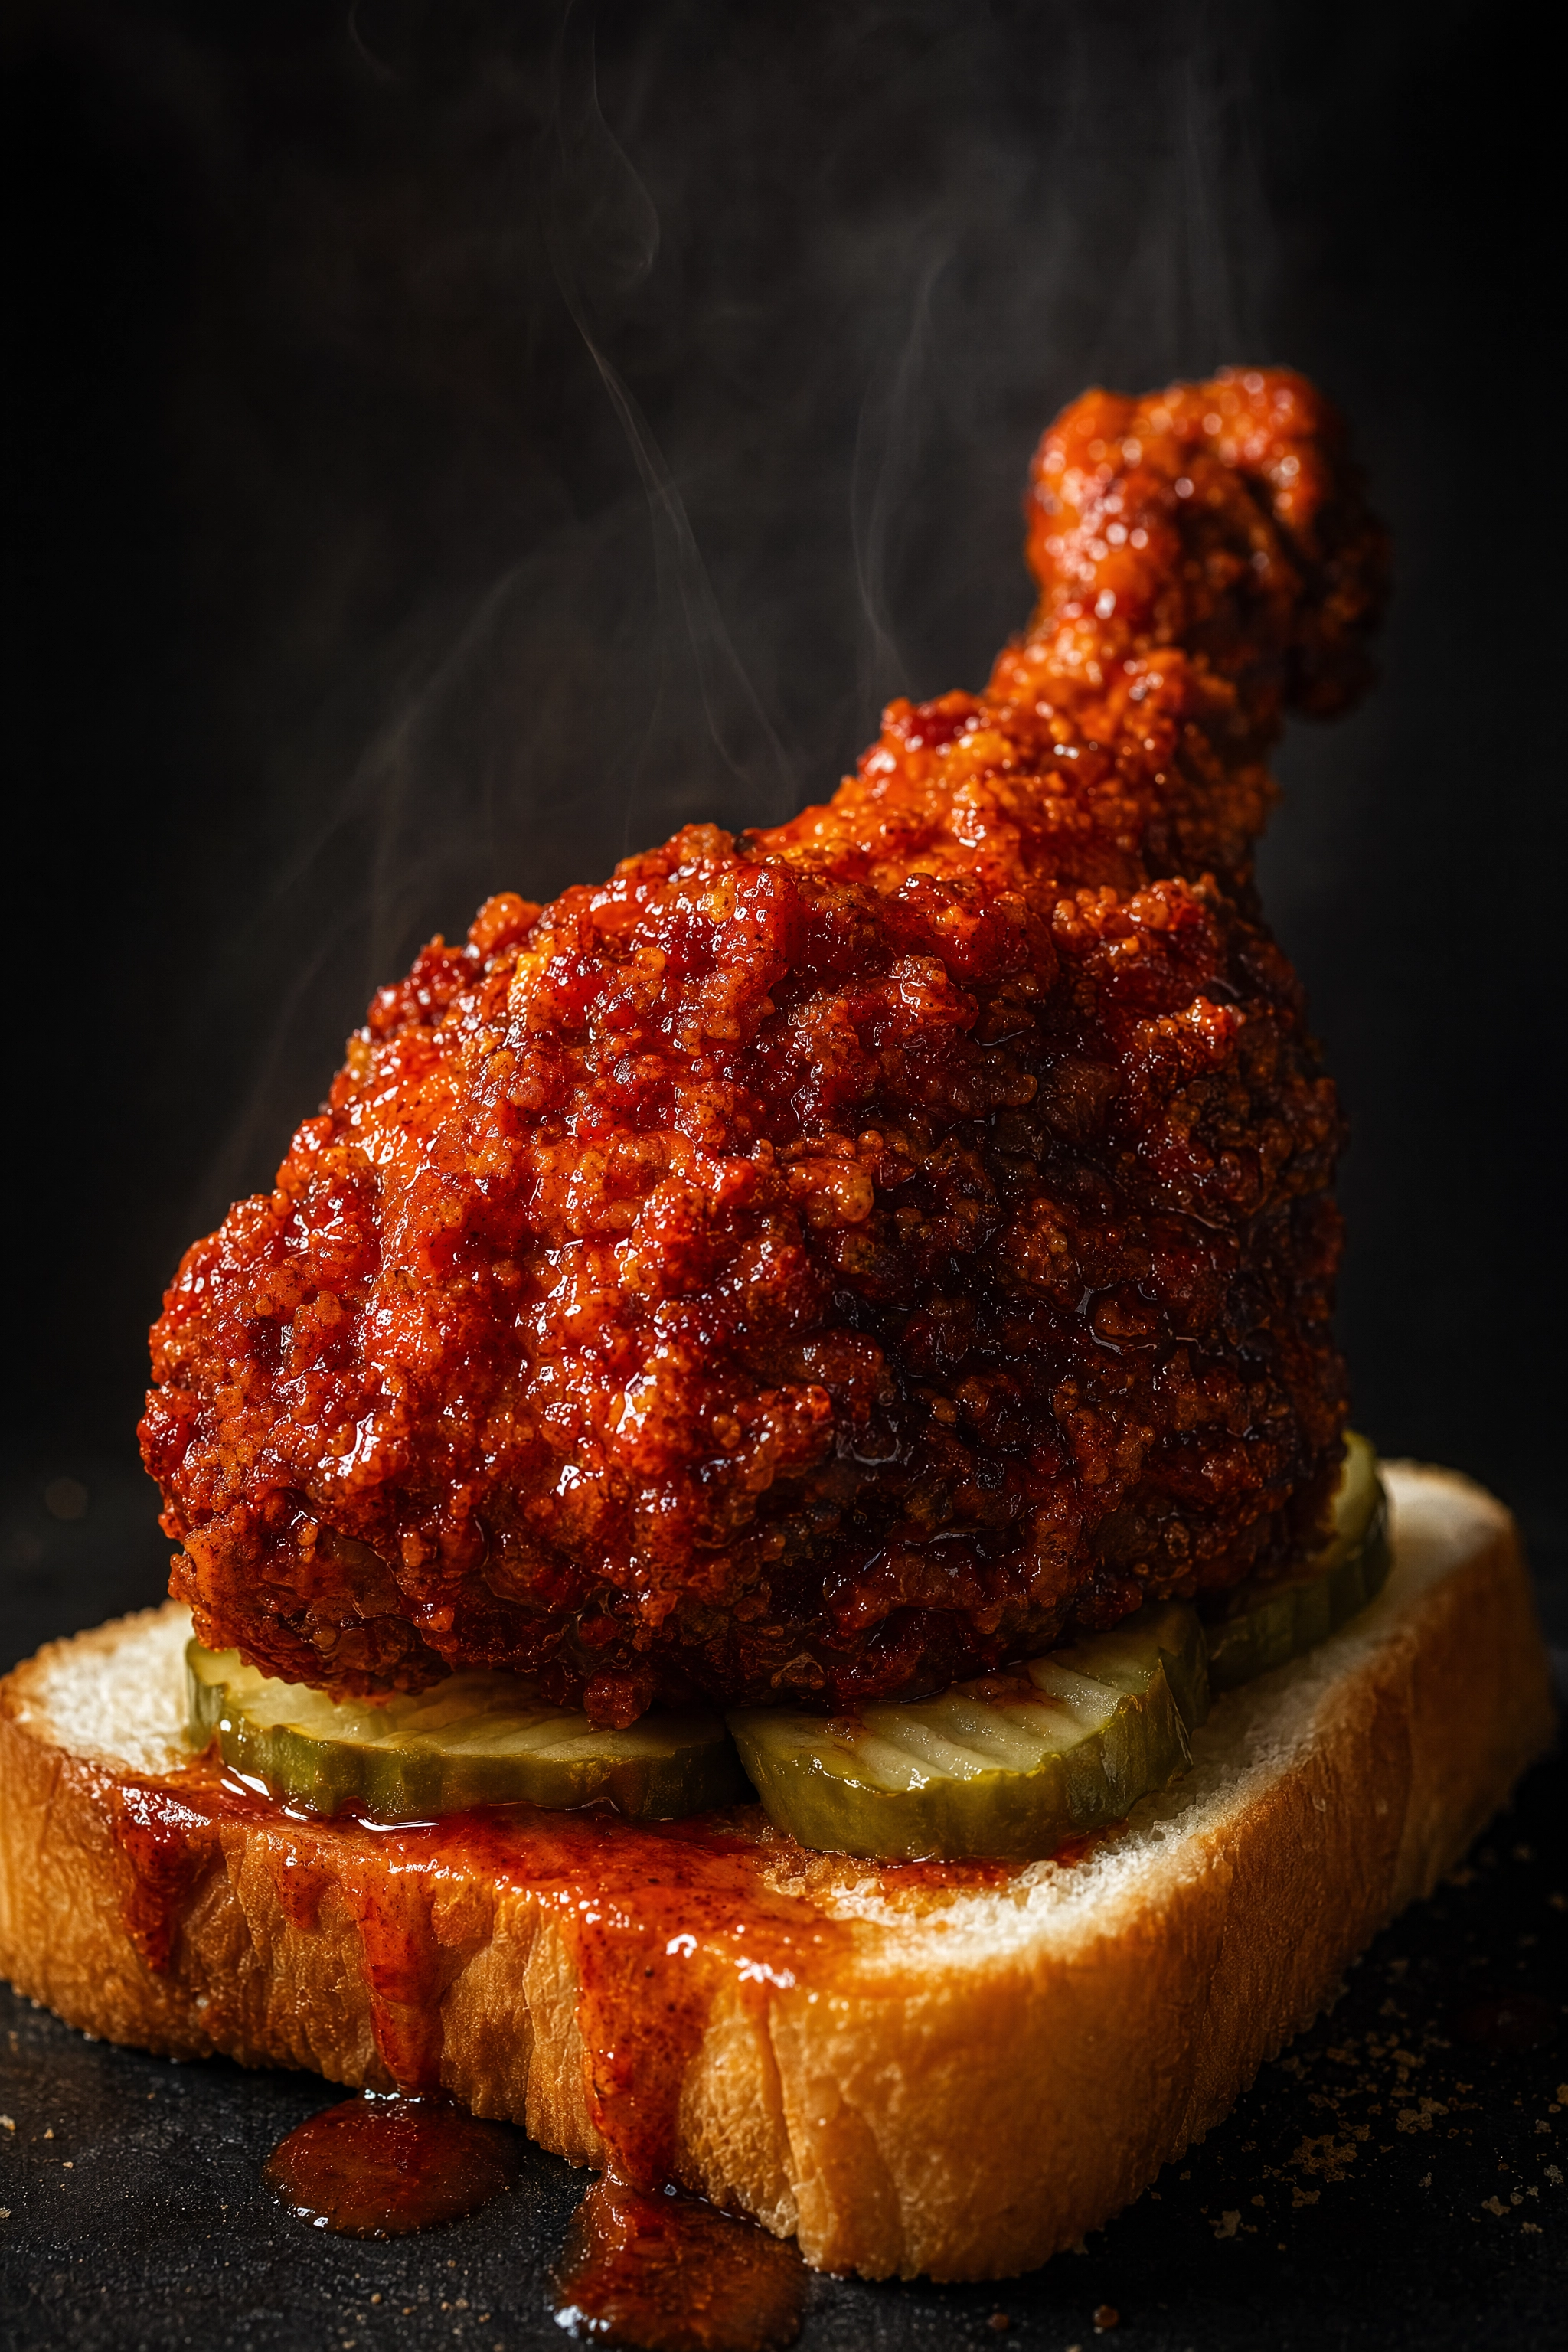 Fiery deep-red Nashville hot fried chicken drumstick on white bread with pickles, dramatically side-lit on a dark background
Why sweat all this? Because the payoff is measurable. According to DoorDash's own merchant data, reaching just 50% menu-photo coverage lifts sales by about 13% on average, and 95% of Millennials and 90% of Gen Z say photos influence what they order. Good fried chicken photos aren't decoration — they're revenue.
When the Crust Already Died: The Honest AI Option
Let's be honest about how this actually goes in a real kitchen. It's 7 p.m., the line is slammed, and there's no world in which you're staging a wire rack and a bounce card between tickets. The crust dies in minutes whether or not you're ready. And you're certainly not booking a professional photographer — who runs anywhere from a few hundred to several thousand dollars a session, often $750 to $5,000-plus once you add a food stylist, studio time, and retouching — just to refresh a Tuesday special.
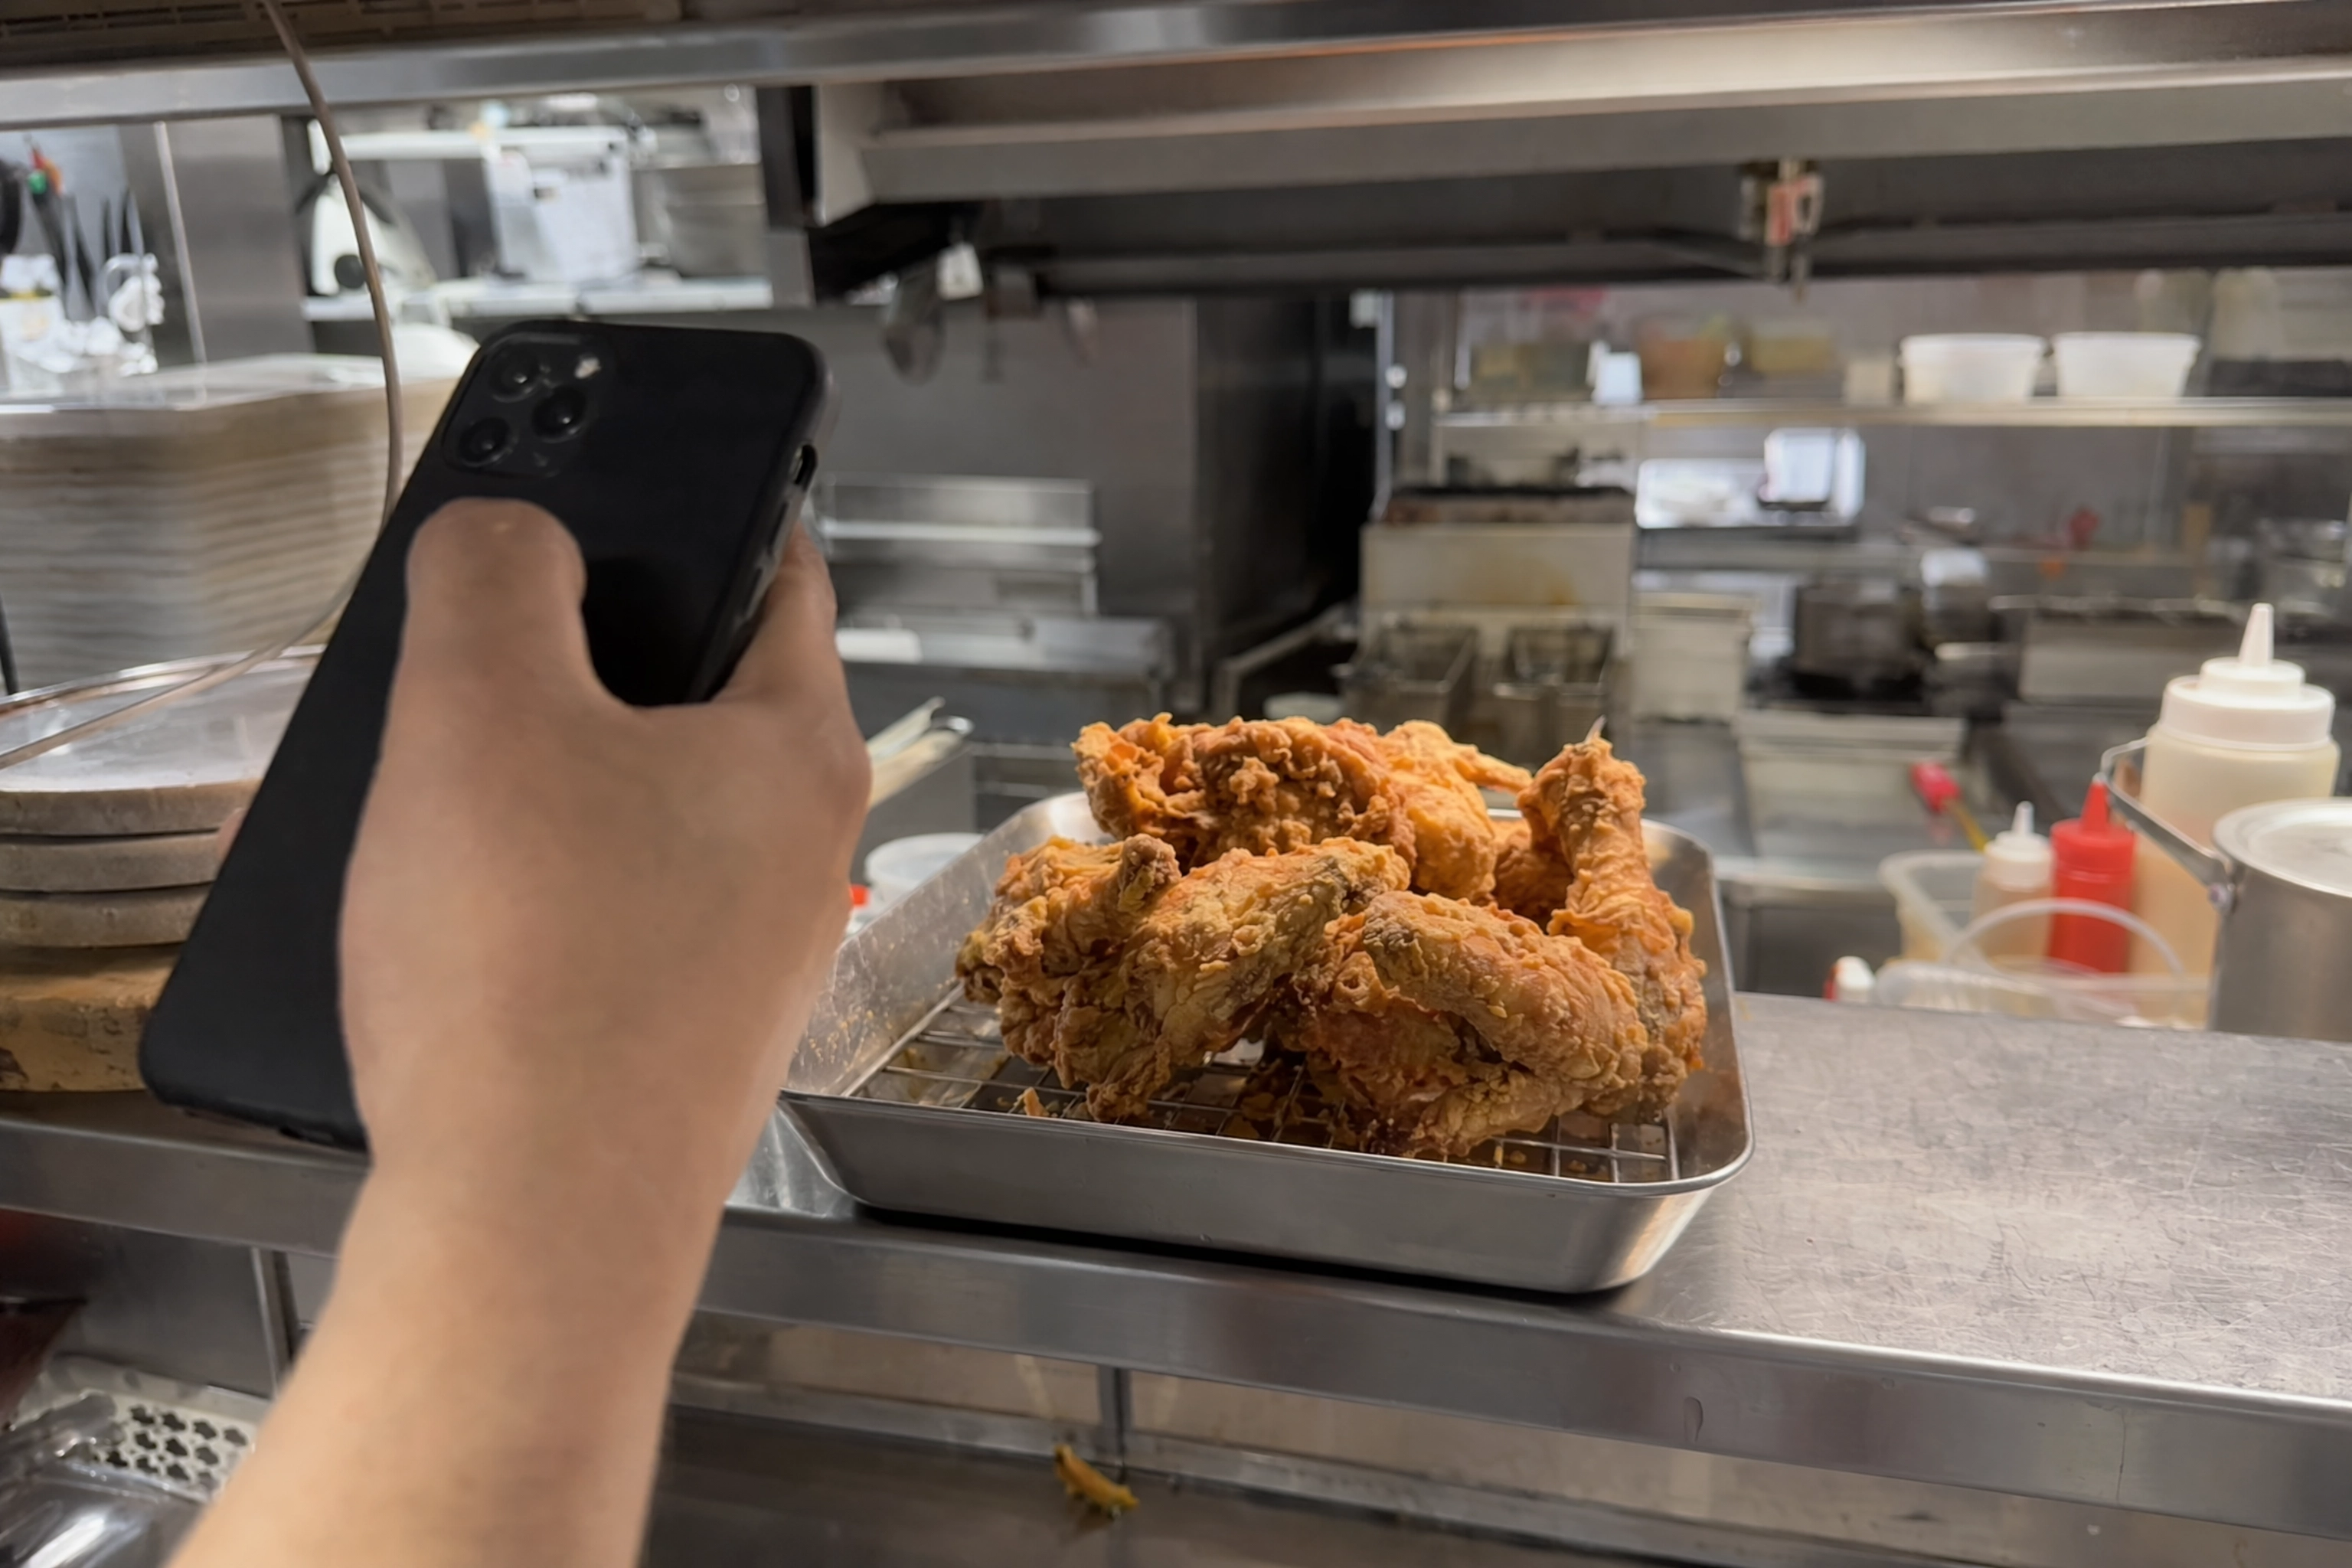 A hand using a smartphone to photograph a tray of fried chicken on a stainless kitchen pass under flat fluorescent light
This is the gap AI food photography was built to close, and it's worth being straight about what it can and can't do.
If your phone shot caught a real, well-composed piece of your actual chicken — but the crust had already gone matte and the only light was flat kitchen fluorescents — restyling that single photo is faster, cheaper, and far more repeatable than re-frying a whole batch and staging another shoot. You feed the tool a decent phone frame, and it handles the studio lighting, the clean background, and the menu-ready polish for you.
To give the AI a good frame to work with:
- Fill the frame with the chicken — get close, cut the clutter.
- Turn the craggiest, most textured face toward the camera.
- Use the best light you have, even if it's just a window — it gives the AI more real texture to build on.
From there, our AI chicken photography built for menus turns that phone snap into a 4K, studio-quality image in about 90 seconds, at roughly 95% less than the cost of a photographer, and it outputs the exact dimensions delivery apps expect. You can restyle a whole menu in an afternoon and re-do a seasonal item in minutes.
One honest guardrail, because it matters: AI restyles your own uploaded photo — it's a food photo editor, not a stock library, and it works from what you actually cooked and served. If the crust genuinely never crisped, start with a better piece; the AI makes your real food look its best, it doesn't invent a dish you didn't make. Used the right way — nail the composition and the real food in-camera, let AI win the studio lighting and consistency — it's the most practical tool a busy fried chicken operation has. See how it works on any dish over on AI food photography, and check plans and credits on our pricing page.
Your Fried Chicken Photoshoot Checklist
Pin this to the wall by the pass — it's the whole guide in nine lines:
- Prep the set first. Background, props, garnish, light and focus ready before the chicken leaves the fryer.
- Shoot within three to five minutes, on a wire rack, never stacked, covered, or boxed.
- Rake the light from the side or side-back to reveal texture; kill the phone flash and any flat frontal light.
- Blot the grease back to a soft sheen; add a whisper-thin brush of oil only if the crust has dulled.
- Backlight the steam against a dark background, and shoot from a distance so it doesn't fog the lens.
- Get the money frame — a tear-and-pull or cross-section that proves the interior is juicy.
- Add sauce and honey last, using cool honey for a ribbon that sits on the crust instead of soaking in.
- Fight the brown with color: pickles, scallion, a chili-red glaze, a pale dip, a wedge of lemon.
- Match the shot to its home: clean and centered for delivery, high-resolution for the menu board, bold and vertical for social.
Nail those and your fried chicken photography does the one job it exists to do: make someone hungry enough to order. And on the nights the crust dies before you get the shot, AI chicken photography can restyle a real phone photo into a menu-ready image — the sharper your original frame, the better it works.
Frequently Asked Questions
How do you make fried chicken look crispy in photos?
Light it from the side or slightly behind so the light rakes across the coating and throws a tiny shadow into every craggy ridge — that shadow play is what reads as crunch. Never use flat, head-on light or your phone's flash, which erase the texture. Shoot within a few minutes of frying while the crust is still shatter-crisp, keep the piece on a wire rack so it doesn't steam itself soft, and add a whisper-thin brush of oil to the highlights if the sheen has dulled.
Why does my fried chicken look greasy or fake in photos?
Almost always one of three things. First, flat frontal light or phone flash, which flattens the texture into a plasticky beige blob and blows the oily bits into hard white spots. Second, pooled oil on the plate or paper, which reads as greasy — blot it before you shoot. Third, you shot too late: the crust had already softened and dulled, so it photographs soft no matter what you do. Fix the light, blot the oil, and shoot faster.
How long do I have to photograph fried chicken before it looks bad?
Roughly the first three to five minutes after it leaves the fryer. That's when the crust is at its shatter-crisp peak. After that, moisture from the hot interior migrates outward as steam and the porous coating reabsorbs it, so the crunch structure softens, the sheen fades, and the piece slumps. Keeping it on a wire rack (not a plate or in a box) buys you extra time by letting steam escape instead of condensing against the crust.
What is the best lighting for fried chicken photography?
Directional side light or side-backlight — roughly the three, nine, ten-or-eleven, or one-or-two o'clock positions if you picture your camera at six. That angle rakes across the crust and reveals texture. Fried chicken also handles harder, more contrasty light better than delicate foods, because you want those shadows. Add a white bounce card on the opposite side so the shadows don't crush to black, and never light it flat from the front. Our full food photography lighting guide walks through every position.
How do you photograph steam without fogging the lens?
Shoot from farther away with a longer focal length so the front of your lens sits outside the rising steam column, and position slightly off to the side so the plume drifts past rather than straight onto the glass. Use a dark background and light the steam from behind so the wisps glow, keep your shutter at 1/200 or faster, and fire a burst the moment the hot piece hits the set. Wipe the lens between takes, and if the first plume fogs you, let it pass and catch the second wave.
What camera angle is best for fried chicken photos?
It depends on the shot. A 45-degree angle (the diner's-eye view) flatters a stacked pile or a sandwich and shows both the top and the height. Eye level is best for cross-sections and tear-and-pulls, because it reads the layers top to bottom. A straight overhead works for a wings platter or a tray of tenders where the spread is the story. Match the angle to the food's geometry: tall food wants a lower angle, flat spreads want a higher one.
Can AI really make my fried chicken photos look professional?
Yes — as long as you start with a real, decently composed photo of your actual chicken. AI food photography tools restyle your uploaded phone photo with studio lighting, a clean background, and menu-ready framing in about 90 seconds, at a fraction of a photographer's cost, and they output delivery-app-ready dimensions. What they don't do is invent a dish you didn't cook. Get the composition and the real food right in-camera, then let the AI handle the lighting and polish you couldn't stage between tickets.