
Sandwich Photography: Stacks & Cross-Sections
 Ali Tanis14 min read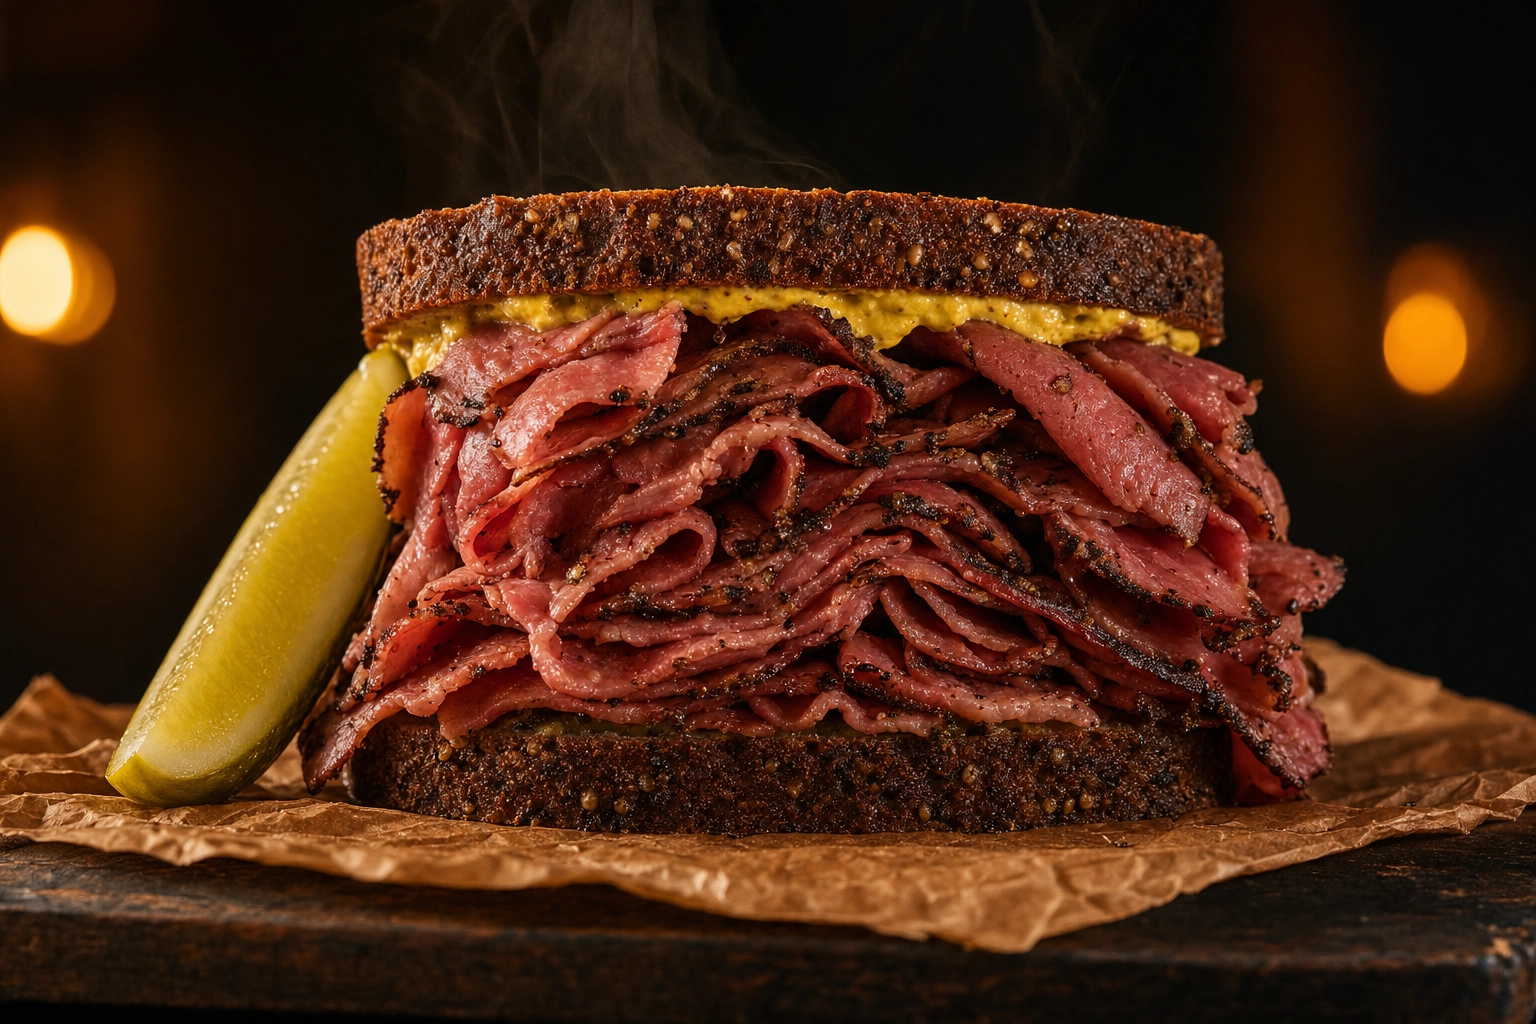
A sandwich is the great trickster of the food world. On the cutting board it looks incredible; point a phone at it and it flattens into a beige lump with one sad edge of lettuce sticking out. If your deli, sub shop or cafe menu is full of dull, lifeless sandwich pictures, you're not bad at photography — sandwiches are one of the hardest "easy" foods to shoot.
The good news: you only need two images per item, and it takes about 15 minutes once you know the moves. This guide covers the two money shots, the four essential shots, and the styling, light and props that make plain sandwich photos menu-ready.
Quick Summary: Great sandwich pictures come down to two shots — the stacked hero (straight-on, to show height) and the cut cross-section (at filling level, to reveal the layers). Style for structure with toothpicks and shims, light with soft window light, add a fresh drip or cheese pull, and you've got menu-ready sandwich photos. No time to style a full shoot? An AI food photo editor can polish a phone snap in about 2 minutes.
Why great sandwich pictures are worth 15 minutes of your day
Great sandwich photos aren't decoration — they're one of the cheapest sales levers a food business has.
A 2025 Toast survey found 84% of diners want to see photos before choosing where to eat, and 65% say those visuals heavily influence the decision. A Visual Objects study put it at 75% of consumers. On delivery it shows up in orders: Grubhub has reported that listings with photos and descriptions can pull up to 70% more orders, and Cornell University research found a photo beside a menu item can lift its sales by around 6.5%.
For delis, sub shops and cafes there's an extra wrinkle: your thumbnail on Uber Eats or DoorDash competes with burgers oozing cheese and pizzas dripping grease — louder foods by default. Bright, stacked, layered sandwich pictures win that fight. That's the whole idea behind AI sandwich photography for delis and subs, and our restaurant food photography guide has the full data. Every tip here works with a phone, a window, and what's already in your kitchen.
The two money shots every sandwich menu needs
A sandwich sells on two images. The stacked hero shows how big and generous it is; the cross-section shows what's inside. Nail these two and the rest is a bonus.
Shot 1: The stacked hero (height and abundance)
Its only job is to make the sandwich look worth it — tall, packed, overflowing.
- Angle: straight-on (0°) or a low 45°, camera at or just above filling level. Never shoot a stack from directly above — you lose the height that makes it look valuable.
- Fill the frame: get close. The filling-to-bread ratio should read generous; meat and cheese spilling past the crust looks like lunch worth paying for.
- Let it peek: style so a curl of pastrami or a ruffle of lettuce escapes the edges. That overflow triggers appetite.
This is the shot for deli towers, subs and clubs — anything where height sells.
Shot 2: The cut cross-section (the layer reveal)
The cross-section is the hardest shot in sandwich photography and the most persuasive — visual proof of everything the menu promises.
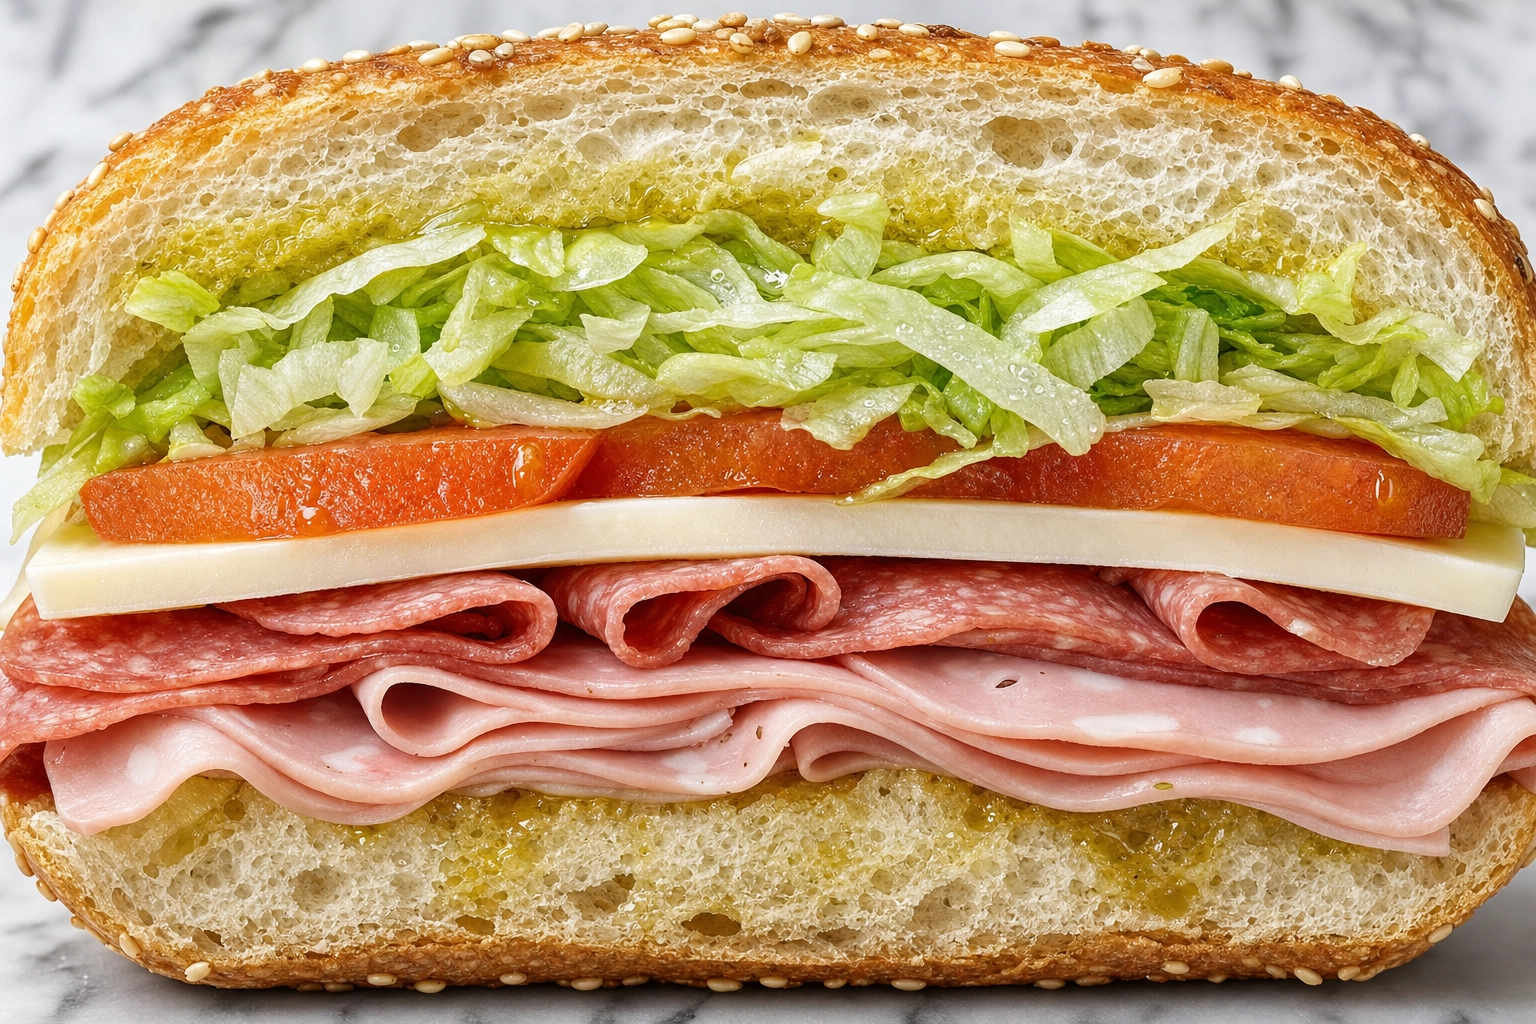 Close-up cross-section of a cut Italian sub showing distinct layers of meat, cheese and vegetables
- Cut clean: chill the sandwich a few minutes so the fillings firm up, then use a sharp serrated knife and a gentle sawing motion. Pressing crushes the layers into mush.
- Shoot fast, at filling level: photograph the cut face straight-on while the layers hold. Bread softens within a minute or two, so it's a race.
- Make every layer read: distinct, separable layers — golden bread, ruffled meat, a stripe of cheese, crisp green, a glossy line of sauce. If it blurs into one brown zone, the shot fails.
It's the same move behind a great burger cross-section, so if you also run a hamburger photoshoot, it carries straight over.
Build a shot list: the 4 essential sandwich shots
The money shots are the core, but a full set per sandwich is four images. Shoot them in one sitting while it's fresh.
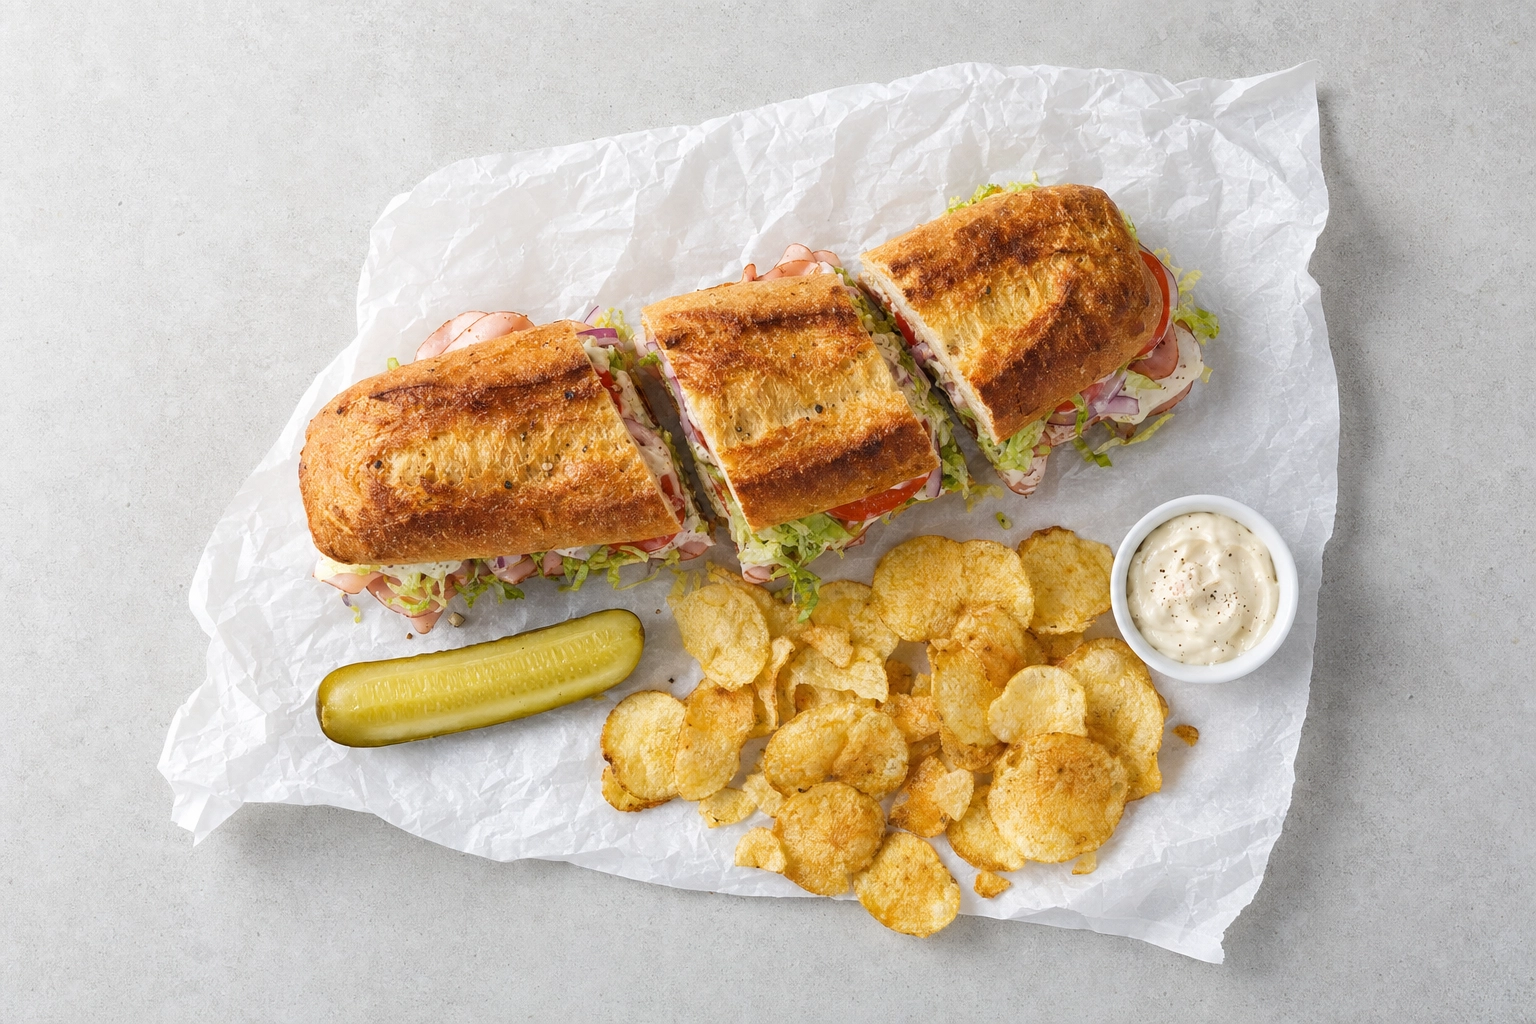 Overhead flat-lay of a whole toasted sub on butcher paper with a pickle, kettle chips and dip
- The stacked hero — height and abundance, straight-on or 45°. Your main menu image.
- The cross-section — the layer reveal at filling level. Your proof shot for menu pages and delivery apps.
- The overhead whole — the sandwich from directly above (top-down), on butcher paper or a combo plate. Best for long subs because it shows the full length. If you sell sub sandwich photos by the foot, this is it.
- The detail or action shot — a tight crop of the good part: a cheese pull, a drip, the char, or a first-bite. Your scroll-stopping social image.
Four sandwich photos per item — a ten-item menu is 40 images, or an hour or two of work once you've got the rhythm.
How to style a sandwich so it holds its shape
The secret every food stylist knows: the sandwich in the photo is built for the camera, not for serving. Same bread, same ingredients — just assembled to look its best from one angle.
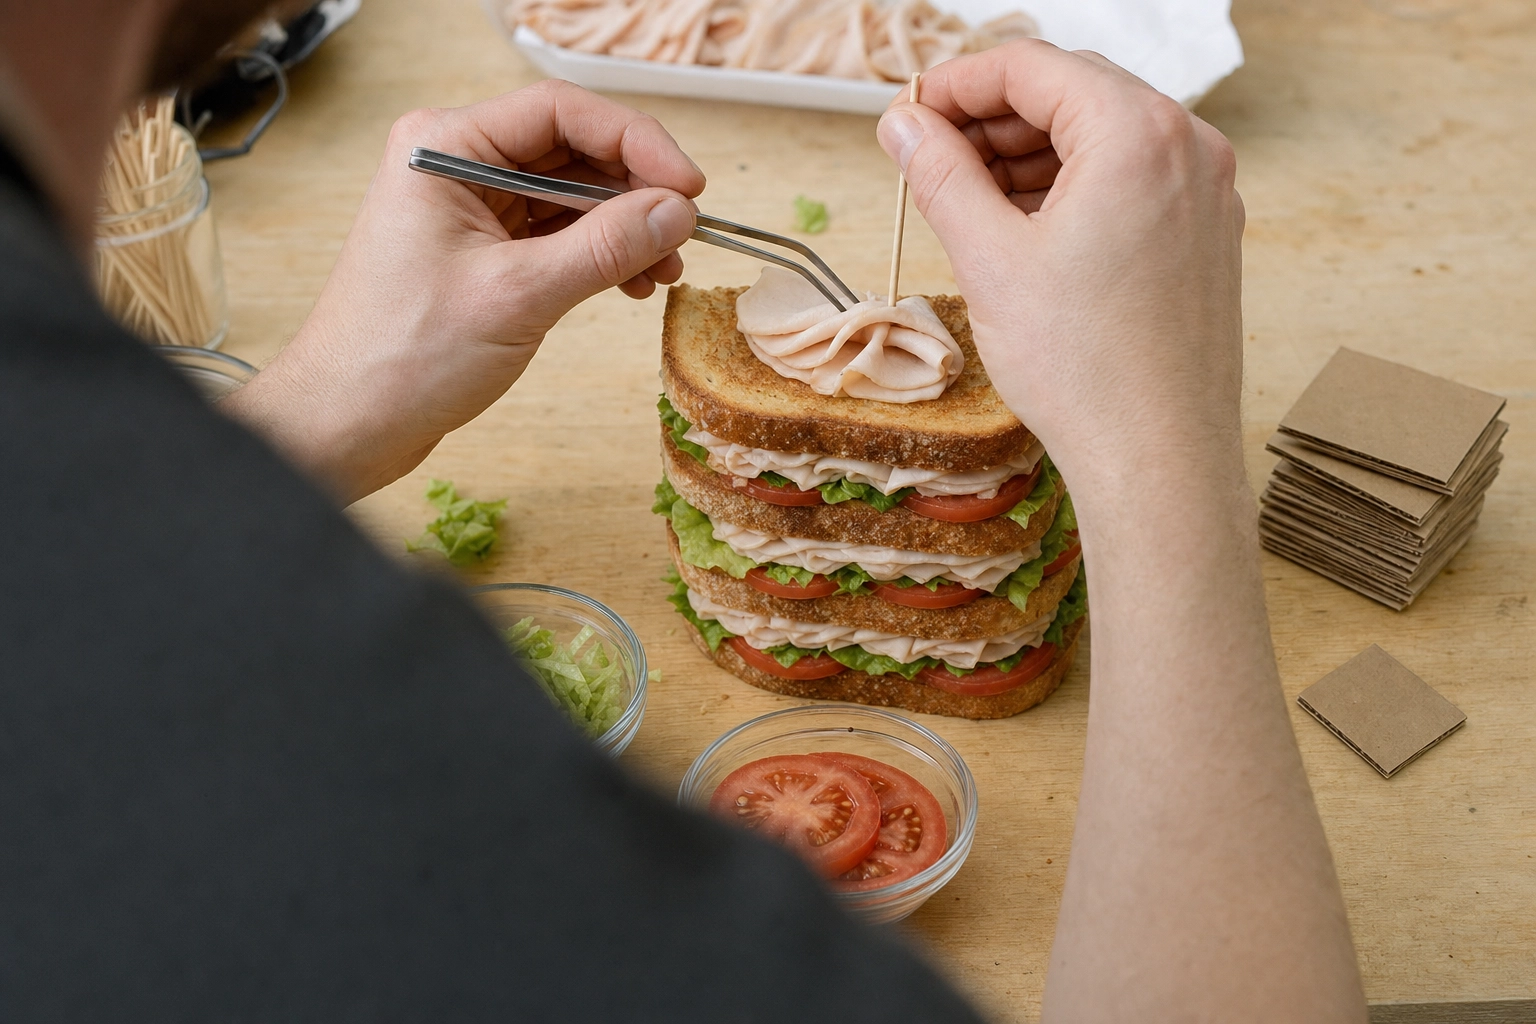 Food stylist's hands using tweezers and a toothpick to build and pin a tall club sandwich for a photo
- Build the hero on set. Assemble it right in front of the camera so every layer lands where the lens sees it. A pre-made, squashed sandwich can't be rescued later.
- Pin it. Small toothpicks help hold slipping fillings and add height; a hidden skewer keeps a tall sub standing. Pull them before anyone eats.
- Shim the sag. Tuck small pieces of cardboard or extra filling between layers so the sandwich doesn't flatten.
- Ruffle the deli meat. The single biggest upgrade for deli sandwich photography: pinch each slice into a loose rosette or fold it unevenly so the edges catch light. Ruffled reads abundant; flat reads sad.
- Cut the bread a touch thicker than you'd serve, so it keeps its structure in camera.
- Turn the best face forward, and add any final garnish — a scatter of herbs, a pickle — right before you shoot so it looks freshly made.
Our complete food styling guide and staging and propping guide go deeper across every dish type.
The appetite triggers: toasting, melt, fresh produce and the drip
Structure gets the sandwich standing. These four details make people actually hungry.
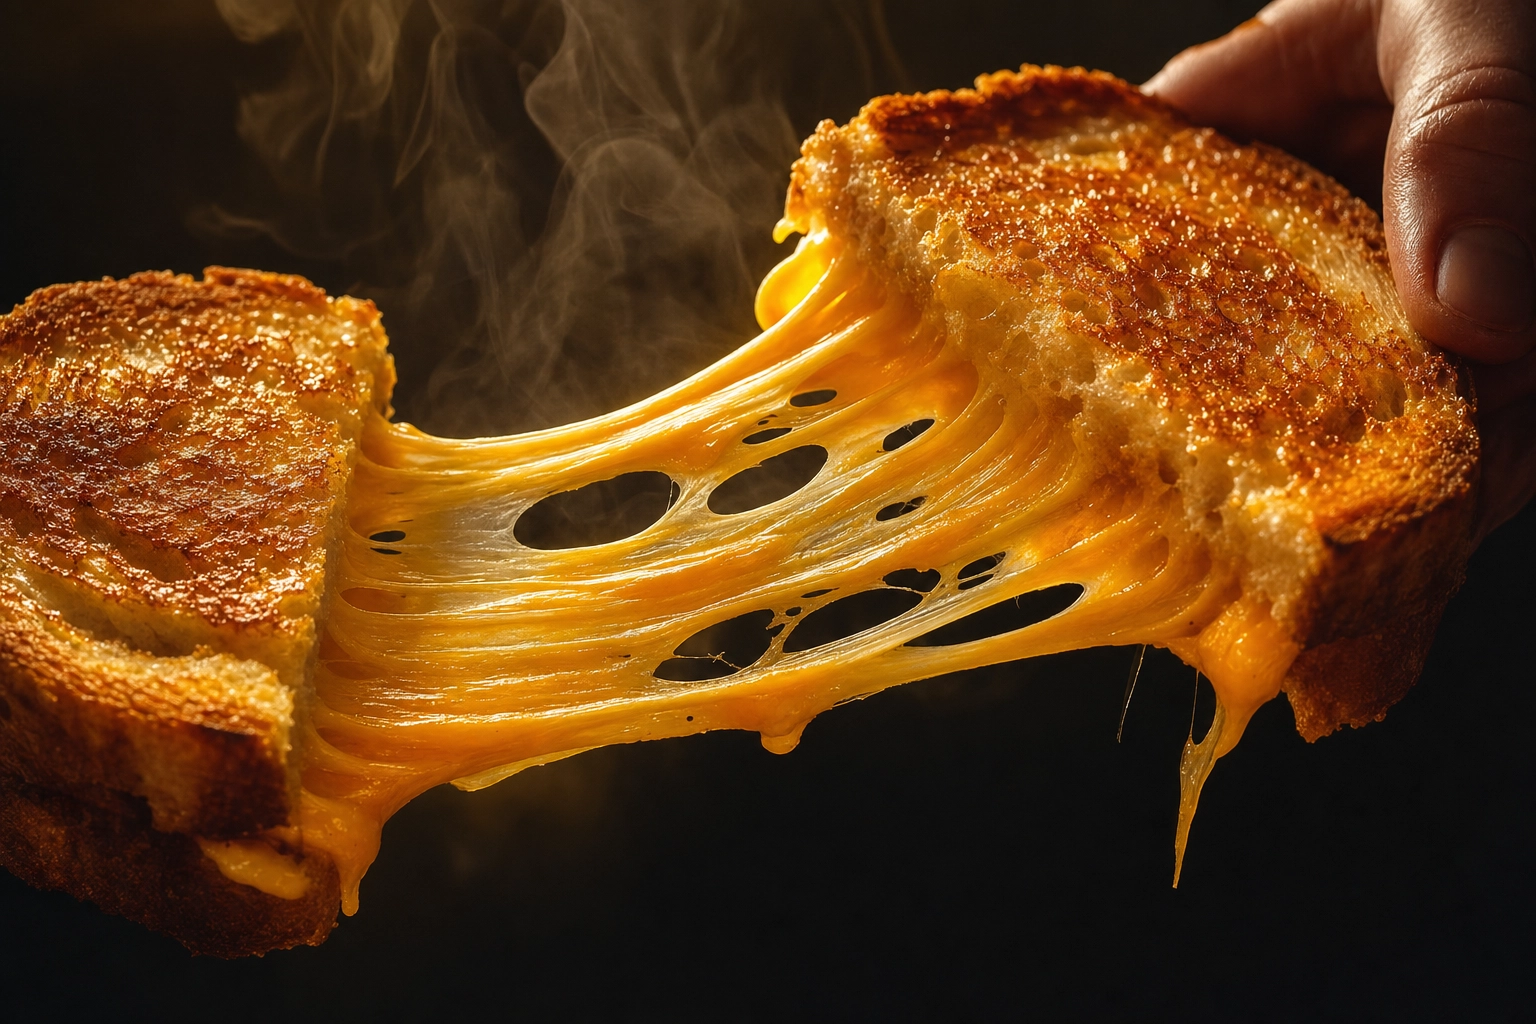 Two halves of a golden grilled cheese sandwich pulled apart with a long molten cheese stretch
- Toasting and char. Golden crust and panini grill marks read fresh and made-to-order — that's the Maillard reaction at work. Rake light across the surface so the ridges cast tiny shadows.
- The melt. Cheese is only photogenic while glossy and molten. On a grilled cheese, the cheese-pull window lasts maybe four seconds before it firms up — focus before you pull the halves apart.
- Fresh produce. Add lettuce, tomato and herbs last and keep them crisp. A light spritz of water gives greens a fresh, just-washed dew (don't overdo it, or it looks soggy). Wilted produce ages a sandwich instantly.
- The drip. A bead of aioli, a drizzle of hot honey, or a French dip mid-dunk in au jus signals juicy and generous. Natural light plus a fast shutter speed freezes that drip crisply instead of smearing it.
Hit two or three per sandwich and even a plain ham-and-cheese looks craveable.
Light and angle: the two dials that make or break the shot
You can nail every styling trick above and still ruin the shot with bad light. Fortunately, good light is free.
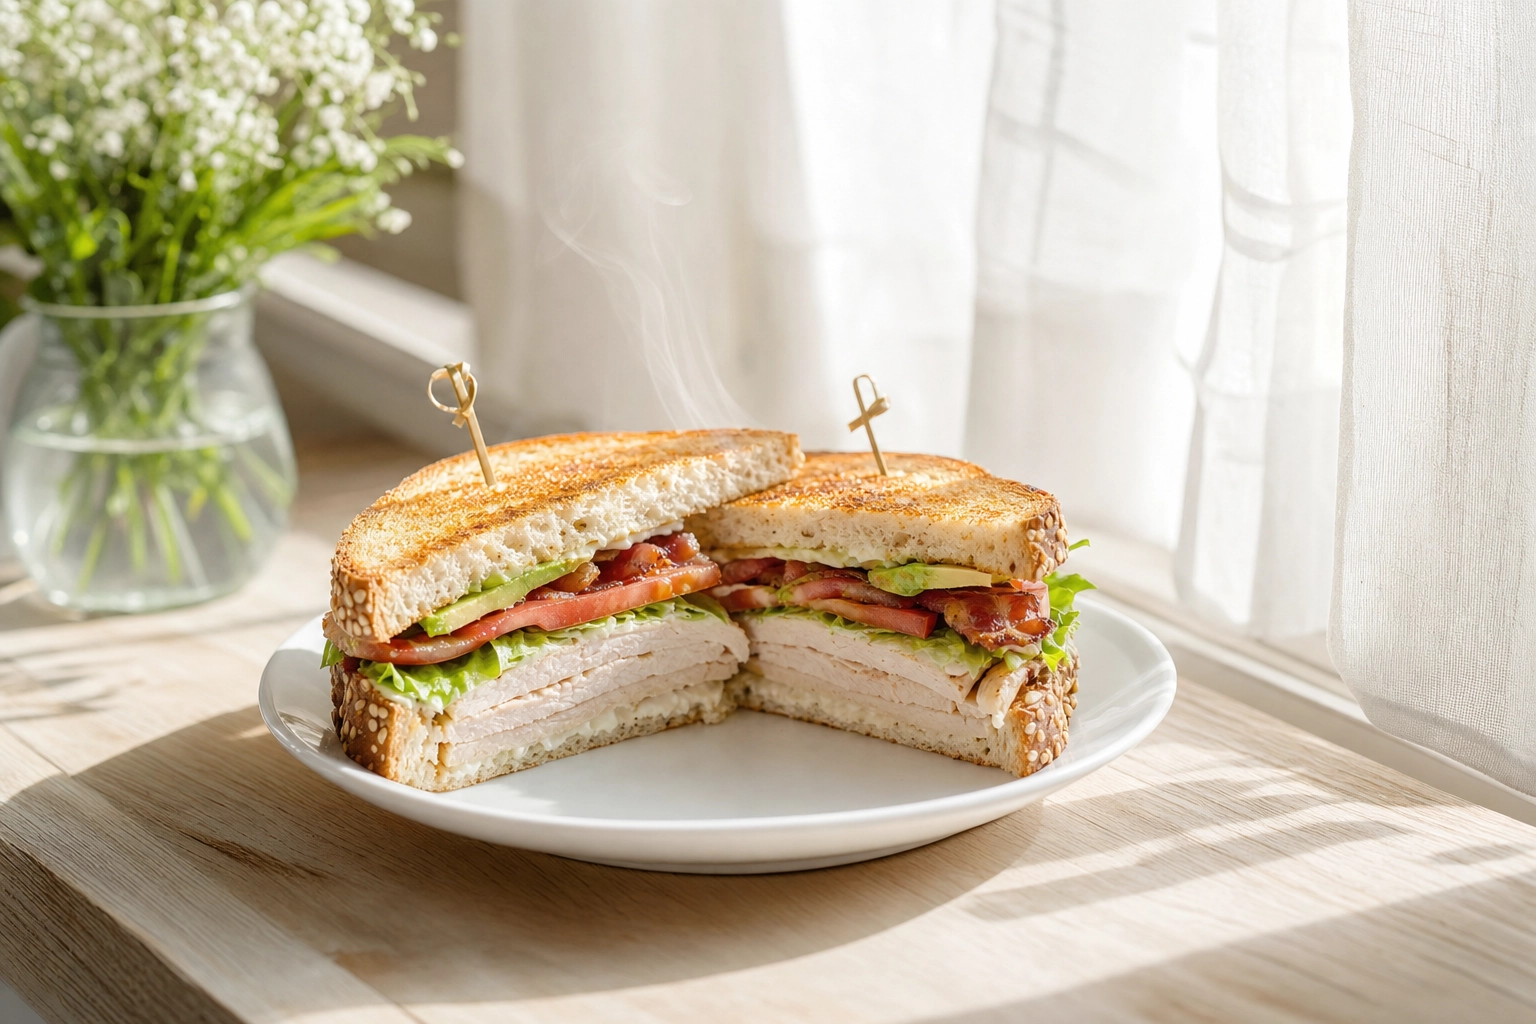 Halved club sandwich lit by soft window backlight showing glowing toasted crust and steam
Light: soft, diffused daylight from a large window is the single biggest upgrade to any sandwich photo. Light it from the side or slightly behind so crust, sesame seeds, melted cheese and rising steam glow, and the cross-section layers separate. Diffuse harsh sun with a sheer curtain. The one thing never to do: fire your phone's flash or shoot under yellow overhead kitchen lights — both flatten the food and add greasy glare.
Angle: match it to the sandwich, since how much of the dish fills the frame changes everything:
- Overhead (90°): whole subs, club quarters, spreads, combo plates.
- Straight-on (0°): stacked heroes and every cross-section — this is where you see the layers.
- 45°: the all-rounder that looks like the sandwich sitting on the table in front of you.
Unsure? Shoot all three and pick the winner — it costs nothing, and it's the fastest way to learn which angle flatters each item on your menu.
Propping and backgrounds for delis, sub shops and cafes
Props set the scene and tell people what kind of place you are — but a little goes a long way. The sandwich is the star; the props are the supporting cast.
- Surfaces: butcher paper, a worn deli counter, marble, or a rustic wood board. Pick a backdrop that matches your brand and stick with it.
- Vessels: a deli board, an oval combo plate, a parchment-lined basket, or the wrap itself.
- Props with intent: a dill pickle spear, a scatter of kettle chips, a ramekin of sauce, a folded linen napkin. One or two, not a still-life. Leave breathing room and place the hero off-center in the composition using the rule of thirds.
- Match the register: a NYC deli wants warm, moody light on a worn counter; a bagel cafe wants airy morning tones; an Italian panini spot wants rustic wood and press-iron shadows.
The real power move is consistency — the same surface, light and props across every item, so your whole set of sandwich pictures reads as one brand instead of a scrapbook of mismatched snaps. It's the discipline behind great cafe menu photography.
Sandwich photo cheat sheet: the best angle by type
Different sandwiches want different angles — quick tips by type:
- Deli tower (Reuben, pastrami on rye): stacked hero plus cross-section, warm side light, corned beef ruffled high.
- Italian sub / hoagie: overhead on butcher paper for the full length, then a straight-on for the fillings.
- Panini: it rides on the grill marks — rake light across the ridges and catch the cheese pull as you separate the halves.
- Grilled cheese: an action shot; focus, pull the halves, and fire in the four-second melt window.
- Banh mi: bright, clean light angled so the pickled carrot, cilantro and chili show — the fresh ingredients are the whole appeal.
- Club sandwich: shoot the quarters from above, fanned out with frilled picks.
- Breakfast sandwich: cut for a runny-yolk cross-section in soft morning light.
The same layer-first thinking powers great chicken sandwich cross-sections, too.
Before and after: turning a phone deli shot into a menu photo
The honest problem with everything above: you run a deli, not a studio. You can't stop the lunch rush to build a hero, pin it with toothpicks, wait for window light and shoot four angles — and even then, the cross-section collapses in a minute, the cheese hardens in about 90 seconds, and the bread softens while you fuss with the pickle.
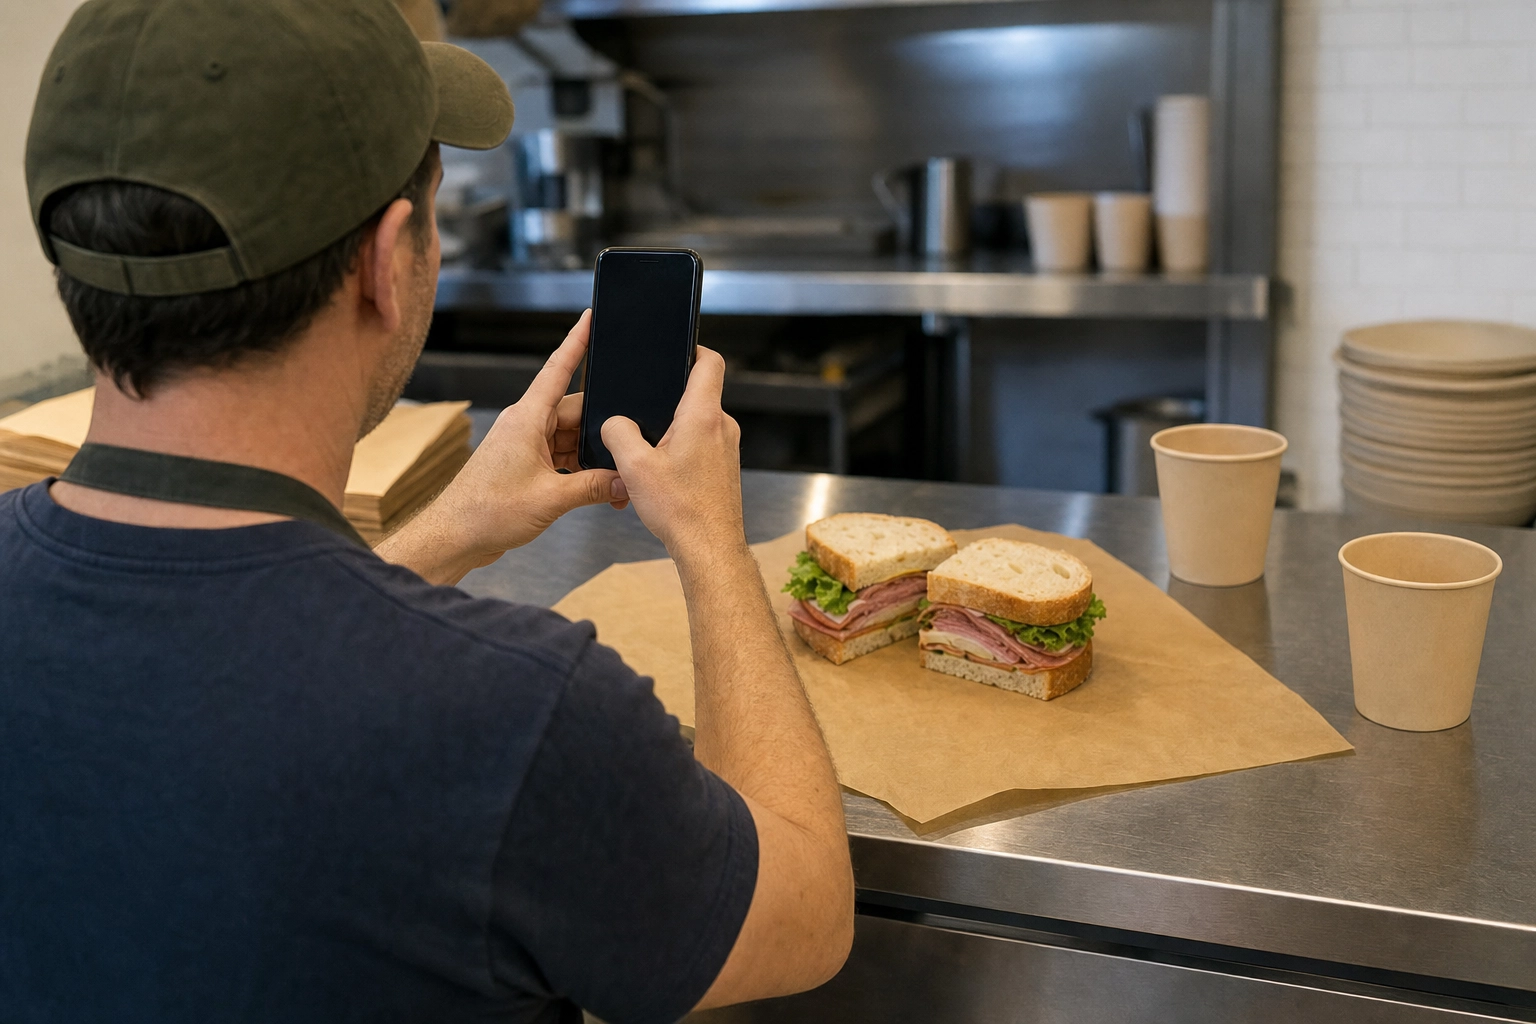 A person holding a smartphone to photograph a freshly cut deli sandwich on a counter
So do the realistic version: shoot the real sandwich once, on your phone, while the layers hold — a decent hero and a quick cross-section — then fix the polish afterward. That's the idea behind FoodShot's AI food photo editor. Upload the phone snap and, instead of flattening the image, the AI relights each layer so the meat stays warm, the cheese glossy and the lettuce crisp, then drops it onto a clean, on-brand background.
What makes it click for sandwich shops:
- 200+ deli and cafe styles for the warm-counter, bright-bagel and pressed-panini looks you actually use.
- Builder Mode to set the surface, plate, props and lighting one choice at a time.
- My Styles — upload a few references so every item shares one house look, from the Reuben to the breakfast bagel.
- 2K, menu-ready results in about 2 minutes each, roughly 95% cheaper than a shoot, with commercial rights on paid plans.
It won't invent a sandwich you don't make, and it's no replacement for the two money shots. But with 40 items and a line out the door, it beats waiting for "someday."
A quick checklist for better sandwich pictures
Keep this next to the counter for your next shoot:
- Light: soft window light from the side or behind — no flash, no yellow overheads.
- Angle: straight-on for stacks and cross-sections, overhead (from the top) for whole subs and spreads.
- Style: build the hero on set, ruffle the meat, pin with toothpicks, shim for height.
- Ingredients: fresh produce on last, best face to the camera, a light spritz of water for dew.
- Triggers: catch the melt, the char and the drip while they're at their peak.
- Shots: get all four images — hero, cross-section, overhead and a detail — in one sitting.
- Consistency: the same surface, props and lighting across every item.
Run that list and even a first-timer gets sharp, appetizing sandwich pictures.
Frequently Asked Questions
How do I take good pictures of sandwiches with just my phone?
Use soft daylight from a window (never the flash), get the camera down to filling level, fill the frame. Shoot two angles: a straight-on stacked hero and a cut cross-section. Tap to focus on the fillings and take the cross-section shot fast — before the bread softens.
What is the best angle for sandwich photos?
It depends on the sandwich. Stacks and cross-sections look best straight-on (0°) or at a low 45°, with the camera at filling height so the layers show. Whole subs, clubs and combo plates shine from directly overhead. When you're unsure, 45° is the reliable all-rounder.
How do I photograph a sandwich cross-section without it falling apart?
Chill the sandwich a few minutes so the fillings firm up, then cut with a sharp serrated knife using a gentle sawing motion — don't press down. If a half leans, pin it from behind with a hidden skewer. Shoot immediately at filling level while the layers hold, and wipe the cut face clean between takes.
How do you make deli meat and sandwich fillings look fuller in photos?
Ruffle it. Instead of stacking flat slices, pinch each slice of deli meat in the middle into a loose rosette, or fold it unevenly so the edges catch the light. Tuck small pieces of cardboard or extra ingredients behind the front layer for height, and let a little of everything peek past the bread.
What lighting is best for sandwich photography?
Soft, diffused natural light from a large window. Position it to the side or slightly behind the sandwich so the crust, sesame seeds, melted cheese and any steam glow, and the layers separate. Diffuse harsh sun with a sheer curtain. Avoid your phone's flash and yellow overhead kitchen lights — both flatten the food.
How can a deli or sub shop get menu photos without hiring a photographer?
Shoot each sandwich once on your phone in decent light — even a rough cross-section — then use an AI food photo editor to relight and polish it. FoodShot AI does this in about 2 minutes per photo, at roughly 95% less than a professional shoot, with deli and cafe styles that keep every item looking like one consistent brand.
Your sandwiches deserve better pictures
You already make a sandwich worth photographing. Now you know the two shots that sell it, the styling that keeps it standing, and the light that makes it glow. Build one hero, shoot the stack and the cross-section, and let FoodShot's food photo editor handle the studio polish so your whole menu looks like one confident deli. Your next hungry scroller is one good sandwich picture from ordering.