Bottle Photography: How to Shoot Drinks & RTD Products
 Ali Tanis8 min read
Bottle photography punishes you for everything else in the room. Glass is a mirror and a window at once. It shows your softbox, tripod, hands and the wall behind you, wrapped around a curved surface. One SKU can eat an afternoon.
Quick Summary: Bottle photography is backwards — you don't light the bottle, you light the surfaces it reflects. A soft white gradient down one edge and a black edge down the other draw the shape, a separate high source keeps the label legible, and most finished bottle shots are three or more exposures blended into one.
Why Bottles Are the Hardest Product to Photograph
Most products only reflect. Glass reflects and transmits. Aim a lamp straight at one and you get a hard white blob on the shoulder plus a see-through body that picks up whatever sits behind it.
The cylinder makes it worse. A curved surface wraps nearly half the room onto a narrow strip. Your stand, the doorway, a pale wall — all of it lands somewhere on the curve.
That's why bottles take the biggest share of any product photography budget. In 2026, clean listing shots run $25 to $75 per image, and drinks sit at the top of that band.
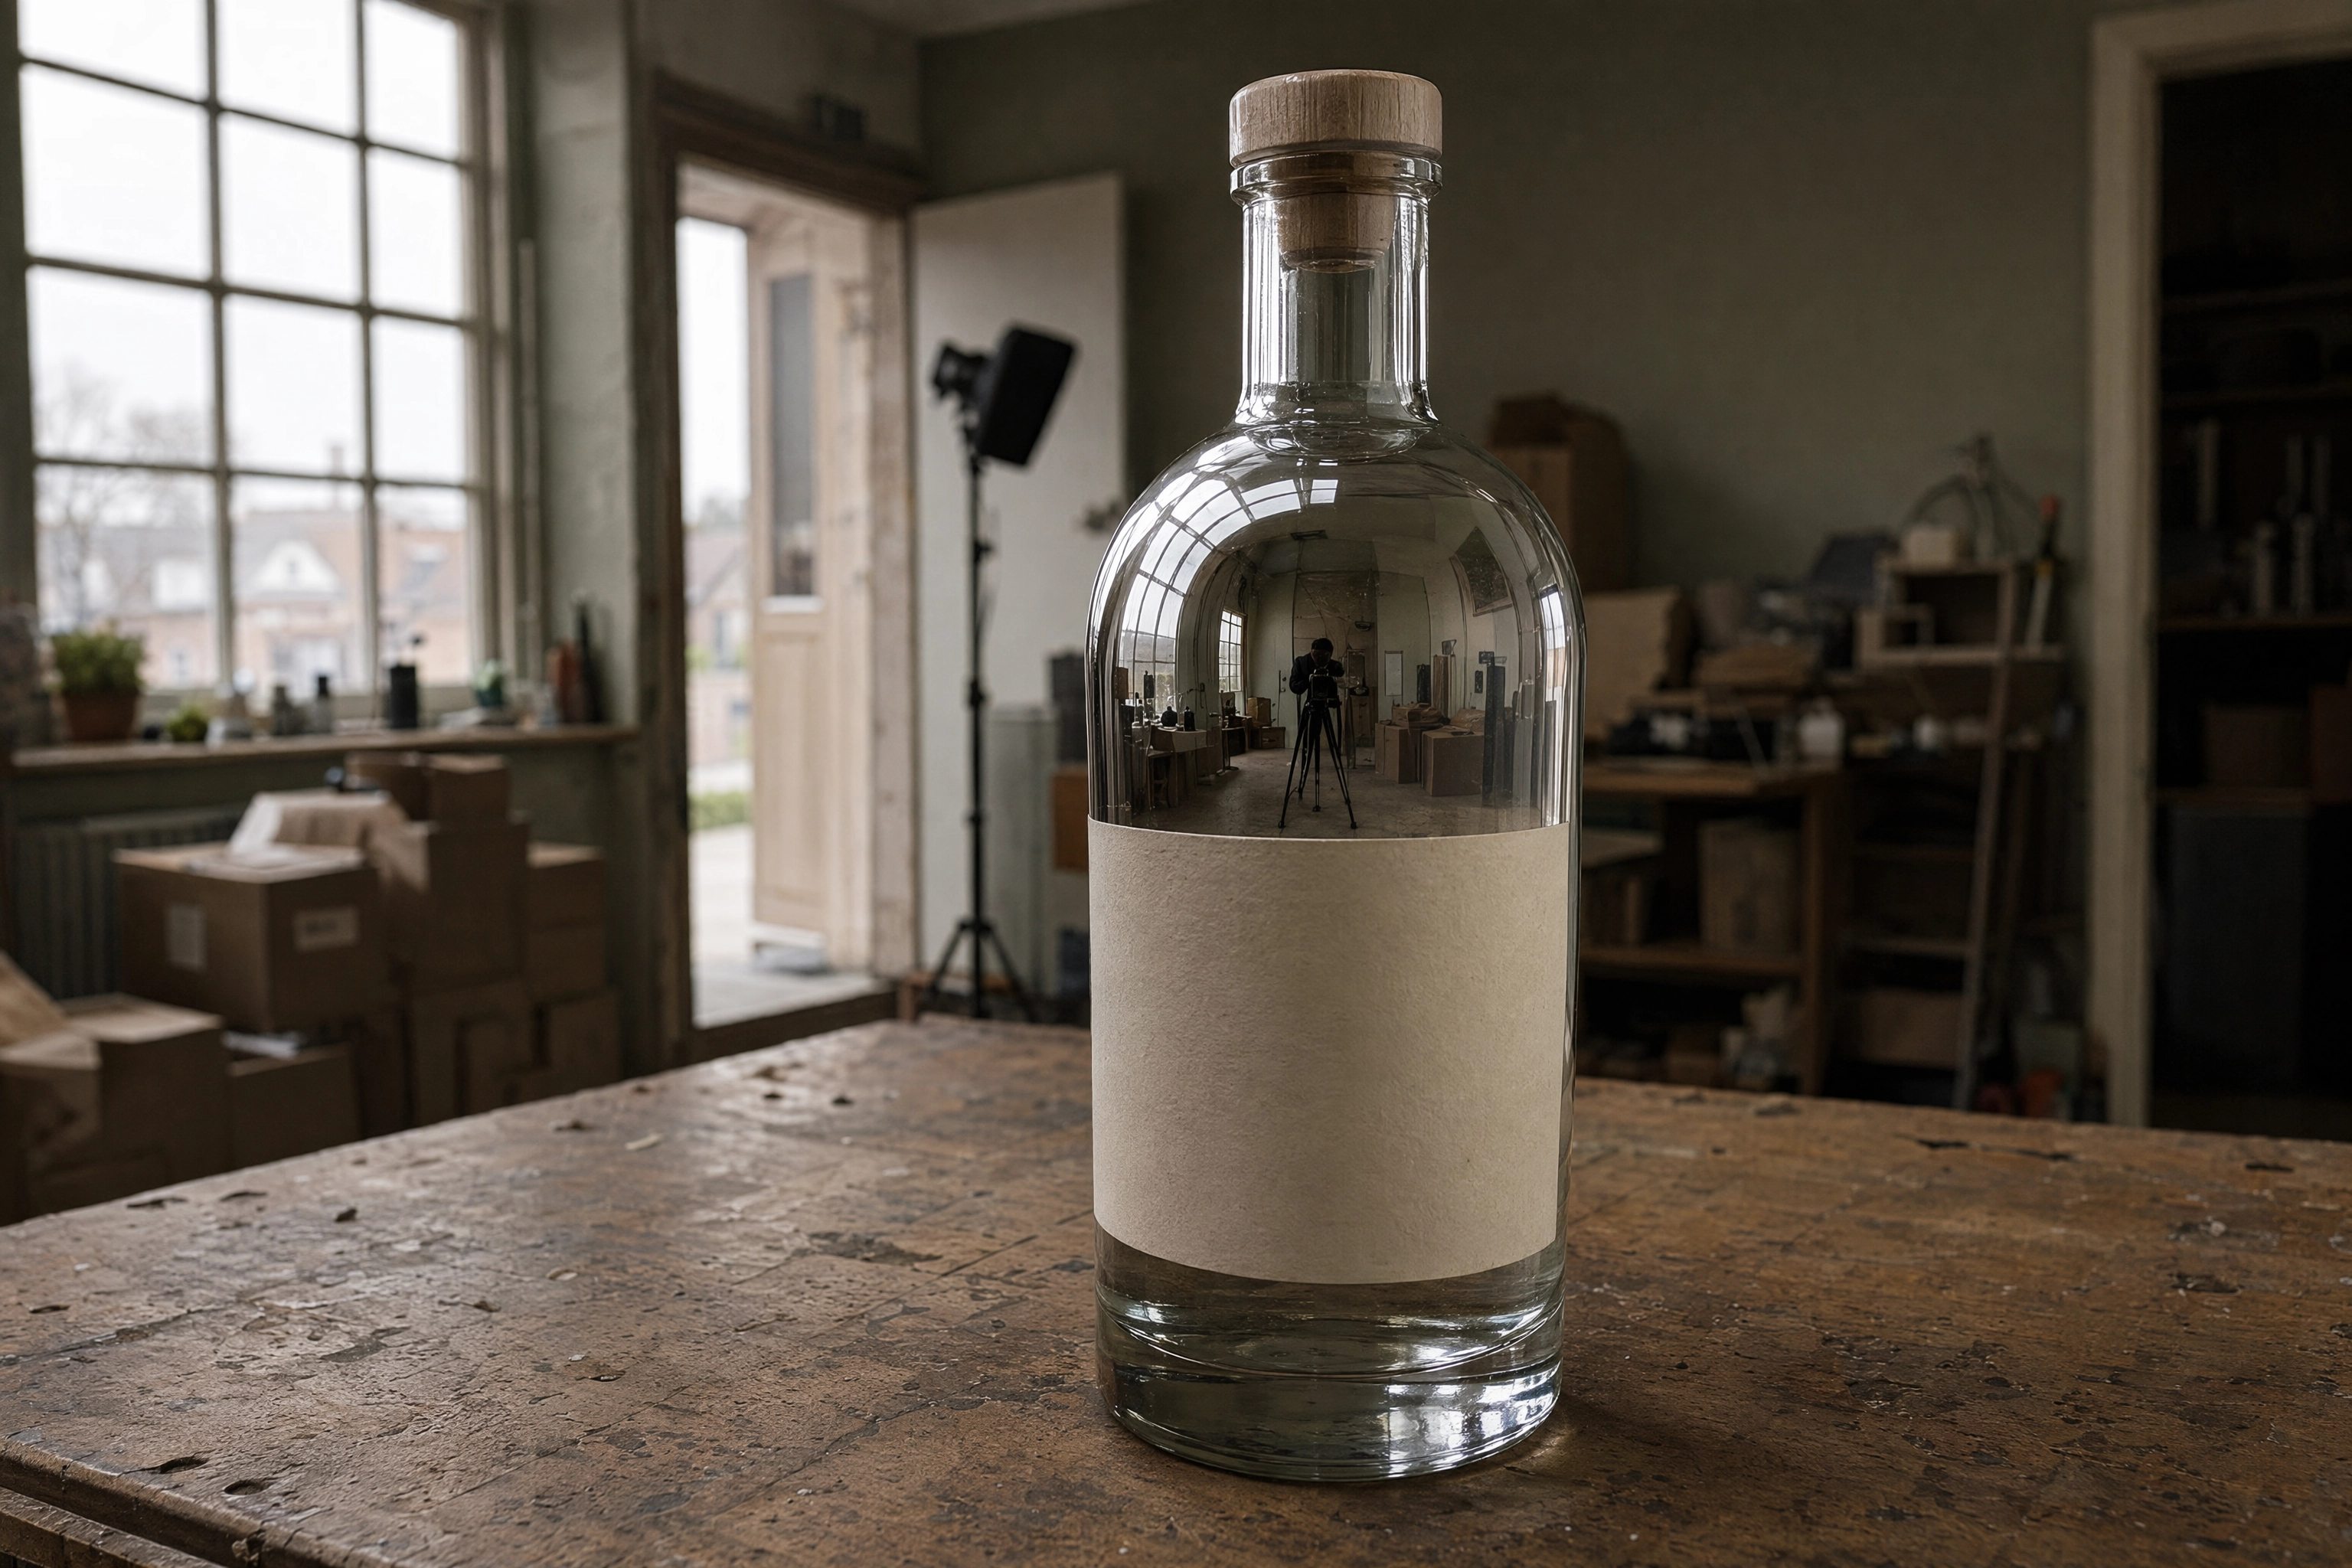 Glass bottle reflecting an entire cluttered room, showing why bottle photography reflections are so hard to control
Light the Background, Not the Bottle
The rule that changes everything in bottle photography: you aren't lighting the glass. You're lighting the surfaces it can see.
Put a stripbox behind a diffusion panel on the left, and the glass shows a long white gradient down its left edge. Add a black card on the right, and the glass shows a deep black edge on the right. Those two edges are the shape.
The black edge is what people get wrong. It isn't shadow and it isn't paint. It's negative fill — you subtract illumination from that direction so the glass has something dark to reflect. The glossy-object breakdown from lighting maker broncolor makes the same point: flags and reflectors do more work than extra heads.
Match your source to the shape. A tall thin object wants a tall thin source, taller than the subject. An octabox leaves a round highlight on a straight-sided product, and it reads as a mistake.
Then soften it. Position your diffusion 20–30cm in front and the hard mirror edge melts into a gradient, as PetaPixel's guide to gradients shows. One more thing: wear black. You're standing in the reflection.
The Label Is the Whole Job
Ask a brand what they check first. Never the highlight. Only whether the label is straight, flat and readable at thumbnail size.
The label gets its own gridded head, mounted high and angled down so its reflection falls below the frame. The soft wrap that flatters glass turns matte paper into mush, and foil blows out under it.
Three small habits that save the shot:
- Ask for three or four samples. Labels get applied crooked, moulds leave seams, and bottles genuinely lean.
- Handle everything in nitrile gloves. Fingerprints show on frame two, not one.
- Grab one darker frame just for foil, embossing and metallic ink.
Retail specs decide the rest. Amazon's product image requirements want a white background at RGB 255,255,255, the product filling 85% of the frame, no badges, and 1600px on the long side for zoom. Delivery apps are stricter — see DoorDash photo requirements.
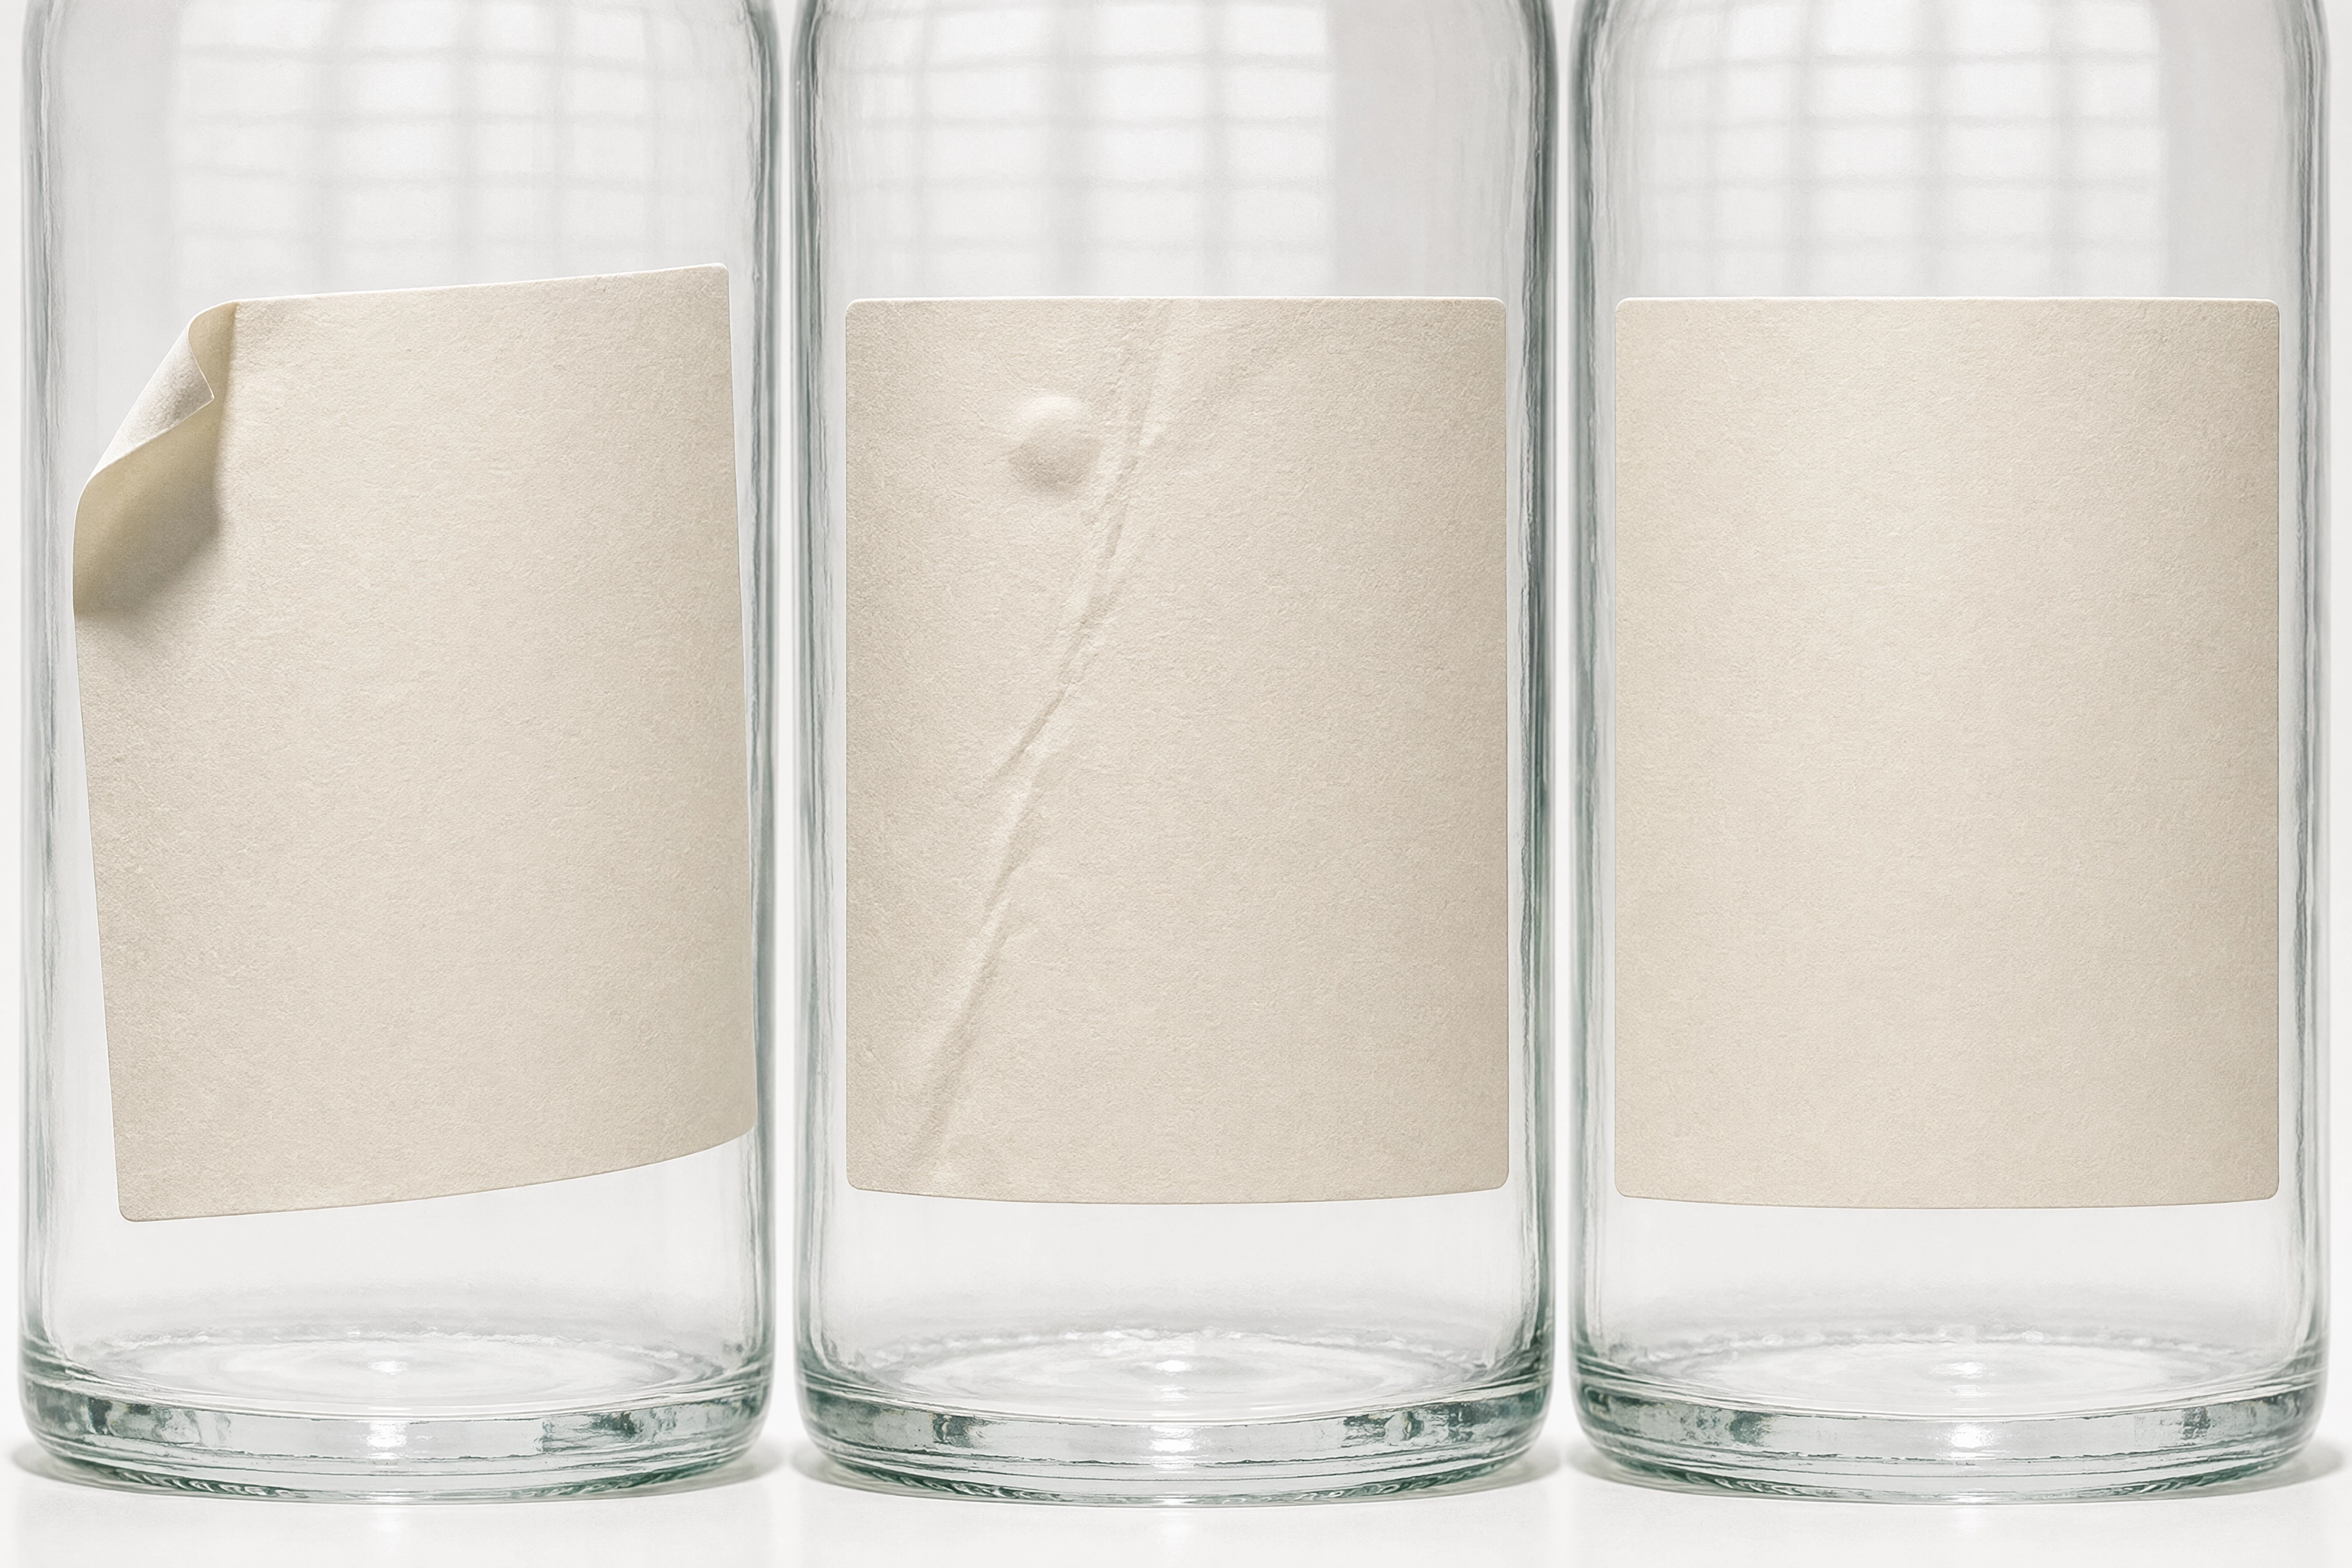 Three bottles with crooked, creased and perfectly flat blank labels, showing why label flatness decides a bottle shot
Liquid Colour, Glass Tint and Fake Condensation
Front lighting kills liquid. Backlighting saves it. A silver card behind the glass pushes brightness through the contents, and muddy brown ale turns gold. It's the biggest upgrade to any beer photography setup.
Glass type changes everything:
- Dark bottles (wine, stout, olive oil) pass almost nothing, so the read is entirely edge reflections.
- Clear bottles with a pale liquid — juice, tonic, white wine — need that backlighting or they go grey.
- Frosted bottles diffuse everything, want a bigger and closer source, and show every speck of dust.
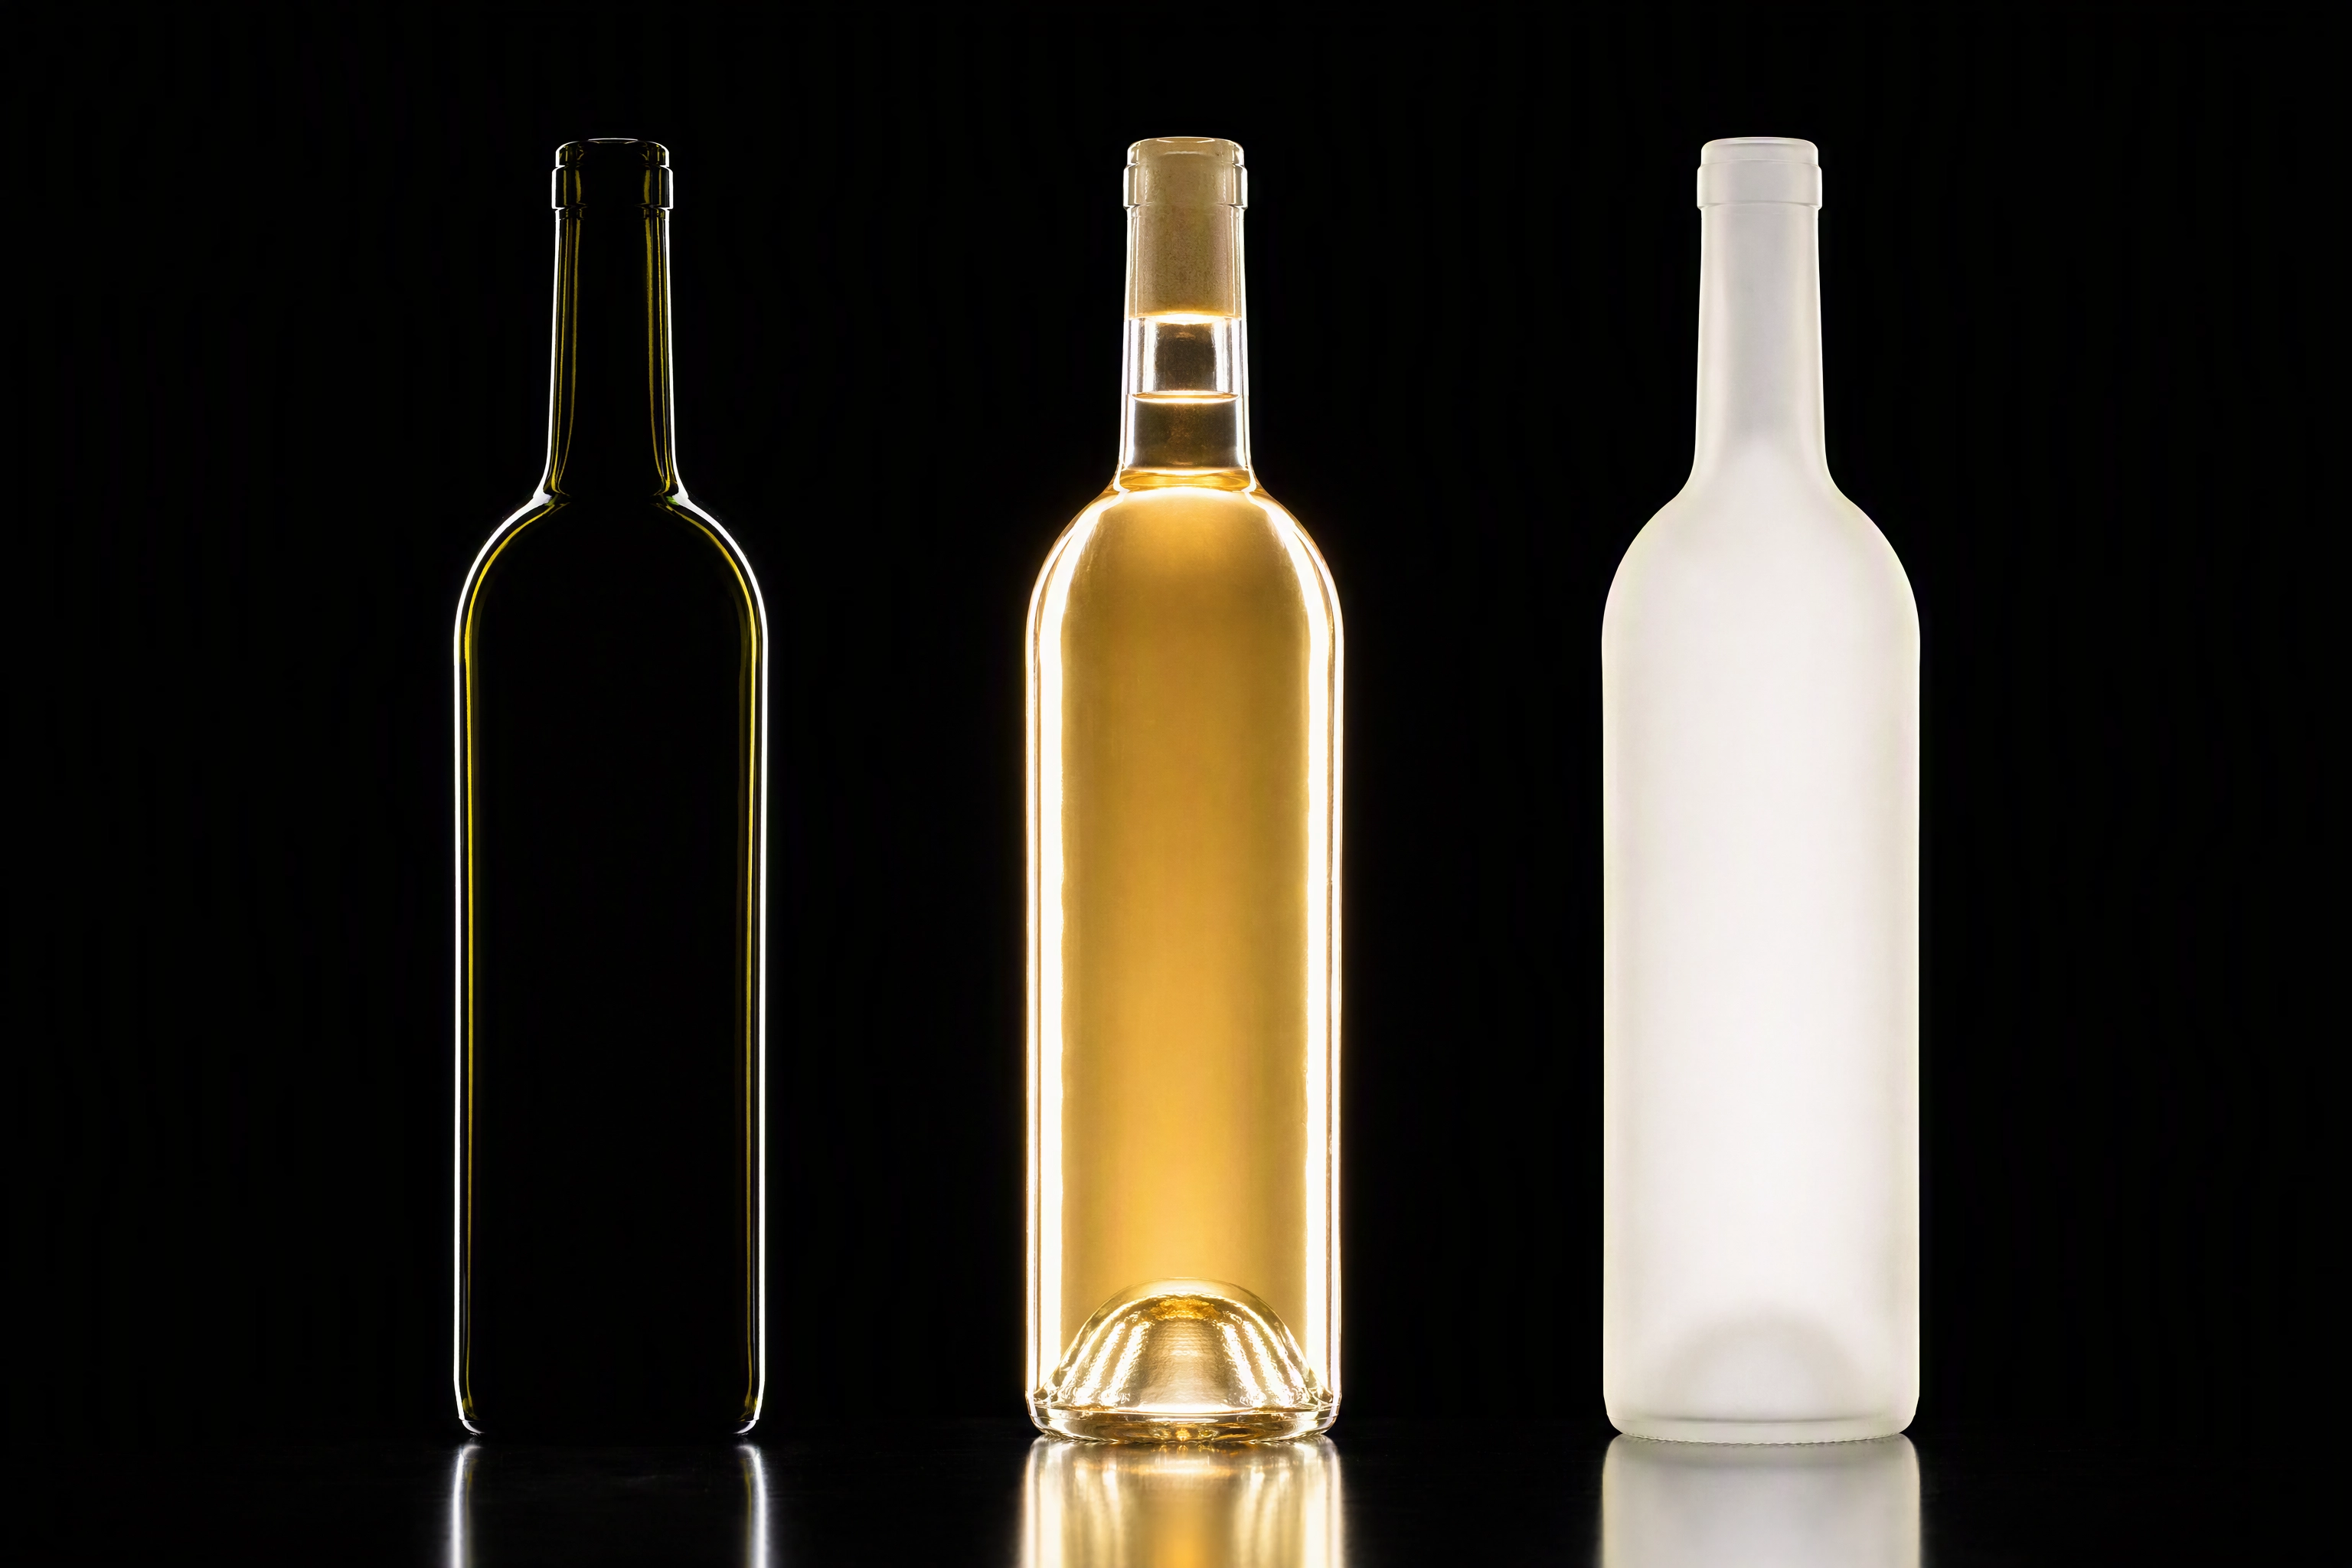 Dark green, clear and frosted bottles backlit side by side, showing how glass tint changes bottle photography lighting
Real condensation slides off in 90 seconds. So photographers mix glycerine and water 50:50 in a fine-mist atomiser. It holds for hours and reads as genuine. Spray only where cold liquid sits inside — up to the fill line, never the dry shoulder or the cap. Dulling spray first creates a frosted base. The same trick sells iced coffee and canned cocktails.
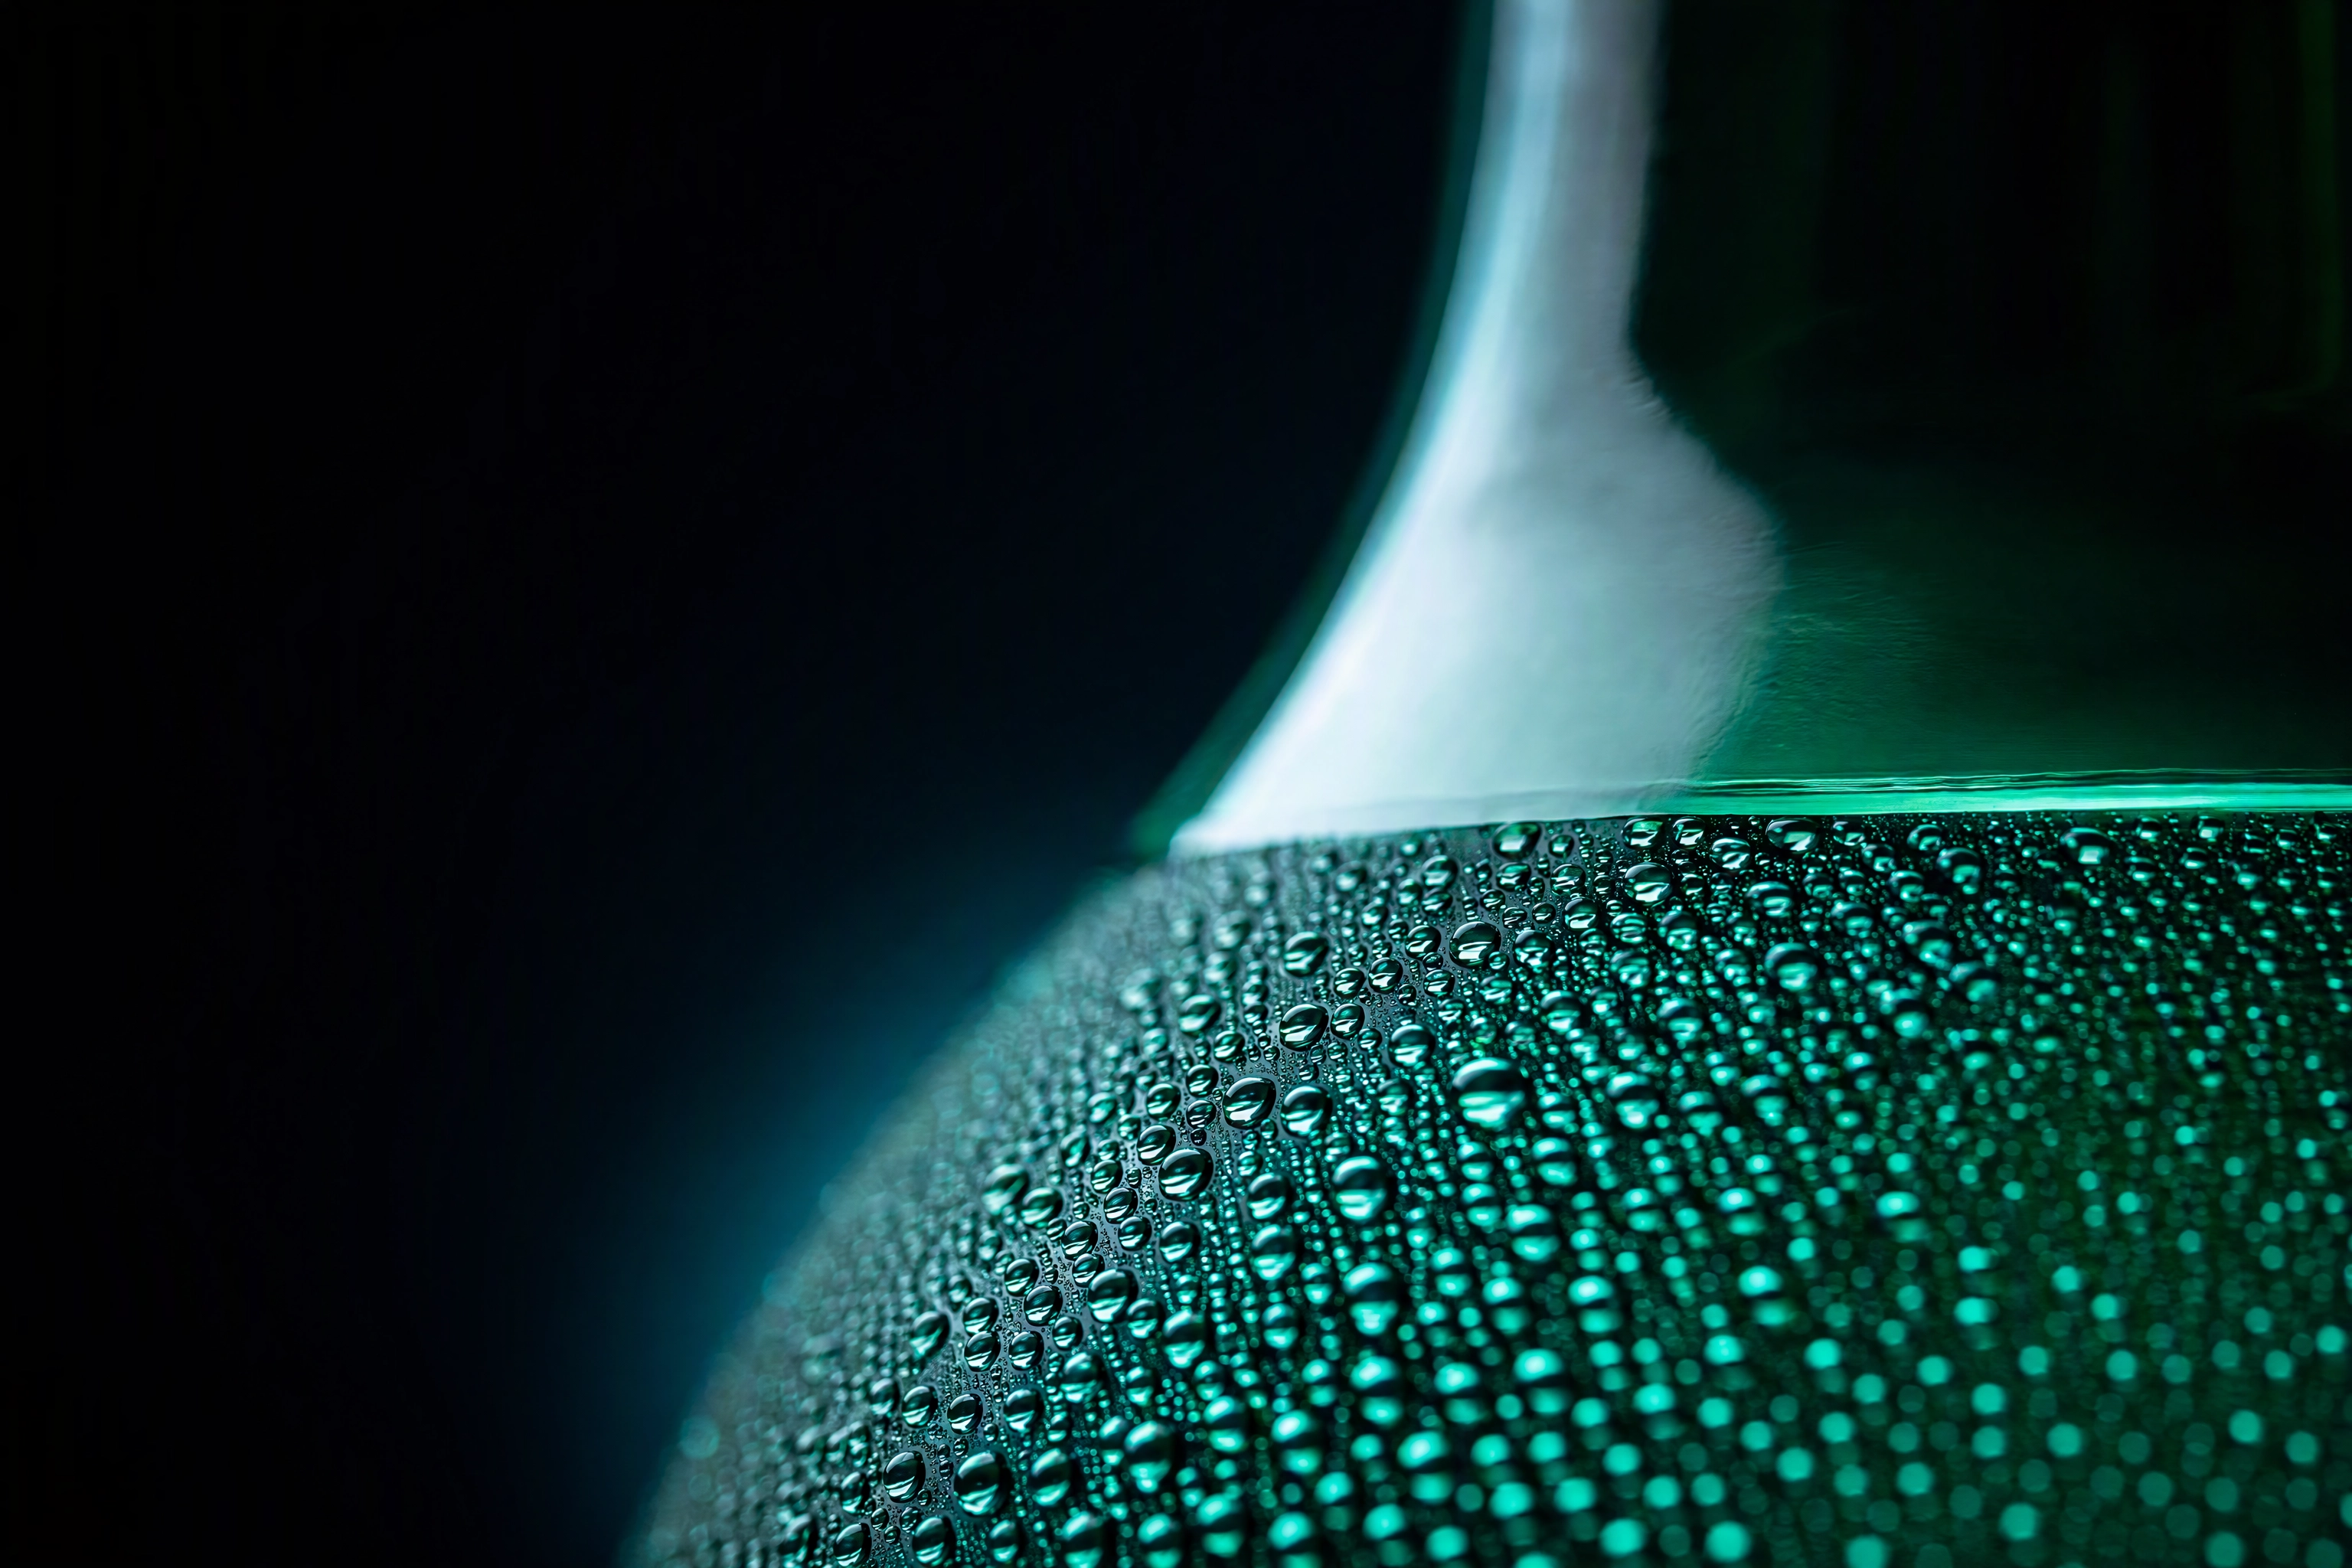 Macro of fake glycerine condensation beads backlit on a chilled green bottle shoulder, stopping at the fill line
Why Professional Bottle Shots Are Composites
The part nobody advertises: the finished image never existed as one frame.
The camera is locked down and nothing moves. You shoot one exposure for the liquid and body, one for the label, one for the cap or foil. Then you stack and mask them, a layered workflow that Fstoppers also walks through on a real liqueur job.
That isn't cheating — it's standard product photography practice. No single position flatters clear surfaces, matte paper and brushed metal at once. Compositing is the honest answer to a physical conflict — and it's why a "simple" bottle shot bills hours of post-production.
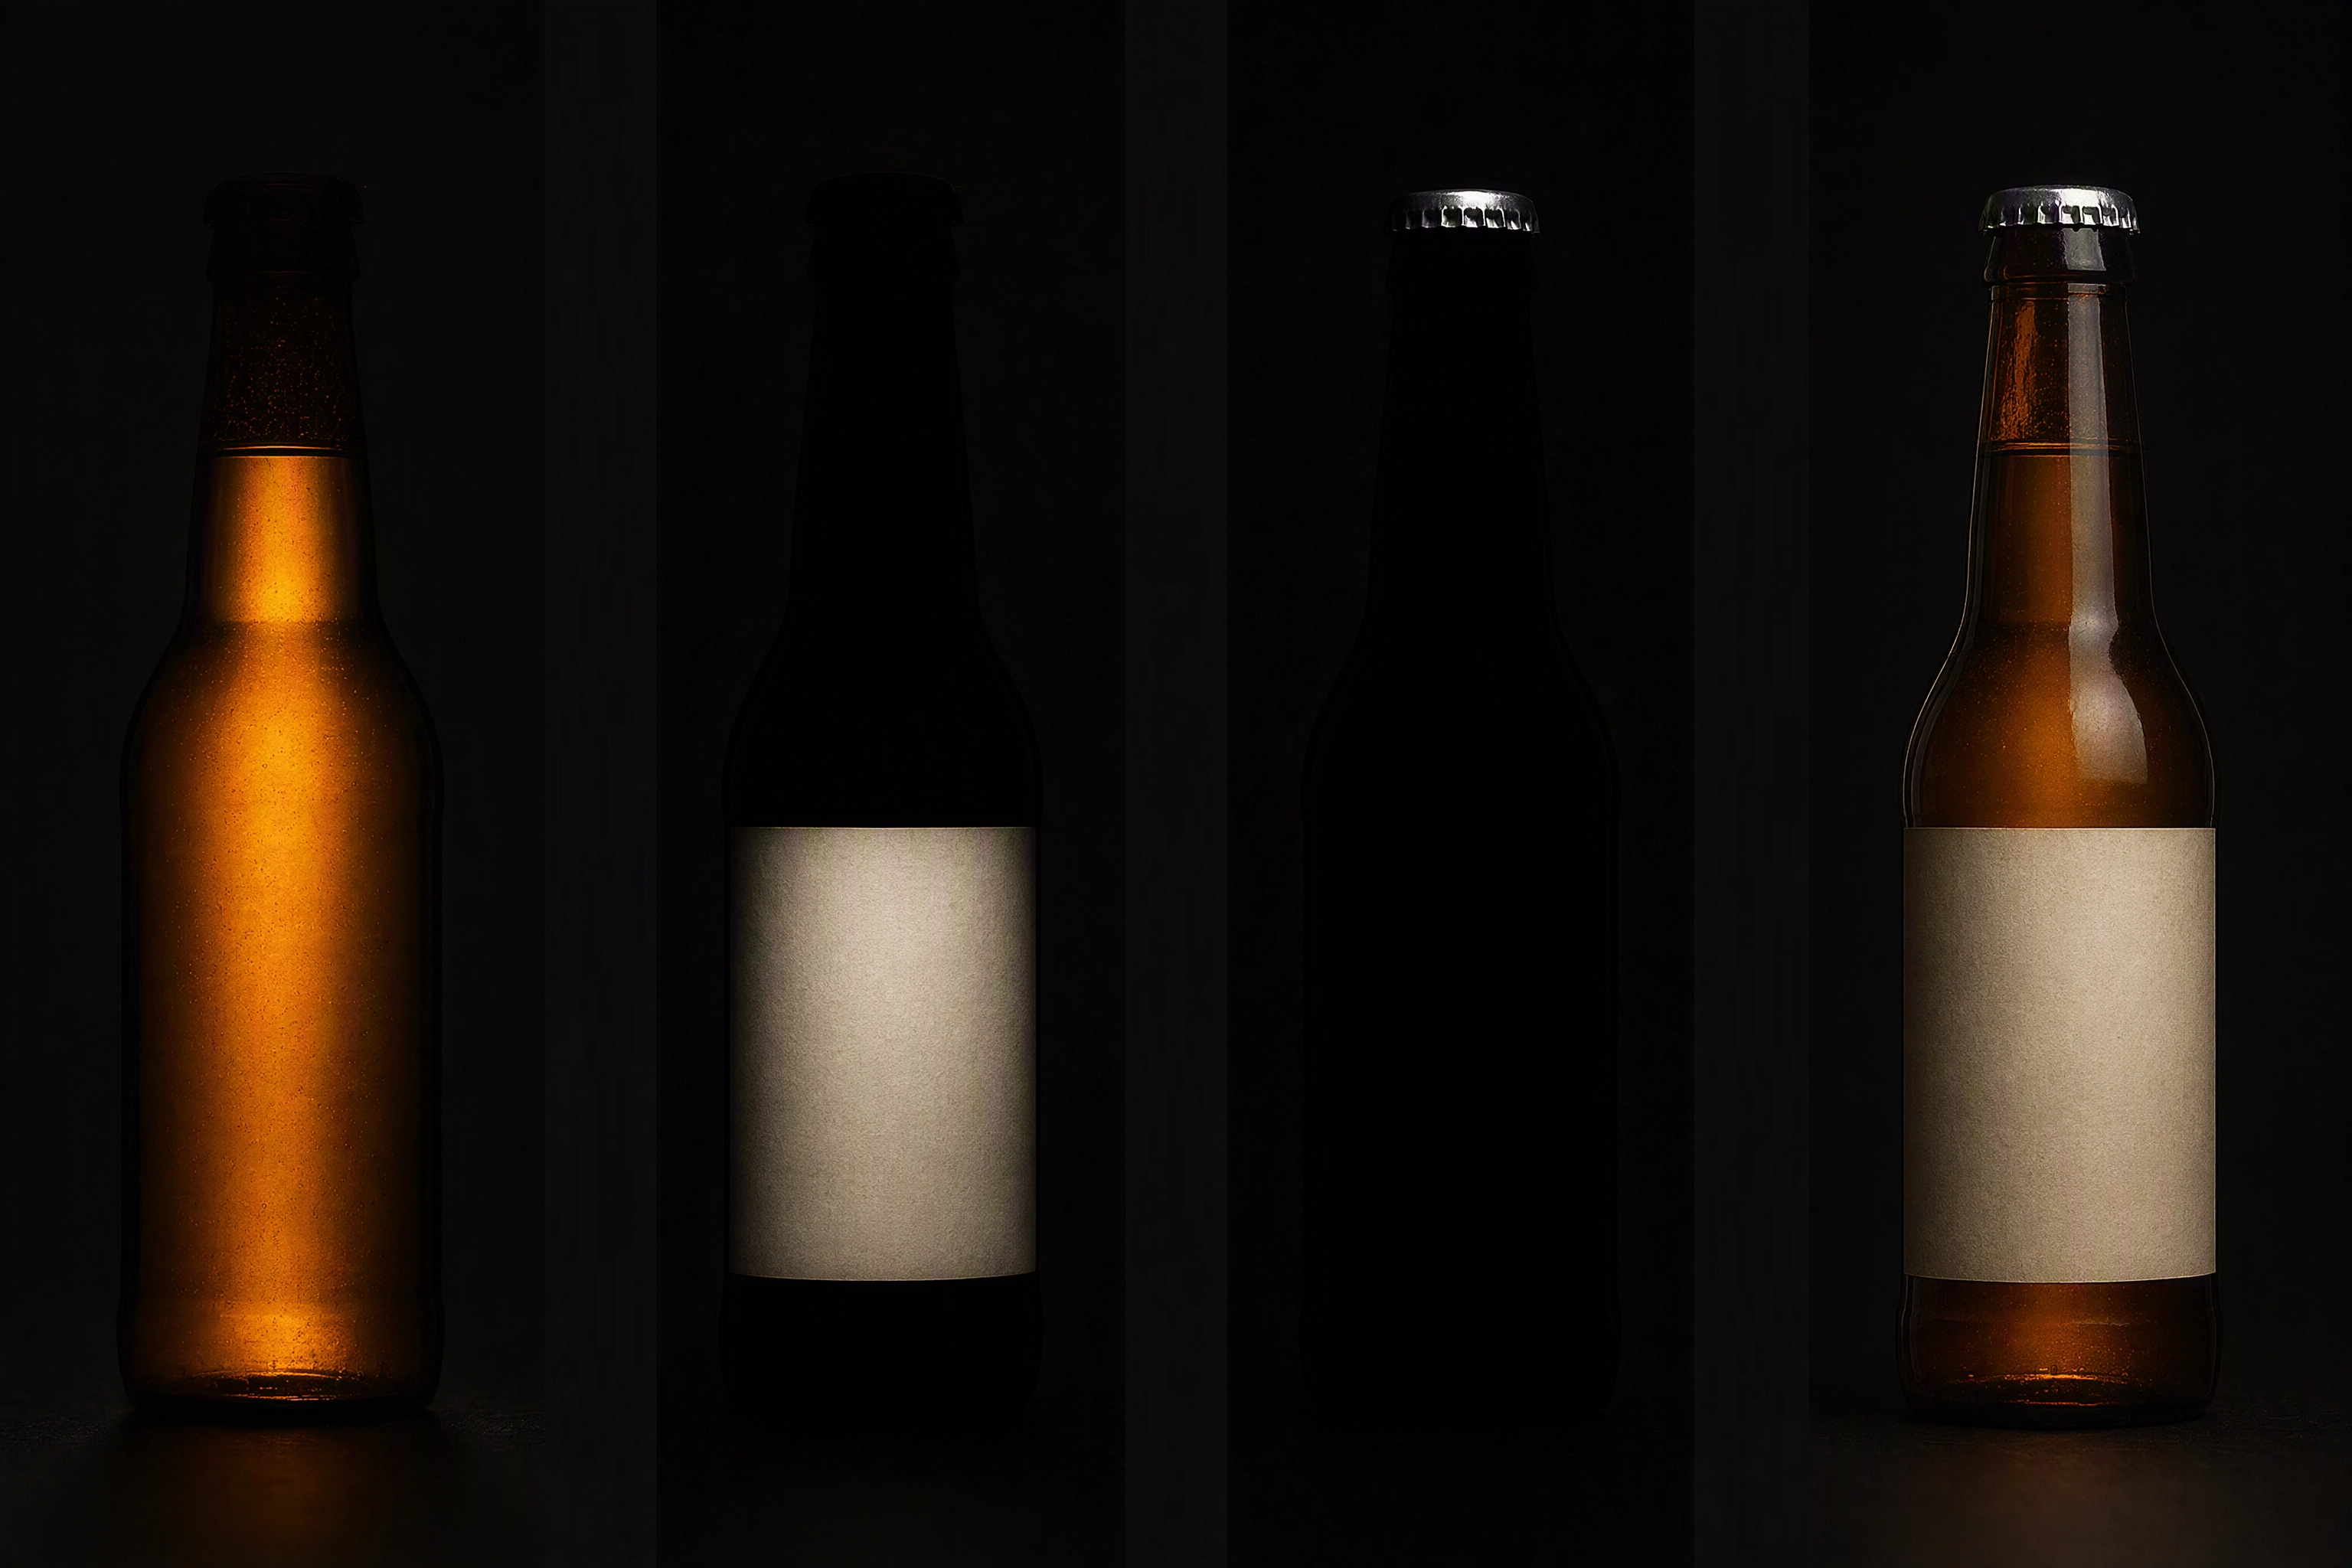 Four exposures of one bottle lit separately for liquid, label and cap plus the final blend, showing composite bottle photography
Bottle Photography Camera Settings and Kit
Use a short telephoto: 100mm on full frame, 60–80mm on APS-C, as Amateur Photographer recommends. Wider optics bend the silhouette. Our best lens guide has the details.
The settings are boring on purpose:
- f/11 to f/14 so the label, both edges and the stopper stay sharp. Crisp edges cut out cleanly later.
- Lowest native ISO, manual exposure at flash sync, RAW only — our DSLR guide explains why.
- Locked tripod, non-negotiable if you plan to composite. See our tripod picks.
Cheap kit does the heavy lifting: 2mm white acrylic sheets as diffusers, black and white foam core for edges, an atomiser, a grey card in a test frame so brand colours land accurately. Using gloves throughout saves a retouching hour.
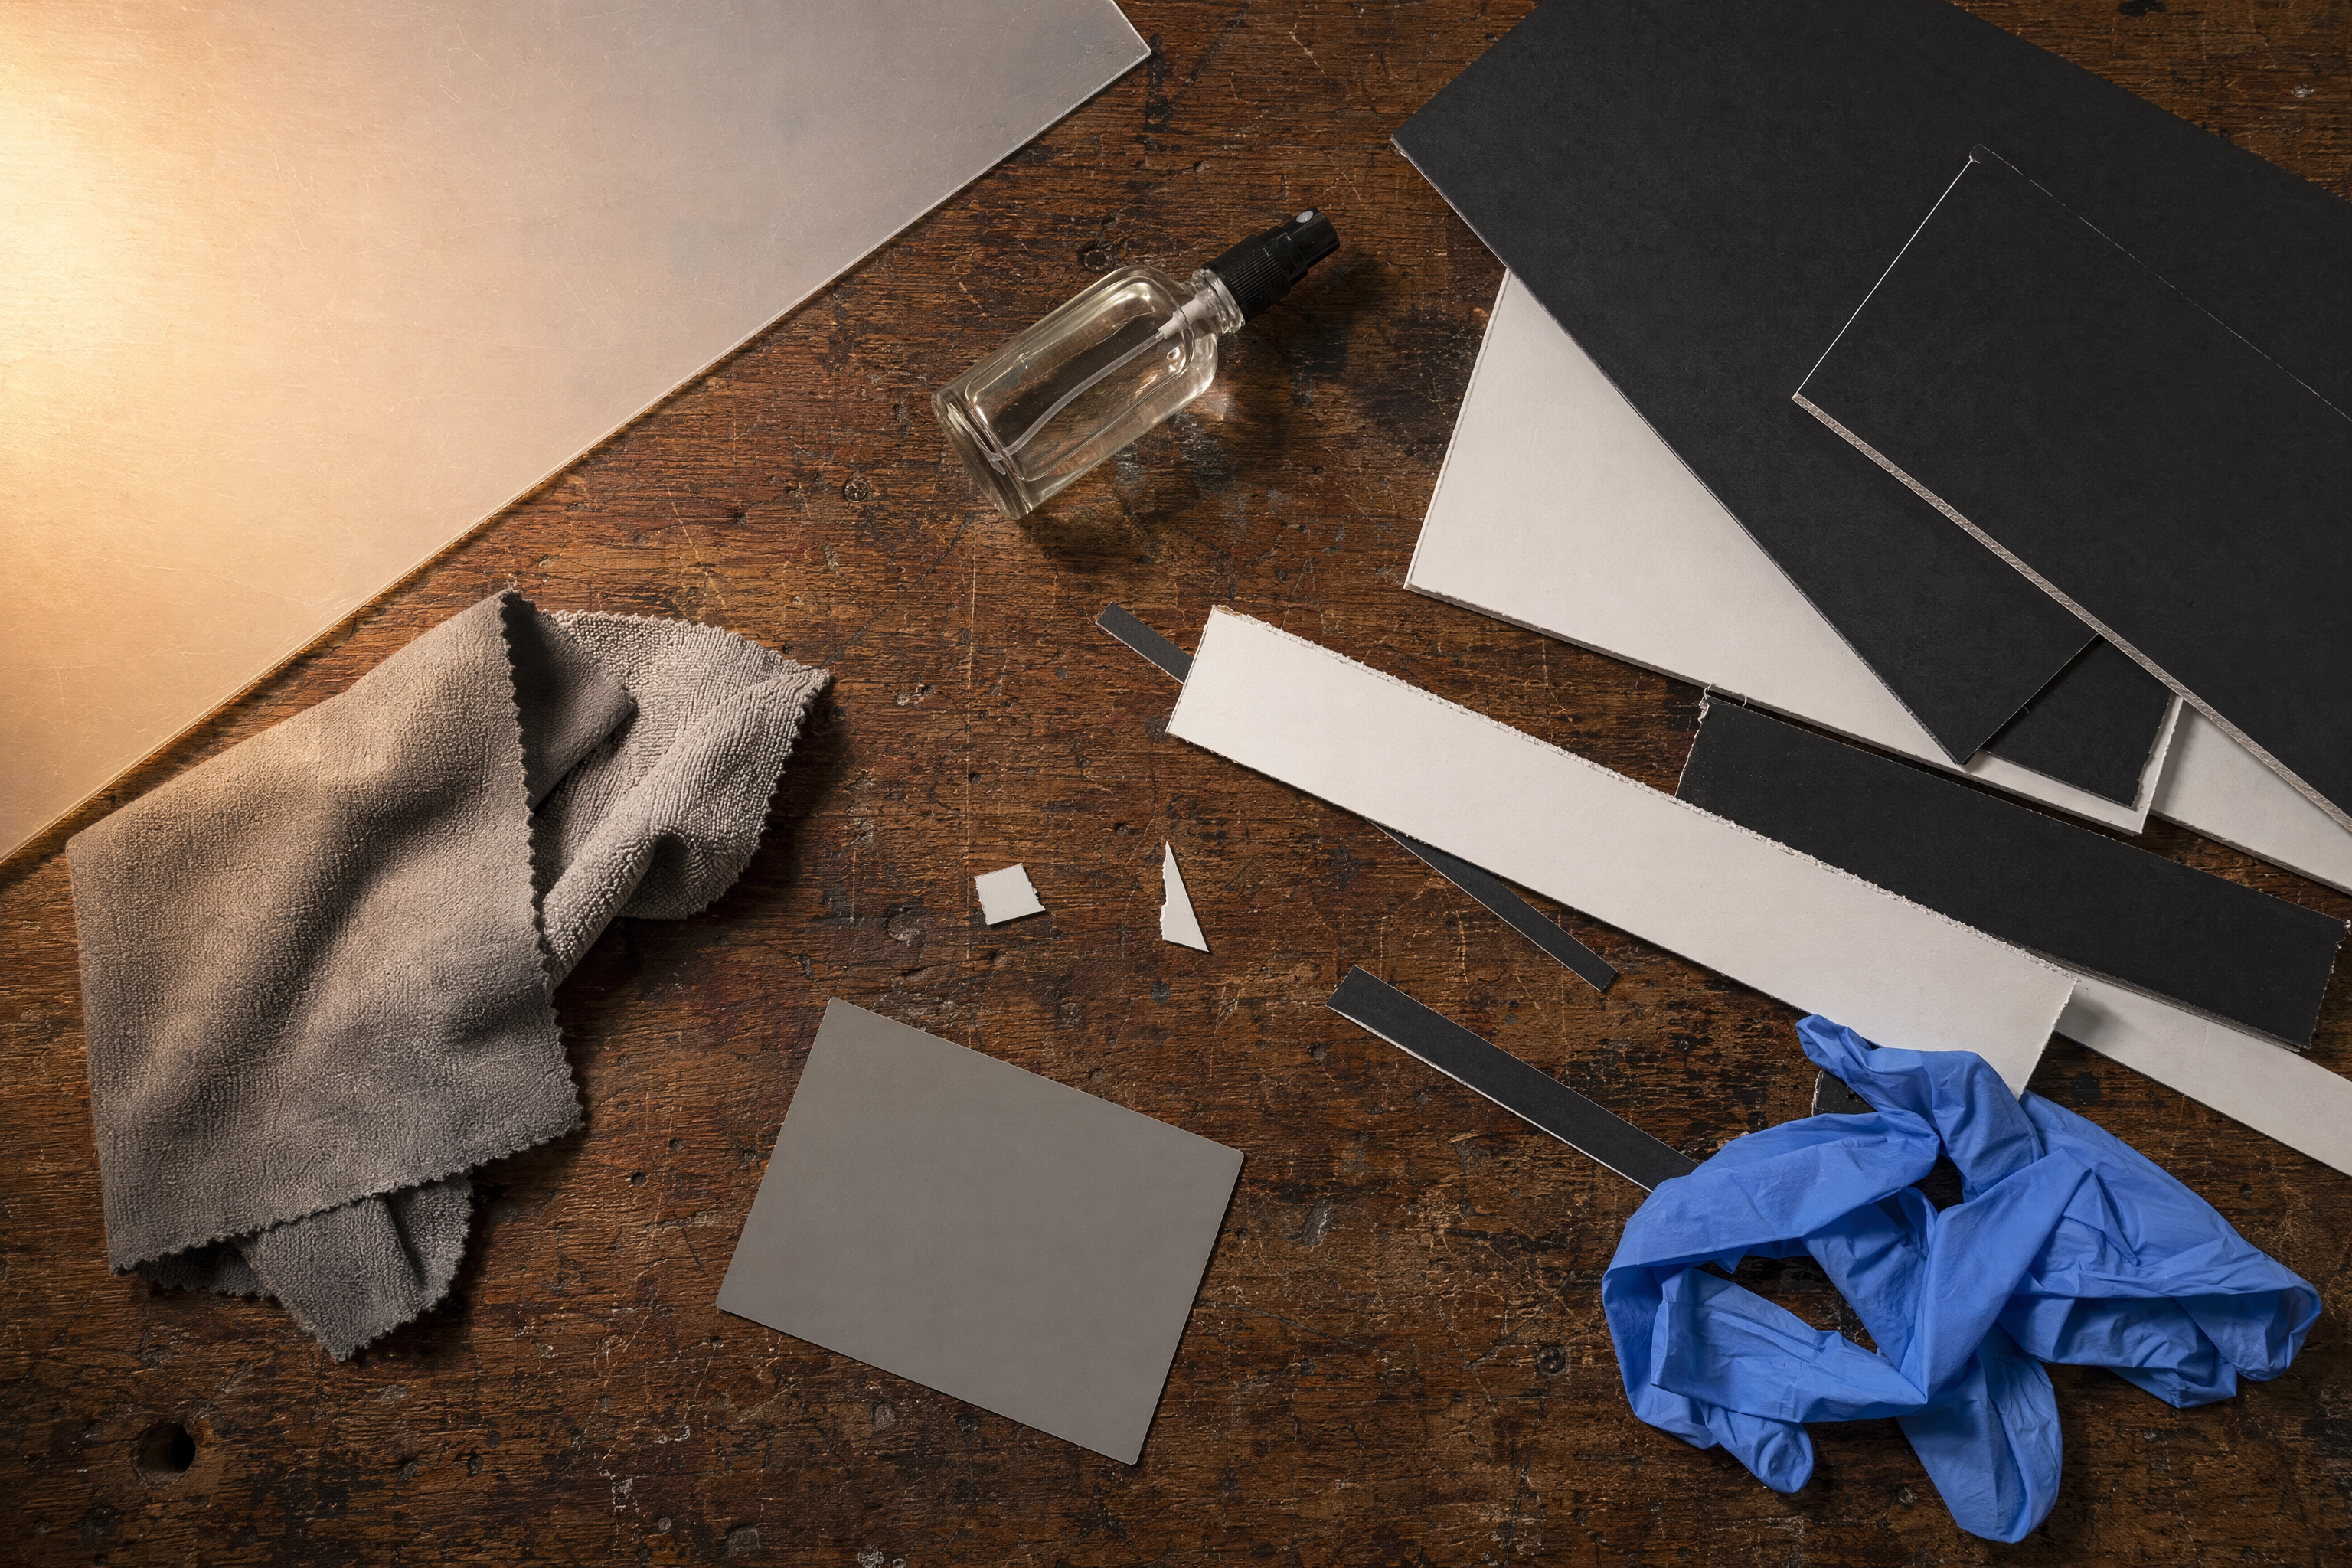 Overhead of a budget bottle photography kit: white acrylic diffuser, foam core flags, glycerine atomiser, gloves and grey card
What a Bottle Shot Costs Per SKU — and the AI Alternative
Quoted 2026 bottle photography rates hide the real number. Add retouching, studio rental, shipping samples both ways and coordination, and a $40 image lands nearer $84 before you even email the files out. Most listings need three to six images per SKU: front, 45-degree, back label, detail, pack, lifestyle.
For ready-to-drink brands that math breaks. RTD cocktails alone are a $4.25 billion category in 2026 growing 14% a year, and every seasonal flavour and multipack is another studio day.
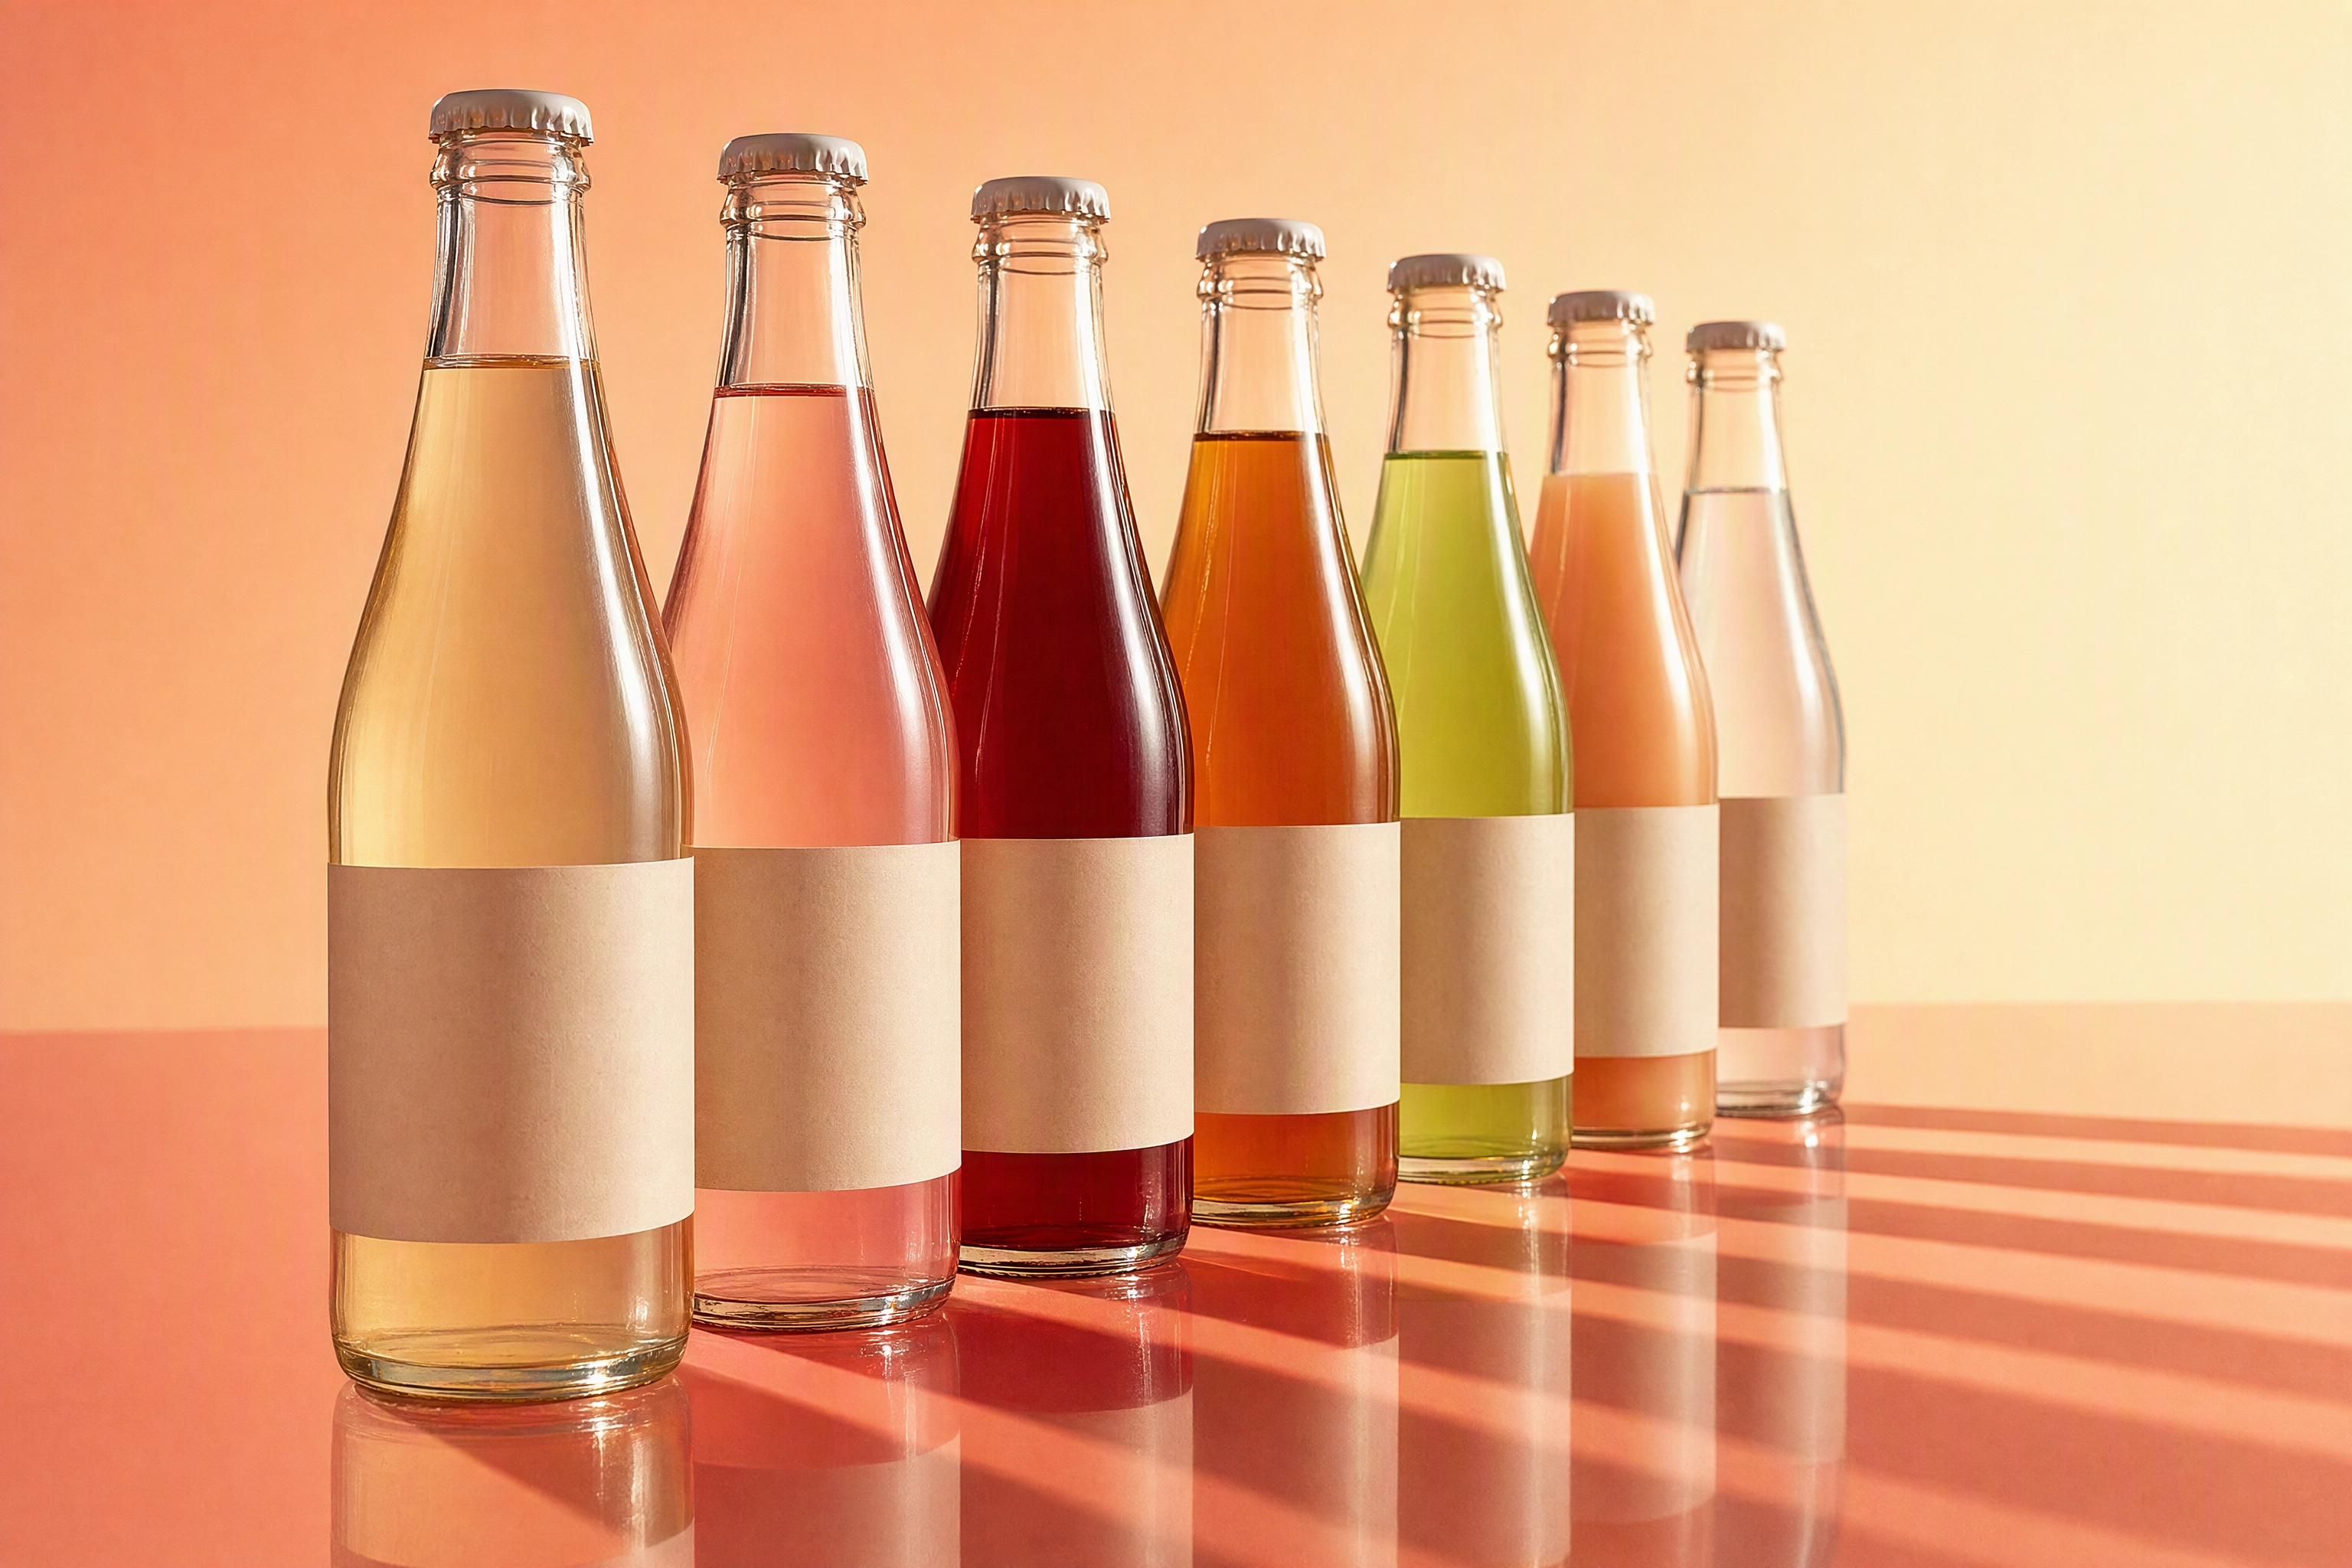 Row of seven unbranded bottles in different flavour colours, showing the per-SKU cost of beverage product photography
This is where AI earns its place — not replacing the launch hero, but creating the variations around it. FoodShot AI includes 24 dedicated beverage and RTD styles, outputs 2K files, and covers commercial use on paid plans. It works from your photo of your bottle, so the artwork stays yours. Small brands use it to share seasonal posts without booking a studio.
Brands run it through our food and beverage brand workflow. Bars, restaurants, cafes, hotels, caterers and content creators use the same AI photo tools and solutions for menus. Check pricing for plan limits.
Two honest limits: still images only, and there is no free tier on the web.
Frequently Asked Questions
How do you photograph a bottle without reflections?
You can't delete reflections from glass — you choose them. Illuminate a white surface on one side, place black card on the other, and keep the rest of the room dark. Wear dark clothes and clean the set behind the camera, because anything bright shows.
What camera settings are best for bottle photography?
Manual exposure at flash sync, lowest native ISO, RAW, and f/11–f/14 for front-to-back sharpness. Use a 100mm-equivalent focal length. Focus on the label, since it gives autofocus the most contrast.
How do you create condensation on a bottle for photos?
Mix glycerine and water 50:50 and apply it with a fine-mist atomiser. Spray only the chilled zone where liquid sits inside the glass. It lasts hours instead of the 90 seconds real chilling gives you.
Can you shoot bottle photography with an iPhone?
Yes, for social and menus. A phone plus one lamp and a diffusion panel makes a usable frame, and r/productphotography is full of proof. You lose RAW latitude and true f/11 depth, so retail listings suffer.
Shooting a whole range next? Follow the drink photography guide, the wine photography breakdown, our food type library, use case pages, Pinterest transfer and the blog.