Best Lens for Food Photography (And When You Need One)
 Ali Tanis32 min read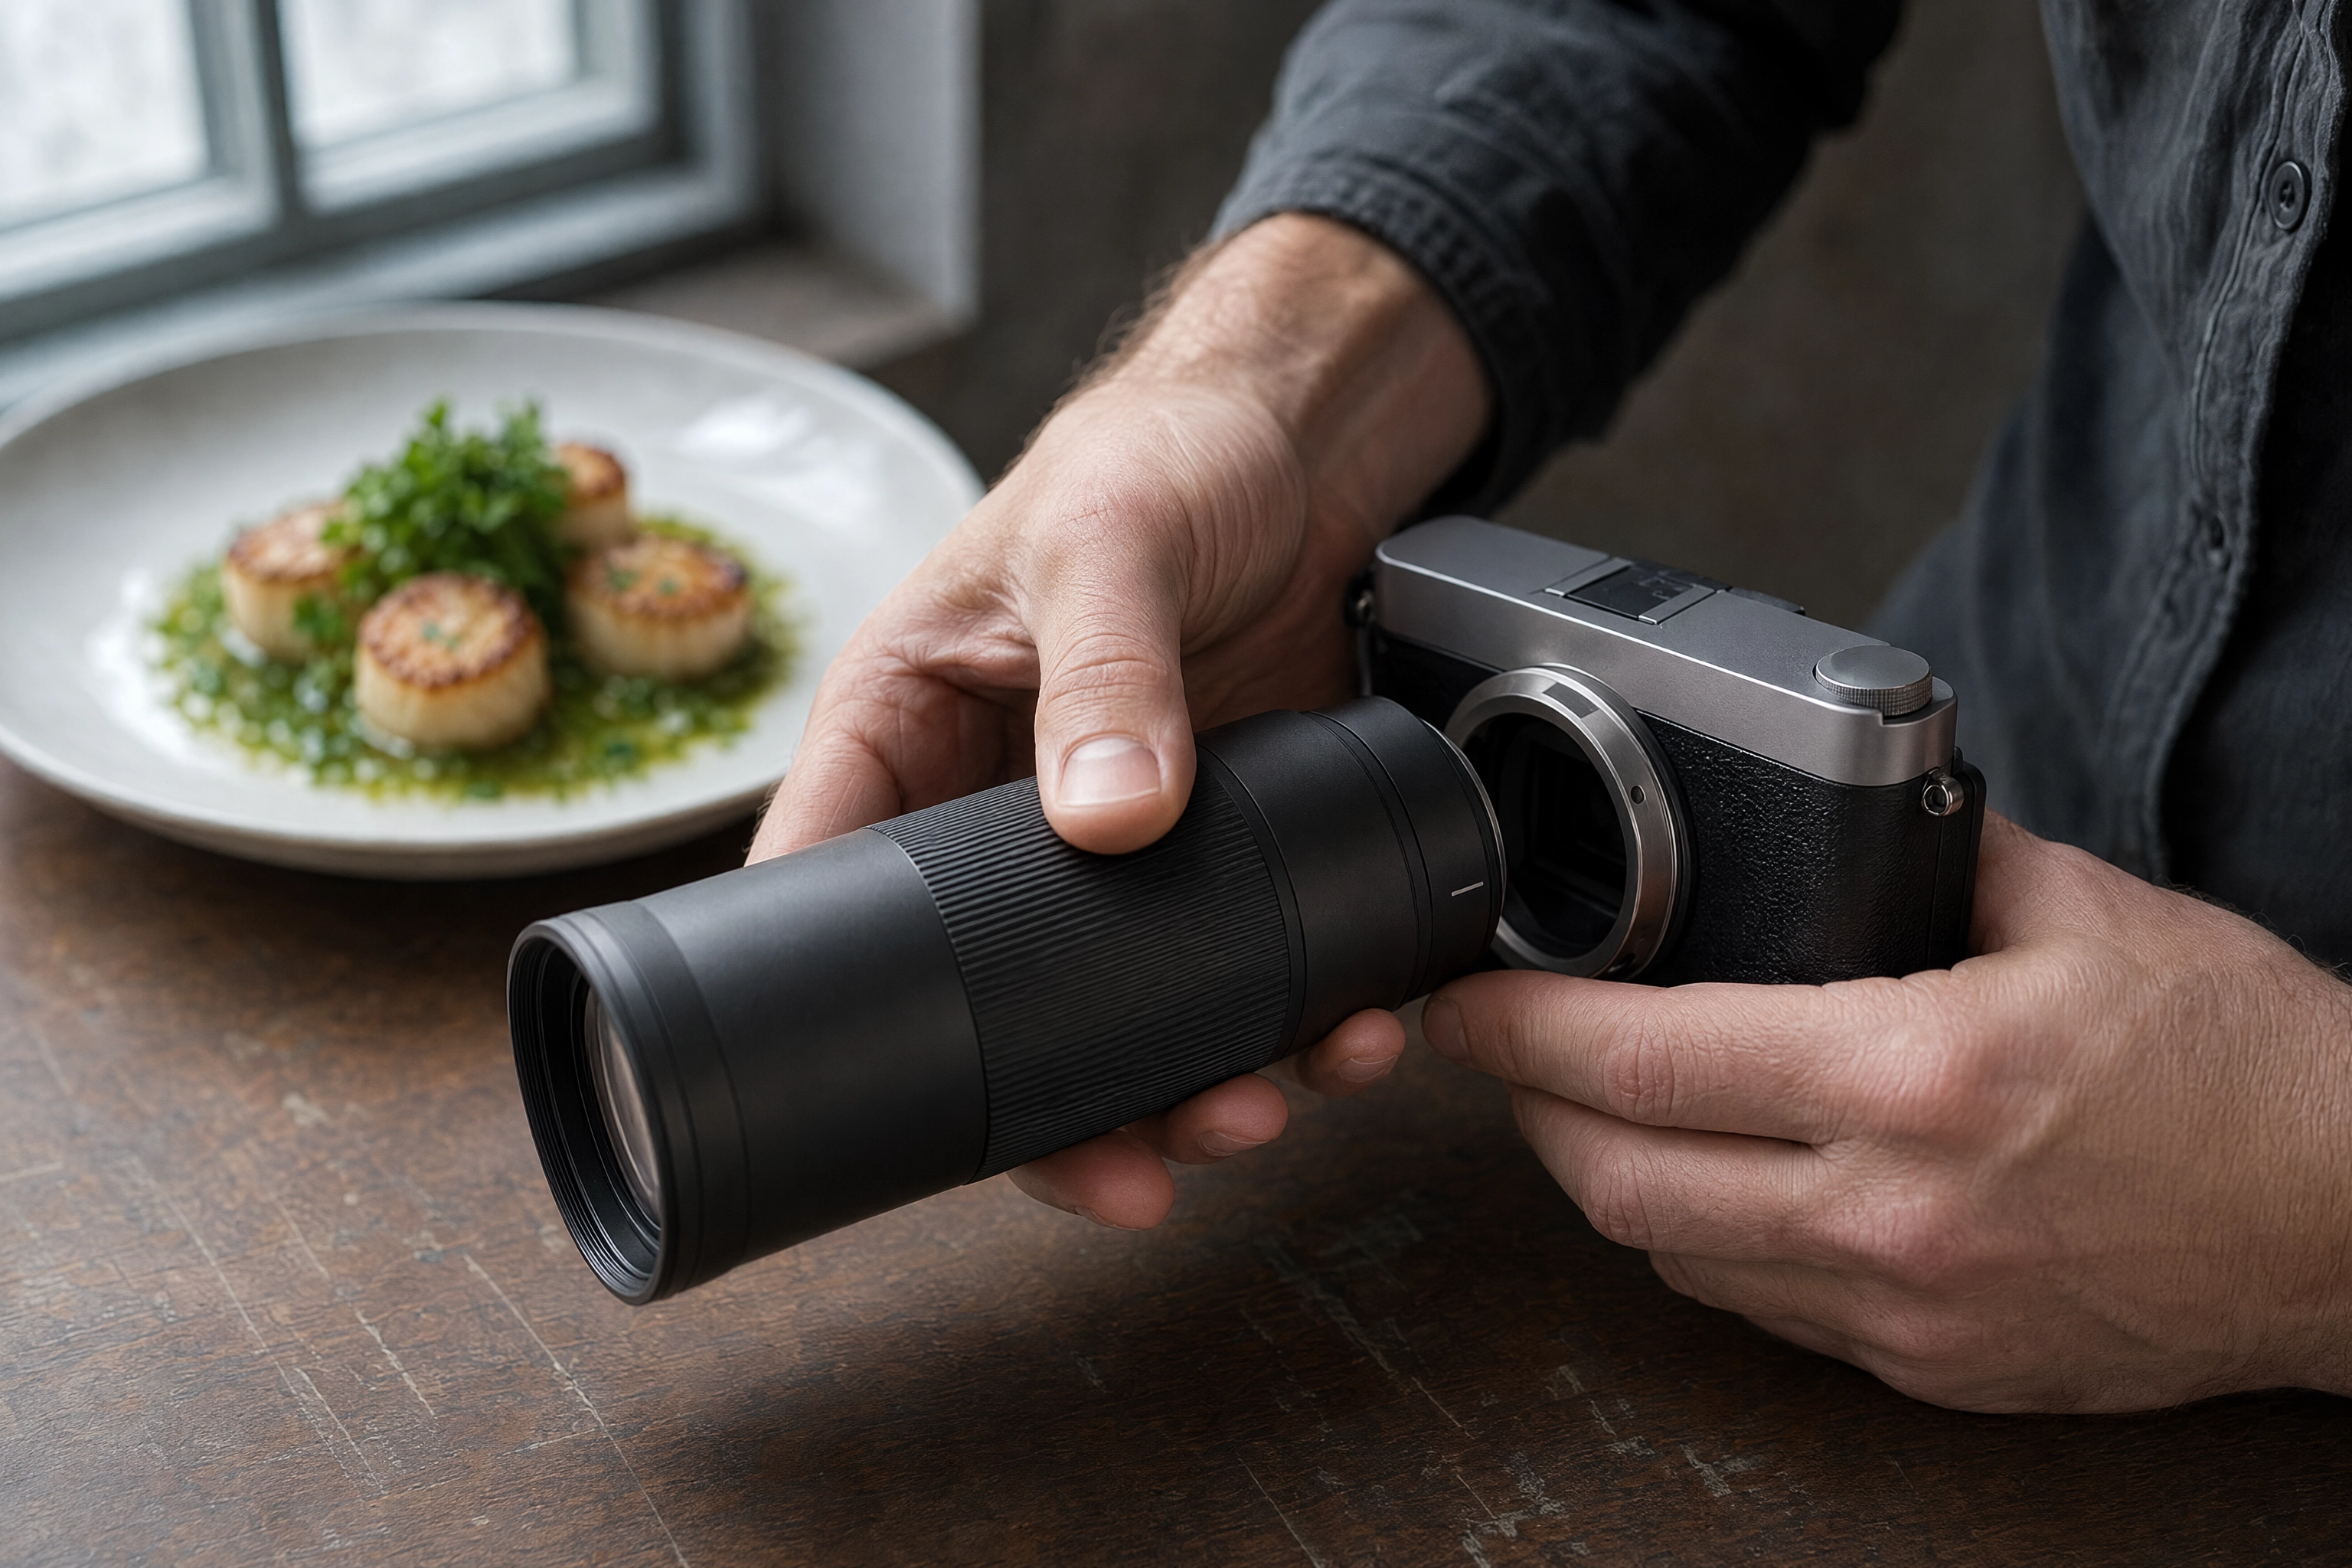
If you want the answer without the reasoning: the best lens for food photography is a 50mm prime for scenes and a 90–105mm macro for single dishes. Buy the 50mm first. That combination is what most working food photographers actually reach for, and it has been true for well over a decade.
The reasoning matters more than the pick, though. The right lens for a studio shooter with a tripod and a north-facing window is the wrong lens for someone crouched over a two-top in their own dining room, trying to photograph tonight's special before it goes cold. Focal length is a spatial commitment. Pick one that doesn't fit your room and you'll fight it on every single shoot.
Quick Summary: For most food photography, a 50mm prime (or 35mm on a crop sensor) handles scenes, flat-lays and table spreads, while a 90–105mm macro handles single-plate hero shots and texture detail. Shoot between f/4.5 and f/8 — not wide open. Avoid anything wider than 35mm for plated dishes: at 24mm the near rim of a plate renders roughly 2.8× larger than the far rim. And remember that a lens only solves capture. It does nothing for light, styling, or a dark dining room at 7pm.
The Short Answer: Two Lenses Cover 95% of Food Photography
| 50mm prime | 90–105mm macro | |
|---|---|---|
| What it's for | Table scenes, flat-lays, multiple dishes, tight spaces | Single plated dishes, texture, hero shots |
| Full-frame equivalent | 35mm on APS-C, 25mm on Micro Four Thirds | 60mm on APS-C, 45mm on MFT |
| Distance to fill the frame with a dinner plate | ~41 cm (16 in) | ~82 cm (32 in) |
| Typical aperture used | f/2.8–f/5.6 | f/4.5–f/8 |
| Price band (2026) | $199–$630 new | $599–$1,400 new |
| Buy it if | You shoot in cramped rooms, need one lens, or shoot overhead | You shoot single dishes, want texture detail, and have space |
If that's all you came for, you're done. Buy the 50mm, shoot at f/5.6, and spend the rest of the money on a window and a piece of white foam board.
Everything below is why — plus the parts of this decision that gear guides skip, because the honest answer doesn't earn a commission. If you'd rather start with technique than glass, our food photography tips guide is the better first read.
Why 50mm and 100mm Macro Dominate Food Work
These two focal lengths didn't win a popularity contest. They won on geometry.
Food is a small subject photographed from close range, usually from a downward angle, usually indoors, usually in bad light. That combination puts three hard constraints on a lens: it has to render a round plate as round, it has to focus close enough to fill the frame, and it has to gather enough light that you're not shooting at ISO 6400. The 50mm and the 90–105mm macro are the two focal lengths that satisfy all three — for different jobs.
The 50mm: Your Scene Lens
The "nifty fifty" earned its nickname honestly. On a full-frame body, a 50mm needs about 41 cm (16 inches) of distance to fill the long edge of the frame with a standard 26 cm dinner plate. That's arm's length. You can shoot it standing at a table without backing into the next booth.
It's also the longest lens that stays practical overhead. To frame a 90 cm table spread from directly above, a 50mm needs to sit roughly 1.3 m above the tabletop — around 2.05 m off the floor with a standard 30-inch table. That's a step stool or a tall tripod with a lateral arm. Achievable.
The f/1.8 aperture matters even though you should almost never use it on a plate. In a dining room lit to roughly 50 lux, the gap between f/1.8 and f/4 is more than two stops of shutter speed — the difference between a usable handheld frame and a smeared one. You buy the fast aperture for the shutter speed, then stop down once you actually have light.
The 50mm's weakness shows up at the classic 45-degree angle. Shooting from 41 cm, the near rim of the plate renders about 60% larger than the far rim, which reads as a slight stretch toward the camera. Tolerable. Not ideal. That's the gap the macro fills.
The 90–105mm Macro: Your Hero-Dish Lens
Two specs make a macro lens a macro lens: 1:1 magnification, where the subject projects onto the sensor at life size, and a minimum focus distance of roughly 30 cm.
The second number is the one that changes your photography. Compare Canon's two 100mm lenses: the non-macro EF 100mm f/2 can't focus closer than 91 cm, while the EF 100mm f/2.8 Macro focuses to 31 cm. That's 60 cm of extra compositional freedom on an otherwise identical focal length — the difference between "back up until the shot works" and "compose the shot you actually wanted."
At 1:1 magnification, working distance from the front of the lens roughly equals the focal length, a rule of thumb confirmed by working macro shooters. A 100mm macro leaves about 15 cm of air between glass and food. A 50mm macro leaves about 10 cm, which is close enough that your lens hood shades the dish and you can't fit a light in.
One caution: food photography is not macro photography. A life-size frame of a sesame seed is a technical exercise, not an appetite trigger. The reason working photographers keep a 100mm on the camera isn't extreme close-ups — it's that this focal length renders a plate at 45 degrees more honestly than anything shorter, and the close focus means the crop is never a compromise.
A naming quirk worth knowing. Canon, Sony, Sigma and Tamron call these macro lenses. Nikon calls them Micro — badged "Micro-NIKKOR" on F-mount and MC on Z-mount. Same category, different marketing word. If you're browsing used listings, search both terms or you'll miss half the inventory on MPB and KEH.
What Crop Factor Actually Does to These Numbers
Most gear guides say "account for your crop factor" and move on. Here's what it means in the room.
| Sensor | Lens for the classic "50mm look" | Lens for the classic "100mm macro look" |
|---|---|---|
| Full frame | 50mm | 90–105mm |
| APS-C (1.5×/1.6×) | 33–35mm | 60mm |
| Micro Four Thirds (2×) | 25mm | 45–50mm |
Put a 50mm on an APS-C body and you have a 75–80mm equivalent. To fill the frame with a dinner plate you now need about 60 cm of distance instead of 41 cm. That's the single most common gear mistake beginners make, and it's the loudest complaint in DPReview's food photography lens threads: "I hate being the awkward guy who has to lean back or stand up while holding a big camera."
On APS-C, buy a 35mm f/1.8 as your scene lens. On Micro Four Thirds, a 25mm f/1.8. The 60mm macro was the classic crop-sensor food lens for exactly this reason — it lands at roughly 90mm equivalent, right in the hero-dish sweet spot.
What About Zoom Lenses?
A 24–70mm f/2.8 or 24–105mm f/4 shoots perfectly good food, and plenty of working photographers keep one mounted for the obvious reason: on a fast-moving shoot, changing framing without changing position saves real time.
Two honest caveats.
You'll only use a third of it. For plated food, the useful part of that zoom range is 50–70mm. You're carrying 800 g of glass to use one section of it, when a 50mm prime weighs 160 g, costs a fifth as much, and is one to two stops faster.
Minimum focus distance. Standard zooms typically won't focus closer than 38–45 cm and top out around 0.2–0.3× magnification. You get framing flexibility but not close-focus ability, which means no texture shots and tight crops still have to happen in post.
Where a zoom genuinely wins: shooting an entire menu in a single session under time pressure, which is exactly the scenario our menu photoshoot guide walks through. And if you already own a kit zoom, set it to 50mm at f/5.6 and shoot with that before you buy anything at all.
Quick Reference: Lens by Shot Type
| Shot | Full frame | APS-C | Camera angle |
|---|---|---|---|
| Single plated entrée | 85–105mm | 60mm macro | 25–45° |
| Overhead flat-lay, one dish | 50mm | 35mm | 90° |
| Overhead table spread | 35mm | 24mm | 90° |
| Stacked burger or sandwich | 85–100mm | 60mm | 0–15° |
| Tall drink or cocktail | 85–100mm | 60mm | 0–15° |
| Bowl (ramen, soup, poke) | 50mm | 35mm | 30–45° |
| Texture and detail shots | 90–105mm macro | 60mm macro | any |
| Interior with food in foreground | 24–35mm | 16–24mm | eye level |
| Pastry or cake cross-section | 90–105mm macro | 60mm macro | 0–20° |
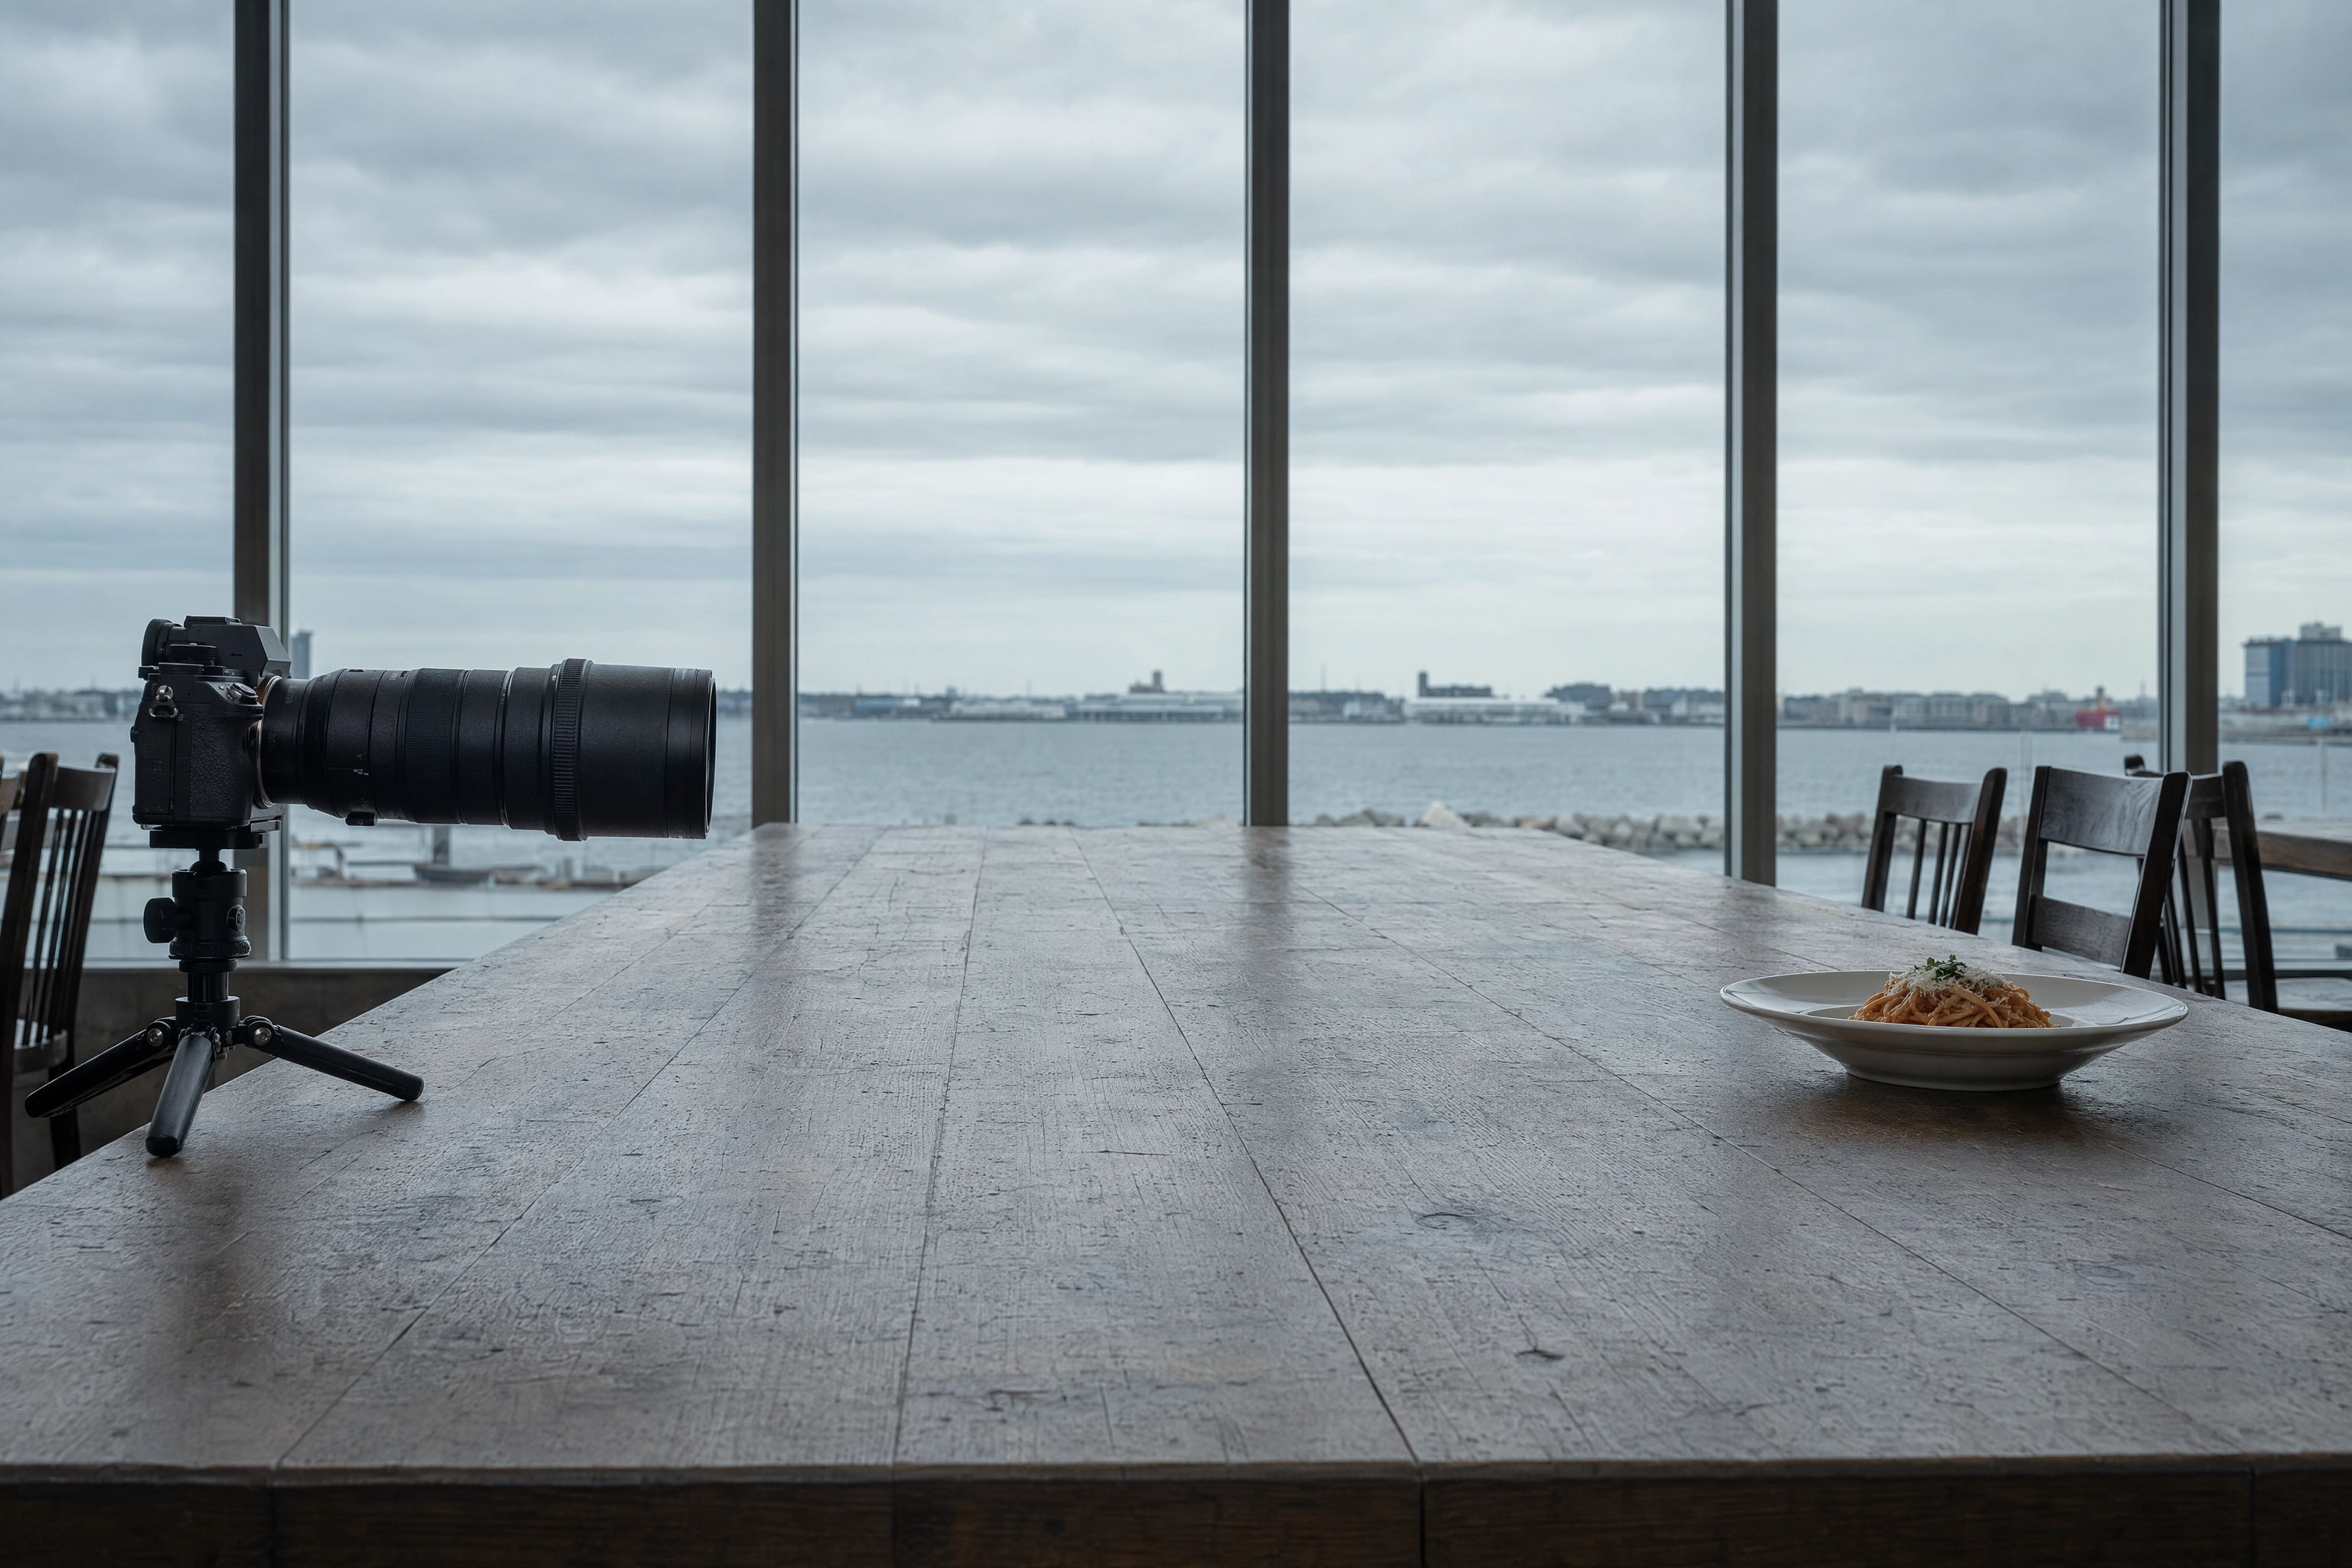 Camera on a tripod positioned far down a long table from a small plate, showing telephoto lens working distance
Why Wide-Angle Lenses Make Plates Look Wrong
Almost every food photography guide says wide angles "distort" food. Almost none explain the mechanism, and the wrong explanation sends people to the wrong fix.
This is not barrel distortion. Barrel distortion is an optical aberration that bows straight lines outward, and it's fully correctable — one click of a lens profile in Lightroom and it's gone.
What ruins wide-angle plate photos is perspective distortion, and it isn't caused by the lens at all. It's caused by how close the lens forces you to stand. When the near rim of a plate is dramatically closer to the sensor than the far rim, it renders dramatically larger. No lens profile fixes that, because nothing is optically wrong.
Here's the effect quantified. Take a 26 cm plate shot at a 45-degree angle, framed to fill the long edge of a full-frame sensor. The near rim sits about 9.2 cm closer to the camera along the optical axis than the far rim. Apparent size is inversely proportional to distance, so:
| Focal length | Distance to plate | Near rim renders this much larger than far rim |
|---|---|---|
| 24mm | 20 cm | ~2.8× |
| 35mm | 29 cm | ~1.9× |
| 50mm | 41 cm | ~1.6× |
| 85mm | 70 cm | ~1.3× |
| 100mm | 82 cm | ~1.25× |
| 135mm | 111 cm | ~1.2× |
How these numbers were derived: subject distance comes from the thin-lens approximation s ≈ f(1 + W/S), where W is subject width and S is sensor width; the apparent-size ratio is simply (s + 9.2) / (s − 9.2). You can reproduce any row with a calculator.
At 24mm, one side of a round plate is nearly three times the size of the other. That's why wide-angle food shots look like the plate is lunging at you while the back half falls off a cliff. Garnish at the front balloons. The protein at the back shrinks and loses definition. On a bowl, the rim goes from circle to egg.
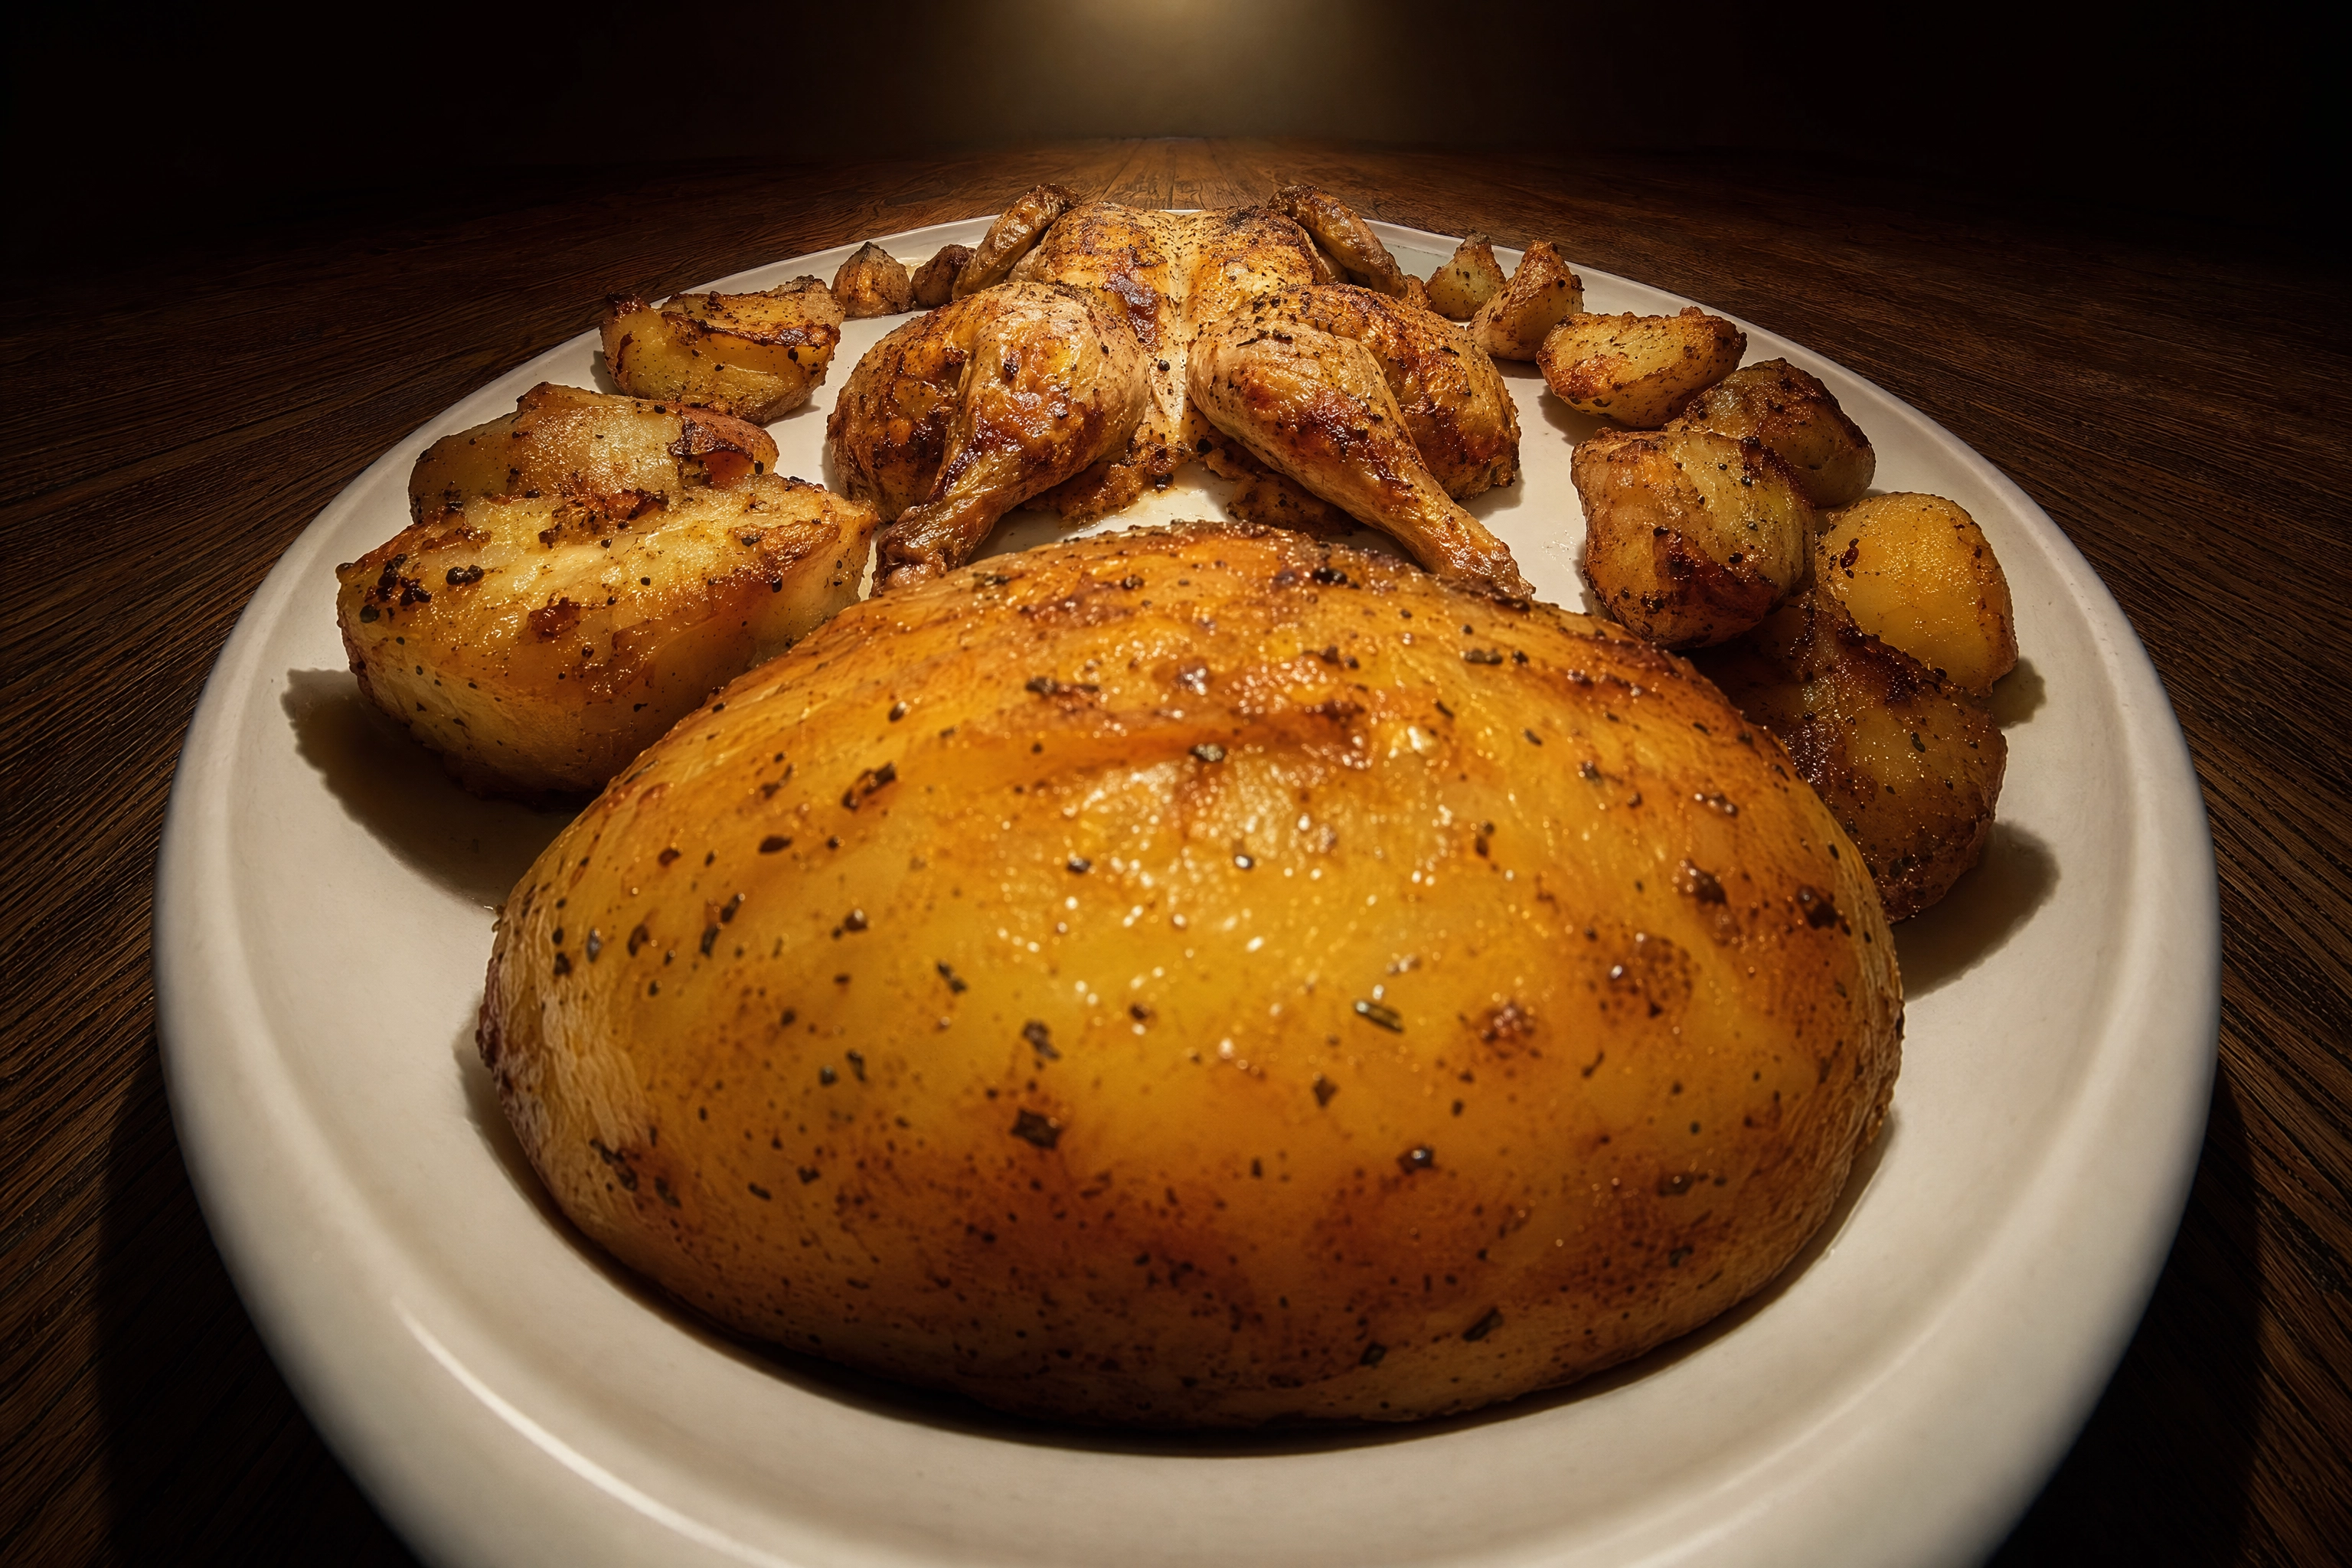 Exaggerated wide-angle perspective distortion on a dinner plate with an oversized near rim and shrunken far side
Two things follow from that table. First, choosing a focal length is really choosing a distance — the lens just enforces it. Second, the returns flatten fast past 85mm. Going from 24mm to 50mm buys an enormous improvement. Going from 100mm to 135mm buys almost nothing and costs you two feet of standing room.
When Wide Actually Wins
Wide angles aren't banned, just misapplied. Three jobs where 24–35mm is the correct choice:
- Full table spreads. Six dishes, hands reaching in, wine glasses, the whole scene. Here the perspective reads as immersion, and you physically cannot frame a 1.2 m table from a normal ceiling height with anything longer.
- Environmental shots with food in the foreground. A dish sharp in front, the dining room and open kitchen behind. This is the image that sells a restaurant, and it needs a wide angle to include both. Our restaurant food photography guide covers the shot list.
- Exteriors and service windows. Food truck hatches, counter service, the pass. Documentary work, not plate work — see the food truck photography guide.
The rule is simple: wide for places, normal-to-tele for plates.
The Working-Distance Problem on a Real Restaurant Table
This is the constraint that decides the lens for anyone shooting in a working restaurant, and it's almost entirely absent from food photography gear guides — because most of them are written by photographers who have a dedicated studio.
Here's how much room each focal length demands to fill the frame with a single dinner plate:
| Focal length | Full frame | APS-C |
|---|---|---|
| 24mm | 20 cm | 31 cm |
| 35mm | 29 cm | 42 cm |
| 50mm | 41 cm | 60 cm |
| 60mm | 49 cm | 72 cm |
| 85mm | 70 cm | 102 cm |
| 100mm | 82 cm | 120 cm |
Now the room. A standard restaurant two-top is 24×30 inches (61×76 cm). Four-tops are 36×36 or 30×48 inches. Main aisles run 36 inches minimum, per the 2010 ADA Standards for Accessible Design. Table height is 28–30 inches.
Do the arithmetic. To shoot a plate at 45 degrees with a 100mm macro on full frame, the camera has to sit 82 cm from the dish, elevated. Across a 76 cm table, that puts you outside the table's footprint entirely — standing in the aisle, pressed against the booth back, or physically outside the building if the table is against a window. On an APS-C body with the same lens you need 120 cm. That's not a tight fit. That's impossible.
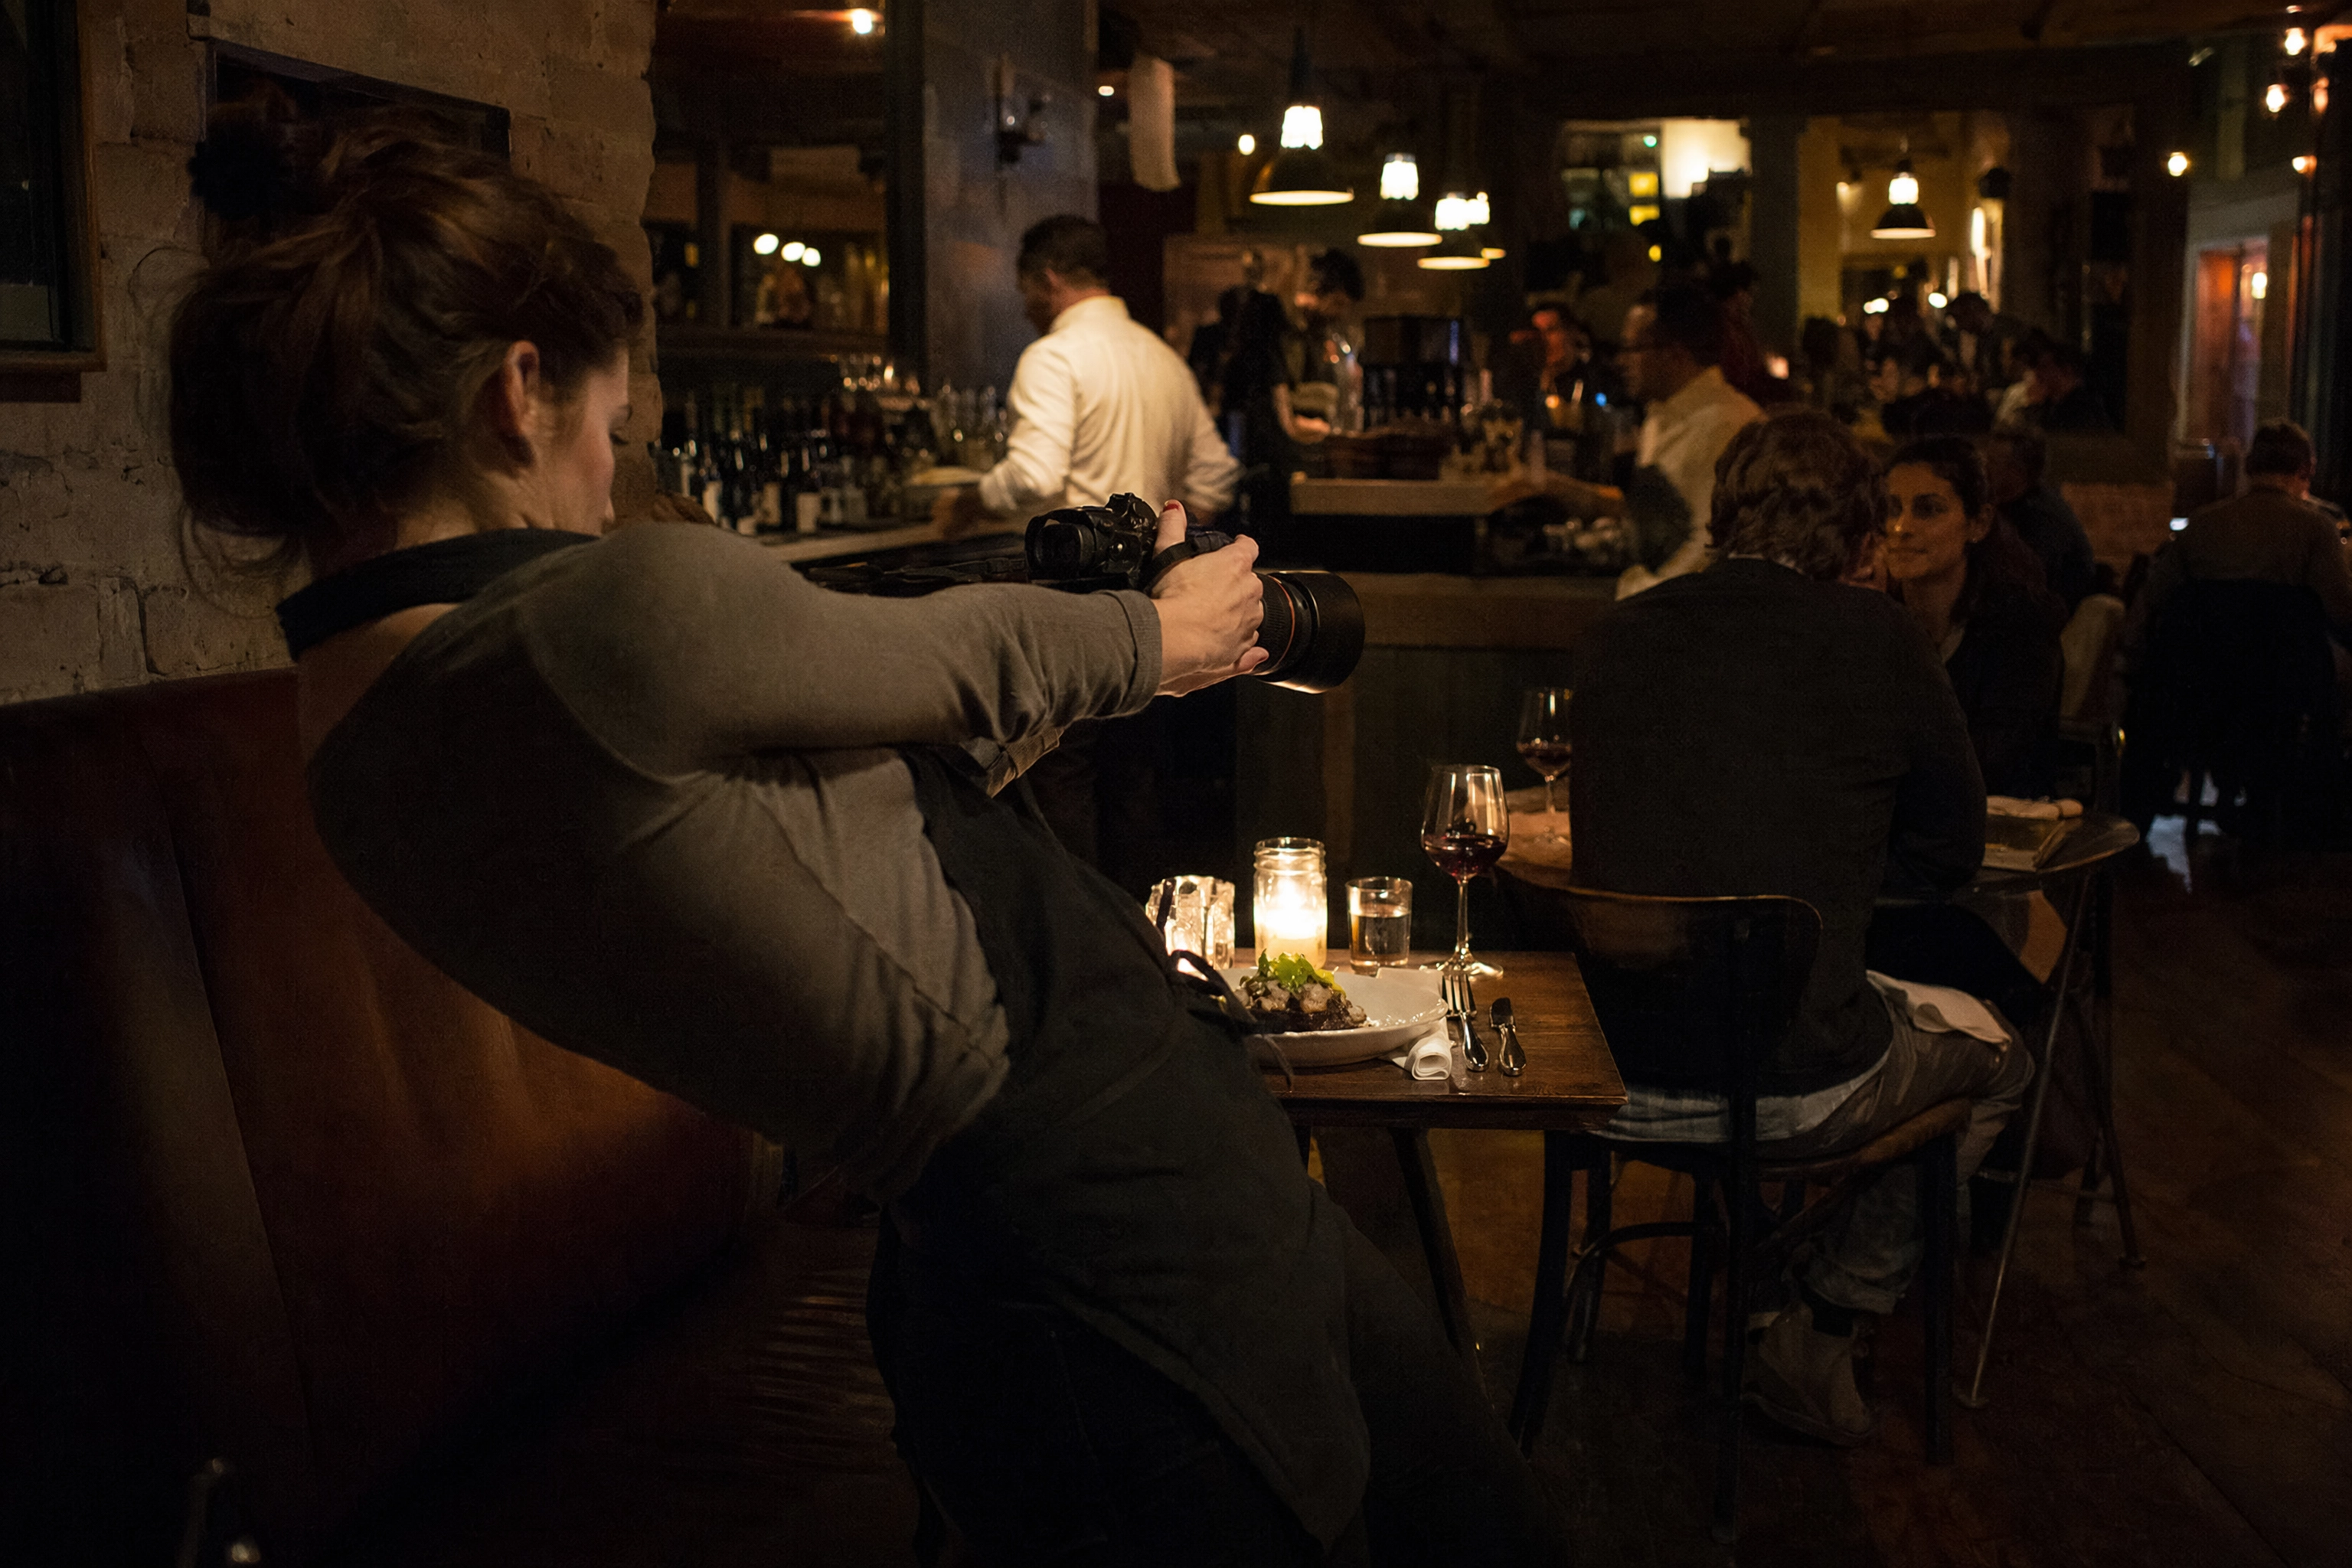 Photographer leaning back awkwardly at a cramped restaurant two-top trying to fit a plate in frame with a long lens
Overhead flat-lays are worse. To frame a 90 cm spread from directly above:
- 35mm: 91 cm above the table → about 1.66 m off the floor. Eye level. Easy.
- 50mm: 1.3 m above the table → about 2.05 m. Step stool.
- 85mm: 2.21 m above the table → about 2.96 m. Not happening.
- 100mm: 2.6 m above the table → about 3.35 m off the floor.
Standard ceilings are 2.4–2.7 m. You cannot shoot an overhead table spread with a 100mm indoors. There's no technique that fixes it.
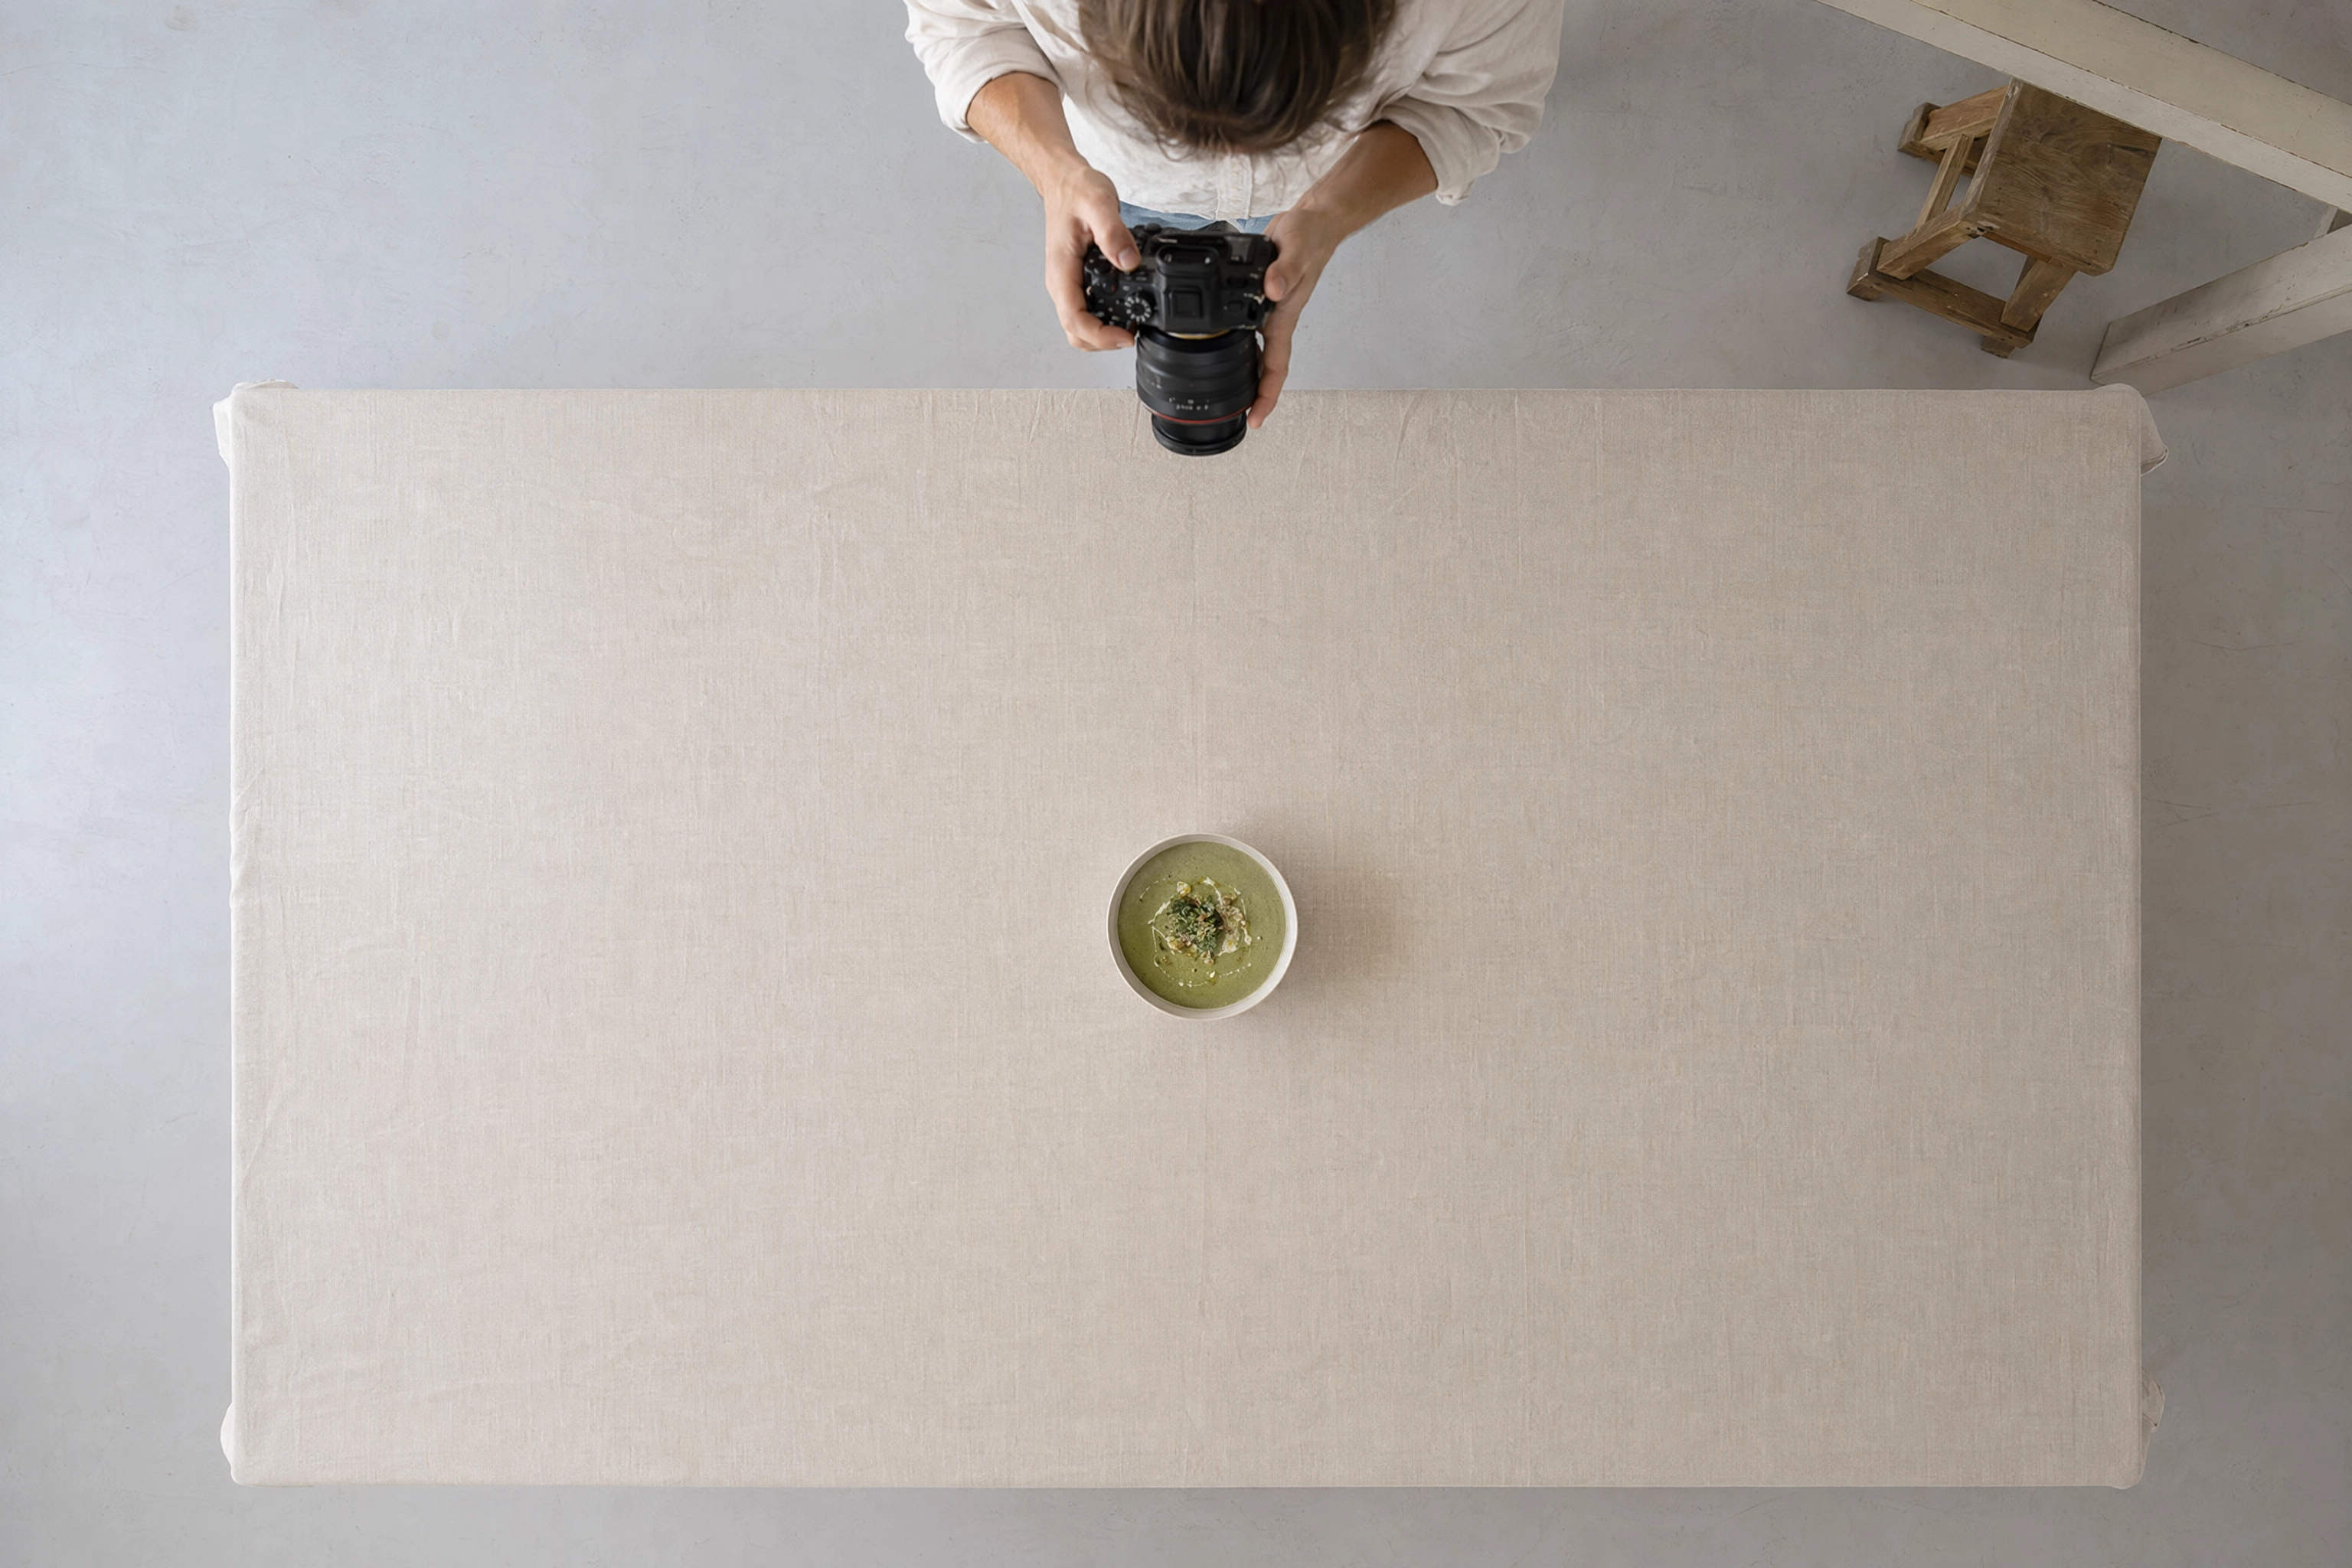 Overhead flat-lay of a single soup bowl on linen with arms reaching down, showing camera height needed for flat lays
The Minimum Focus Distance Trap
The flip side catches people constantly. Scroll any camera forum and you'll find variations of "maybe I was too up close, hence the camera couldn't focus" — a real comment from r/foodphotography. It comes up so often that the Photography Stack Exchange thread on food lenses opens by asking what kind of food work you're doing before recommending anything.
Every lens has a minimum focus distance. Get closer than it and autofocus simply hunts and fails. A 50mm f/1.8 typically won't focus closer than 35–45 cm, which puts the tight crop of a single scallop you're imagining physically out of reach. This is the real reason to buy a macro lens — not the 1:1 headline, but the fact that you can fill the frame with a croissant without the lens giving up.
What to Do in a Cramped Room
- Shoot the 50mm and crop. A 45MP file cropped to 60% still prints. Cropping a 50mm frame gets you a tighter composition without the perspective penalty of physically moving closer.
- Move the food, not the camera. Lift the plate onto a stack of books or an upturned crate so you can shoot at 45 degrees from standing without needing table space behind the dish.
- Reserve the corner table by the window. The best food photography location in any restaurant is the two-top nobody wants, next to the largest pane of glass. Our guide to shooting inside a working dining room covers the etiquette side.
- Accept 35mm on APS-C. It's the only focal length that comfortably handles both plates and spreads on a crop body indoors.
Compression: What a Long Lens Does to a Stacked Burger
Compression is one of those words that gets thrown around without definition. Here's the precise version: compression isn't something a lens does. It's what happens when a longer focal length forces you to stand further back, which shrinks the relative distance difference between the near and far parts of your subject — and therefore the size difference between them.
The plate table above is compression, measured. A 100mm at 82 cm compresses a plate's near/far size difference to 1.25×. A 24mm at 20 cm blows it out to 2.8×.
On a stacked burger, compression cuts both ways.
What it buys you. Photograph a double stack at 85–105mm from a near-straight-on angle and the layers render as clean, parallel bands — bun, sauce, cheese, patty, patty, bun. The bottom bun doesn't balloon. The lettuce doesn't fan toward the lens. You get the graphic, poster-like stack that sells burgers.
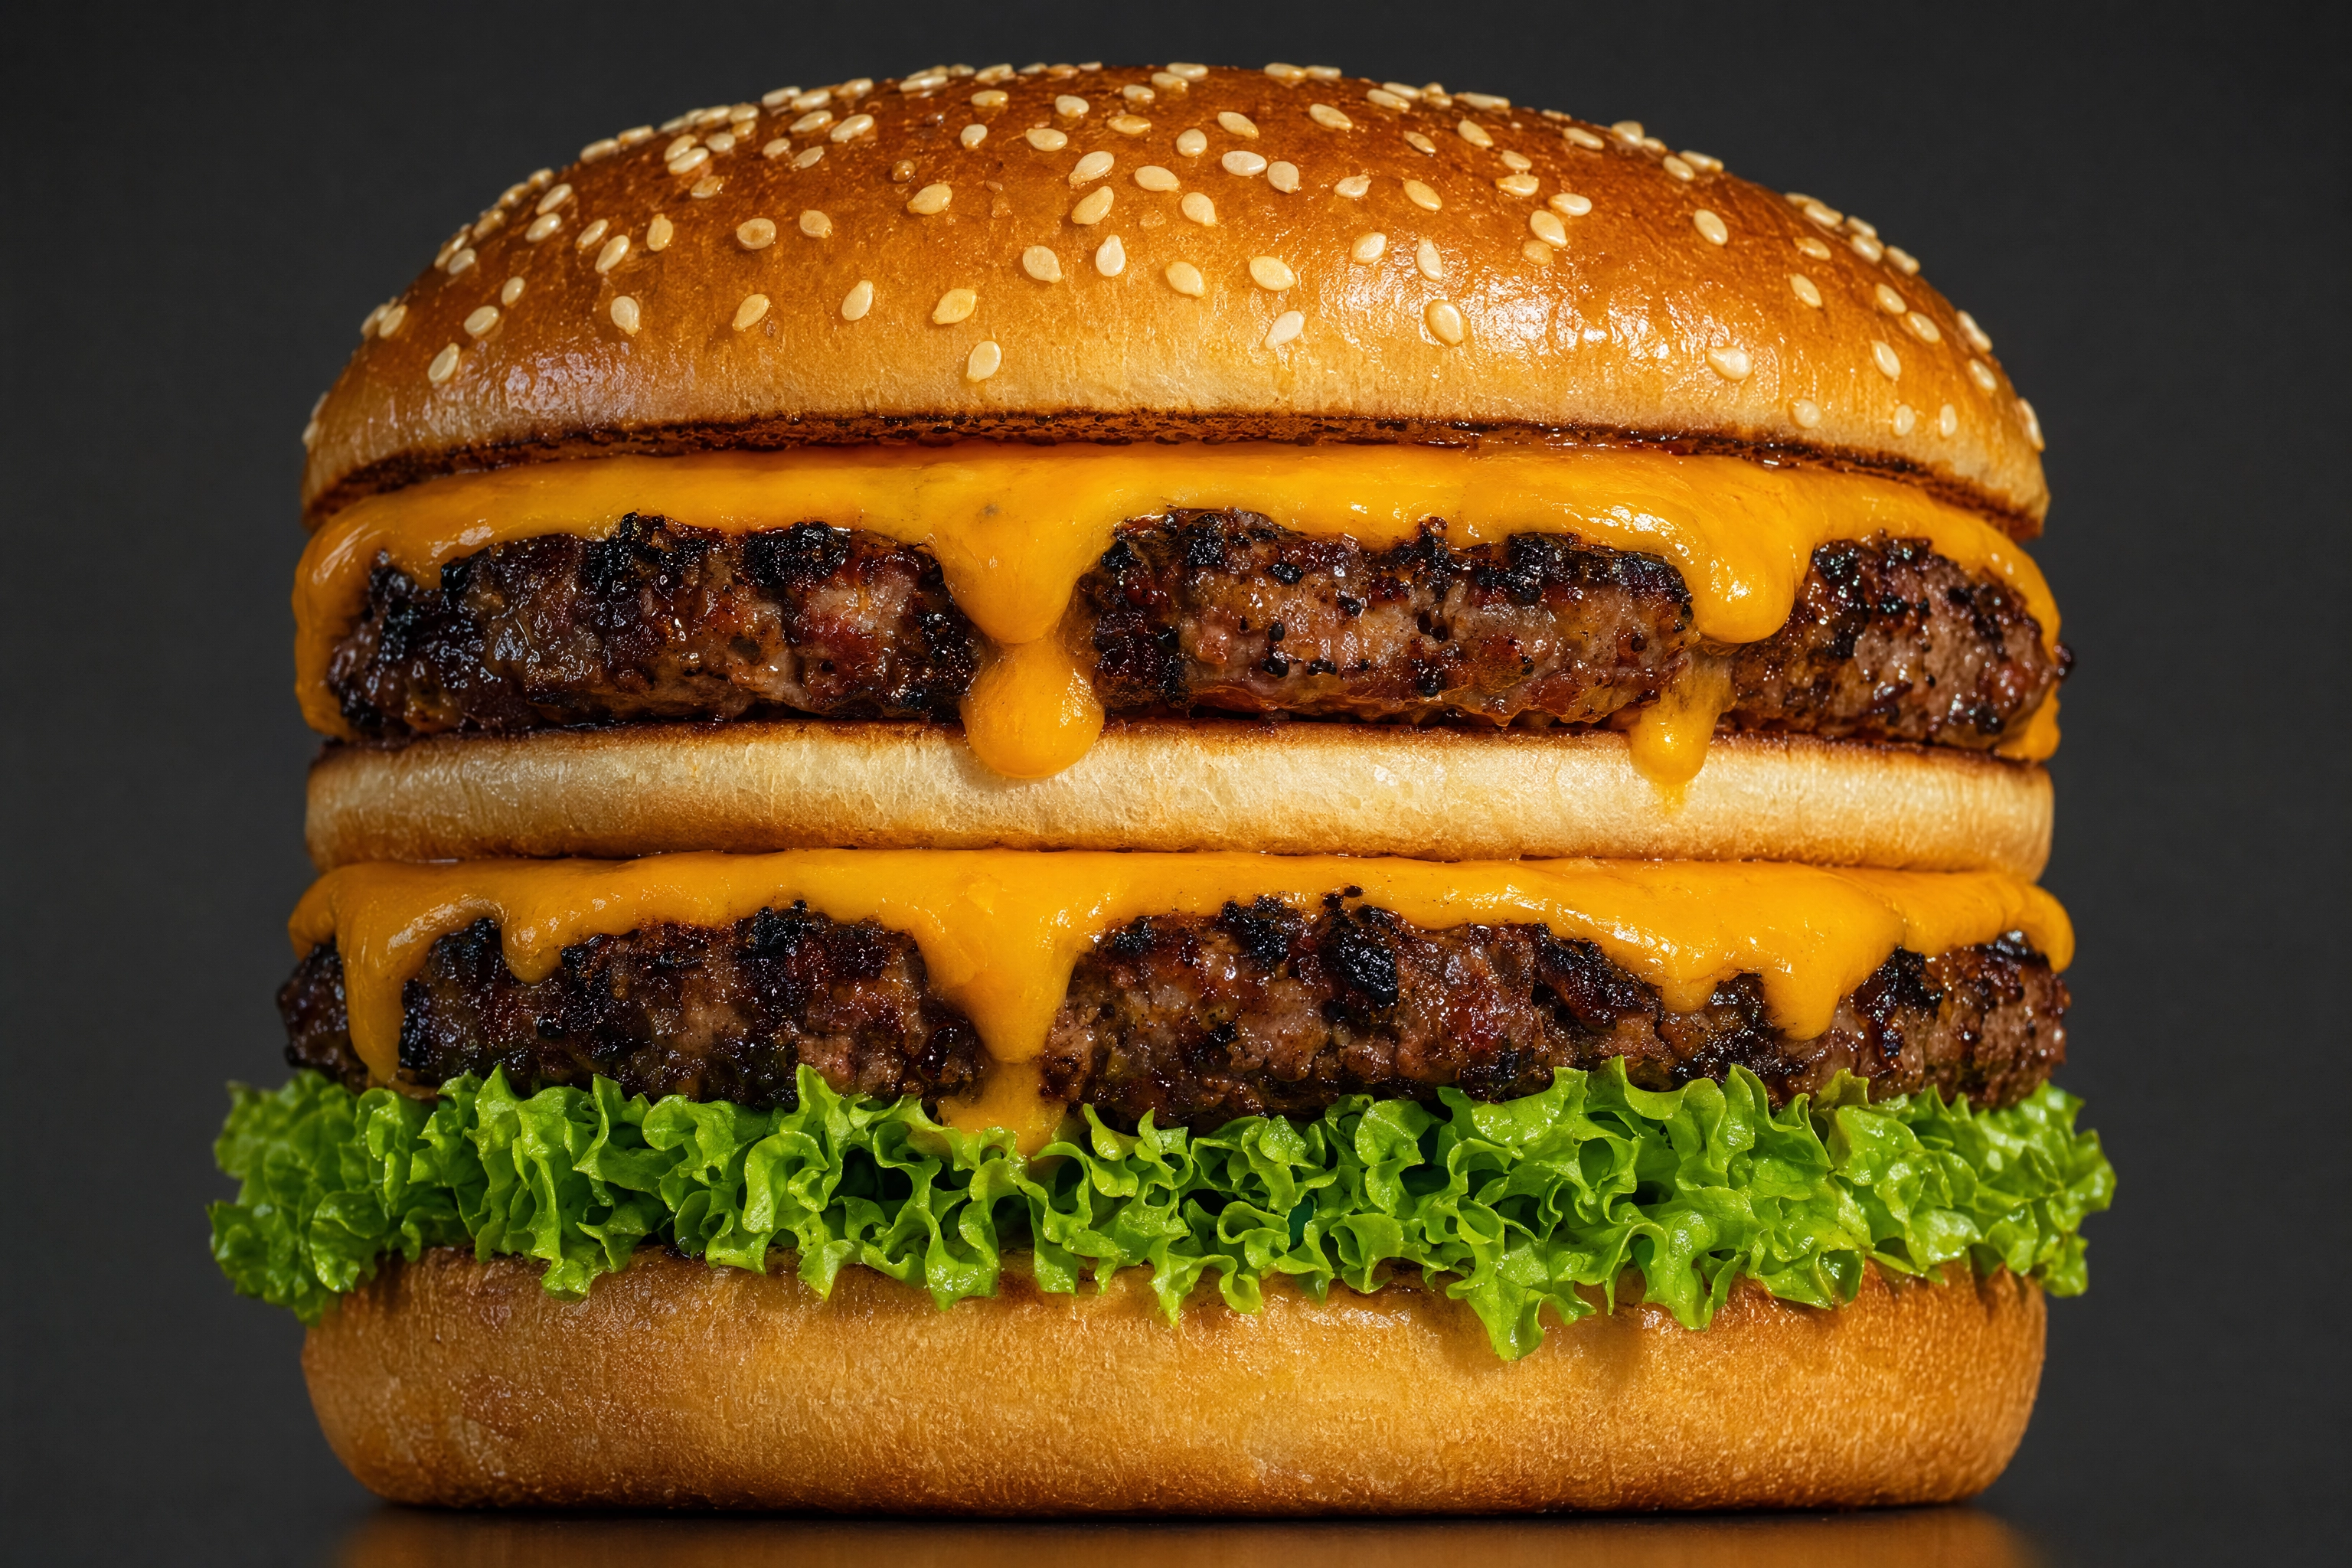 Straight-on telephoto shot of a stacked cheeseburger showing lens compression flattening layers into parallel bands
What it costs you. Push to 135mm or longer and compression starts working against you. The top bun and the base render at nearly identical size, so the burger loses the subtle taper that reads as volume. It flattens into a decal — technically sharp, dimensionally dead. You also lose any sense that the stack has depth, which is the entire point of stacking it.
The sweet spot for stacked food is 85–105mm at 0–15 degrees of elevation, which is close to what our burger photography guide recommends for structural reasons too. The same logic applies to:
- Tall drinks: 85–100mm straight on. Compression keeps the sides of the glass parallel instead of tapering. See the drink photography guide.
- Layer cakes: 100mm at 0–10 degrees so every layer reads at the same thickness. More in the dessert photography guide.
- Ramen and deep bowls: the opposite problem. You need elevation to see into the bowl, so a 50mm at 30–40 degrees usually beats a 100mm you can't get high enough with.
Aperture: Why Shooting f/1.4 Wide Open Is Usually a Mistake
People buy fast primes for the bokeh. Those images often fail because food is a three-dimensional object and f/1.4 gives you a two-dimensional slice of focus.
Here's the depth of field a 100mm delivers on full frame, framed to fill the frame with a 26 cm plate:
| Aperture | Total depth of field |
|---|---|
| f/1.4 | 5 mm |
| f/2.8 | 10 mm |
| f/4 | 14 mm |
| f/5.6 | 20 mm |
| f/8 | 28 mm |
| f/11 | 39 mm |
| f/16 | 57 mm |
| f/22 | 79 mm |
Five millimetres at f/1.4. That's thinner than a slice of tomato. Focus on the front edge of a burrata and the basil behind it is already gone. Focus on the basil and the burrata is mush. This is why images shot wide open so often read as a mistake rather than a style — a dish has structure, and structure needs depth.
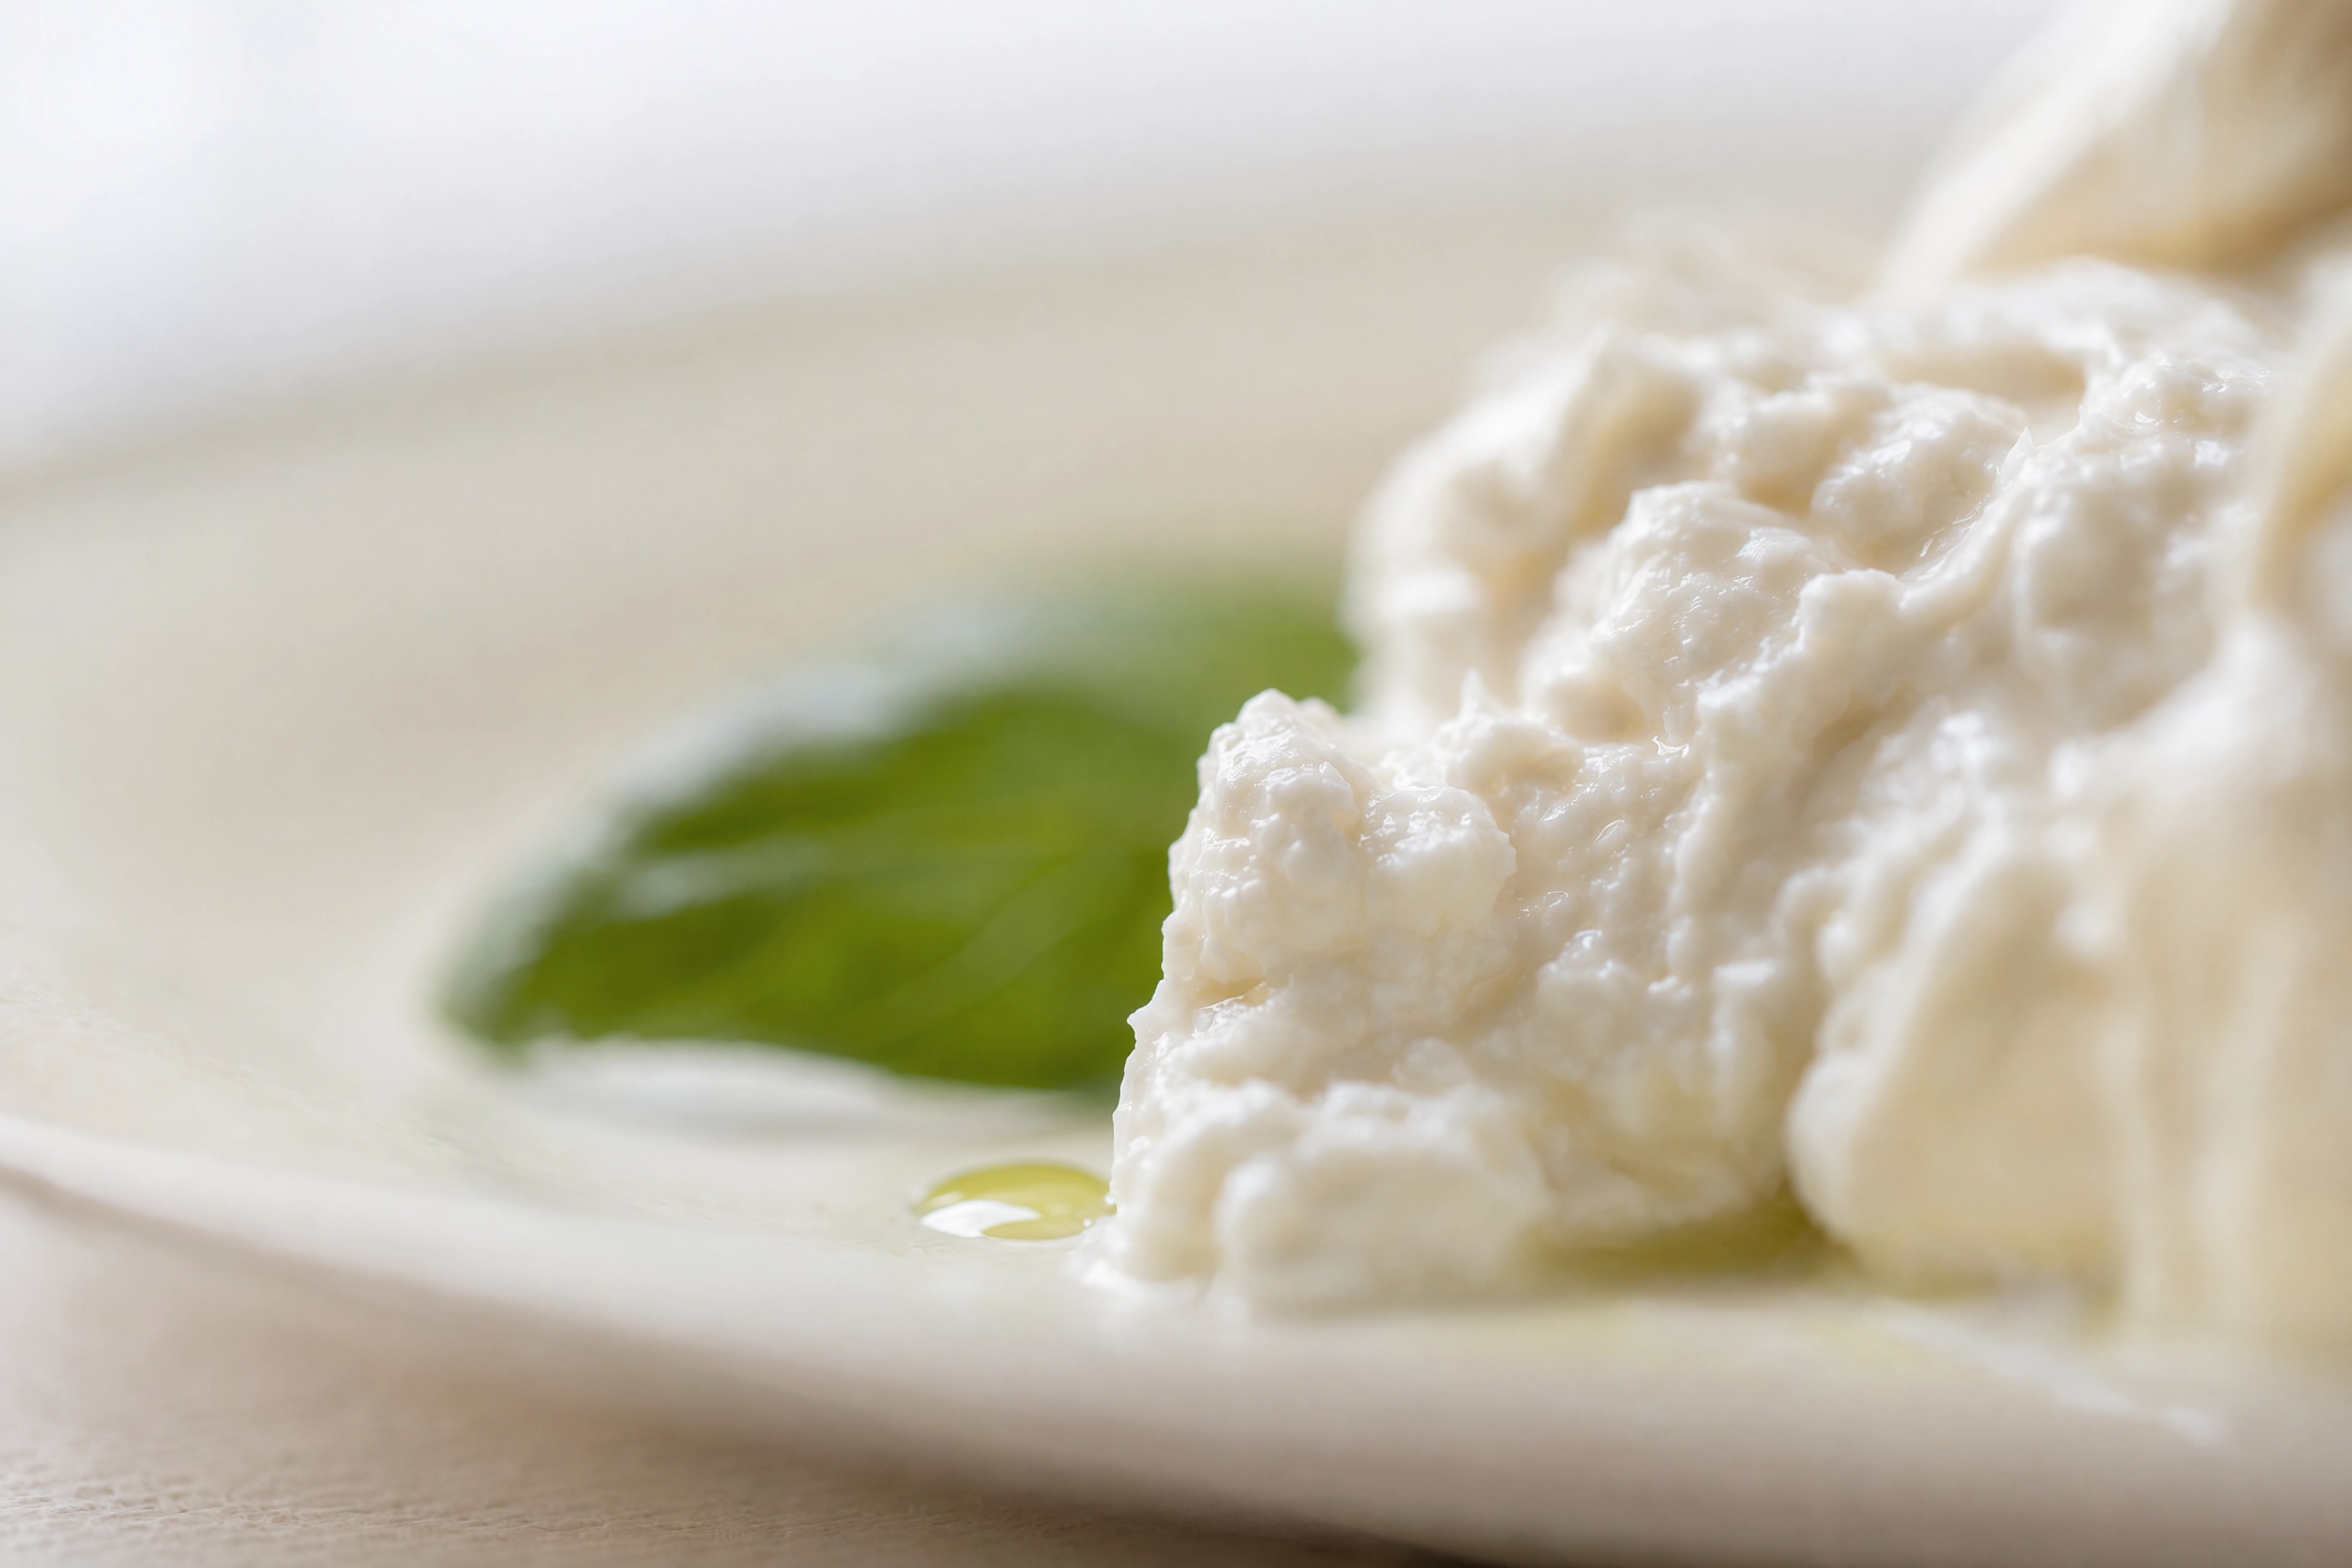 Macro food shot with only a five millimetre sliver of burrata sharp, showing how thin depth of field gets wide open
The Myth Almost Every Food Blog Repeats
You'll frequently read that macro lenses have inherently shallower depth of field than a 50mm, so you have to stop down further. That's not right, and the correction is genuinely useful.
At matched framing — the same subject filling the same portion of the frame — depth of field is governed almost entirely by aperture, not focal length. Run the numbers on a plate-filling frame at f/8:
- 50mm at 41 cm: 28.5 mm of depth of field
- 100mm at 82 cm: 28.3 mm of depth of field
Functionally identical. What changes when you switch to the 100mm isn't the depth of field. It's the background. The longer lens magnifies the background more, so out-of-focus areas render bigger, smoother and more abstract. That's the look people attribute to shallow depth of field, but it's compression and background magnification doing the work.
The practical takeaway: aperture controls how much of the dish is sharp; focal length controls how the background looks. Stop trading one for the other.
The Burger Problem, Quantified
A 13 cm tall, 11 cm wide double stack photographed at 45 degrees spans roughly 17 cm along the optical axis — the nearest point being the top of the near side, the furthest being the base of the far side.
At f/8, framed to fill the frame, you have about 17 millimetres. A tenfold shortfall. Even at f/22 — where a full-frame sensor is already visibly diffraction-limited — you get about 79 mm. Still less than half of what you need.
No aperture solves this. There are only three real answers:
- Drop the angle. Shot near-straight-on, the burger's hero face sits almost parallel to the sensor, so the depth you need collapses to a couple of centimetres and f/8 covers it comfortably. This is why straight-on is the classic burger angle. It's not aesthetics, it's optics.
- Focus bracket and stack. Most modern cameras do the shooting for you: Canon calls it Focus Bracketing, Nikon calls it Focus Shift Shooting, and Fujifilm, Sony and Panasonic all have versions. Merge in Photoshop or your camera maker's software. Lensrentals has a good technical breakdown of how these systems actually work.
- Tilt-shift. A tilt-shift macro lets you angle the plane of focus to match the dish. It's the elegant answer and costs about $2,200. See the skip list below.
Diffraction: Where Stopping Down Stops Helping
You can't just shoot everything at f/22. Past a point, the aperture opening is small enough that light diffraction softens the whole image — you gain depth of field and lose resolution.
Practical ceilings: f/11 on full frame, f/8 on APS-C, f/5.6 on Micro Four Thirds. Beyond that you're trading sharpness for depth, and on a high-resolution sensor the trade goes bad quickly.
Aperture by Dish Geometry
Forget "what aperture is best for food." Ask what shape the dish is.
| Dish | Aperture | Why |
|---|---|---|
| Flat plate, overhead | f/4.5–f/5.6 | Everything is already on one plane |
| Plated entrée, 45° | f/5.6–f/8 | Needs 2–3 cm of depth for garnish and protein |
| Stacked burger or sandwich, straight on | f/5.6–f/8 | Hero face is parallel to the sensor |
| Stacked burger, 45° | f/8 + focus stack | A single frame cannot cover 17 cm |
| Tall drink, straight on | f/4–f/5.6 | Shallow subject, glass sits nearly flat to the sensor |
| Table spread, overhead | f/5.6–f/8 | Multiple dishes at slightly different heights |
| Texture detail (crumb, glaze, sear) | f/4–f/8 | High magnification eats depth fast |
| Anything | not f/1.4 | You'll regret it in the edit |
If you want one number to start from: f/5.6. It's within a stop of correct for nearly every food shot, and it sits inside the sharpness sweet spot of essentially every lens on this page.
Honest Picks at Three Budget Levels
Real 2026 street prices. Prices move, so treat these as the shape of the market rather than quotes.
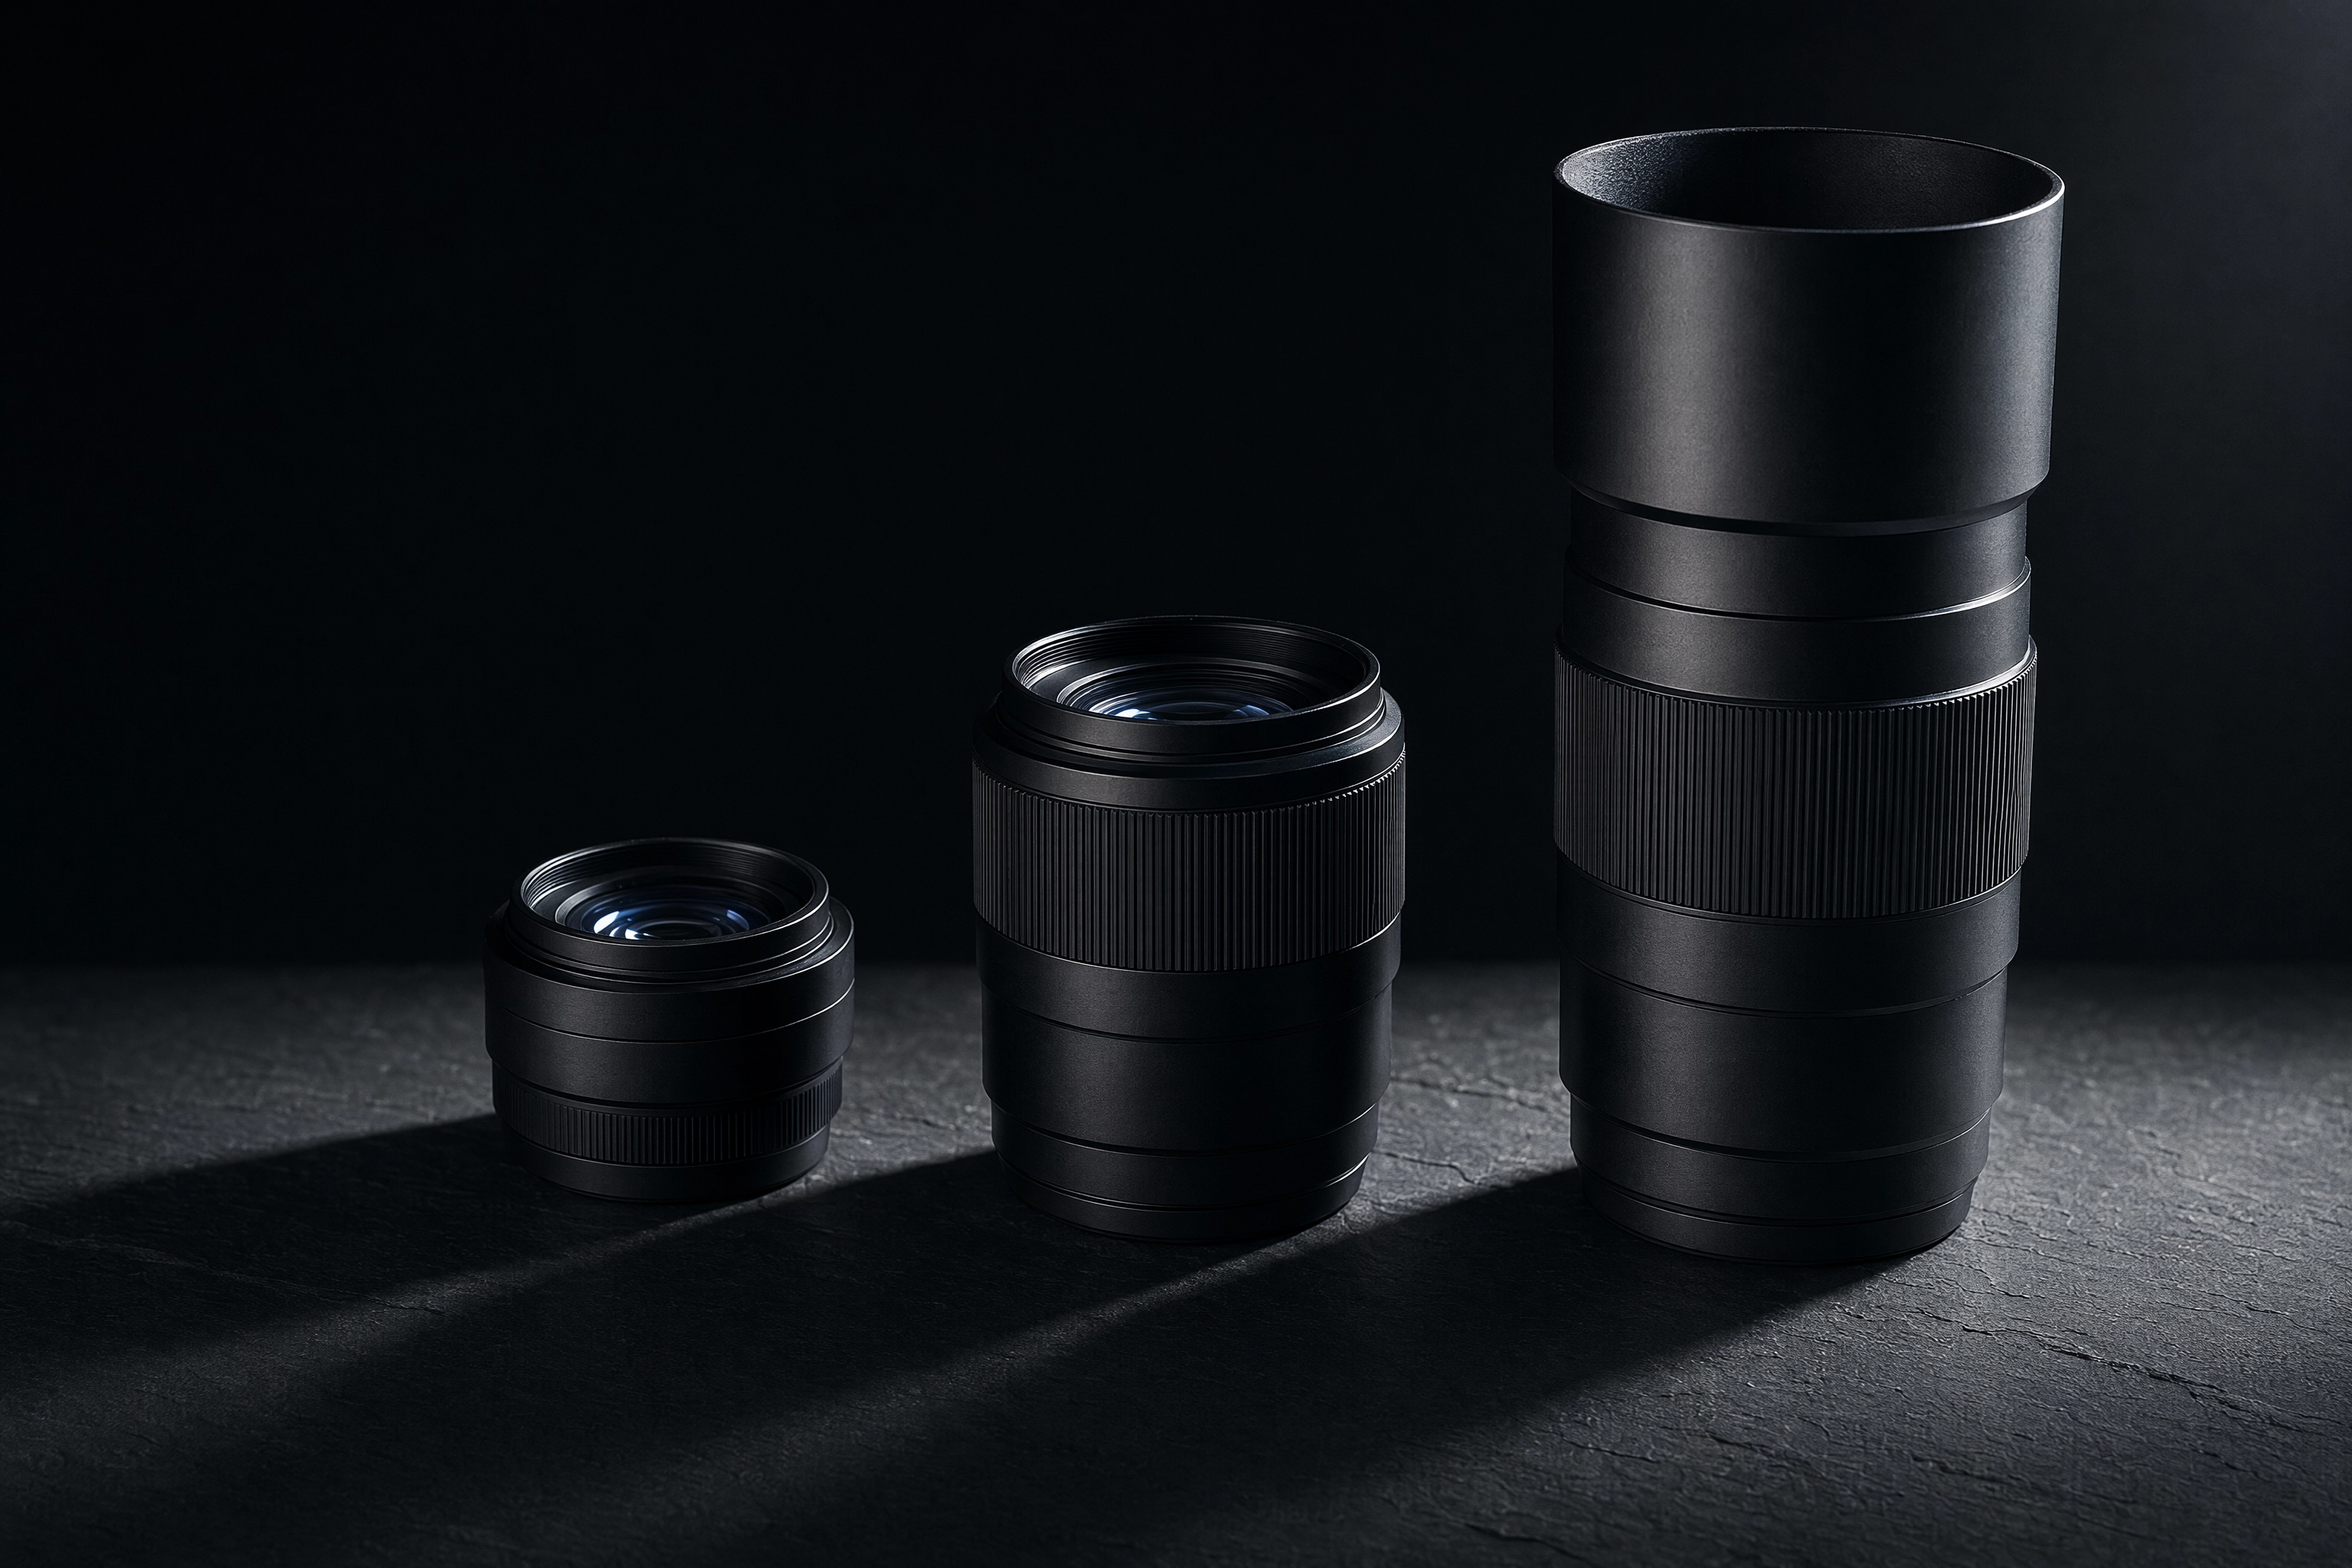 Three unbranded camera lenses of increasing size on dark slate representing food photography lens budget tiers
Under $250: Start Here, No Exceptions
- Canon RF 50mm f/1.8 STM — ~$199. 160 g, focuses reasonably close, sharp by f/2.8. There's no better first food lens on RF.
- Sony FE 50mm f/1.8 — ~$250. Autofocus is unremarkable; the optics are fine and it's the cheapest route into a fast prime on E-mount.
- Nikon Z 40mm f/2 — ~$300. Arguably the better food choice on Z than the 50mm f/1.8 S. It's a third of the price, and 40mm gives you slightly more room in tight spaces at a small perspective cost.
- Used, around $150. MPB and KEH both stock these constantly. A used 50mm is one of the safest purchases in photography — there's almost nothing in one to wear out.
On APS-C, buy the 35mm f/1.8 instead, not the 50mm. Sigma, Viltrox and the first-party options all sit in the $200–$400 range and give you the actual 50mm field of view.
What you give up at this tier: 1:1 texture shots. You'll crop instead of magnify. For menus and delivery listings, that's genuinely fine.
$600–$900: The Upgrade That Actually Changes Your Photos
- Canon RF 85mm f/2 Macro IS STM — ~$599 new, ~$400 used. The best value in food glass right now. Half-life-size (0.5×) magnification, a 35 cm minimum focus distance, and 5 stops of hybrid image stabilisation — which matters enormously when you're handholding at 1/30s in a dim dining room. Not a true macro, and for plated food, 0.5× is more magnification than you'll use.
- Tamron 90mm f/2.8 Di III VXD Macro — $699, Sony E and Nikon Z. True 1:1, weather sealed, fast linear autofocus, and a 12-blade aperture that renders unusually smooth backgrounds. No optical stabilisation, so you lean on your body's IBIS. Reviewers have called it a true macro lens at a bargain price, and for food work that's accurate.
- Sigma 105mm f/2.8 DG DN Macro Art — ~$799–$879, Sony E and L-mount. Art-line optics, an on-barrel AF/MF switch and aperture ring, teleconverter compatible. PCMag rates it above Sony's own 90mm optically. The extra 15mm over the Tamron means 4 cm more working distance you may not actually have.
Honest note on 0.5× versus 1:1: for anything you'd put on a menu, 0.5× is enough. True 1:1 matters for garnish-level detail, sugar crystals and pastry lamination — beautiful, but a small fraction of commercial output.
$1,000–$1,400: The Professional Pick
- Nikon Z MC 105mm f/2.8 VR S — ~$999. 1:1, 0.29 m minimum focus, and lens-based VR that works alongside body IBIS. Clinically sharp from f/2.8.
- Canon RF 100mm f/2.8L Macro IS USM — ~$1,299–$1,399. Goes to 1.4× magnification (beyond life size), 5-stop hybrid IS, weather sealed, plus a spherical aberration control ring that lets you dial bokeh character. The consensus pick among working food photographers on RF.
- Sony FE 90mm f/2.8 Macro G OSS — ~$1,098. Older design, still excellent, with OSS. The push-pull manual focus clutch is either your favourite feature or your least.
Be clear-eyed about what the extra money buys. The image-quality gap over the $699 Tamron is small enough that it won't show in a menu photo or a delivery listing. You're paying for stabilisation, weather sealing, faster autofocus and better resale value. Those are real, but they're professional-workflow benefits, not picture-quality benefits.
What to Skip
- Tilt-shift macro (~$2,200). Genuinely magical for plane-of-focus control. Also manual focus only, slow to work with, and made largely optional by in-camera focus bracketing. Rent one for a campaign; don't own one until a client is paying for it.
- Anything longer than 135mm. You'll run out of room. See the working-distance table.
- f/1.2 primes for food. You're paying a four-figure premium for two stops you should never use on a plate. Buy the f/1.8 and the macro instead.
- Extension tubes on a kit zoom, mostly. They do work, and $25–$40 buys real magnification. But you lose infinity focus, often lose autofocus, and cheap ones introduce flare. Fine as an experiment before committing to a macro. Not a substitute for one.
- A second body before a second lens. Glass outlasts bodies by a decade. Our food photography equipment guide breaks down the whole kit in the same spirit.
Rent before you buy. A weekend rental of a 100mm macro runs $40–$70 from most rental houses. Shoot your actual menu, in your actual room, on your actual table. If you can't make it work in your space, you've saved $1,300 and learned something the reviews couldn't tell you.
When You Actually Need a Lens — And When You Don't
Here's the part gear guides can't say, because gear guides exist to sell gear.
A lens solves exactly one problem: capture geometry. It determines what fits in the frame, how honestly the shape of a plate is rendered, how close you can get, and how much light reaches the sensor. That's the entire list.
It does not solve:
- Light. A $1,400 macro under overhead tungsten downlights produces a worse image than a phone next to a window. Lighting is roughly 60% of a food photo, and no lens contributes to it. Our food photography lighting guide is a better use of your next two hours than any purchase.
- Styling. Sharpness is unforgiving of a badly plated dish — a macro lens renders a wilted garnish in exquisite detail. Staging and plating is a skill, not a purchase.
- Seven o'clock. Your dining room is dark during service. That's when the specials exist. A fast lens buys two stops; it doesn't buy daylight, and it doesn't buy a twenty-minute window where you can occupy a four-top.
The Weekly Specials Math
Say you run a restaurant that refreshes six to ten dishes a week — a rotating special, a new cocktail, a seasonal dessert. Those images need to be on Instagram, the delivery apps and the digital menu board within hours of the dish existing.
A $700 macro doesn't help you. The shot happens at 6:45pm under the pass light, because that's when the dish is plated. The photographer is your shift lead. There's no stylist, no reflector, no tripod and no time. Better glass produces a technically sharper version of a badly lit photo.
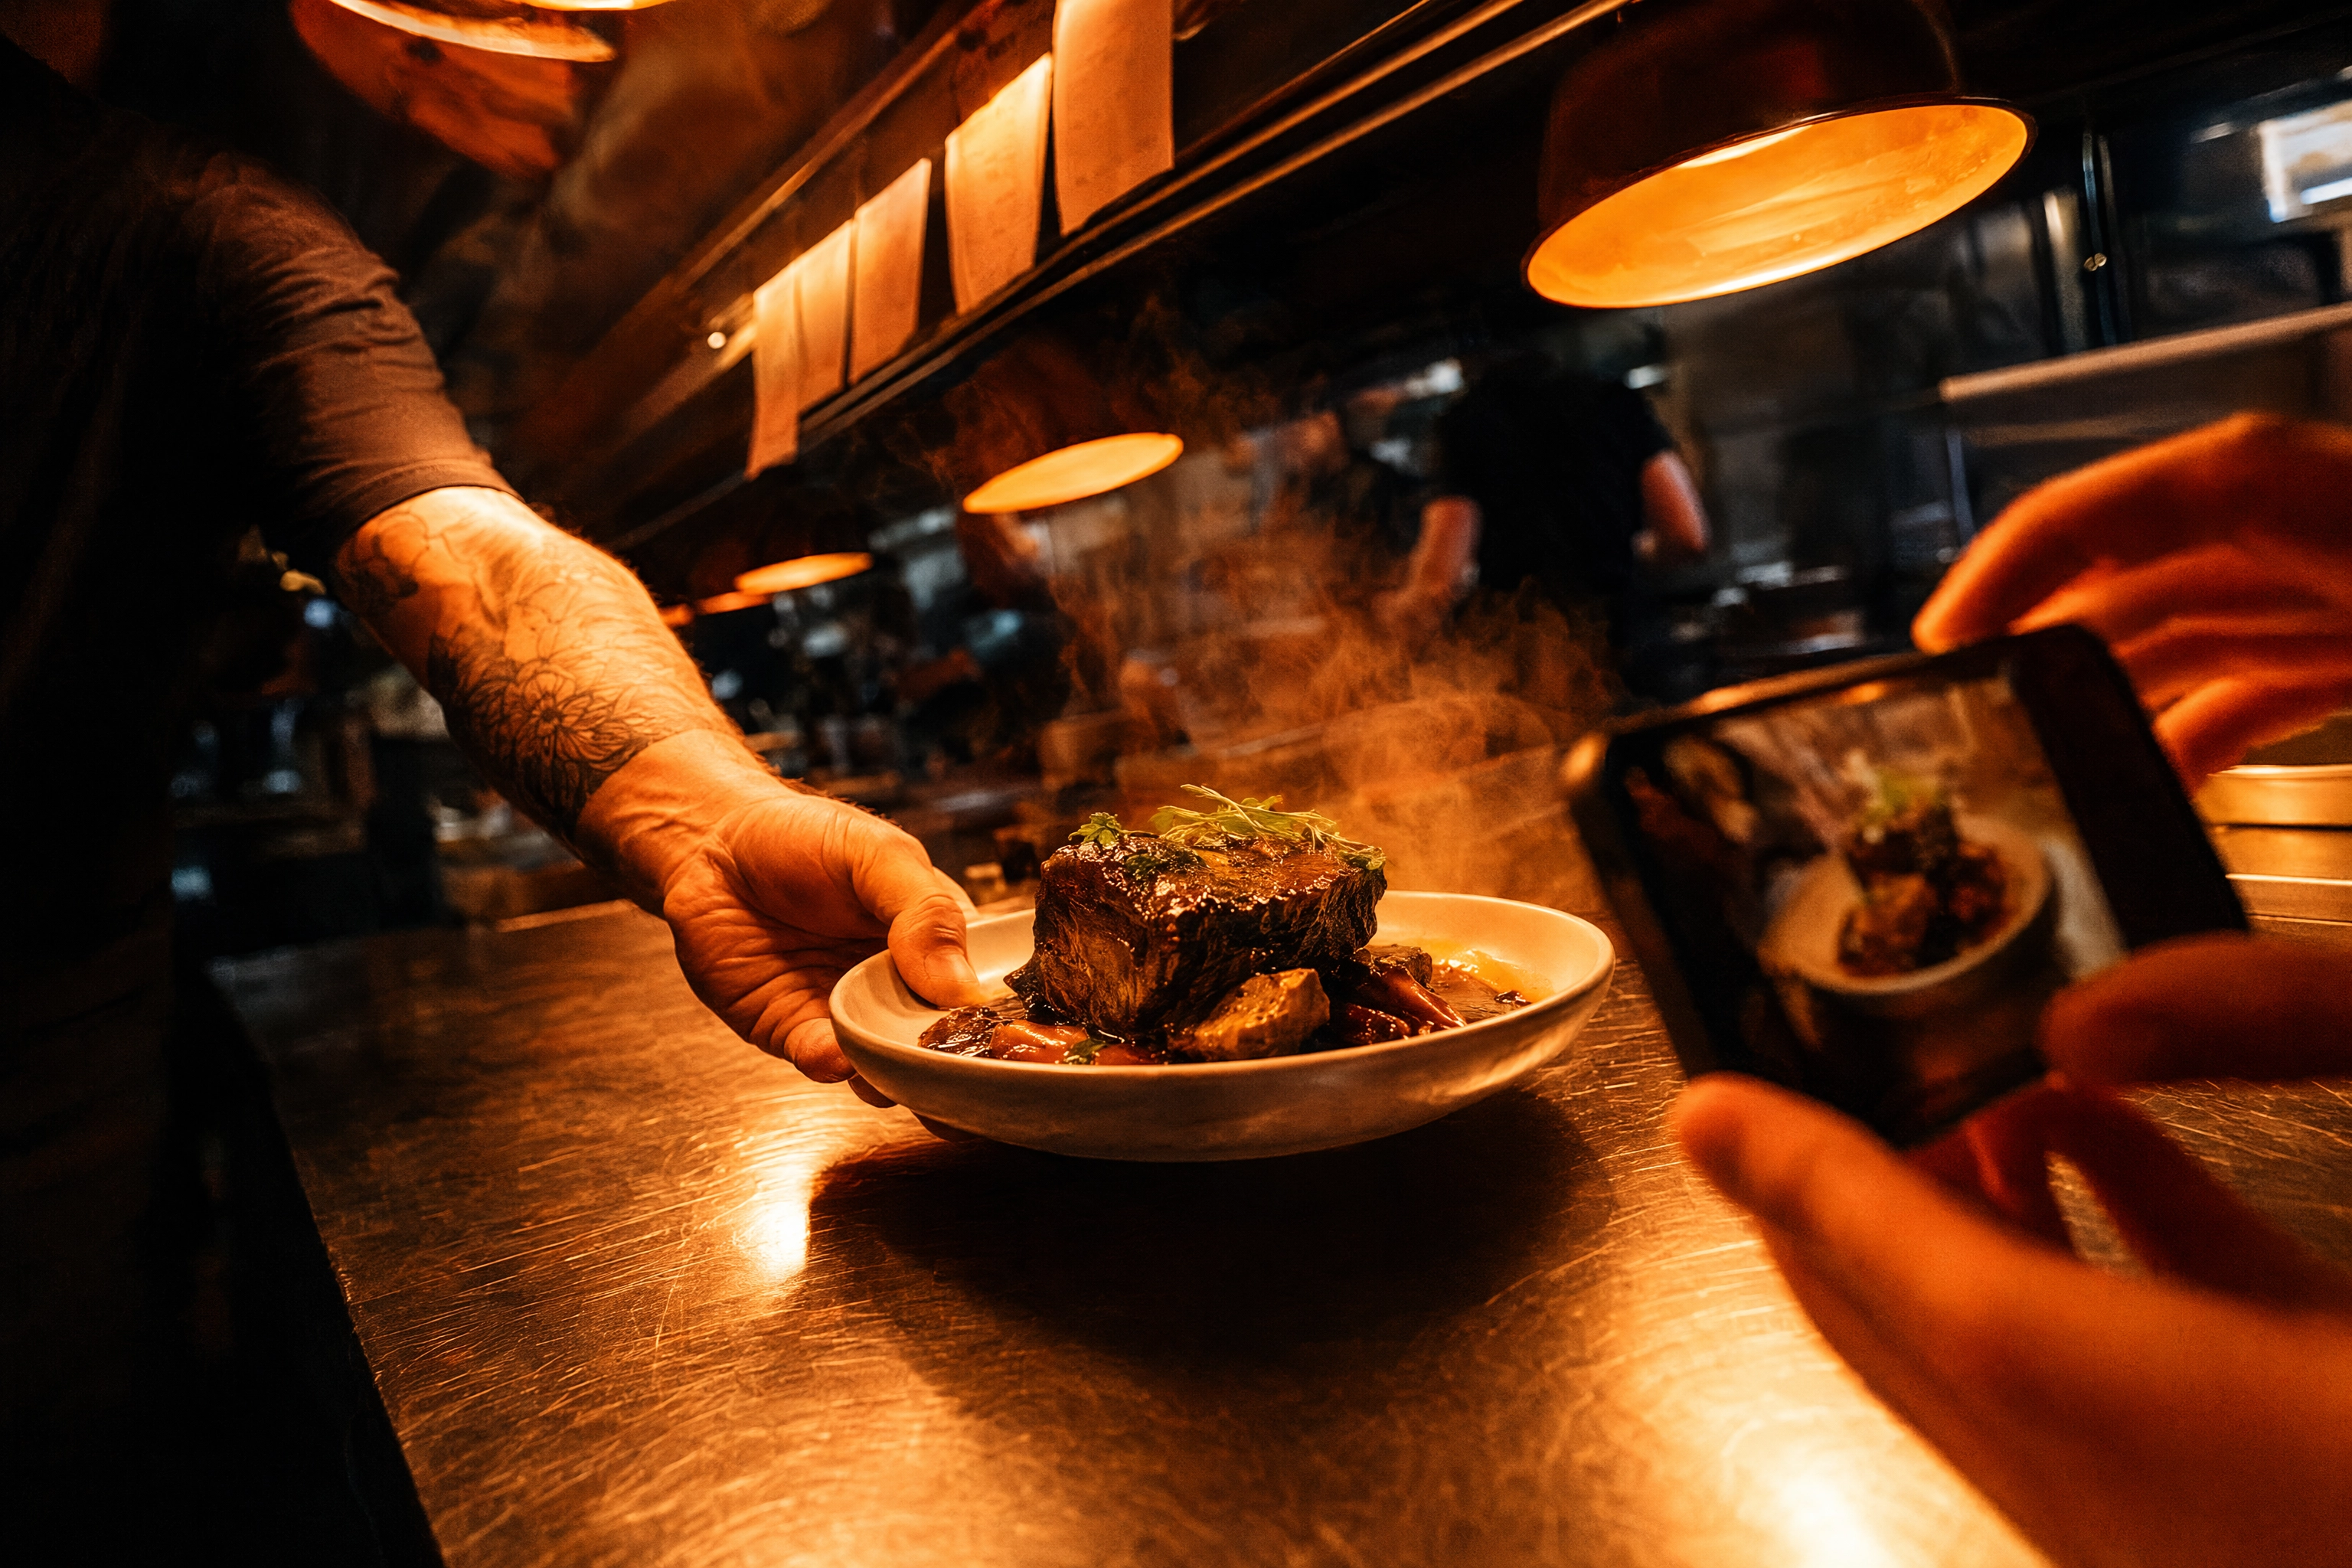 Chef plating short rib at the kitchen pass under heat lamps while a phone captures a quick shot during service
What fixes that pipeline is separating capture from craft. Shoot the dish quickly on a phone — modern phone sensors are genuinely good enough, and our iPhone camera settings for food photography guide covers getting a clean, correctly exposed frame in about thirty seconds. Then handle the lighting, surface, background and styling afterwards, in software.
That's the job FoodShot AI does. You upload the phone frame and it restyles the dish into a studio-lit, menu-ready image at 4K in around ninety seconds. Plans start at $15/month for 25 images and run to $99/month for 250, with a commercial licence on every paid tier — so a week of specials costs a couple of dollars rather than a shoot. For a restaurant whose images need to change faster than a photographer can be booked, that's simply better economics than a lens. To be clear, though: it's a post-capture tool, not gear. You still have to point a camera at the food. If you're weighing the options, we compared AI food photo editors head to head.
Who Should Definitely Buy the Lens
Not everyone should skip it. Buy the glass if:
- You sell images. If food photography is your service or part of it, the lens is a revenue tool and pays for itself in one or two jobs. Our food photographer career and food photography classes posts are the right next reads.
- You're building a portfolio. Clients ask what you shoot with, and files from a proper macro hold up to 100% inspection in a way phone files don't.
- You shoot for print. Cookbooks, large-format menu boards, packaging, out-of-home. Print is unforgiving of noise and soft edges.
- You have a controlled space. If you have a table you can walk around, a window you can rely on and a tripod, you can actually exploit a 100mm macro's working distance. If you have a dedicated food photography studio, buy the macro.
- You genuinely enjoy it. Not everything needs a business case. A 100mm macro is a delightful object and a pleasure to shoot with.
The honest summary: a lens is a $300–$1,400 commitment that improves one link in a five-link chain. If capture geometry is your bottleneck — you can't get close enough, your plates look stretched, your files fall apart when you crop — buy the lens and it'll transform your work. If your bottleneck is that the room is dark and there's no time, better glass gives you a sharper version of the same problem.
Diagnose the bottleneck first. Then spend.
Frequently Asked Questions
What is the single best lens for food photography if I can only buy one?
A 50mm f/1.8 on full frame, or a 35mm f/1.8 on APS-C. It handles single plates, table scenes and overhead flat-lays, works in cramped rooms, costs $200–$300, and is fast enough for a dim restaurant. A 100mm macro produces more flattering single-dish shots, but it can't shoot a table spread and often can't be used at all in a real dining room. The 50mm is the lens you'll never be unable to use.
Do I really need a macro lens for food photography?
Only if your bottleneck is magnification or minimum focus distance. A macro lens lets you fill the frame with a single scallop or a croissant's lamination — genuine 1:1 detail a 50mm physically cannot reach, because it won't focus closer than about 40 cm. But most published food photography isn't shot at macro magnifications, and a cropped 45MP file from a 50mm covers a lot of what people buy a macro for. If you shoot pastry, chocolate work or ingredient detail, buy it. For plated dishes destined for menus, it's a nice-to-have.
Is a 50mm good for food photography on a crop sensor camera?
It works, but it behaves like a 75–80mm. You'll need about 60 cm of distance to fill the frame with a dinner plate, which is awkward at a restaurant table and impossible for overhead spreads. On APS-C, a 35mm f/1.8 gives you the classic 50mm field of view and is the better first buy. Keep the 50mm on crop as your single-dish lens if you already own one.
What aperture should I use for food photography?
Start at f/5.6 and adjust. Use f/4.5–f/5.6 for overhead flat-lays and shallow subjects, f/5.6–f/8 for plated dishes at 45 degrees, and f/8 plus focus stacking for tall stacked food. Avoid f/1.4–f/2: at typical food shooting distances that yields 5–7 mm of depth of field, far too thin to keep a whole dish sharp. Don't go past f/11 on full frame or f/8 on APS-C, where diffraction begins softening the entire image.
Can I shoot food photography with a kit zoom lens?
Yes, with two caveats. Set the kit lens to its longest end — 50–55mm on a typical 18–55mm — and you have a reasonable food focal length. The problems are that kit zooms are slow (f/5.6 at the long end, difficult indoors without a tripod) and their minimum focus distance limits how tight you can crop. On a tripod near a window, a kit zoom at 50mm and f/5.6 produces perfectly usable menu photography. Handheld in a dim restaurant, it won't.
Is 35mm or 50mm better for food photography?
On full frame, 50mm. At a 45-degree angle, a 35mm renders the near rim of a plate about 1.9× larger than the far rim, versus about 1.6× for a 50mm — a visible difference in how round a plate looks. On APS-C the answer flips: 35mm gives you the 50mm-equivalent view and is the correct choice. The exception on full frame is table spreads and environmental shots, where 35mm's wider field is the only thing that fits.
Why won't my macro lens focus on my food?
You're inside its minimum focus distance. Every lens has one, and macro lenses are unusual only in that theirs is short — typically around 30 cm measured from the sensor plane, which is roughly 13–15 cm from the front of a 100mm macro. Get closer than that and autofocus hunts and fails. Back up a few centimetres and it locks instantly. If you need to be closer than the minimum, you need extension tubes or a higher-magnification lens, not a different technique.
Should I buy a lens or use my phone with an AI food photo editor?
It depends on what you're producing and how often. Buy the lens if you sell images, build portfolios, shoot for print, or have a controlled space and the time to work in it — capture quality is your product. Use a phone plus AI restyling if you're a restaurant, cafe or ghost kitchen refreshing menu and delivery app photos weekly, where the constraint is turnaround and lighting rather than lens resolution. At $15–$99/month against $300–$1,400 for glass that still needs a window, a stylist and a free table, the economics are clear for high-frequency work. Plenty of operators end up doing both: a photographer once a year for hero images, AI for the weekly churn. Our breakdown of what food photography actually costs runs the full numbers, and food photography services compared covers the middle ground.