Photo Menus: Why Visual Menus Boost Orders (+ How to Create One)
Your menu is the most-used marketing material in your restaurant. Every guest reads it. Every delivery customer scrolls it. And every photo on it — or missing from it — is making a decision for you.
A photo menu isn't a design preference anymore. It's a revenue lever with measurable impact. Snappr's enterprise research found that high-quality food photos lift menu conversion rates by 25% and total orders on delivery apps by more than 35%. DoorDash's own data shows individual items with photos generate up to 44% more monthly sales than items without. The question isn't whether to add photos to your menu. It's which kind of photo menu fits your concept — and how to build one without spending $5,000 on a photographer.
Quick Summary: A photo menu is any menu that pairs food images with item names. The data is consistent across Snappr, Deliveroo, and Grubhub research: photos boost orders by 25–35% on average, with header images alone driving up to 50% sales lifts. Full photo menus work best for delivery, fast-casual, food trucks, and tourist areas. Hero photo menus (5–10 signature shots) suit modern restaurants and most luxury concepts. Fine dining is the main exception. AI tools like FoodShot AI now let you build a complete 50-item photo menu in one afternoon for under $1 per image.
What Is a Photo Menu? (And Why It's Not Just Decoration)
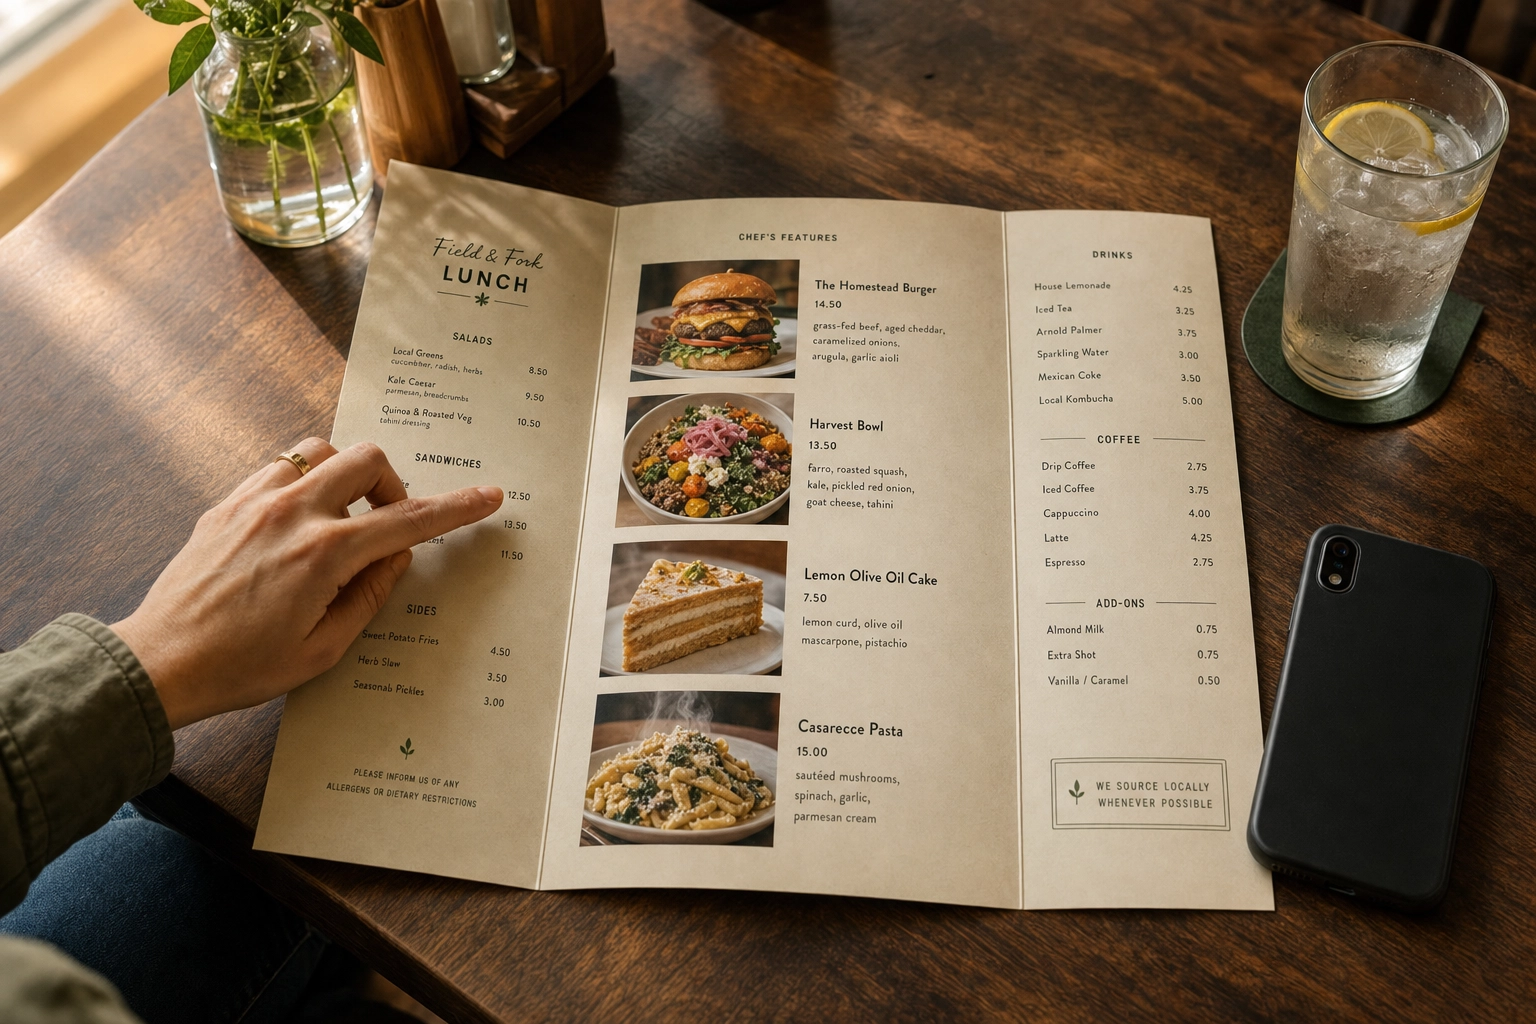
A photo menu is any menu — printed, digital, in-app, or QR-scanned — that pairs food photographs with item names and descriptions. That covers everything from a laminated diner menu with grease-spotted burger photos to a full-bleed Uber Eats listing with hero shots, thumbnails, and category banners.
The concept isn't new. American diners have used picture menus since the 1950s, mostly to help travelers and non-English speakers order. What's changed is the math. Photos used to be expensive (printing color was costly, photographers were a premium spend), so most restaurants reserved them for the cover or the daily special. Now, every smartphone is a viewfinder, every QR menu can hold unlimited high-resolution images, and AI enhancement has made professional results affordable for any operator.
The result: photo menus have shifted from a "nice-to-have" decoration to one of the highest-leverage tools in modern restaurant menu design. Especially online. On delivery apps, your menu IS your storefront — and a storefront with no pictures of the food doesn't get walked into.
The Psychology: Why Photo Menus Work So Well
Three psychological forces are at work every time someone reads a menu. Photo menu design taps into all three.
1. Visual processing speed. Cognitive research repeatedly shows the brain processes images in milliseconds — orders of magnitude faster than reading and comprehending text. By the time a customer's eyes have parsed a single line of dish description, they've already made a gut reaction to the photo next to it. The photo wins almost every time.
2. The "see it, crave it, order it" reflex. Looking at appetizing food activates the same brain regions involved in actual eating — what neuroscientists call simulated consumption. A widely-cited Iowa State University study tested digital salad displays at a YMCA summer camp and found that boys were 50–70% more likely to choose salad ingredients when a vivid photo of a salad was shown alongside the menu information. Adults aren't immune. We see, we crave, we order.
3. Risk reduction and decision anxiety. Most diners spend roughly 109 seconds making a menu decision (a number Gallup popularized and that's been replicated in subsequent menu engineering studies). For new customers, every unfamiliar dish is a small bet — what if I order this and don't like it? Photos collapse that uncertainty. The customer can see what they're getting before they commit, and that confidence converts directly into faster orders, fewer questions for staff, and higher completion rates on delivery apps.
There's a fourth, often-ignored factor: photos communicate value at a glance. A burger described as "double-stacked smash burger with aged cheddar, pickled red onion, and house sauce on a brioche bun" sounds expensive. A photo of that burger showing a juicy, two-inch-thick stack with cheese cascading down the sides makes $14 feel like a steal. Words tell. Photos sell.
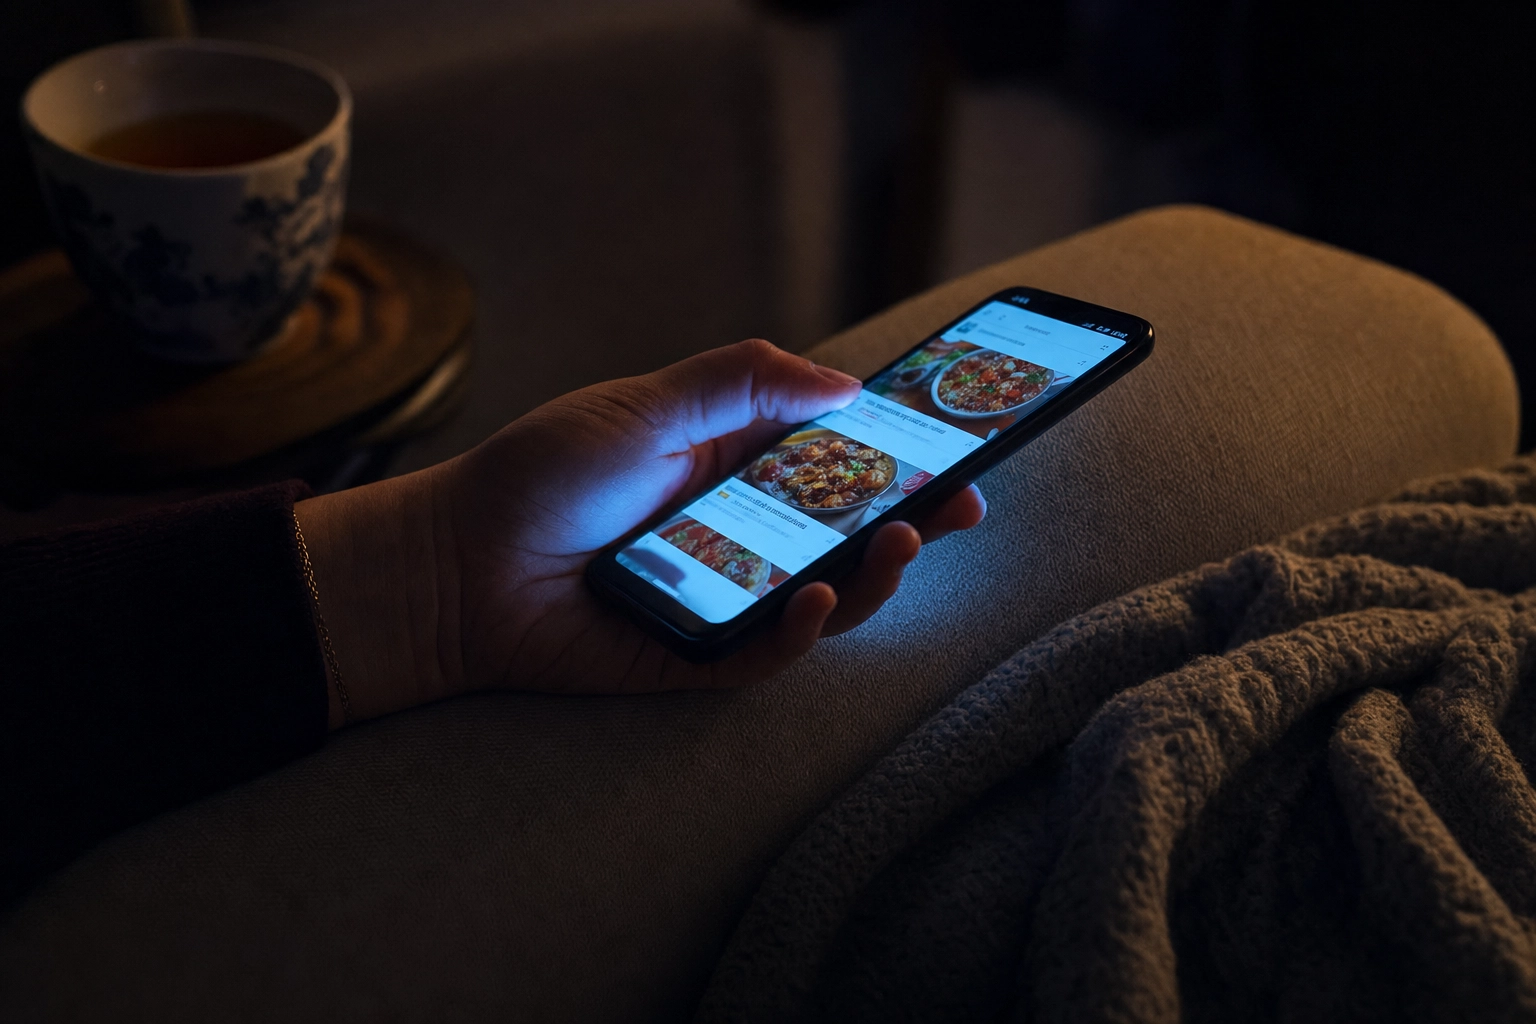 Close-up of hands holding a phone at night browsing food delivery photos with screen glow as dominant light
The Data: What Photos Actually Do to Restaurant Revenue
This is where the case for photo menus stops being intuition and starts being math. The research from delivery platforms and photography firms is remarkably consistent.
| Source | Finding |
|---|---|
| Snappr enterprise research (Google survey, 600 US consumers) | Menu conversion +25%, total orders +35% on delivery apps |
| Snappr/Google survey | Photos rated 1.44× more important than menu descriptions and 1.38× more important than reviews |
| Deliveroo internal data | Photographing just 10% of menu items increases orders by 12% |
| Grubhub | Restaurants with menu photos see up to 70% more orders than text-only listings; 30% direct sales increase |
| DoorDash | Menu items with photos generate up to 44% more monthly sales than items without |
| Industry research (referenced by Snappr) | Header/cover images alone boost sales by up to 50% |
| Cornell University menu research | A single high-quality photo per page can lift sales of pictured items by ~30% |
| Snappr survey | 82% of consumers say they may order a meal after seeing a photograph, even if they had no prior intention |
What does this look like in real money? Take a mid-size restaurant doing $30,000 a month in delivery orders. Adding professional photos to its top items can realistically add $9,000–$15,000 in monthly delivery revenue at the upper end of these benchmarks. That's $108,000–$180,000 a year — for a one-time photo refresh that costs a few hundred dollars to a few thousand.
A few caveats. These are platform averages, not guarantees. Bad photos can actively hurt: blurry, off-color, or misleading images reduce trust and tank conversion. And the marginal lift drops once your menu is mostly photographed — going from 0% to 50% photo coverage moves the needle far more than 50% to 100%. The first photos are the highest-ROI. For a deeper dive into how restaurants build a full visual catalog from scratch, see our related restaurant food photography guide.
 Restaurant kitchen pass with rows of finished colorful plated dishes lined up under warm heat lamp light during busy service
The Five Types of Photo Menus (And When Each Wins)
Not all photo menus are built the same. Picking the right format for your concept matters more than the photos themselves. Below are the five photo menu design ideas you'll see across the industry, with the inspiration and trade-offs behind each.
1. The Full Photo Menu (Every Item Pictured)
Every dish gets a photo. Common in fast-food chains, family diners, hotel breakfast menus, and restaurants in tourist districts. The all-photos approach is information-dense — guests don't need to read anything to make a decision.
Pros: Maximum information transfer, kid-friendly, works across language barriers, ideal for high-volume QSR. Cons: Can cheapen the perception of luxury in upscale venues. Maintenance is heavier — every menu change means new photos. Print costs scale with photo count. Best for: QSR, casual chains, family restaurants, ghost kitchens, international cuisine, and anywhere tourists dominate the customer base.
2. The Hero Photo Menu (Best Sellers Only)
Photograph 5–10 signature dishes — usually the highest-margin items, the most iconic ones, or the ones you want guests to try first. The rest of the menu stays text-only. This is the dominant menu design format in modern independent restaurants and gastropubs.
The hero approach pairs perfectly with menu engineering: photos act as visual anchors that draw the eye toward your most profitable items. A 2019 academic study by Yue, Tong, and Prinyawiwatkul found that one or two high-quality photos per page lifted order rates, while menus with photos for every single item were perceived as lower quality and actually reduced average spending. Less can be more.
Pros: Drives orders to profitable items, maintains a sophisticated look, lower production cost. Cons: Items without photos may underperform — choose your hero items strategically. Best for: Independent restaurants, fast-casual concepts, gastropubs, modern bistros, brunch spots.
3. The QR Code Digital Menu
Customers scan a code, the menu loads on their phone, and they see a fully visual catalog with photos, descriptions, allergens, and (often) ordering. QR menu adoption surged after 2020 — the hospitality industry now sits at roughly 75% adoption (Wave Connect 2026 data) and continues to climb.
The QR menu is the most flexible format you can run. You can update photos in five minutes without reprinting anything. You can show 4K hero shots that wouldn't print well anyway. You can A/B test layouts and design ideas. And you can make every dish photographable without inflating menu cost.
Pros: Update anytime, no print costs, supports high-resolution photos, integrates with online ordering. Cons: Some demographics (especially older guests) prefer print; phone battery dependency; design quality varies wildly between platforms. Best for: Cafes, bars, boutique restaurants, brunch spots, anywhere print refresh costs are a real budget line.
4. The Kiosk / Self-Order Menu
Touchscreen kiosks in fast-casual restaurants — McDonald's, Panera, Sweetgreen, Chipotle — are essentially photo menus with checkout buttons. The visual format isn't optional; it's the entire interface.
Kiosks consistently produce higher average order values than counter ordering. Operators report 15–20% AOV lifts after rolling out kiosks, partly because photos make upsells feel less transactional ("Add a cookie?" feels different next to a glossy chocolate-chip photo).
Pros: Drives upsells, reduces order errors, frees staff for hospitality work, scales with volume. Cons: Hardware investment, requires reliable photos for every item, ongoing software costs. Best for: High-volume QSR, ghost kitchens with pickup windows, airport and mall food courts.
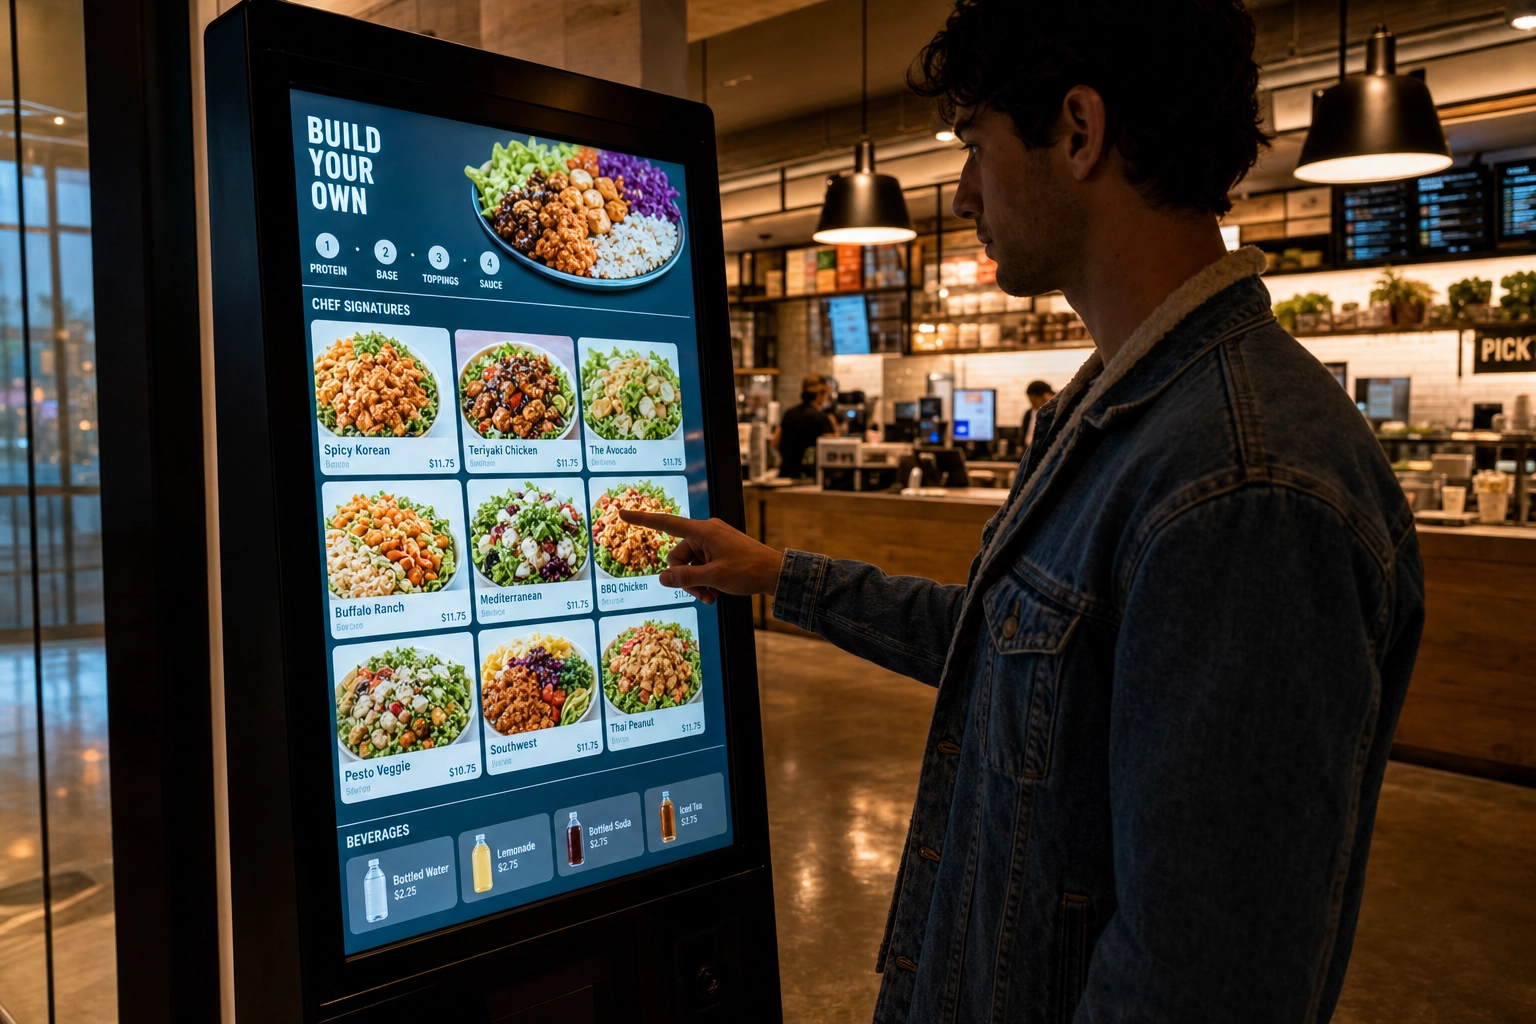 Customer using a self-service touchscreen kiosk with food photos in a modern fast-casual restaurant
5. The Delivery App Menu (Uber Eats, DoorDash, Grubhub)
This is the photo menu that matters most in 2026 — and the one most restaurants underinvest in. Your delivery app menu IS your storefront for off-premise customers. Photos influence both conversion (will the customer click "Add") AND ranking (the apps' algorithms prioritize complete, well-photographed menus).
Aspect ratios matter here. Uber Eats uses 5:4 for catalog images, DoorDash uses 16:9 for headers and 1:1 for thumbnails, and Grubhub falls somewhere in between. The same source photo needs to be cropped differently for each platform. For a deeper breakdown on platform specs, see our related guide to menu photos for Uber Eats and DoorDash.
Pros: Highest revenue impact of any photo menu type, directly tied to conversion math. Cons: Each platform has different specs, requirements change, photo rejections are common. Best for: Every restaurant that takes delivery orders. Period. Don't skip this.
When Photo Menus Work Best
Photo menus aren't universally appropriate. They're a tool, and like any tool they're sharper in some hands than others. Here's where they punch above their weight.
Delivery apps. Not optional. The interface is purely visual — no photo means no conversion. If you're on Uber Eats, DoorDash, or Grubhub and 50% of your menu is photo-less, you're leaving meaningful revenue on the table every day. Items without photos can also rank lower in search and category browsing on these platforms. Take inspiration from the chains that dominate these apps — almost all of them photograph 100% of their menu.
Fast-casual and QSR. Speed of decision is the entire value proposition. Customers are in line, in their car, or in a hurry. Photos cut decision time from minutes to seconds. Chipotle, Sweetgreen, Cava, Shake Shack — every modern fast-casual chain leans photo-heavy at the kiosk and on apps.
Food trucks and ghost kitchens. No physical storefront means no aroma, no display case, no walk-by visibility. Your menu — usually a chalkboard, an Instagram bio, or a delivery app listing — is the only thing convincing customers to commit. Photos build the trust that a fixed location does naturally. If you operate a truck or kitchen-only concept, see our related guides on food truck menu design and ghost kitchen photography for inspiration and design ideas.
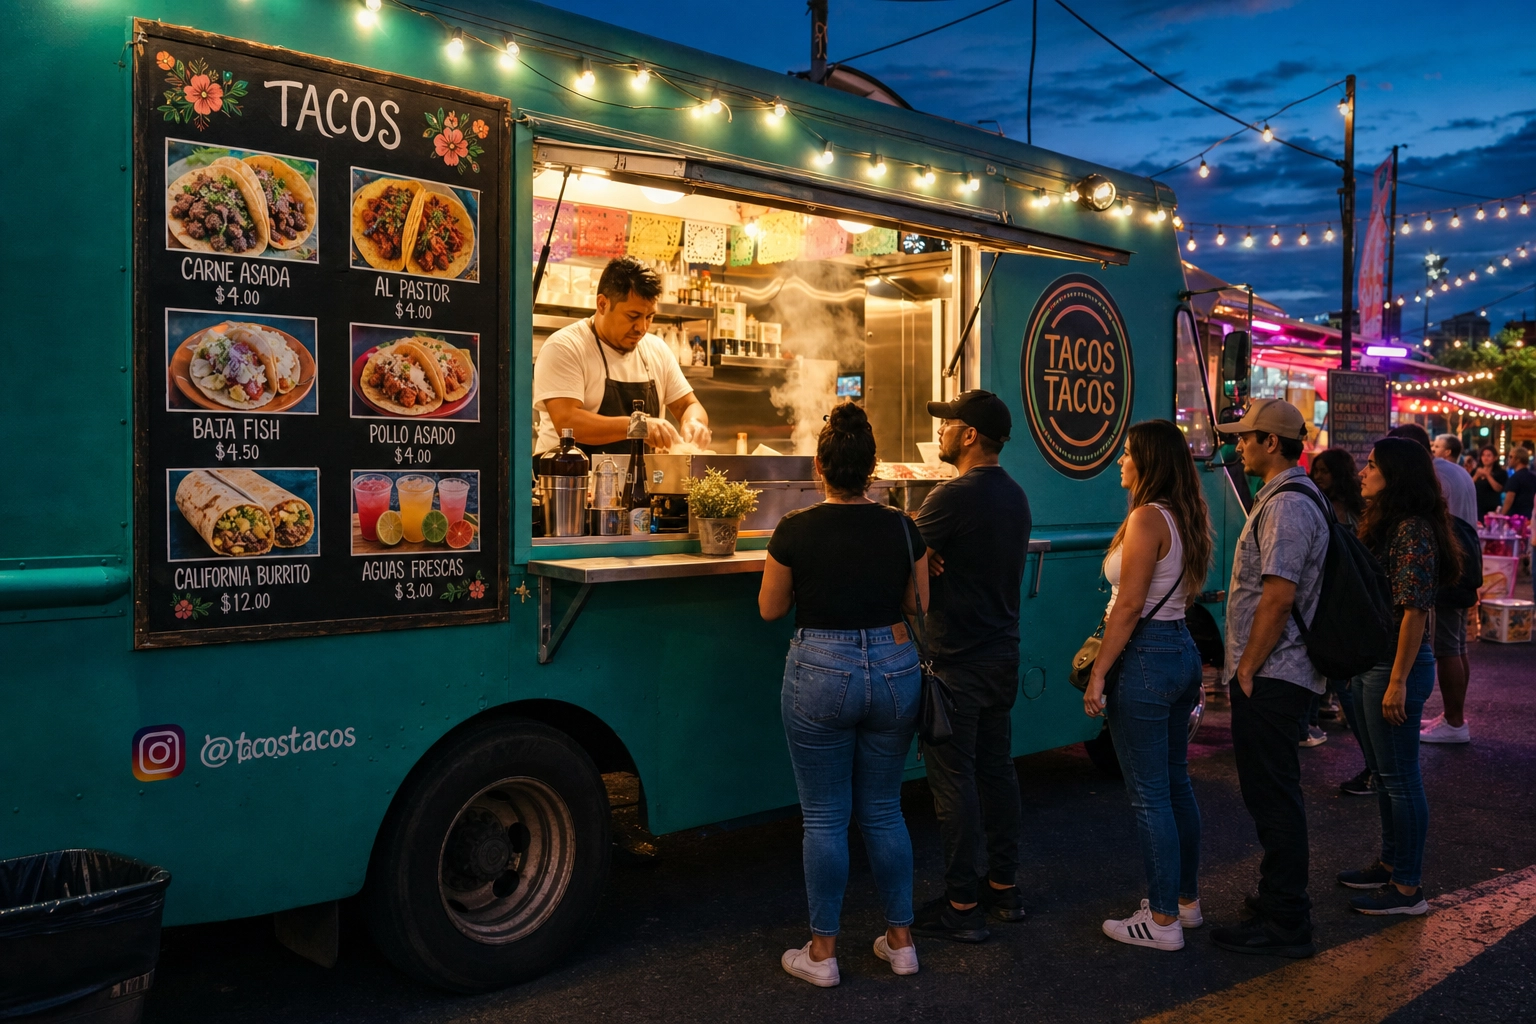 Food truck at a night market with photo menu showing tacos and aguas frescas next to customers ordering under string lights
International or regional cuisine. A pho menu loaded with terms like "bún bò Huế" or "bánh xèo" is intimidating to first-timers. Photos translate dishes faster than any English description ever could. The same logic applies to Korean, Ethiopian, Lebanese, regional Mexican, and dozens of other cuisines where dish names alone don't communicate what you're getting.
Tourist-heavy areas. Times Square, Las Vegas Strip, Disney World, beach towns, ski resorts — places where most customers are first-timers and many don't share a primary language with your staff. Photo menus solve language barriers and reduce miscommunication.
Visual-led food categories. Bakeries, pizzerias, dessert shops, sushi bars, ramen joints, taquerias, and any concept where the look of the food IS a major part of the product. If your dish is photogenic, photograph it.
First-time customer venues. Hotels, airports, tourist districts, and event venues — anywhere a guest is unlikely to be a regular. The more first-timers you serve, the more photos pay off, because regulars already know what they want.
When to Skip the Photos (Yes, Sometimes Less Is More)
Photo menus aren't always the answer. Knowing when to leave them off is part of the job.
Fine dining and luxury restaurants with minimal text-only menus. At the high end, restraint signals confidence. A menu that lists "Beef. Carrots. Bone Marrow." with no photo and a $58 price tag conveys craft. The same dish with a glossy photo can feel try-hard. There's a reason Michelin-starred and luxury fine dining restaurants almost universally avoid in-house photo menus — text alone is part of the brand. Take that energy to your website, Instagram, and OpenTable listing instead, where photos still earn their keep for fine dining marketing.
Menus that change daily or seasonally. If your chef rewrites the menu every morning with whatever came in from the farm, photos can't keep up. The lifecycle is wrong. Stick to descriptive text and let regulars trust your judgment.
Tasting menus and chef's-counter concepts. The experience IS the product. Customers aren't choosing dishes; they're choosing the chef. Photos pre-empt the surprise that's part of what they paid for.
Wine lists. Bottle photos rarely add value. Wine drinkers shop by region, varietal, and producer, not by label aesthetics. Save the photo budget for food.
When you can't get GOOD photos. This one matters. Bad photos are worse than no photos. A blurry, badly-lit, or color-cast image actively reduces trust — research shows it's better to leave the photo slot blank than fill it with an amateur shot that misrepresents the dish. If your only options are phone photos that look amateur, either invest in AI enhancement to bring them up to standard, or skip the photos until you can do them right.
The Yue, Tong, and Prinyawiwatkul (2019) research finding bears repeating: photos for every single item can backfire on perceived quality and shrink average spend. Quality and curation beat quantity. If you can only do a few photos really well, do those — and skip the rest.
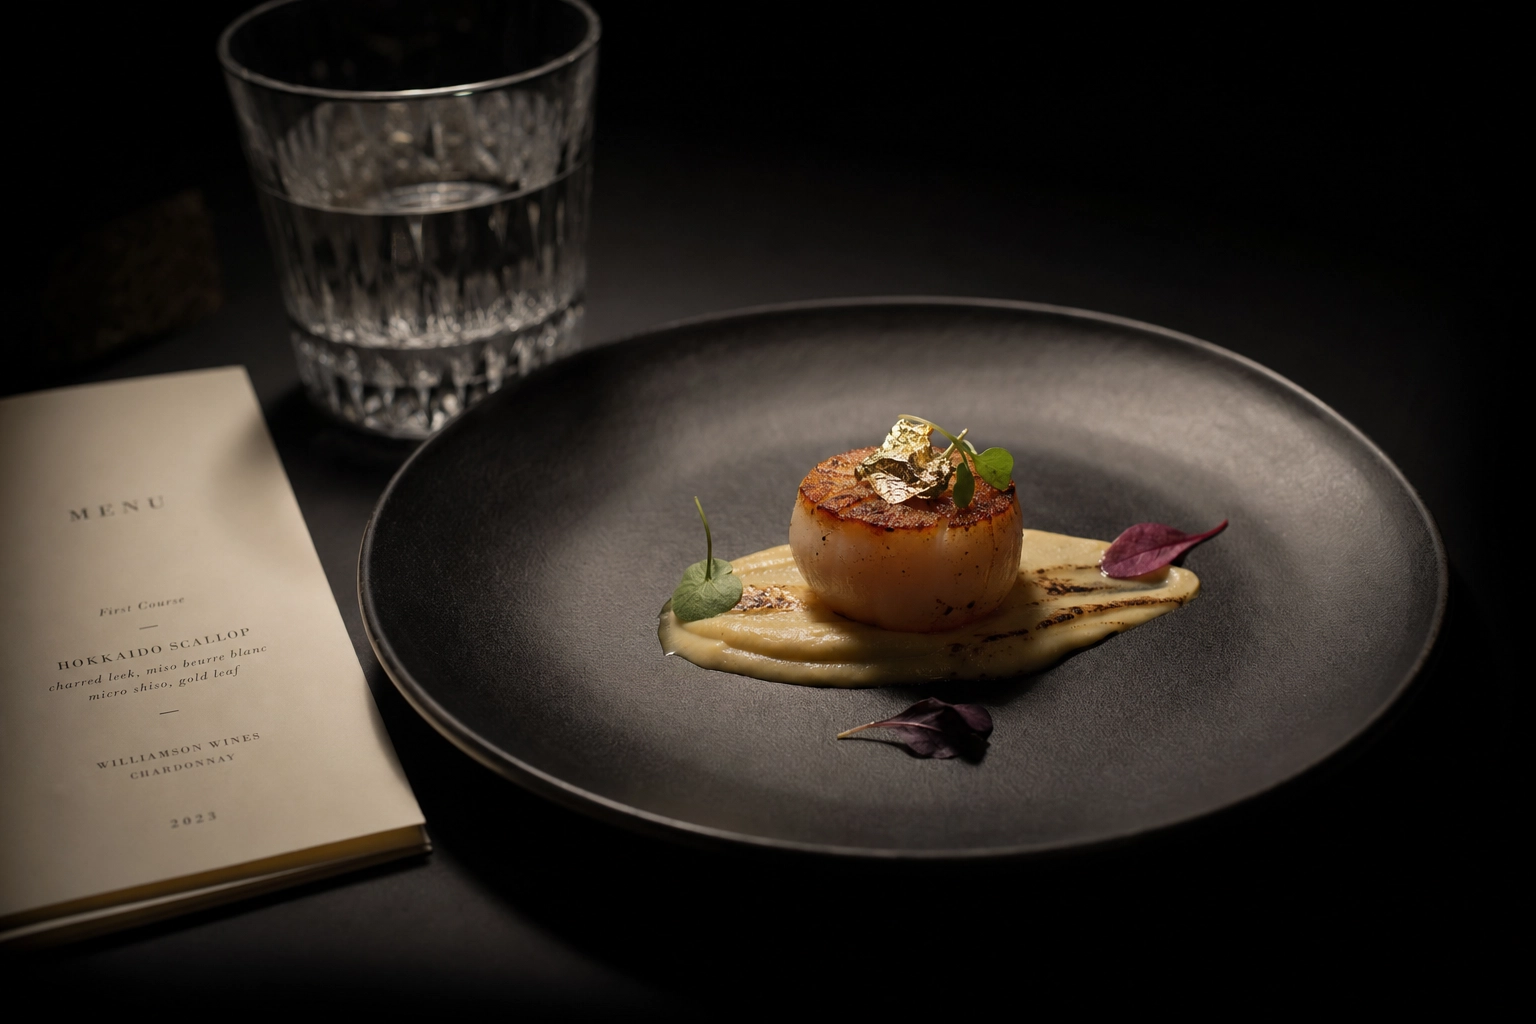 Single elegant scallop course on black slate next to a minimalist text-only fine dining menu in dramatic low light
How to Create a Photo Menu on a Budget: Phone + AI vs Pro Photographer
The biggest historical barrier to photo menus was cost. That barrier has collapsed. Here's the real-world math for photographing a 40-item menu.
| Approach | Upfront Cost | Per-Image Cost | Time | Quality Ceiling |
|---|---|---|---|---|
| DIY phone only | $0–$150 (tripod, ring light) | $0 | 6–9 hours | Inconsistent — depends heavily on light and skill |
| Professional photographer | $500–$2,500 per session ($2,500–$7,500 with stylists, studio) | $25–$100 | 3–7 days turnaround | Highest, especially for hero/brand shots |
| Phone + AI enhancement (FoodShot AI) | $9–$59/month subscription | $0.45–$0.60 | 1 afternoon | Professional-grade for menu and delivery use |
Professional shoots win for hero brand photography. If you're launching a new concept, redesigning your website, or shooting a campaign that'll run on billboards, hire a pro. Their craft, lighting, and food styling expertise are worth the spend for high-stakes assets. Plan it well — see our related menu photoshoot planning guide for the full process.
Phone + AI wins for menu and delivery refresh cycles. For the long tail of 40+ menu items that change every season, AI enhancement is the only economically rational choice. At $0.45–$0.60 per image, you can refresh your entire menu for the price of one professional sandwich shot.
Most restaurants benefit from both. Use a pro shoot once a year for hero brand assets and a few signature dishes. Use AI for everything else — daily specials, seasonal items, delivery app uploads, social posts. The two approaches aren't competitors; they cover different parts of the same job. Our related food photography cost breakdown has the full math by city and use case.
A note on what AI can and can't do. FoodShot AI enhances real photos of your real dishes — adjusting light, color, background, and composition while keeping the actual food intact. It doesn't generate fictional food images from text prompts. That distinction matters because delivery platforms like Uber Eats and DoorDash will reject menu photos that don't accurately represent the dish a customer receives. Enhancement is allowed and encouraged. Synthetic food generation isn't.
Step-by-Step: Build a Complete 50-Item Photo Menu in One Afternoon
Here's the workflow that turns a plate of food in your kitchen into a 50-item photo menu, ready to upload, in roughly four to five hours.
Step 1: Prep & Stage (45 minutes)
Group your dishes by temperature and timing. Shoot cold first (salads, ceviches, charcuterie, desserts), then room temperature (sandwiches, wraps), then hot dishes (pastas, mains, soups). Cold items stay photogenic longer; hot dishes lose steam, sheen, and color in minutes.
Set up near a north-facing window for diffused natural light, or under a single softbox if you're shooting at night. Avoid direct sunlight — it creates harsh shadows that AI enhancement can't fully fix. Pick one neutral background and stick with it: a linen napkin, a wooden cutting board, a piece of marble tile, or a clean tabletop. Consistency across all 50 photos makes them feel like a real menu instead of a scrapbook.
Plate fresh. Wipe drips. Garnish at the last second. The extra two minutes of prep per dish saves you twenty minutes of editing later.
Step 2: Shoot All 50 Items (90 minutes)
Phone in landscape mode. Tap to focus on the hero element of each dish. Take 3–4 angles per dish:
- Top-down (overhead): Best for plates with multiple components, pizzas, bowls, charcuterie.
- 45° angle: The all-purpose shot. Works for almost everything.
- Eye-level: Best for stacked items — burgers, layered cakes, parfaits.
- Macro/close-up: Show texture — the cheese pull, the sauce drip, the crust.
Aim for at least four keepers per dish. Wipe your phone lens with a clean cloth between dishes (fingerprints destroy sharpness). Turn on your camera's grid lines to nail composition. Shoot in your phone's highest-resolution mode — you'll thank yourself when you crop later. For more on the camera fundamentals, our related guide on how to take good food photos covers the basics.
Step 3: Triage & Pick the Best Shot per Dish (30 minutes)
Move your photos to a laptop. Reviewing on a 15-inch screen catches problems a 6-inch phone screen hides — soft focus, weird crops, color casts. Pick one hero per dish and delete the rest immediately. Cluttered folders slow you down on the next pass.
Use a clean naming convention: dish-name-angle.jpg (e.g., margherita-pizza-overhead.jpg, caesar-salad-45deg.jpg). Future you, uploading to Uber Eats at midnight, will appreciate the organization.
Step 4: Enhance with FoodShot AI (60 minutes)
Upload your 50 selected photos to FoodShot AI in batches. On the Scale tier you can process 5 simultaneously, which keeps the workflow moving.
Pick a style preset that matches the destination:
- Delivery presets for Uber Eats, DoorDash, Grubhub — bright, high-contrast, appetite-forward.
- Menu presets for in-house print menus — softer, more editorial, brand-consistent.
- Fine Dining presets for upscale and luxury concepts — moody lighting, dramatic shadows, plated artistry.
Use Builder Mode if you want consistent backgrounds across all 50 items — pick a single backdrop, plate, and mood, then apply it to every dish for unified menu design. Use My Styles if you've shot a few professional reference photos and want every AI-enhanced image to match your existing look.
Generate variations and pick the strongest version for each dish. Export at 4K resolution for print menus, web-optimized JPEGs for delivery apps and digital screens.
Step 5: Publish to Each Channel (45 minutes)
Export the right aspect ratios for each destination. The same source photo gets cropped differently:
- Uber Eats: 5:4 for menu items, 16:9 for cover/profile.
- DoorDash: 16:9 for headers and menu items, 1:1 thumbnails auto-generated from those.
- Grubhub: 16:9 for items, follows cropping rules per region.
- Instagram feed: 4:5 (vertical), 1:1 (square).
- Pinterest: 2:3 (vertical) for best engagement.
- Print menus / QR menus: Whatever your designer needs — 4K source files give you flexibility.
Upload to your delivery apps (start with whichever items currently have NO photo — those are your highest-ROI uploads). Update your QR/digital menu. Push to Instagram and Pinterest. If you have a print menu, hand the files to your designer.
That's it. A 50-item photo menu, built from scratch, in a single afternoon. The same project with a traditional photographer would take 3–5 weeks and cost between $5,000 and $15,000 once stylists, studio time, and editing are included.
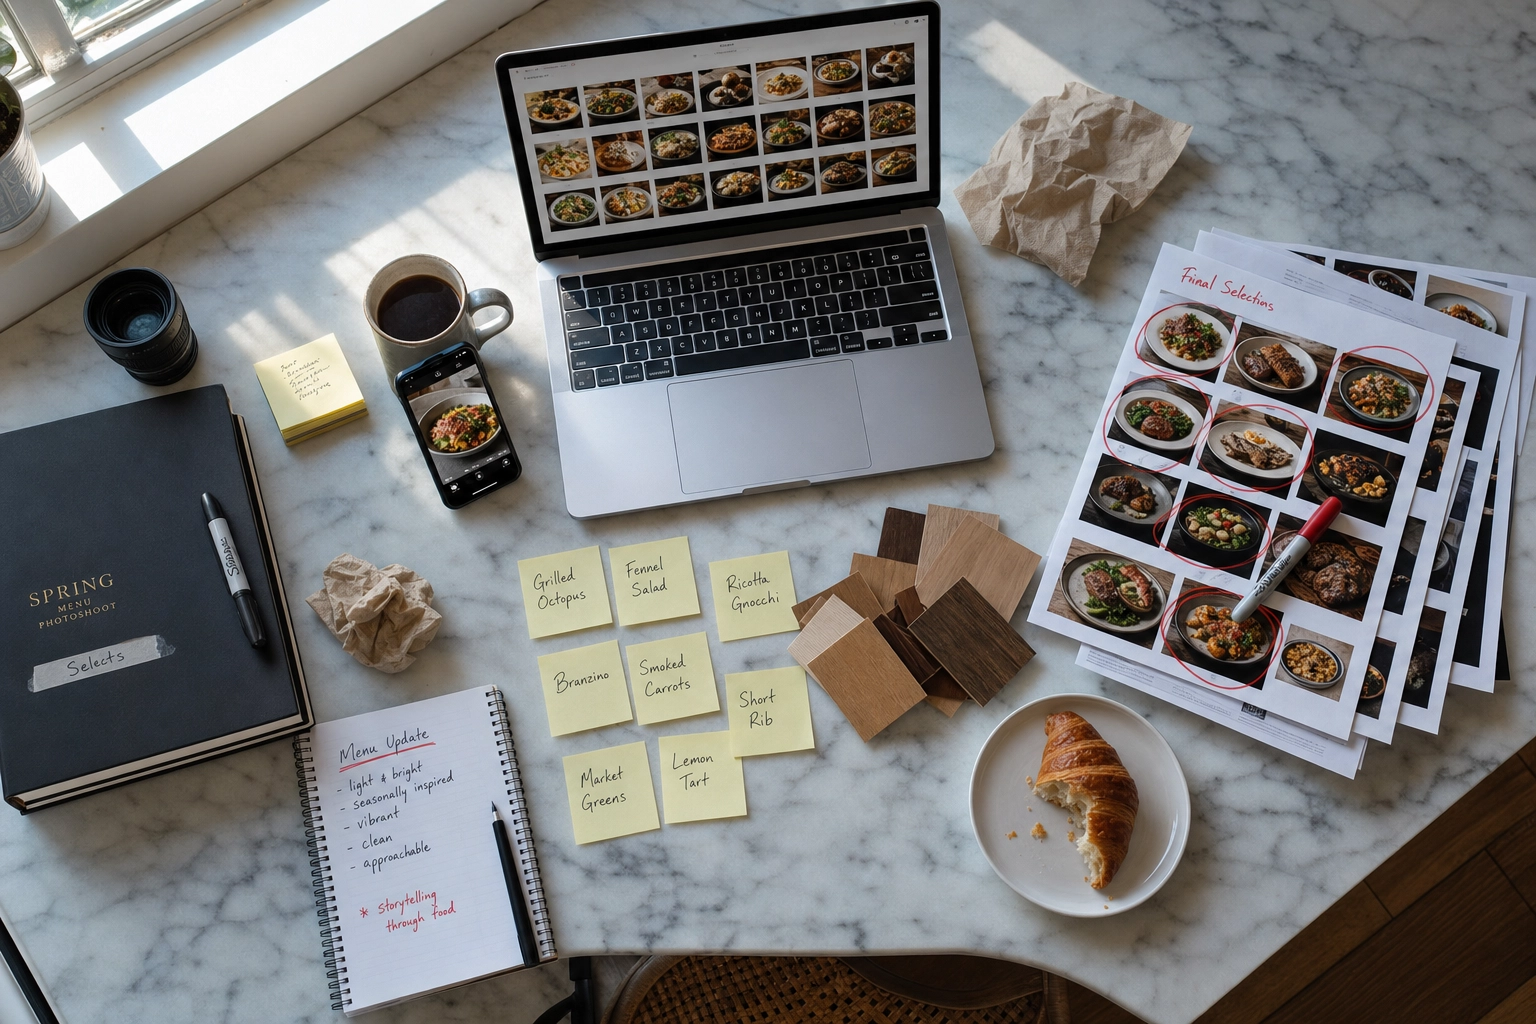 Top-down view of an in-progress photo menu workflow with laptop, phone, printed photo selections, and notes on marble counter
Photo Menu Mistakes That Hurt Revenue
Photo menus only deliver the 25–30% lift when they're done right. Here are the menu design mistakes that flatten that lift — or reverse it.
Bad photos are worse than no photos. Blurry, dim, or oddly-colored images reduce trust. Customers reading bad photos subconsciously assume the food is bad too. If you can't make a photo look professional, leave the slot blank until you can. AI enhancement exists exactly because most phone photos out of camera aren't menu-ready.
Inconsistent style across the menu. When 50 dishes look like they were shot in 50 different restaurants, the menu loses its identity. Consistency in background, lighting, and angle creates the visual cohesion that signals quality. Pick one aesthetic and apply it everywhere.
Photos that don't match the dish. The burger has three onion rings on the menu and one in real life. The pasta photo shows shaved truffle that's not actually included. These mismatches generate refunds, complaints, and one-star reviews on delivery apps. Photograph what you actually serve, not an idealized version of it.
Stock photos for actual menu items. Using a generic burger photo from Shutterstock for your specific burger is both a customer-trust violation and (on most delivery apps) a Terms of Service violation. Uber Eats and DoorDash both reject menu photos that aren't of the actual dish you serve. Stock photos are for marketing pages and websites, not menu items.
Skipping platform-specific aspect ratios. Upload a 1:1 photo to a 16:9 DoorDash header and you'll get awkward auto-cropping that chops off the dish. Take five extra minutes to export the right ratio for each platform. It's the cheapest conversion fix you can make.
Setting and forgetting. Recipes change. Plating evolves. Suppliers swap. A photo from 2023 of your signature dish probably doesn't look like the 2026 version. Refresh photos at least quarterly, and immediately after any plating change. Old photos drift further from reality with every menu update.
Frequently Asked Questions
How many menu items should have photos?
For delivery apps: as close to 100% as you can get, and at minimum your top 80% by sales volume. Items without photos consistently underperform on Uber Eats and DoorDash, and the apps' algorithms can deprioritize incomplete menus.
For in-house print menus: 5–10 hero items unless you're a casual or family-style concept, in which case more is fine. Academic research suggests 1–2 photos per page is the sweet spot for perceived quality on traditional print menus — too many photos can paradoxically reduce average spend.
For QR/digital menus: photograph as many as you can. The medium has effectively unlimited room, and customers expect a more visual experience on their phone than they would from a paper menu.
Do photos really increase orders by 25–30%?
Yes, on delivery apps especially, the data is consistent across multiple sources. Snappr's enterprise research found a 25% conversion lift and 35%+ total order increase. Deliveroo reported 12% order growth from photographing just 10% of menu items. Grubhub measured up to 70% more orders for restaurants with menu photos versus text-only listings.
The caveats: those numbers are platform averages, not guarantees. Bad photos can hurt rather than help. The lift is largest going from 0% to 50% photo coverage and tapers off as you approach 100%. And dine-in menu lift varies by concept — strongest for casual, weaker for fine dining and luxury restaurants.
Are AI-enhanced photo menus allowed on delivery apps?
Yes — when the AI enhances a real photo of the actual dish. Both Uber Eats and DoorDash explicitly allow enhanced photos. They reject fully synthetic, fictional, or AI-generated images that don't depict the actual food a customer will receive.
FoodShot AI's workflow stays within these guidelines because it works from your real photo as input. You shoot the dish, upload, and the AI improves lighting, background, and composition without inventing food that doesn't exist. The rule of thumb: if a customer can recognize their order based on the photo, you're compliant. If the AI added a side dish that's not actually included, you're not.
Should fine dining and luxury restaurants use photo menus?
Generally no for the in-house menu. Text alone signals craft, confidence, and the kind of trust between chef and guest that photos undercut. Most Michelin-starred and high-end luxury concepts deliberately avoid photo menus on the table.
But yes for everything else: website hero shots, Instagram, OpenTable and Resy listings, press kits, PR assets. Even fine dining benefits from beautiful photos in marketing channels — just not on the menu itself. Tasting menus are sometimes an exception: a single "experience" photo per course on a digital menu can help international guests, especially in tourist destinations.
How often should I update my photo menu?
At minimum every quarter. Ideally:
- Delivery app menus: Refresh every 1–3 months as you launch specials, change plating, or rotate seasonal items.
- Print menus: Refresh whenever you reprint, and at every menu change.
- Seasonal items: Photograph in season — pumpkin spice photos shouldn't be summer leftovers, and summer salads shouldn't carry a December date.
- After a brand refresh or rebrand: New logo, new photos. Don't let old visuals outlive your new identity.
If you're using AI enhancement, you can refresh photos in real time as your menu changes — which is honestly the biggest unlock of the AI workflow. The cost of refreshing isn't the bottleneck anymore.
The Bottom Line: Photo Menus Are a Revenue Lever, Not a Design Choice
Photos do measurable, specific things to restaurant revenue: 25% conversion lifts, 35% more total orders on delivery apps, up to 70% more orders versus text-only listings on Grubhub, 50% lifts from header images alone. The data is consistent across Snappr, Deliveroo, DoorDash, Grubhub, and academic research from institutions like Iowa State and Cornell. This isn't a marketing claim — it's the operating reality of the modern restaurant industry.
The barrier used to be cost. Professional food photography ran $500–$2,500 a session and took weeks to schedule. AI enhancement has collapsed that to roughly $0.45–$0.60 per image, available the same afternoon you shoot.
A simple decision framework:
- Run a delivery operation, food truck, ghost kitchen, or fast-casual concept? Build a full photo menu. Every item, every platform, every aspect ratio. The conversion math demands it.
- Independent restaurant, gastropub, or modern bistro? Build a hero photo menu — 5–10 signature dishes with strong photography. Anchor your menu engineering around them.
- Fine dining or luxury tasting menu concept? Skip photos on the in-house menu. Invest in beautiful photography for your website, Instagram, OpenTable listing, and press materials instead. See fine dining photography for how high-end concepts handle this.
- Mixed concept (e.g., café by day, wine bar by night)? Use a QR digital menu so you can show photos when they help (lunch service) and minimize them when they don't (evening wine list).
Related guides and inspiration
If photo menus are about converting more orders, the photos themselves are the lever. To go deeper, here are the related FoodShot AI guides built around this topic:
- Menu photography guide — camera settings, lighting, and styling specifics for menu shots.
- Food photography for restaurant menus — the broader strategic context, when, why, and how restaurants invest.
- Restaurant menu board design — physical and chalk menu design beyond just photography.
- Cafe menu photography — design ideas tailored to café and bakery operations.
- Restaurant food photography guide — the definitive guide to photography across all restaurant channels.
When you're ready to put the workflow into practice, the FoodShot AI food photo editor is built specifically for this job. There's a free tier for testing, and the Starter plan starts at $9/month billed annually for 25 enhanced images — enough to refresh a small menu in a single sitting.
Your menu is already doing the selling. A photo menu just lets the food do its share of the work.
