
Dessert Photography: Master Sweet Treats for Any Menu
 Ali Tanis10 min read
Dessert photography is the hardest food photography category. Sweet treats melt, bloom, crystallize, and show every fingerprint at 100% crop. They also outperform every other food image category on Instagram, Pinterest, and delivery apps — when the photo is right.
This is the FoodShot dessert photography hub. It covers the universal principles for shooting any sweet, then sends you to a deep-dive for the dessert you're baking today.
Quick Summary: Great dessert photography comes down to four levers: side lighting for texture, neutral backdrops for color, contrast for drama, and the right angle for the form. Cake gets a side angle, cookies get a flat lay, ice cream gets shot in 3–5 minutes, chocolate needs specular highlights. When a live shoot isn't possible, AI dessert photography hits the same standard in 90 seconds.
Why desserts photograph differently than savory food
A burger is forgiving. A pavlova is not. Four things make sweet food photography its own discipline.
Color saturation runs hot. Berry reds, frosting pinks, matcha greens, caramel ambers — dessert sits in the high-saturation corner of every menu. White balance has to be locked, or a yellow cast turns vanilla buttercream gray and pink macarons muddy.
Multiple textures coexist. A fruit tart has glossy glaze, matte powdered sugar, crystalline shell, and pillowy cream. The natural light has to flatter all of them.
Temperature is the enemy. Ice cream melts in 3–5 minutes under photography lights. Soufflés collapse in two. Chocolate develops bloom (chalky film) when warm. The shoot races the dessert.
Imperfections show. A fingerprint on chocolate, a bubble in ganache, a broken meringue tip — at the resolutions delivery apps render, flaws read instantly.
The payoff: sweet food gets shared more than savory, and well-photographed desserts lift end-of-meal attach rates. Visual cues buyers crave — glossy chocolate drip, frosted swirl, powdered-sugar dust — trigger order intent.
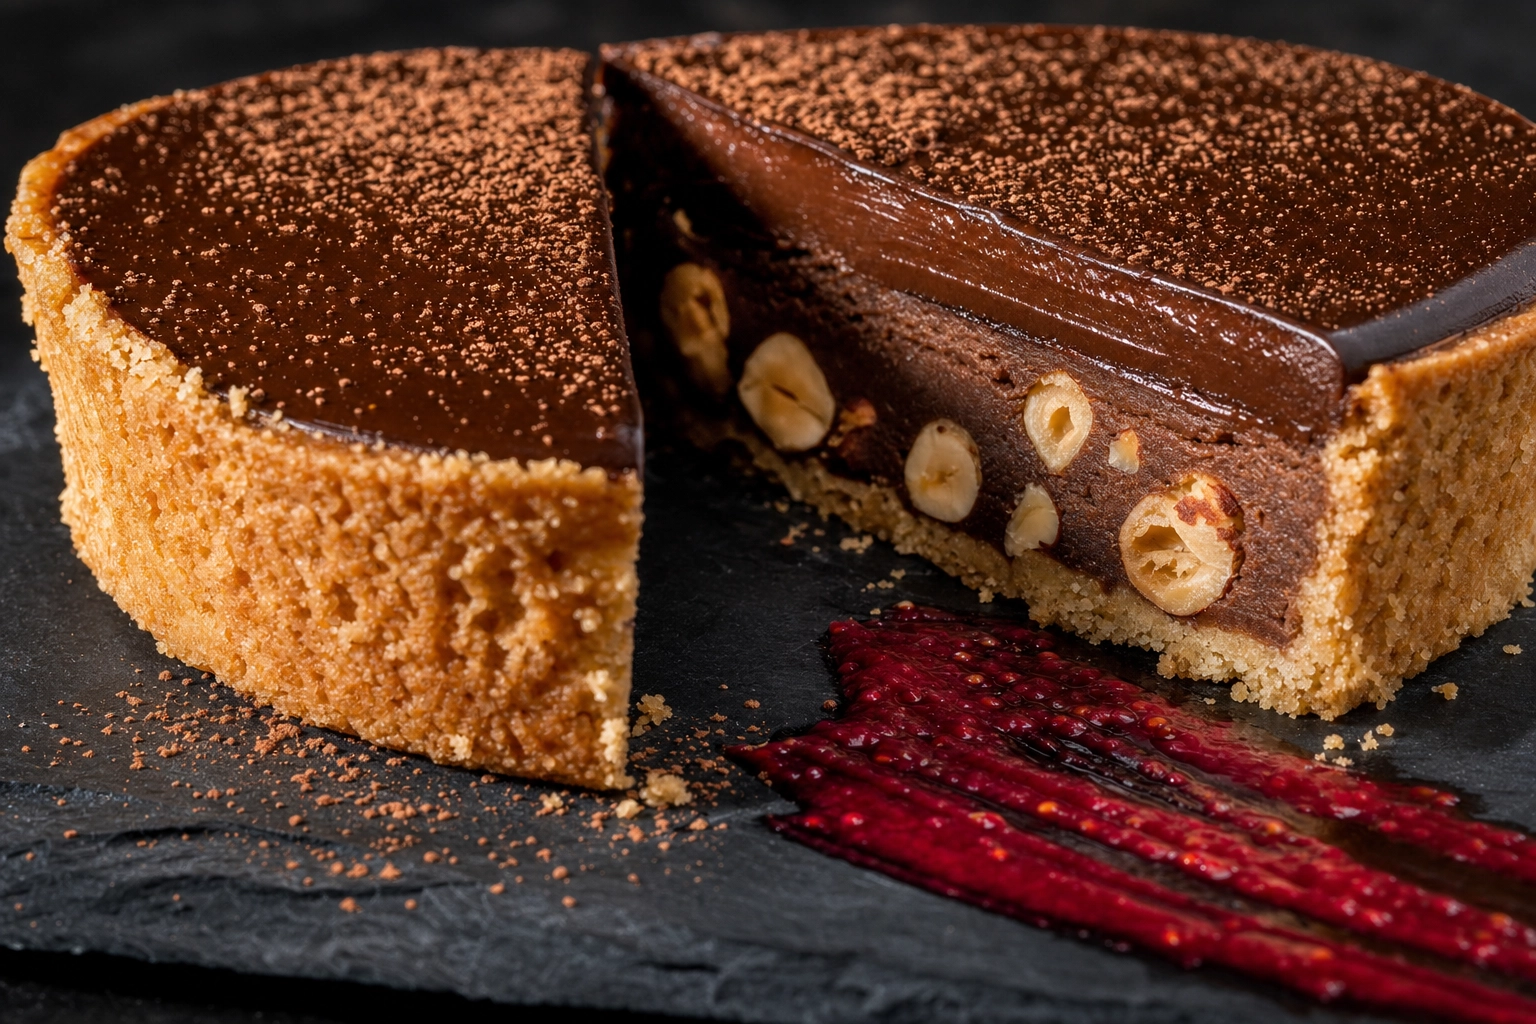 Macro close-up of cut hazelnut chocolate tart showing glossy ganache, cocoa dust, and crystalline shell textures coexisting in one dessert
Four universal principles for great dessert photos
1. Light from the side to bring out texture
Side lighting — a soft natural light at 90° from camera — is the most-flattering angle for dessert photography. Window light from a north-facing window is the home baker's secret weapon. The light skims across the dessert, exposing every frosting peak, lamination layer, and crystalline shell.
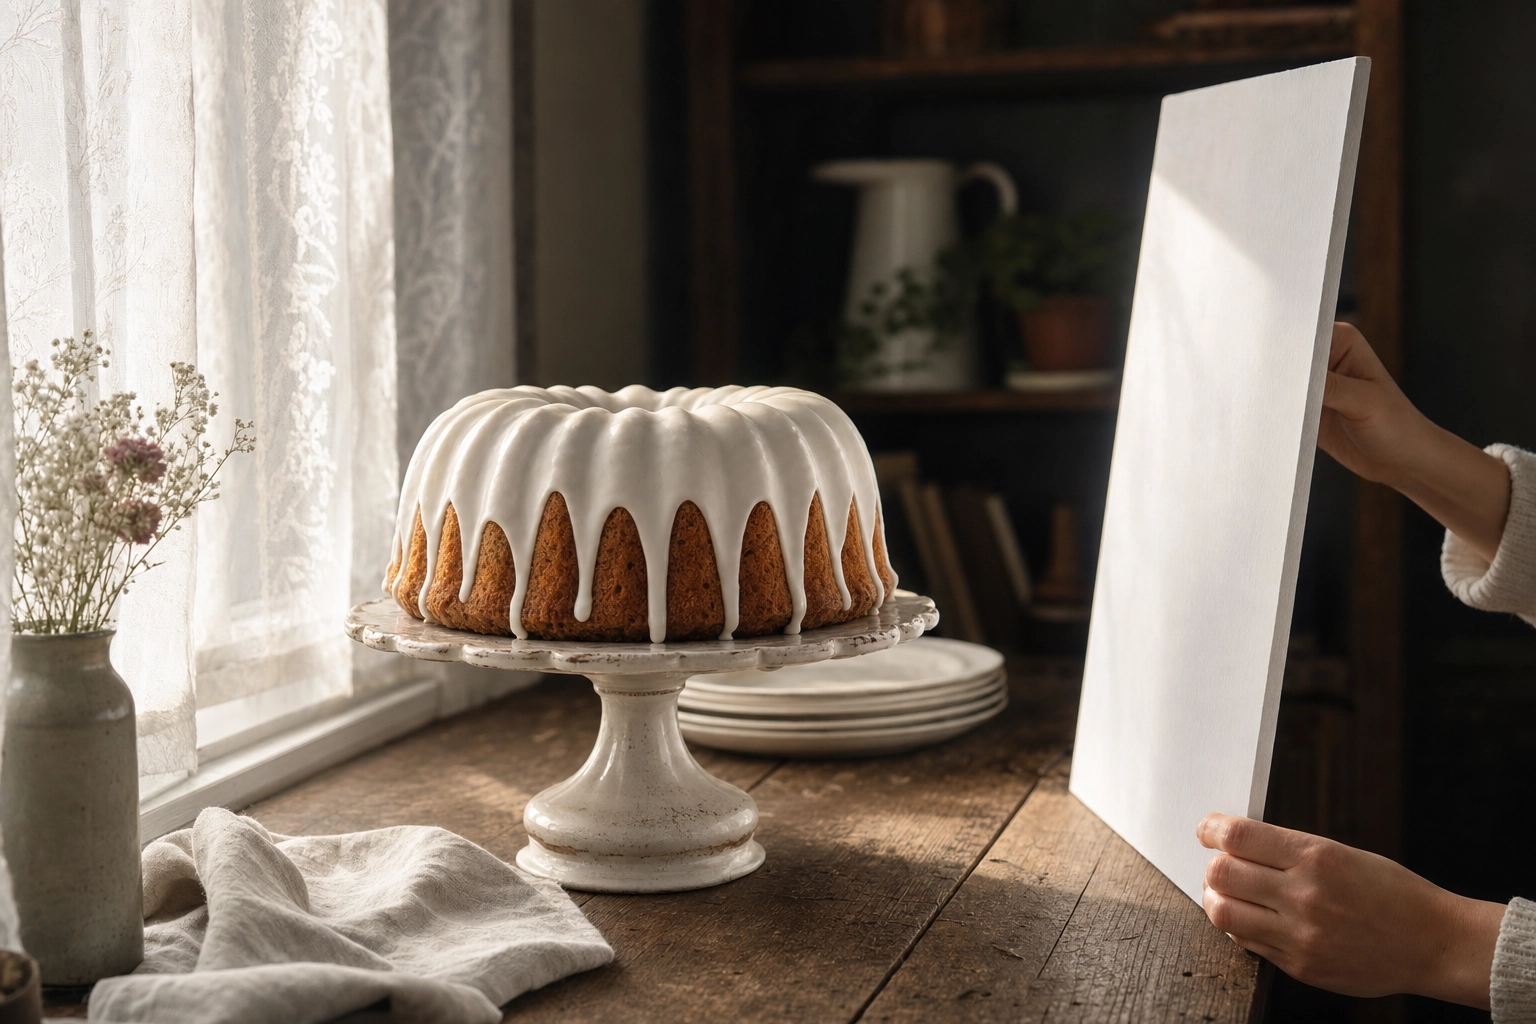 Bundt cake near a window with sheer curtains diffusing natural light and a foam board reflector — side lighting setup for dessert photography
Backlight (180° behind the subject) adds shine to glazes and gleam to ice cream drips. Use it as a kicker. Avoid direct overhead sun and tungsten bulbs. For night shoots, use daylight LEDs at 5000–5600K. Deep-dive in our food photography lighting guide.
2. Use neutral backdrops so the dessert pops
White marble, raw oak, matte black, undyed linen — neutral backdrops let the dessert hold center stage. Match backdrop tonal value to the dessert. Light desserts (lemon meringue, pavlova) read on dark backdrops. Dark desserts (chocolate ganache cake, brownies) need lighter surfaces. Our food photography backdrops library covers more.
3. Lean on contrast to make colors pop
Contrast stops the scroll. Three kinds matter:
- Tonal contrast — dark dessert on light backdrop, or the reverse
- Color contrast — complementary colors (orange/blue, red/green, purple/yellow) create instant drama
- Texture contrast — smooth ganache against crunchy praline
A dark chocolate tart on pale wood with raspberries hits all three.
4. Choose the angle that flatters the form
Shape dictates angle:
- Layered cake, parfaits, trifles: 20–45° side angle
- Cookies, donuts, tarts, macarons: top-down flat lay
- Cupcakes: eye-level for frosting swirl
- Plated restaurant desserts: 45° at chef's-eye level
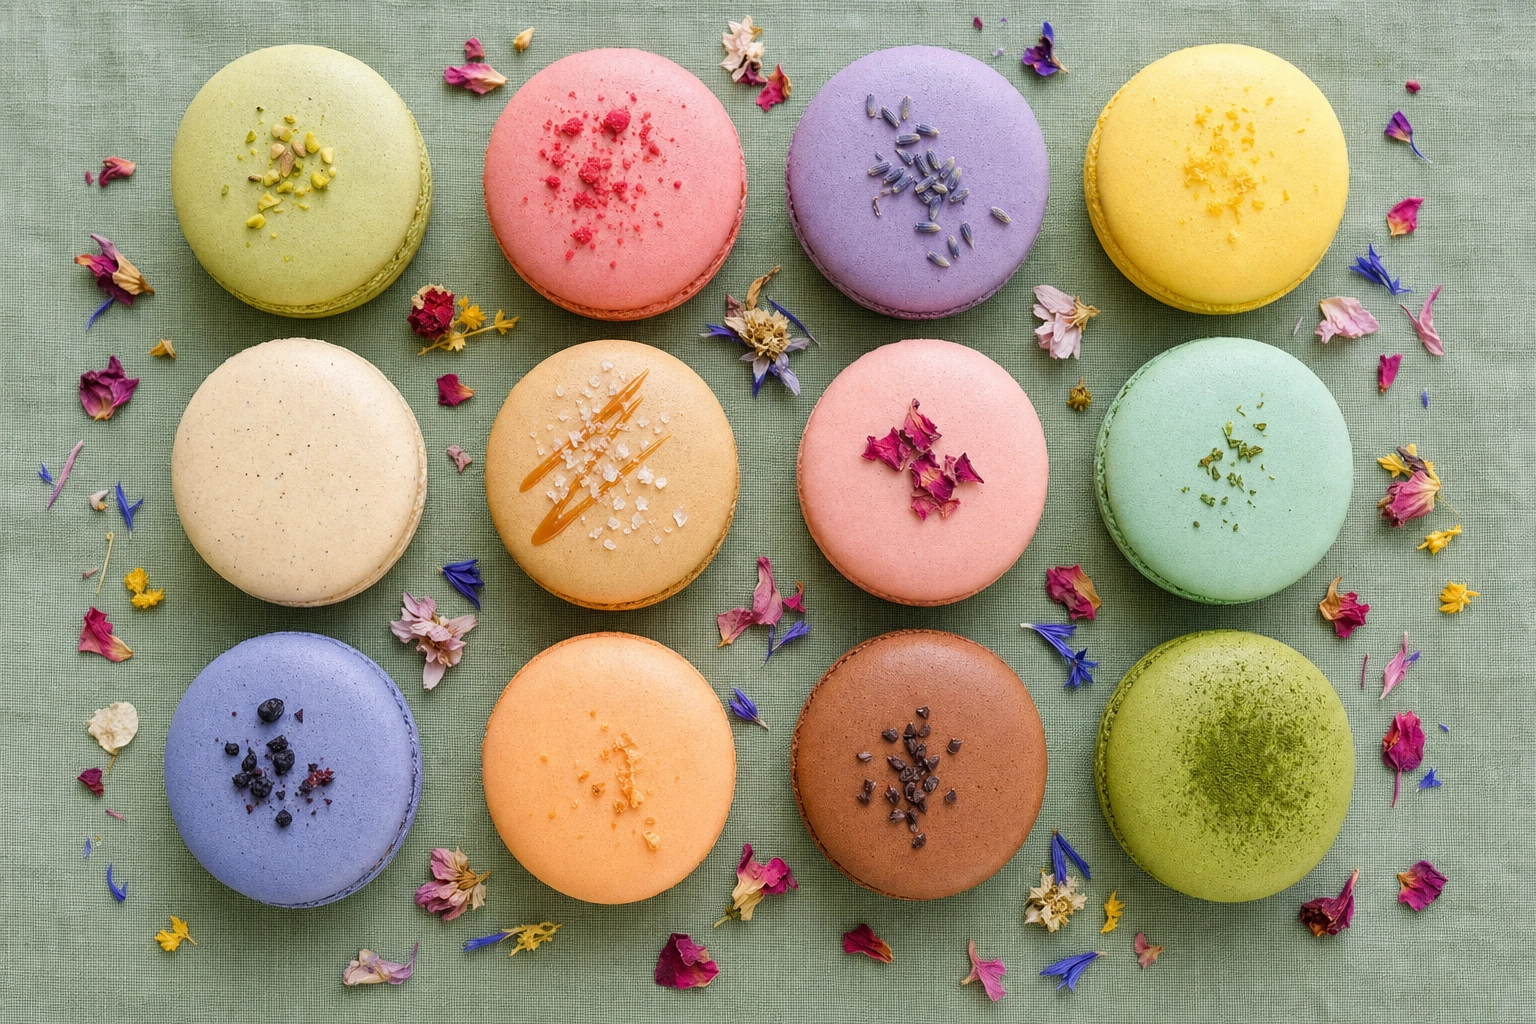 Overhead flat lay of twelve pastel macarons arranged in a colorful grid on green linen — top-down dessert photography composition
The r/Baking community leans toward 20–35° for cake — gentler than 45°.
Dessert-by-dessert decision matrix
Every dessert has its own deep-dive guide. Pick yours.
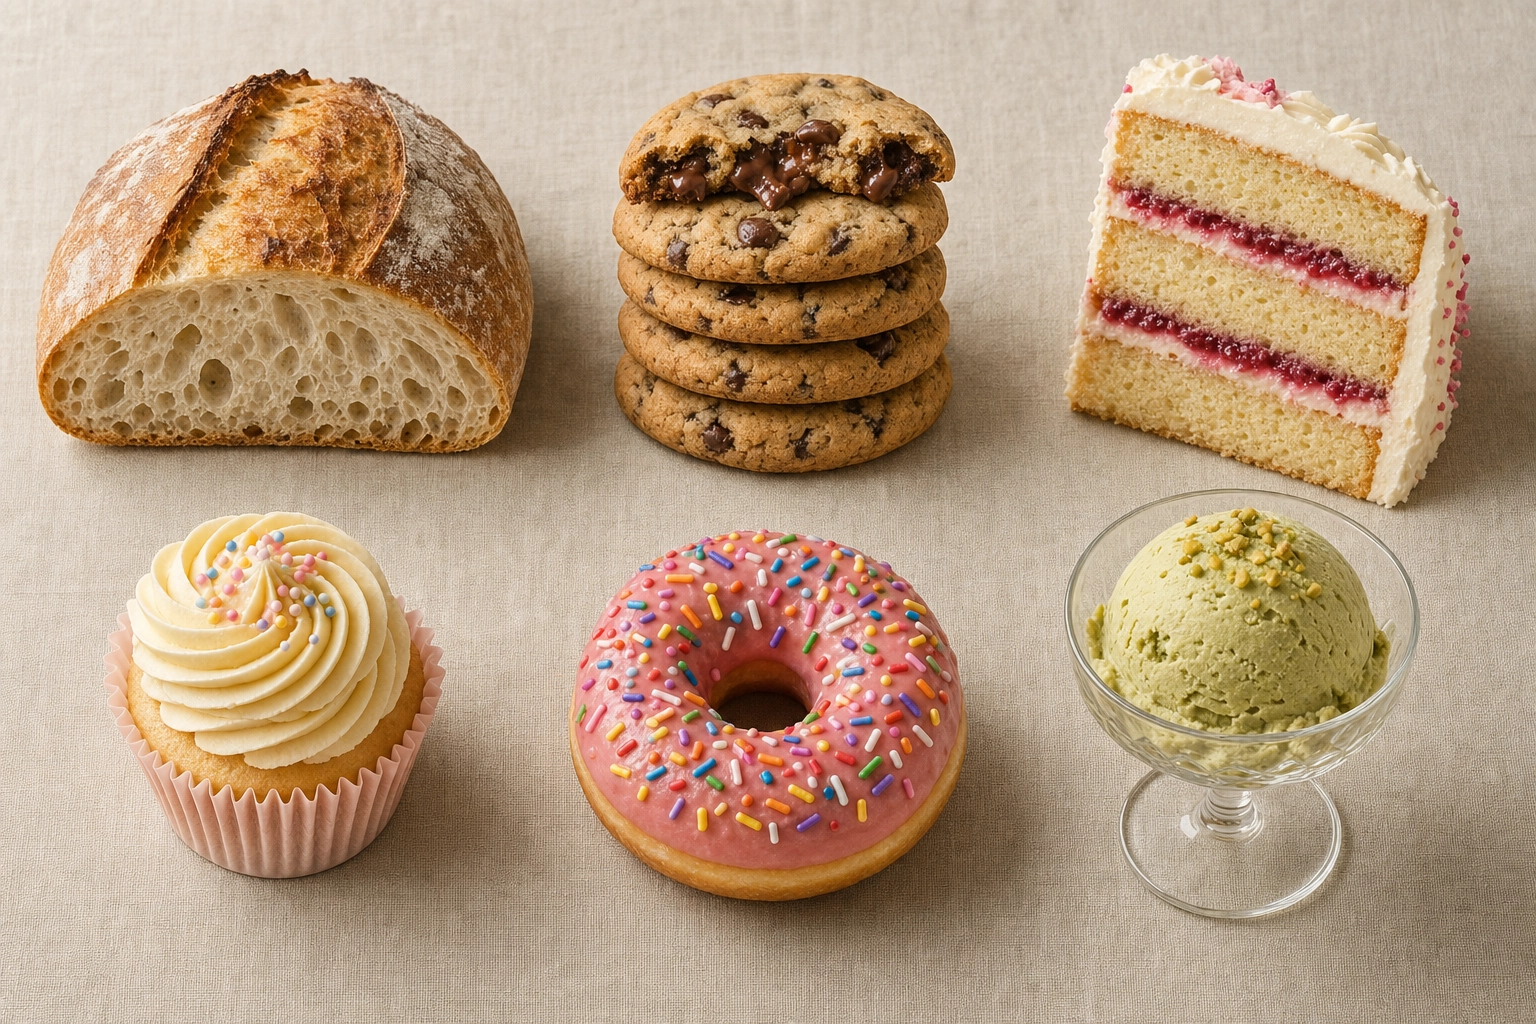 Overhead flat lay of six dessert categories — bread, cookies, cake, cupcake, donut, ice cream — showing different photography approaches
Bread and viennoiserie
Side light at golden-hour warmth, 20–45° angle, raw wood backdrop. Hero is crust texture and lamination. → Bread photography guide
Cookies
Top-down flat lay for arrangement; 45° for chewy edge. Crumbs and broken halves signal freshness.
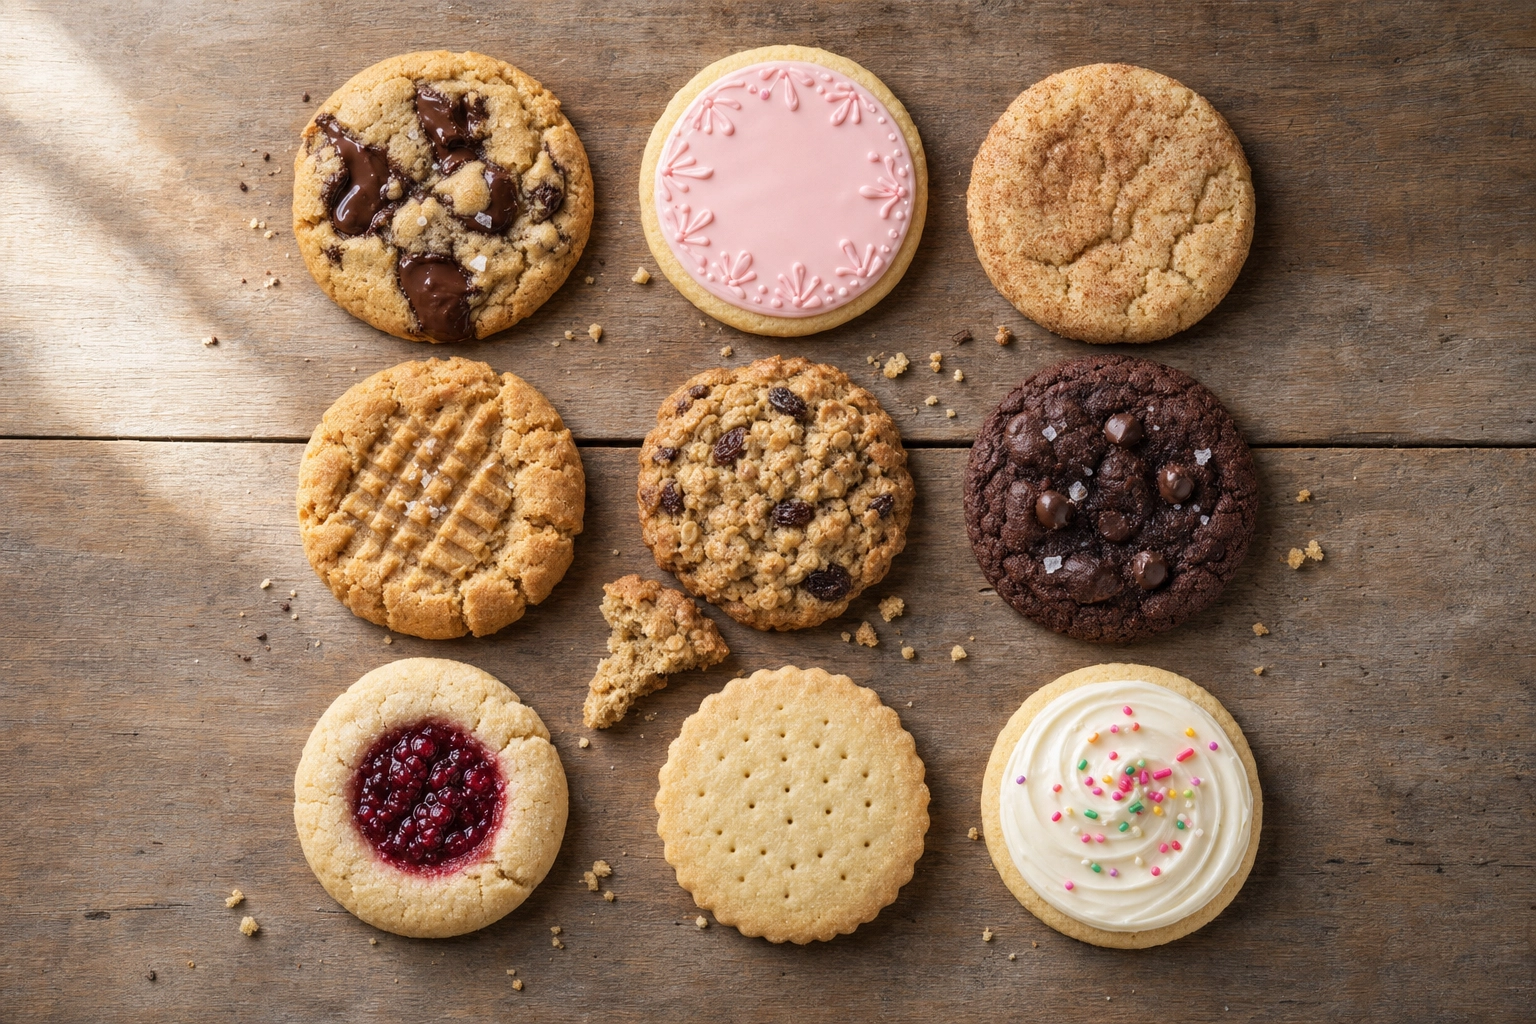 Overhead flat lay of nine assorted homemade cookies in a 3x3 grid on weathered wood — cookie photography composition demonstration
Layer cake and celebration cake photography
20–30° side angle reveals cake layer height. Tall cake shoots best in portrait framing. A clean slice forward exposes the interior — the highest-converting cake shot for bakeries. → Cake photography deep-dive
Cupcakes and muffins
Eye-level for the frosting swirl; top-down for liner color. Soft side light keeps frosting peaks crisp. → Cupcake photography guide
Donuts
Top-down flat lay grids — the donut shop signature on delivery apps. 45° for hero shots showing glaze drips.
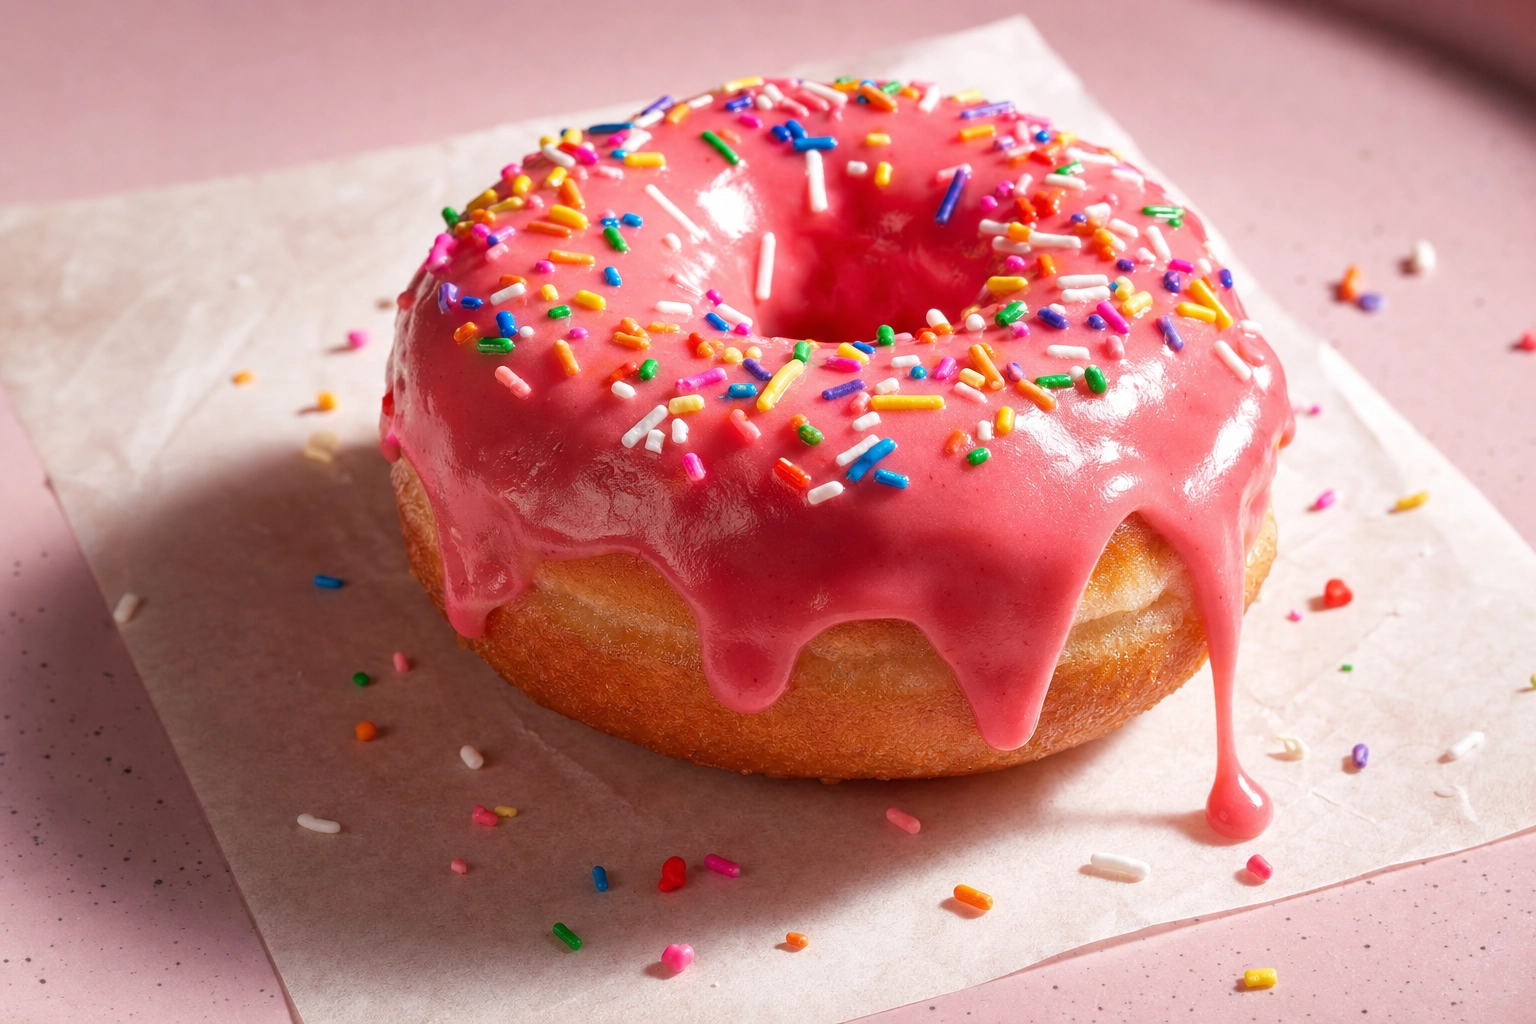 Strawberry glazed donut with mid-drip pink glaze and rainbow sprinkles at 45-degree angle — donut hero shot demonstration
Ice cream and frozen desserts
3–5 minutes before scoops slump. Pre-chill bowls. Stage the shot before the dessert leaves the freezer. Backlight emphasizes drip lines.
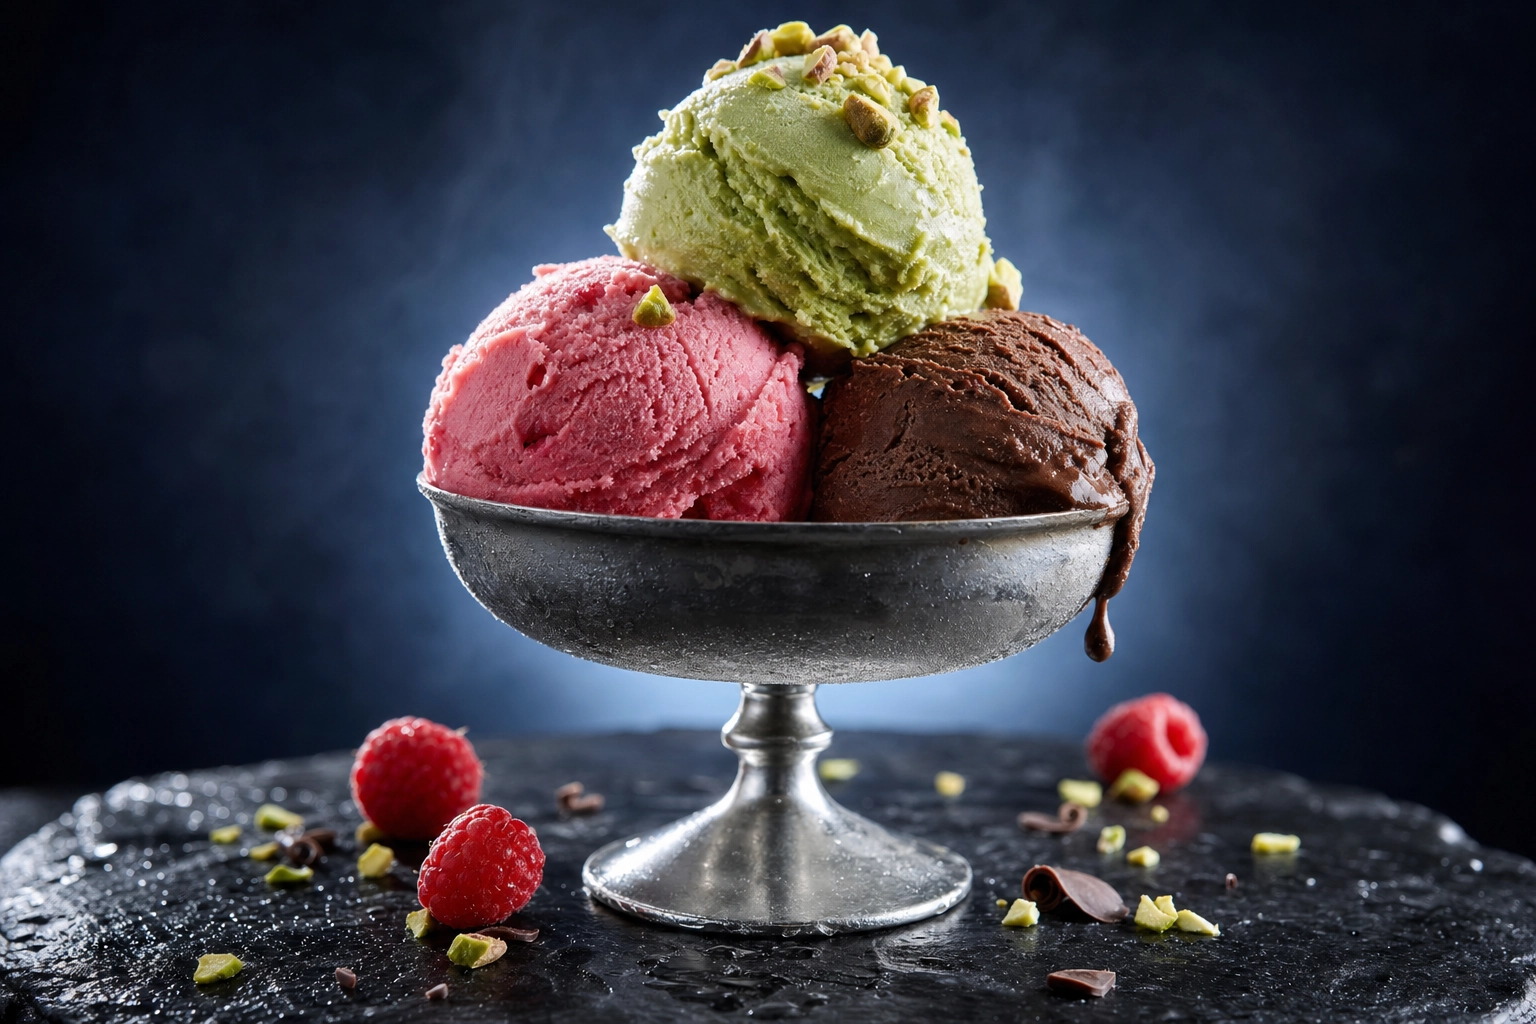 Three scoops of artisan gelato in vintage coupe with backlight revealing first melt drip — ice cream photography timing demonstration
Chocolate, bonbons and ganache
Chocolate photography is the most technical sweet-food challenge. Five rules:
- Specular highlights — small directional light sources, not big soft boxes
- Black plexiglass surfaces add mirror-like depth
- A clothes steamer restores chocolate shine before the shot
- Tweezers and gloves — never bare fingers on chocolate
- Color-correct beyond brown — chocolate contains reds, oranges, yellows, sometimes greens
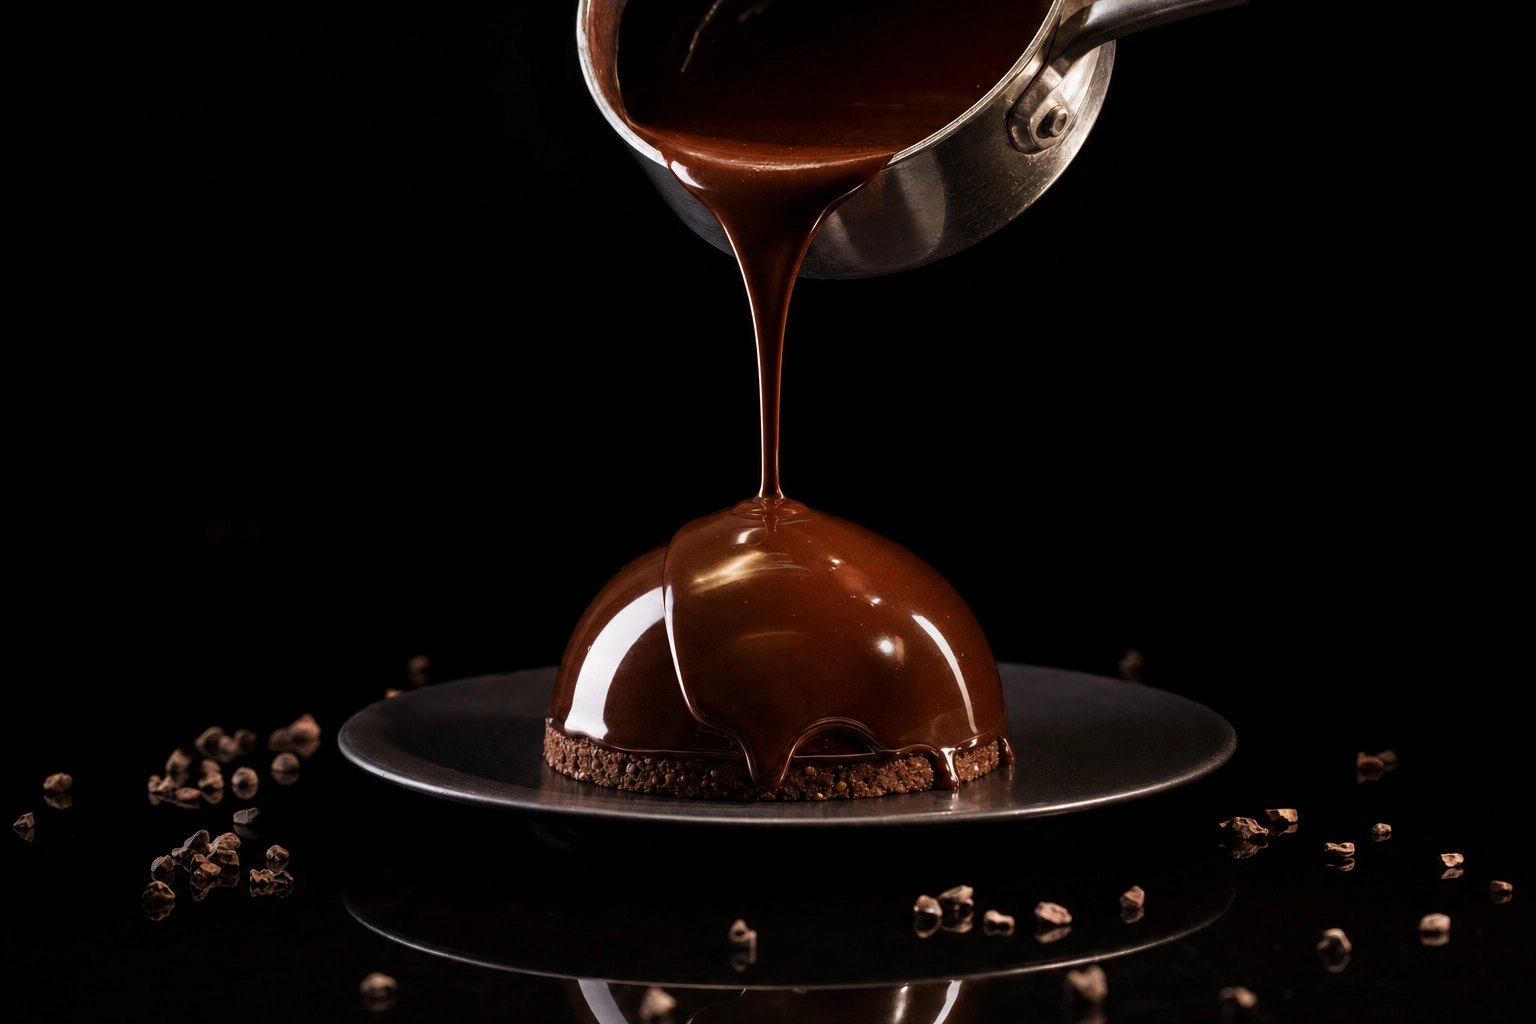 Glossy dark chocolate ganache pouring mid-action over mousse dome on black plexiglass — chocolate photography demonstrating specular highlights
For chocolatiers shooting full catalogs, FoodShot's AI chocolate photography handles temper consistency across forty bonbons without bloom or fingerprints.
Pies, tarts and pastries
Top-down for lattice. 45° for cut slices showing filling. Macro for flaky lamination. Powdered-sugar dust adds movement.
Plated restaurant desserts
Tweezer-styled with negative space. Dark backdrops, dramatic side or backlight, single hero element. 45° at chef's-eye level.
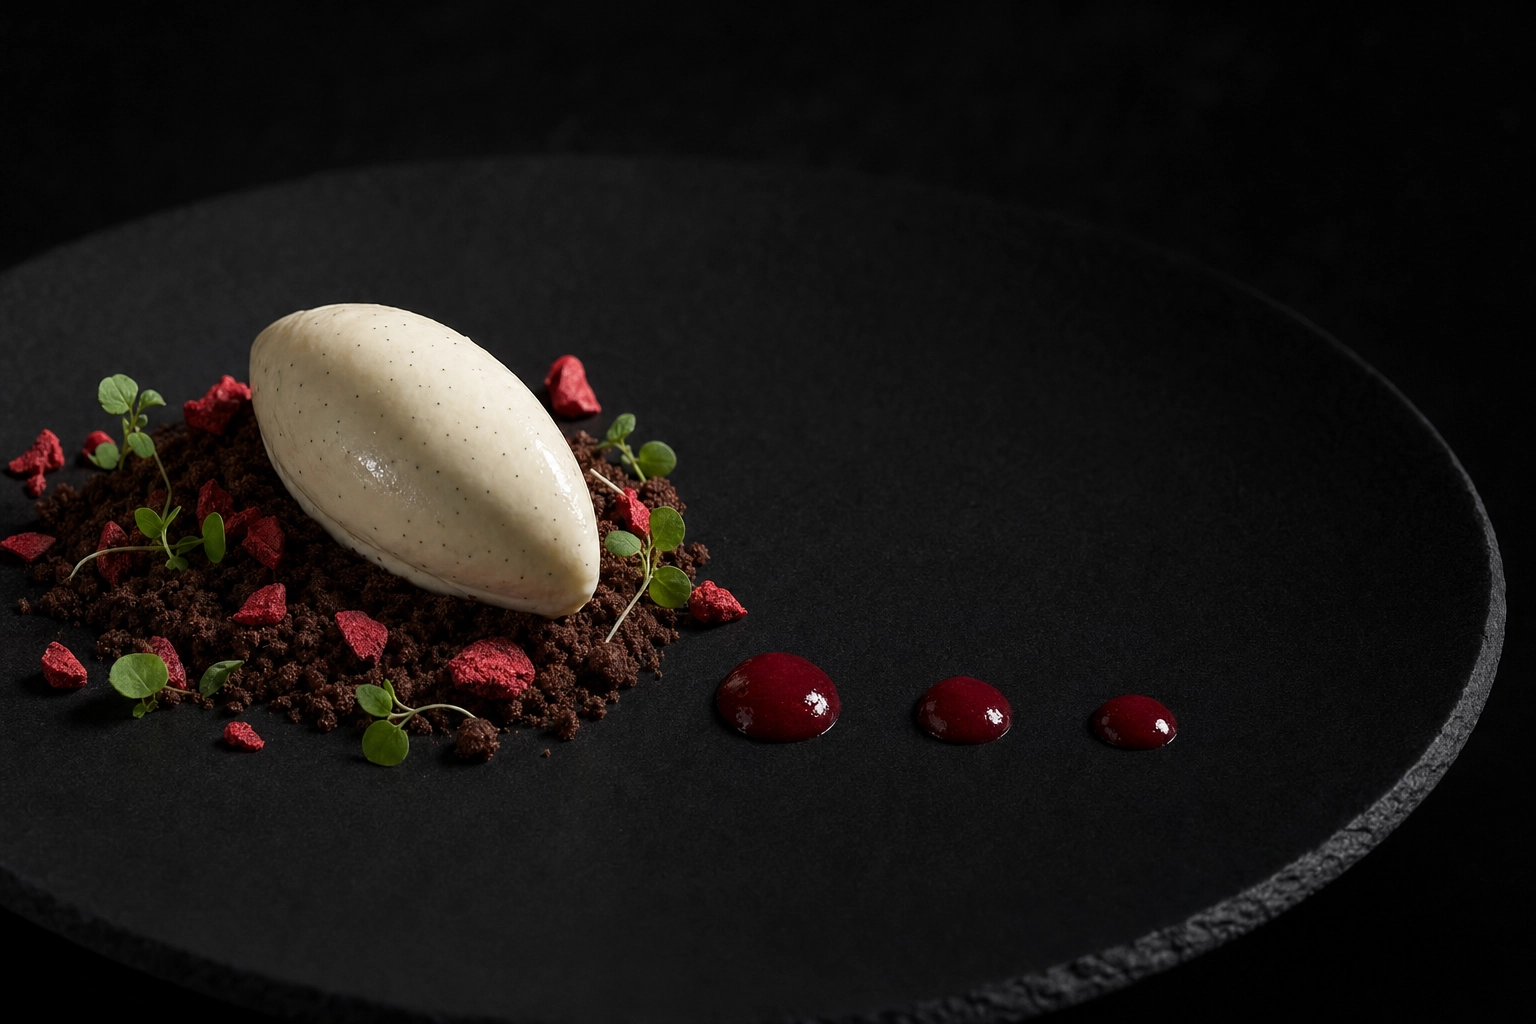 Fine-dining plated restaurant dessert with quenelle, raspberry coulis dots, and dramatic side lighting on dark slate plate
Color theory for dessert photography
Color is the silent salesperson. Three palette strategies do most of the work.
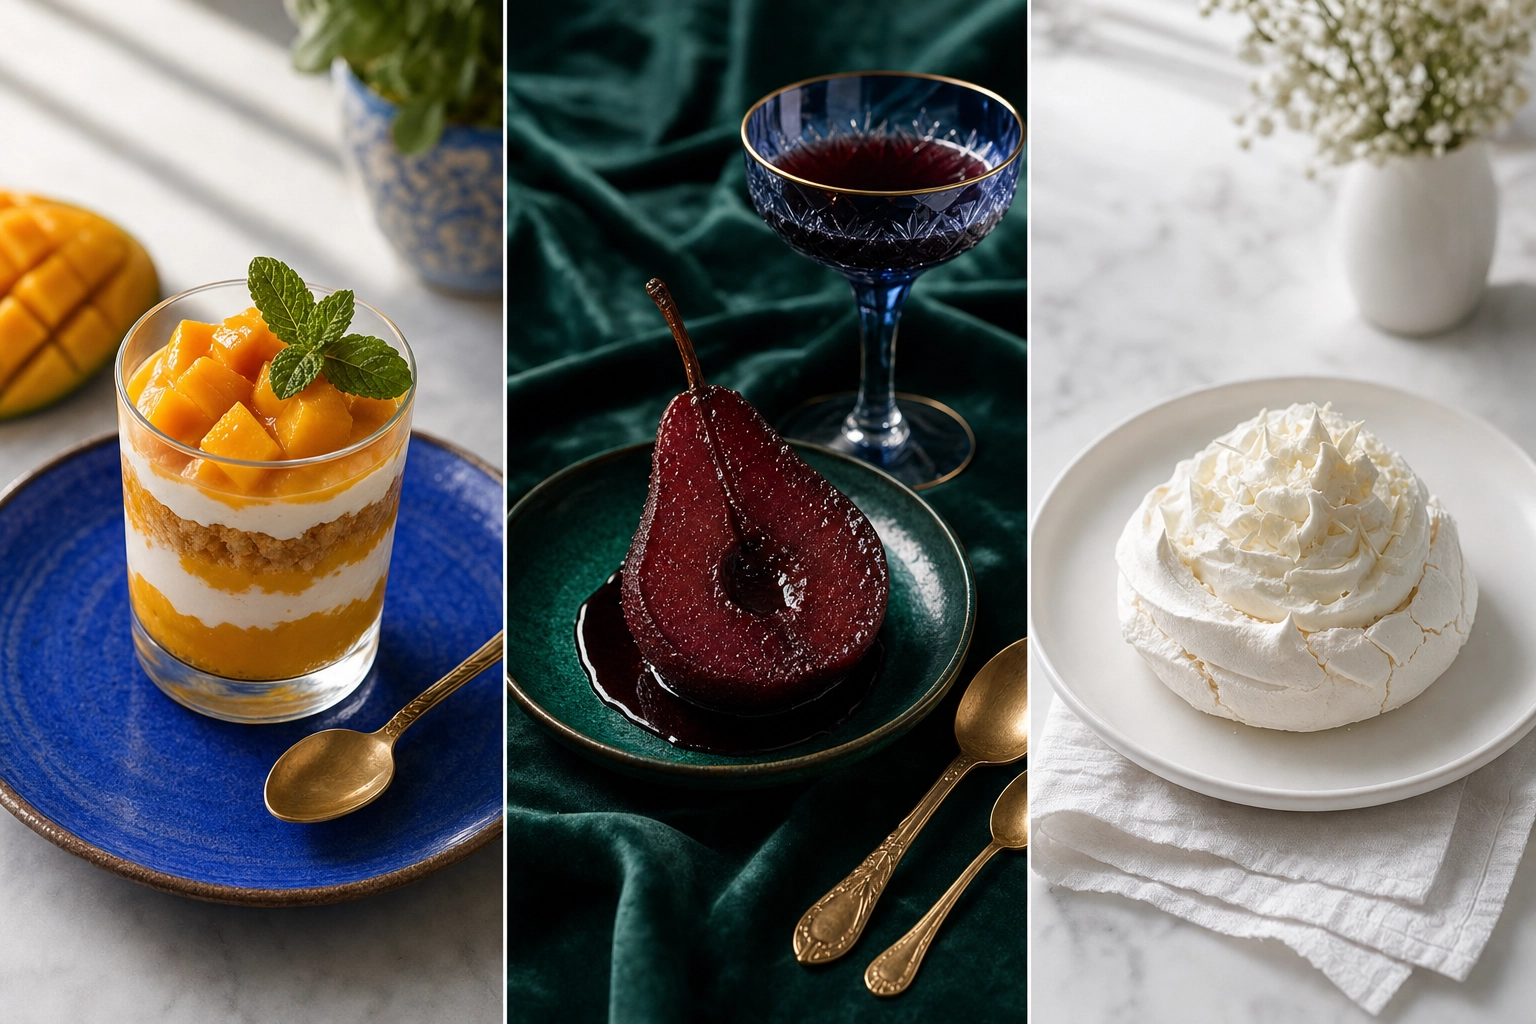 Three dessert color palette examples — orange-blue complementary, burgundy jewel tones, all-white monochrome compositions
Complementary palettes for instant drama
Opposite colors on the wheel maximize contrast:
- Orange + blue: mango parfait on cobalt ceramic, citrus tart on navy linen
- Red + green: strawberries with mint, raspberries with pistachio, red velvet cake on sage
- Purple + yellow: blueberry on lemon custard, blackberry on saffron crème
The palette for scroll-stopping dessert posts.
Jewel tones for premium feel
Burgundy, emerald, sapphire, amber — saturated jewel tones telegraph luxury. Pair with brass, dark walnut, or velvet. Works for dark chocolate and fine-dining sweet courses.
Monochrome for editorial calm
Commit to one color family. All-white pavlova on white linen on white marble reads bright and airy. All-brown scene (brownie, espresso, cocoa) reads moody.
For tuning color in post, see our food color grading guide.
Plate-only vs prop-heavy dessert styling
Styling decisions follow the photo's job.
Plate-only (minimal). Single dessert, neutral plate, one supporting element max. Hero shot territory — menu photography, delivery listings, e-commerce. Job: conversion.
Prop-heavy (lifestyle). Dessert in context — coffee cup, fork mid-cut, scattered ingredients, recipe notebook. Blog, Pinterest, magazine editorials. Job: mood.
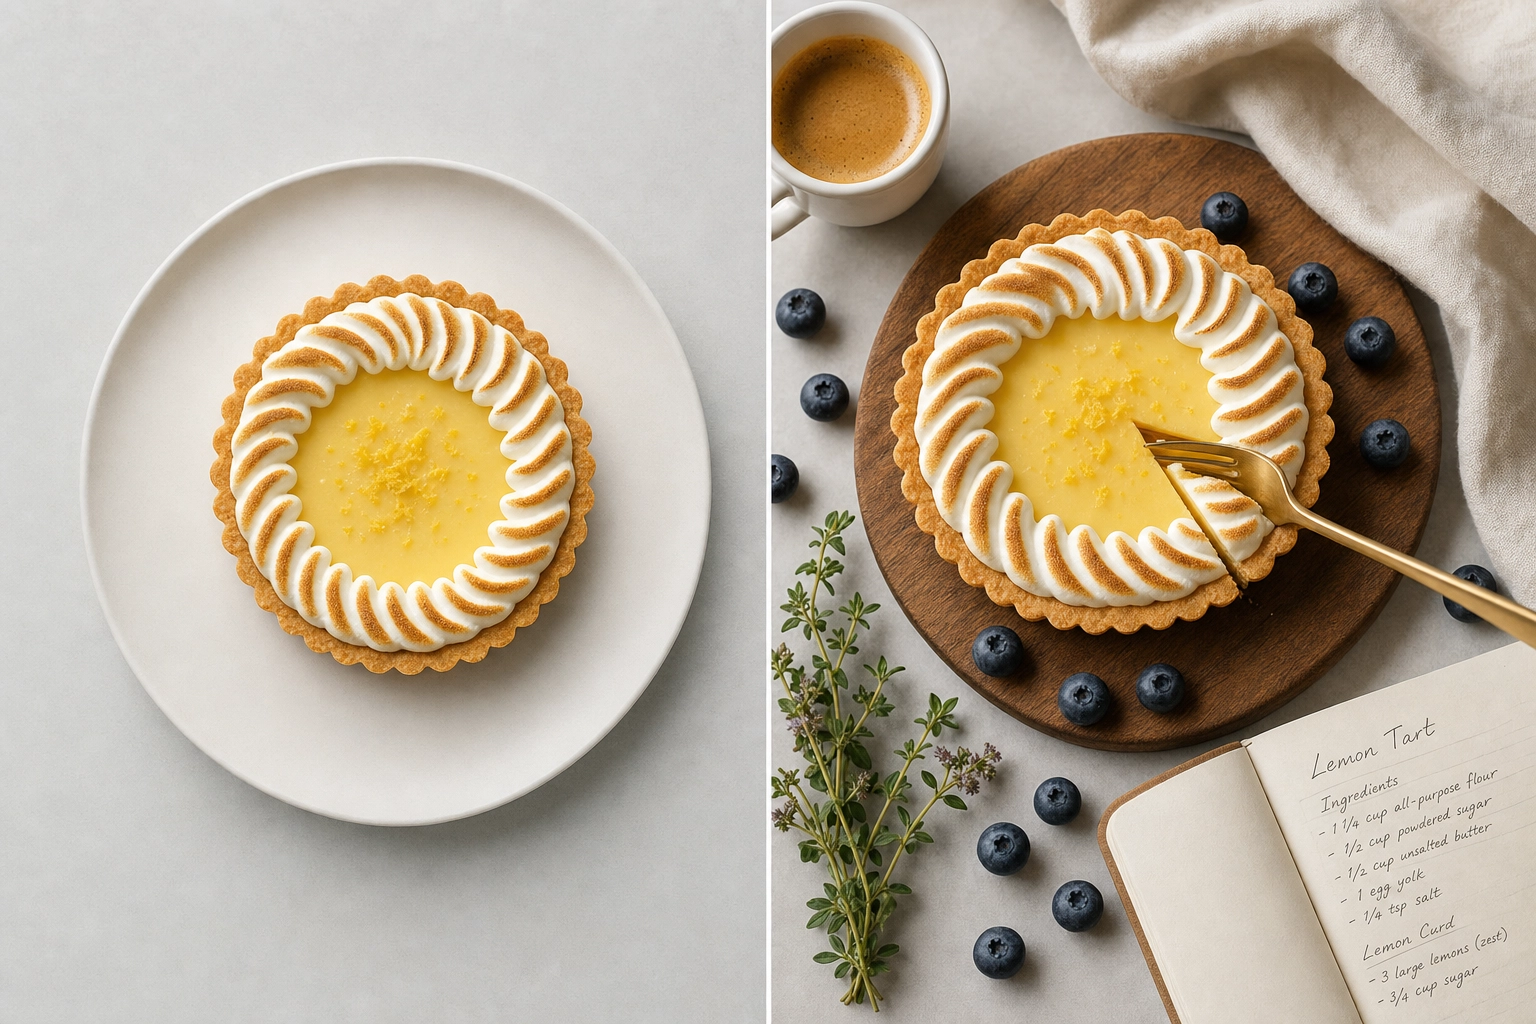 Side-by-side comparison of minimal plate-only vs prop-heavy lifestyle dessert styling for the same lemon tart
The failure mode for prop-heavy work is prop-on-prop clutter. If you can remove a prop and the story still works, remove it. Our food styling guide and props guide cover the full library.
Editing desserts: the quick checklist
Dessert photography editing rewards precision. In order:
- White balance first. Pull yellow cast from indoor lighting.
- Selective saturation. Boost berries and frosting via HSL — never the global slider.
- Warmth tuning. +3 to +5 temperature for baking-fresh feel on bread, cookies, pies.
- Contrast. Lift shadows on dark desserts. Pull highlights down on glossy ganache.
- Clarity and sharpness. Boost for crusts and crumb. Low for ice cream and mousse.
- Color-correct chocolate by adjusting red, orange, yellow channels separately.
Full walkthrough in our how to edit food photos guide.
The AI dessert photography workflow
Traditional dessert food photography is brutal economics. Commercial food photography runs $700–$1,400 per session. A bakery with thirty SKUs and weekly social content can't sustain that.
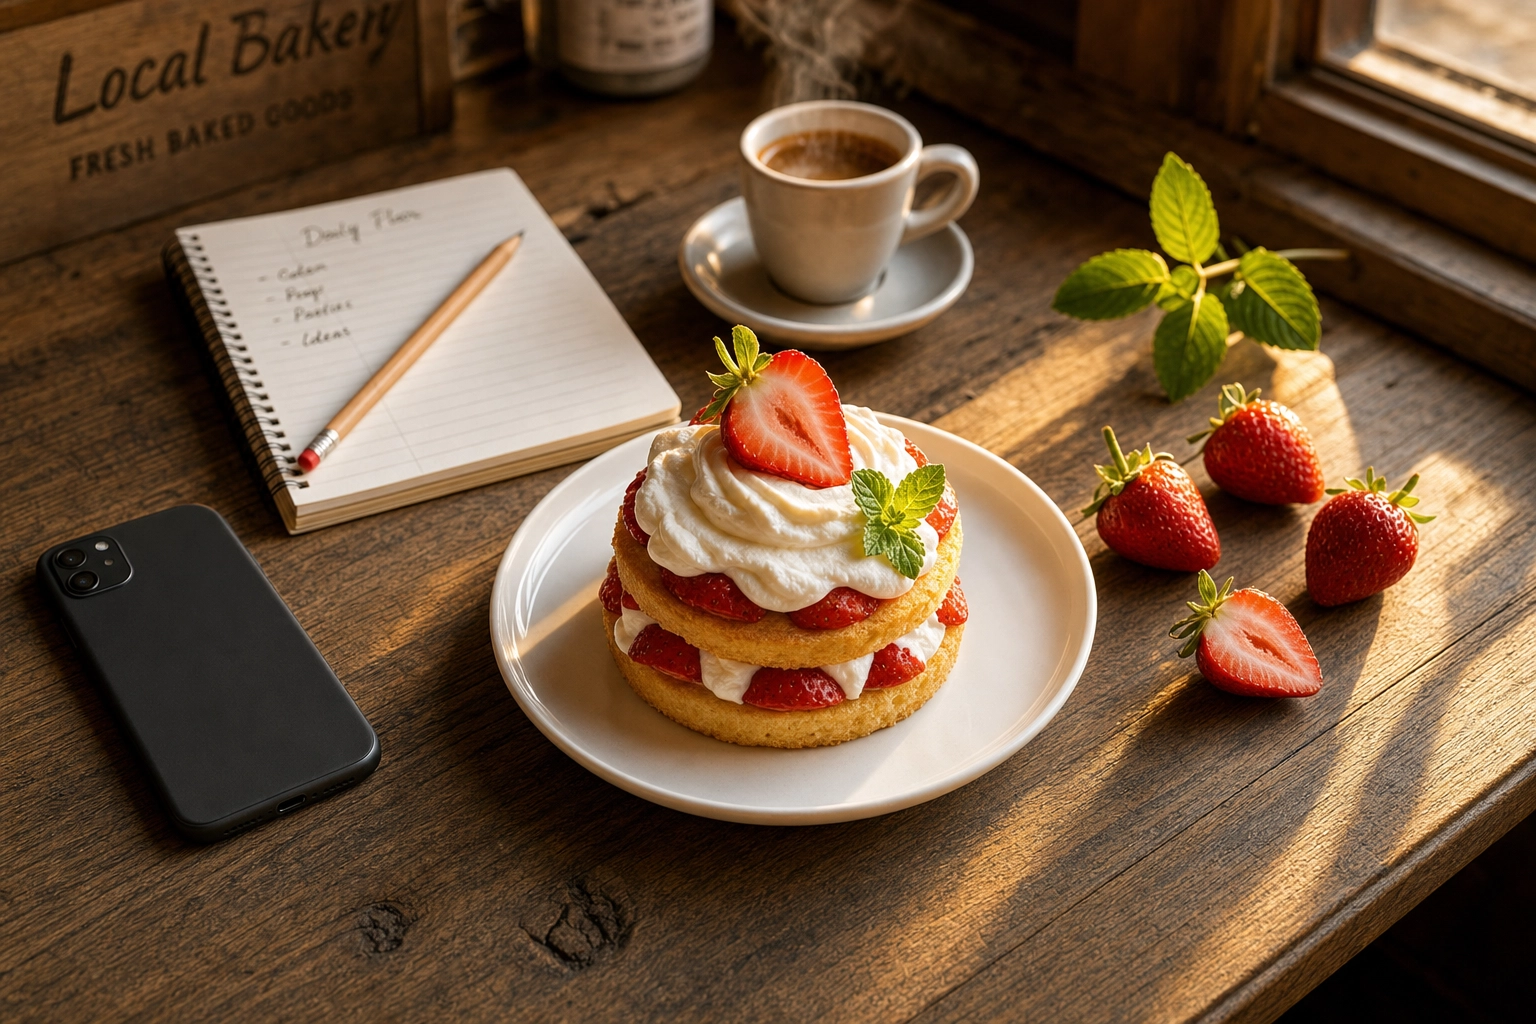 Bakery countertop workflow scene with strawberry shortcake, smartphone, and notebook in warm window light — small-business dessert content creation
The AI food photography route:
- Shoot your dessert on a phone. Rough kitchen lighting works.
- Upload to FoodShot. One image is all you need.
- Pick from 30+ dessert styles — Patisserie, Bakery, Delivery, Fine Dining, Editorial, Moody, Bright & Airy.
- Get 4K studio output in roughly 90 seconds. Commercial license on paid plans.
- Use Builder Mode to swap backgrounds, plates, or props. Use My Styles to lock brand consistency across forty bonbons or twelve cakes.
What you skip: melting ice cream, chocolate bloom, hand-styling thirty plates, studio rental, retoucher fees. What you get: dessert photos that meet SERP-ranking standards for ~95% less than a traditional shoot. For catering teams, the same workflow handles full catering portfolios.
Try it on your menu. Browse the 30+ dessert styles or compare plans on FoodShot pricing. The free plan includes three credits — enough to test one dessert.
Frequently Asked Questions
What is the best lighting for dessert photography?
Soft natural side light from a north-facing window. Overcast days work as a natural diffuser. Avoid direct midday sun and indoor tungsten bulbs. Indoors at night, use daylight-balanced LEDs at 5000–5600K with a white foam board for fill.
What angle should I shoot desserts from?
Match angle to form. 20–45° side angle for layered desserts like cake — it reveals layer height. Top-down flat lay for cookies, donuts, tarts, macarons. Cupcakes at eye-level. Plated desserts at 45°.
How do you photograph ice cream without it melting?
Speed and prep. Pre-chill the bowl. Stage the shot before you scoop. You have 3–5 minutes. Or use FoodShot to generate the final image from one phone snap — no melt window.
What makes chocolate photography so tricky?
Chocolate picks up every fingerprint and dust mote. It blooms under heat. It needs specular highlights to read rich — small directional light sources, not big soft boxes. Chocolate also contains reds, oranges, yellows, sometimes greens — channel-by-channel color correction separates muddy chocolate from expensive-looking chocolate.
Do I need professional equipment for dessert photography?
No. Modern smartphone cameras capture beautiful dessert detail. A tripod helps for flat lays. A white foam board shapes light. The bigger lift is styling and editing — AI tools like FoodShot handle the full post-production stack from one phone photo.