How to Get a Perfect Food White Background (3 Methods)
A perfect food white background looks effortless in the final photo — but getting there is anything but simple. What should be bright, clean white ends up looking gray, dingy, or unevenly lit. Your camera "helpfully" adjusts the exposure, turning your white foam board into a sad beige. Your phone adds a warm color cast from the wooden table nearby.
Whether you're shooting for delivery apps, building a food product catalog, or creating social media content, a food white background is the gold standard for clean food photography. Here are three proven methods to achieve it — from DIY to done-for-you.
Quick Summary: A perfect food white background requires either (1) a physical setup with foam board, proper lighting, and overexposed camera settings, (2) post-processing cleanup in Lightroom or Photoshop, or (3) AI-powered background replacement using FoodShot AI's background editor that handles it in about 90 seconds. Most restaurant owners find the AI method fastest; photographers prefer the physical setup for maximum control.
Why a Food White Background Matters
White backgrounds aren't just an aesthetic choice — they're a practical requirement across the food industry.
Delivery platforms like Uber Eats and DoorDash specifically recommend clean, neutral backgrounds for menu item photos. According to Statista's food delivery market data, DoorDash holds roughly 67% of the U.S. delivery market and Uber Eats about 23% — so the food white background standard these two platforms set effectively governs the entire industry. In fact, as NBC's Today reported, both platforms now use AI tools to enhance merchant photos, including background improvements — a clear signal that clean backgrounds are non-negotiable.
A white background puts 100% of visual focus on the dish, which is exactly what a hungry customer scrolling through an app needs. Our guide to Uber Eats photo requirements breaks down the exact specs these platforms demand.
Beyond delivery apps, white background food photography makes your images incredibly versatile. The same shot works for your printed menu, Instagram feed, website, and delivery listings — zero reshooting needed. That's why professional food catalogs, stock agencies, and product photography studios all default to food on white background compositions.
Here's the core problem: cameras don't "see" white the way your eyes do. Your camera's light meter averages everything to 18% gray, meaning a scene that's mostly white will be underexposed. That's exactly why your white background food photography keeps turning out gray.
Let's fix that with three methods — each suited to different budgets, skill levels, and timelines.
Method 1: DIY Food White Background Setup
This is the photographer's approach — control the light and background before pressing the shutter. It takes the most setup time but gives you the most control over the final result.
What You'll Need
 Budget food photography supplies including white foam board and seamless paper under five dollars
- 2 white foam core boards (20×30 inches, $3–5 each at any craft store)
- 1 sheet of white poster board or roll of white seamless paper
- 1 white bounce card (another foam board works perfectly)
- Tape (gaffer tape or painter's tape)
- A large window with indirect light — or a softbox light ($30–100)
Total DIY cost: under $20 with natural light, or $50–120 with an artificial light kit. Compare that to a professional food photography session that typically runs $700–$1,400.
Step-by-Step Setup
1. Build your background sweep. Tape two foam boards together at a 90-degree angle to create a corner — one board lies flat as your surface, the other stands vertical behind it. Then gently curve the white poster board from the vertical board down onto the flat board to create a seamless "sweep." This curve eliminates the visible seam where wall meets table, giving you a smooth food white background.
2. Position your light source. Place the setup 2–3 feet from a large window. The best light is indirect — a north-facing window, or any window on an overcast day. Direct sunlight creates harsh shadows and hot spots that are nearly impossible to fix later. If you're using artificial lights, position a softbox at a 45-degree angle to the food, slightly above.
3. Add a bounce card. On the opposite side of your light source, prop up a white foam board as a fill card. This bounces light back into the shadows, reducing contrast. Without it, you'll have one brightly lit side and one dark side — and the shadow on the white background will appear gray.
4. Light the background separately (the step most people skip). If your background is still gray, you need more light hitting it. Move the food closer to the light source, angle a second light toward the background, or use an additional bounce card aimed at the backdrop. The background needs to be 1–2 stops brighter than the food for true white.
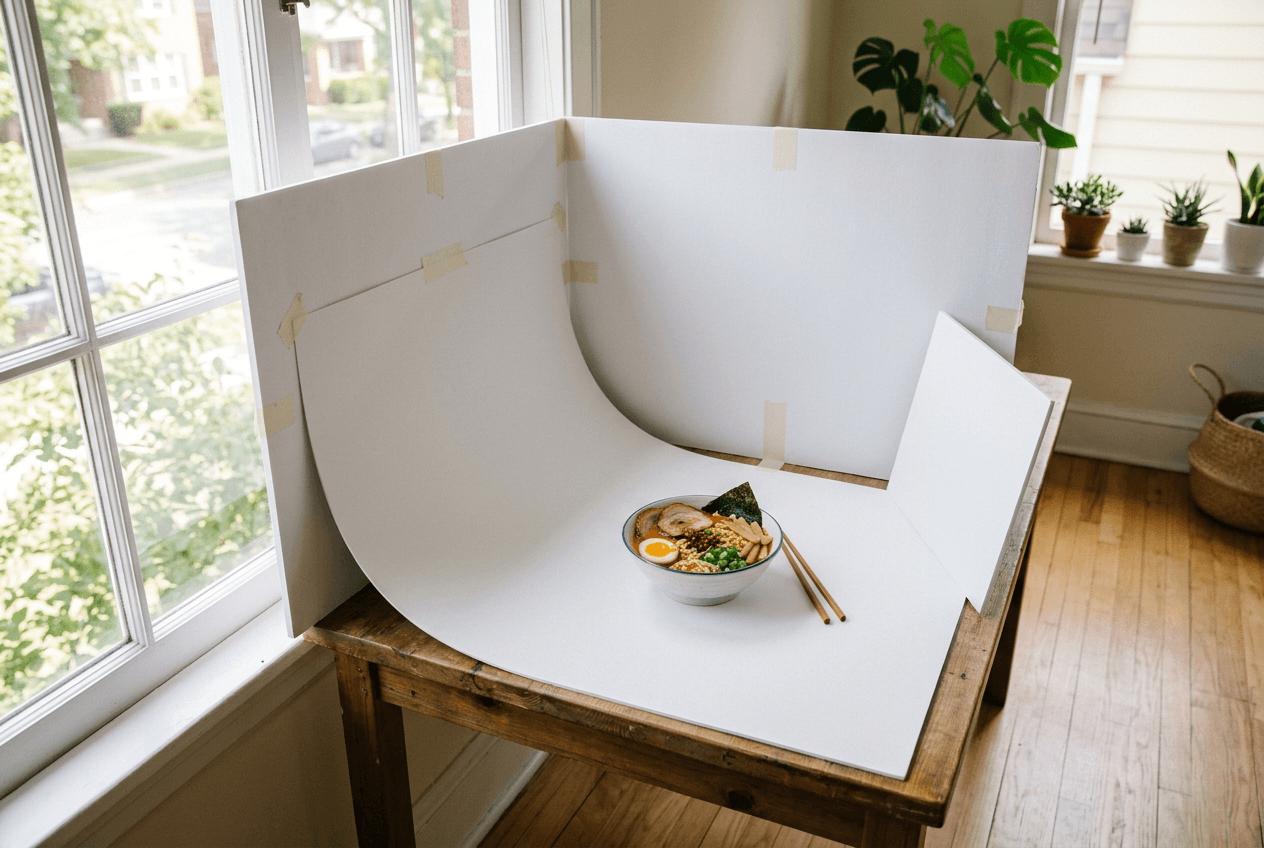 DIY foam board white background setup near window for food photography with bounce card and seamless sweep
For a deeper dive on getting light right, check out our food photography lighting guide.
Camera Settings for True White
Set your camera to manual mode. Auto mode will fight you — it sees all that white and tries to darken the exposure.
- ISO: 100–200 (keep it low for clean, noise-free images)
- Aperture: f/5.6–f/8 for overhead shots (keeps the whole dish sharp), f/2.8–f/4 for side angles (naturally blurs the background)
- Exposure compensation: +2/3 to +1 stop — the critical adjustment that pushes gray toward true white
- White balance: Set custom white balance using a gray card, or use the "Daylight" or "Cloudy" preset. Avoid Auto white balance, which introduces unwanted color casts
Pro tip: After each shot, check your histogram. The right side should push close to the edge without clipping the food. If the background peaks aren't touching the right wall, increase exposure.
Shooting with a phone instead of a camera? You can still control exposure manually — see our guide on how to take food photos with your phone or check the best iPhone camera settings for food.
Best Results With This Method
The physical setup works best when you:
- Have a dedicated shooting space you don't need to tear down daily
- Plan to photograph multiple dishes in one session
- Want the most natural-looking result with real shadows and light
- Have basic photography knowledge (or willingness to learn)
Time per shot: 2–5 minutes (after initial 20–30 minute setup)
Method 2: Post-Processing Food White Background in Lightroom or Photoshop
Already have food photos with a not-quite-white background? Post-processing can save them. This method works on existing shots where the background is light gray, slightly uneven, or carries a color cast.
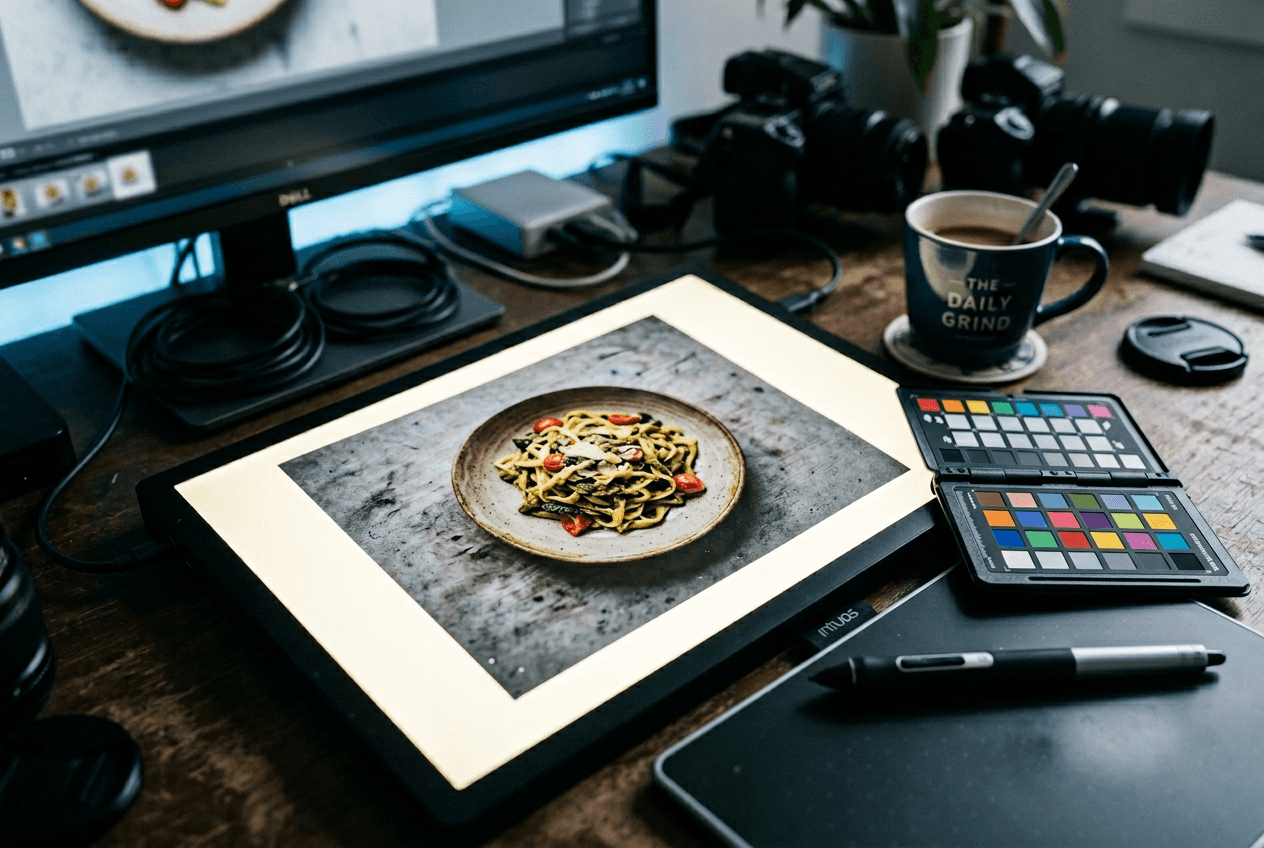 Food photo print with gray background on photographer workspace showing before post-processing editing
Quick Fix in Lightroom (5–10 Minutes)
Lightroom is ideal for batch-correcting multiple white background food photography images from the same shoot:
1. Fix white balance first. Grab the White Balance Eyedropper tool (shortcut: W) and click on an area that should be pure white or neutral gray. This removes color cast in one click.
2. Boost the background with a brush. Select the Adjustment Brush (K), set Exposure to +1.0 to +2.0, and paint over the background. Be careful around edges — you don't want to blow out the food. Drop Highlights to -20 to protect detail if needed.
3. Push the global Whites slider. In the Basic panel, drag the Whites slider right until your histogram just touches the right edge. Hold Alt/Option while dragging for a clipping preview — anything that flashes is pure white.
4. Sync across the batch. Once one image looks right, select all similar shots and click "Sync Settings." Lightroom applies identical corrections to every image — a massive time saver when shooting an entire menu.
For more detailed editing techniques, see our full guide on how to edit food photos.
Precision Editing in Photoshop (10–20 Minutes)
Photoshop gives you pixel-level control. Use it when the background is very uneven or you need a clean clipping path for catalog-quality food product white background images.
1. Select the food. Use Select > Subject (AI-powered in recent versions) to auto-select the dish. Refine with Select and Mask — increase Smooth and Feather slightly for natural edges. Pay extra attention to wispy elements like steam, loose herbs, or sauce drizzles.
2. Invert and fill. Invert your selection (Ctrl/Cmd + Shift + I) so the background is selected. Fill with pure white (#FFFFFF) on a new layer below the food.
3. Add a realistic shadow. A dish on pure white with zero shadow looks fake — like it's floating. Create a new layer between the food and white background. Use a large, soft black brush at 5–10% opacity to paint a subtle drop shadow directly beneath the plate. This anchors the food to the surface.
4. Fine-tune the edges. Zoom to 200% and check the border between food and background. Use a soft eraser or layer mask to clean up any fringing — especially around curved plates where the original background color bleeds through.
5. Export at platform specs. For delivery apps: 1200×900px for Uber Eats (4:3 ratio), 1024×1024px for DoorDash (square). Save as high-quality JPG (85–95%) or PNG for transparency.
When to Use Each Tool
| Lightroom | Photoshop | |
|---|---|---|
| Best for | Batch correction of multiple shots | Pixel-perfect single-image editing |
| Speed | 5–10 min per image (faster with sync) | 10–20 min per image |
| Skill level | Intermediate | Advanced |
| Edge quality | Good for already light backgrounds | Excellent — clean clipping paths |
| Cost | $9.99/mo (Photography plan) | $9.99/mo (Photography plan — includes both) |
Method 3: AI Food White Background Replacement (90 Seconds)
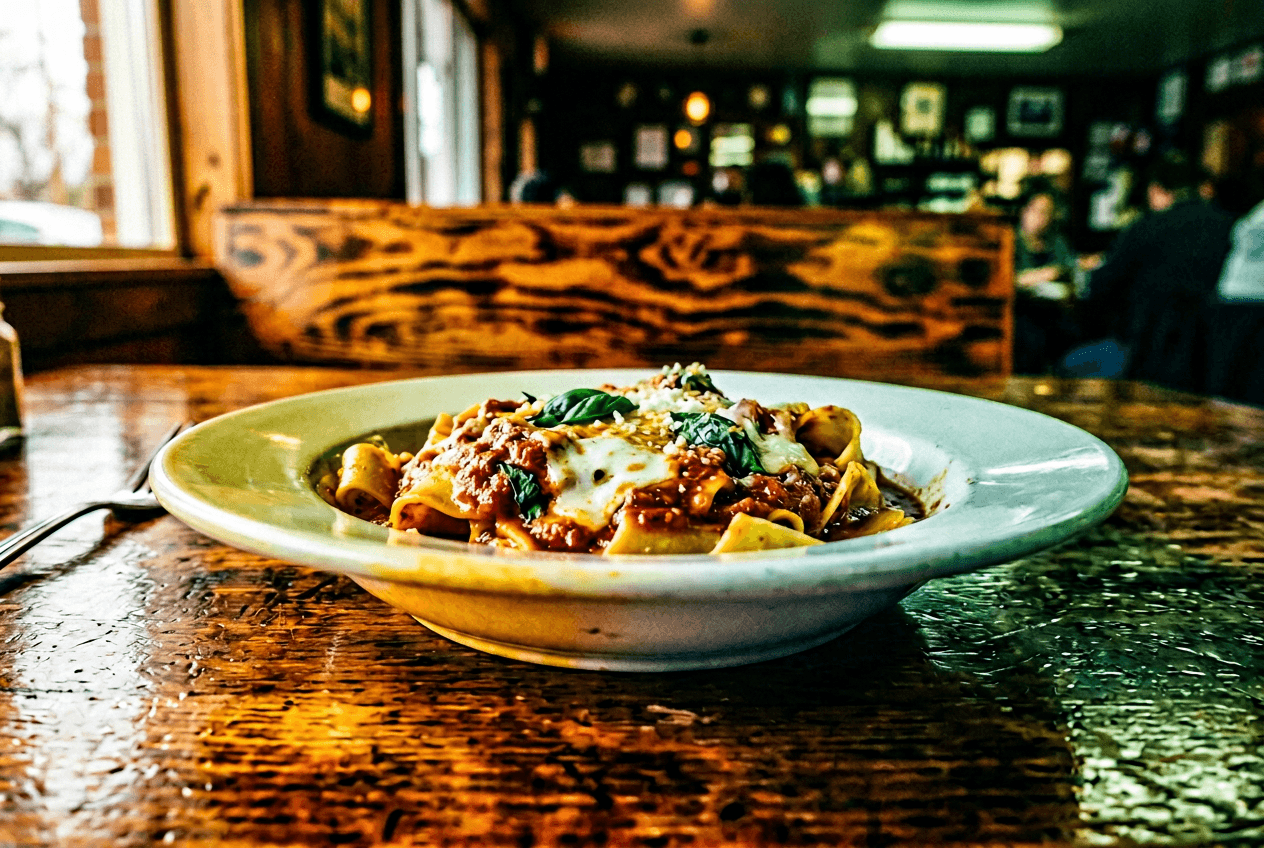
Here's the reality: most restaurant owners don't have time to arrange foam boards or learn Photoshop masking. They need clean food white background photos that look professional right now.
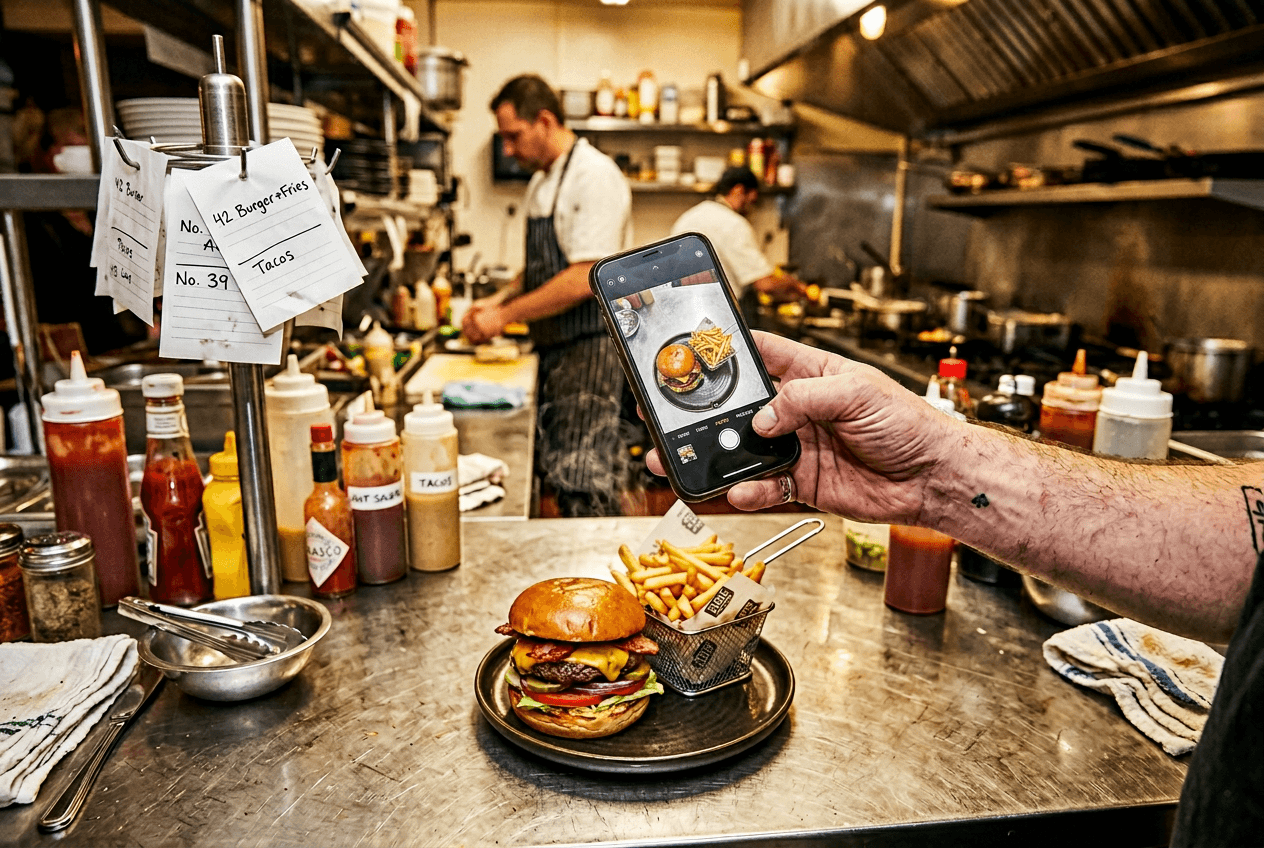 Restaurant owner snapping a food photo with smartphone on busy kitchen counter before AI background replacement
That's where AI background replacement comes in. FoodShot AI's background editor lets you upload any food photo — even one taken on a cluttered kitchen counter with your phone — and replaces the background with clean white in about 90 seconds.
How It Works
- Upload your food photo. Works with JPG, PNG, WEBP, or HEIC files. Smartphone photos work perfectly.
- Select a white or clean background. Choose from 30+ preset backgrounds, or go with pure white.
- Download the result. The AI handles edge detection, creates natural shadows, and color-corrects the food automatically.
No photography setup. No software subscriptions beyond $9/mo. No learning curve.
Why This Method Stands Out
The AI doesn't just "cut out" the food and paste it on white. It:
- Detects food-specific edges — sauce drizzles, garnish leaves, and steam that trip up generic background removal tools
- Generates realistic shadows — so the dish looks naturally placed, not floating
- Adjusts the food's color temperature — compensating for the original environment's color cast
- Outputs delivery-ready files — sized and formatted for Uber Eats, DoorDash, and other platforms
Cost Comparison: All 3 Methods
| DIY Physical Setup | Lightroom/Photoshop | FoodShot AI | |
|---|---|---|---|
| Upfront cost | $20–120 | $0 (if subscribed) | $0 (free plan) |
| Monthly cost | $0 | $9.99/mo | From $9/mo |
| Time per photo | 2–5 min + setup | 5–20 min | ~90 seconds |
| Skill required | Moderate | Advanced | None |
| Best for | Photographers | Photo cleanup | Speed and simplicity |
Ready to try it? Upload a food photo and see the result in 90 seconds →
Which Method Should You Choose?
Choose Method 1 (Physical Setup) if you're a food photographer or content creator with a dedicated shooting space. You'll get the most natural results with clean white food photography, and once dialed in, you can shoot dozens of dishes efficiently. See our food photography equipment guide for gear recommendations.
Choose Method 2 (Post-Processing) if you already have food photos that are close to having a white background but need cleanup. This also works well for batch-correcting an existing photo library.
Choose Method 3 (AI) if you're a restaurant owner, café manager, or anyone who needs professional food white background photos without photography skills or editing time. It's also the fastest path to getting delivery app-ready images.
Many food businesses combine approaches: shoot on a basic white setup with a phone, then run the photos through AI food photography to perfect the background and lighting. This gives a solid starting point and a polished final product without spending hours in Photoshop.
Troubleshooting Common Food White Background Problems
Even with the right method, things go wrong. Here are the most common issues when shooting food on white background — and exactly how to fix them.
 Food photo showing common white background problems including color cast from wooden table and uneven lighting
Gray or Uneven Background
Cause: Not enough light hitting the background. Your camera meters the bright white and underexposes the whole scene.
Fix: Add more light to the background specifically — a second light, a brighter bounce card, or simply move the setup closer to the window. Increase exposure compensation by +2/3 to +1 stop. In post, push the Whites slider or use a targeted exposure brush.
Unnatural-Looking Shadows
Cause: Light from multiple conflicting directions (overhead fluorescents plus window light, for example).
Fix: Turn off all overhead lights. Use a single, dominant light source. Shadows should fall in one consistent direction. A subtle shadow under and behind the food is natural — multiple shadows going different directions look immediately wrong.
Color Cast on the Background
Cause: Nearby colored surfaces (warm wooden tables, green walls, colored countertops) reflecting light onto your white background.
Fix: Surround the setup with white surfaces on all sides. Use extra foam boards as barriers. Set a custom white balance in-camera. In post-processing, the white balance eyedropper tool is your best friend here.
Food Looks Flat and Lifeless
Cause: Too much fill light eliminates all shadows, removing dimension from the dish.
Fix: Pull the bounce card back or remove it. Food needs some shadow to look three-dimensional and appetizing. The goal is soft, directional light — not flat, shadowless light. You want the background evenly white, but the food should still have gentle highlights and shadows that show texture. Check our food styling guide for more on making dishes look their best.
Edges Look Harsh or "Cut Out"
Cause: In post-processing, the selection edge is too sharp. In physical setups, the transition from lit food to white background is too abrupt.
Fix: In Photoshop, increase the Feather on your selection mask by 1–2 pixels. In physical setups, use a larger light source (bigger softbox or bigger window) for softer transitions. With FoodShot AI, edge blending is handled automatically — the AI creates natural feathered edges around the food.
For more food photography tips and common delivery photo mistakes to avoid, browse our full guides.
Frequently Asked Questions
What RGB value is true white for food photography?
Pure white is RGB 255, 255, 255 (hex #FFFFFF). In practice, anything above RGB 250, 250, 250 reads as "white" on screens and in print. When checking your food white background in Photoshop, use the eyedropper tool to sample different areas — if values drop below 240 anywhere, that area will look gray on a white webpage or next to other white-background food photos.
Can I use a white bedsheet as a food photography background?
You can, but it's not ideal for clean food white background results. Bedsheets have visible fabric texture, wrinkle easily (creating shadows), and their weave catches light unevenly. A white foam core board gives a much smoother, more consistent surface for about $5. If a sheet is all you have, stretch it completely taut and iron it flat before shooting.
Do delivery apps reject photos without white backgrounds?
Not automatically. Uber Eats and DoorDash don't require white backgrounds specifically — but they do require "clean, uncluttered" backgrounds and will reject photos with distracting elements, brand logos, or watermarks. White is the safest choice because it always passes review and performs best in the app's feed. Read the full Uber Eats photo requirements for exact specifications.
How do I avoid gray tones on my white background?
The single biggest fix: overexpose by +2/3 to +1 stop. Cameras see a bright white scene and try to render it as 18% gray (the average brightness they're calibrated for). You need to tell the camera "this IS supposed to be bright" by dialing in positive exposure compensation. Confirm with the histogram — the background peaks should push all the way to the right edge.
What's the cheapest way to get a food white background?
A single white foam board ($3–5) placed behind your food near a window costs almost nothing and works surprisingly well. For better results, add a second board as a surface (creating a seamless L-shape) and a third as a bounce card — still under $15 total. For the fastest path with zero physical setup, FoodShot AI's free plan gives you 3 AI background replacements to try at no cost.
