Photography in Restaurants: Rules, Etiquette & Best Practices
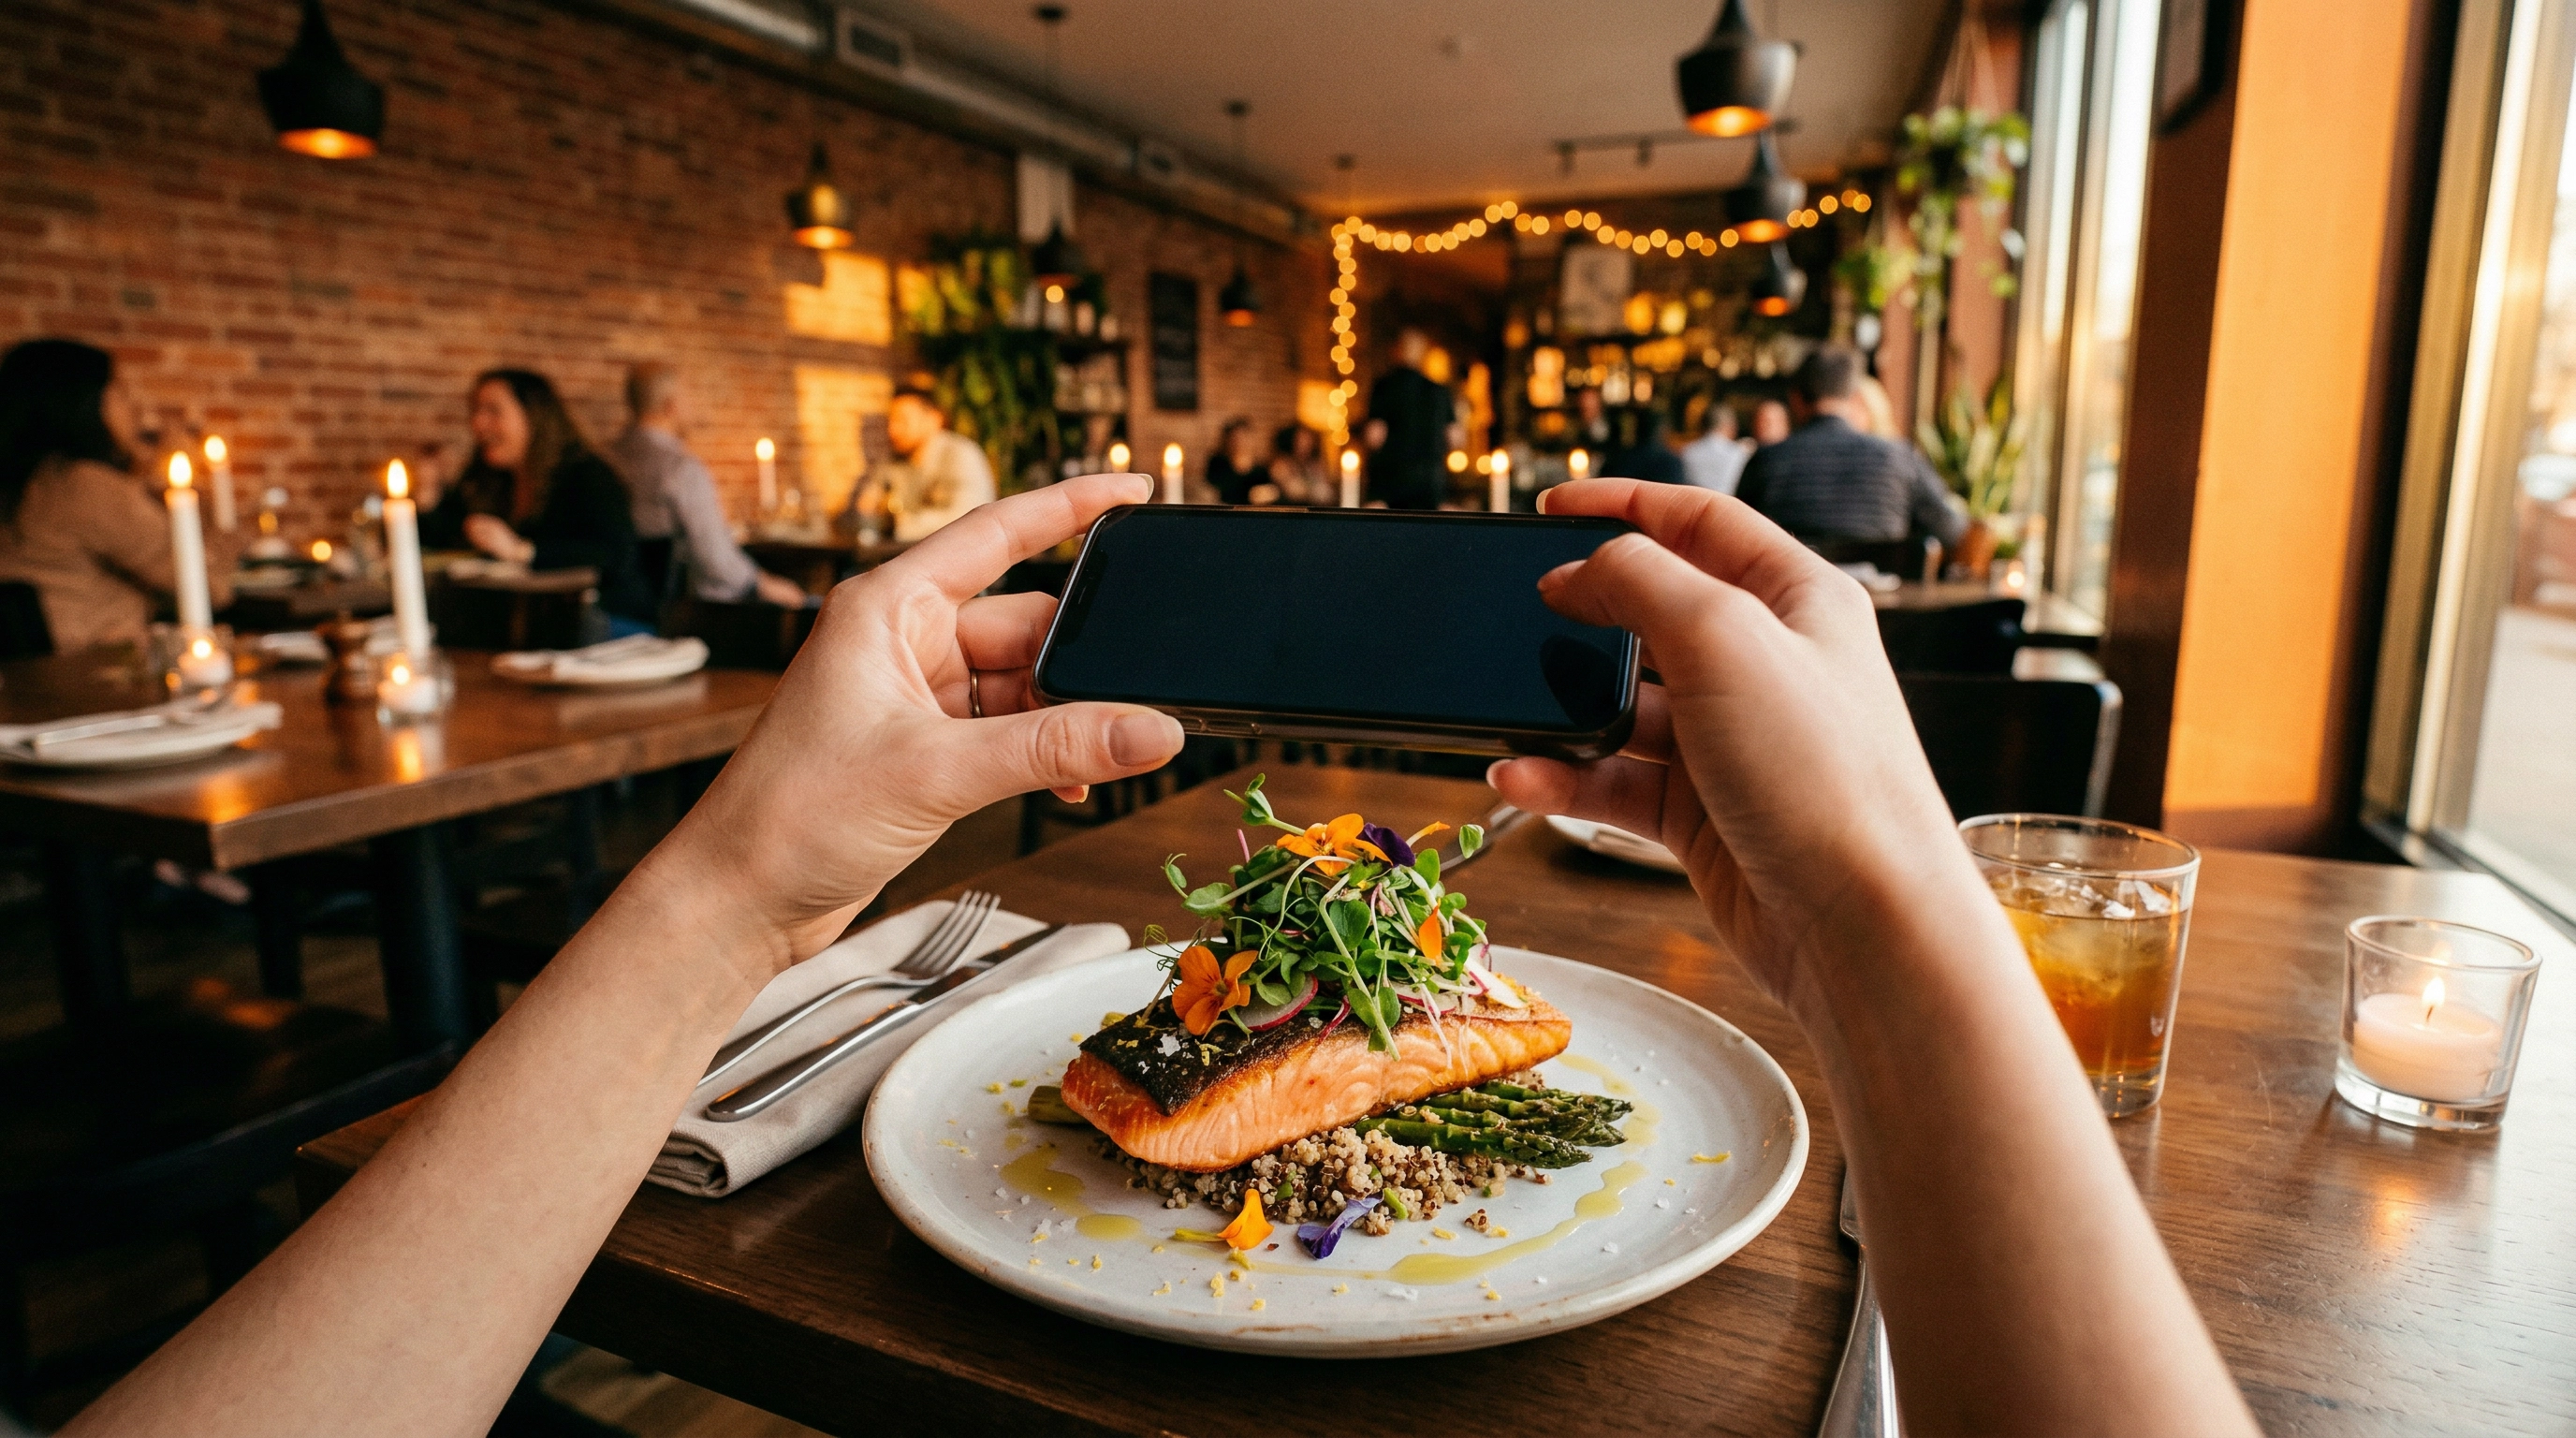
Every night, millions of diners reach for their phones before they reach for their forks. Photography in restaurants has become as natural as reading the menu — and it's not going away. The question isn't whether people take food photos, but how everyone involved can make it work better for the food, the experience, and the images themselves.
This guide covers both sides of the camera: what restaurant owners should know about customer photography policies, and what diners and food bloggers need to understand about etiquette, technique, and getting the best possible shot in a restaurant setting.
Quick Summary: Restaurant owners should embrace photography in restaurants as free marketing — user-generated content drives 4x higher conversion than branded photos. Set simple restaurant photography rules (no flash, be quick, no tripods during service) and actively encourage sharing with branded hashtags. For diners and bloggers: shoot fast, never use flash, don't rearrange the table, and try your phone's Night Mode to handle dim lighting. AI tools can fix imperfect restaurant shots after the fact.
For Restaurant Owners: Why You Should Welcome Photography in Restaurants
Here's a number worth memorizing: 74% of diners choose where to eat based on social media. Every time a customer photographs your food and posts it, they're doing your marketing for free — and that really adds up over time.
Some high-profile restaurants have famously banned photography in restaurants entirely. David Chang's Momofuku Ko, Chef's Table at Brooklyn Fare, and Berlin's Nobelhart & Schmutzig are among the most well-known examples. The New York Times covered this trend when it was still a hot debate, and restaurants like The Waterside Inn have maintained their photography ban since 2017. But these are ultra-exclusive venues where scarcity is the brand. For the other 99.9% of restaurants, banning photography means turning down free advertising from your most enthusiastic customers.
User-generated content drives 4x higher conversion than branded photos, according to PostEverywhere research. A customer's candid shot of your signature pasta, posted to their 500 followers, is more persuasive than your polished marketing image — because it feels real.
A 2025 industry survey found that 90% of restaurants consider social media "very or extremely important" to their strategy. Meanwhile, 84% of Gen Z try food trends they discover on social media. The restaurants that make it easy for customers to shoot and share content are playing the game smarter.
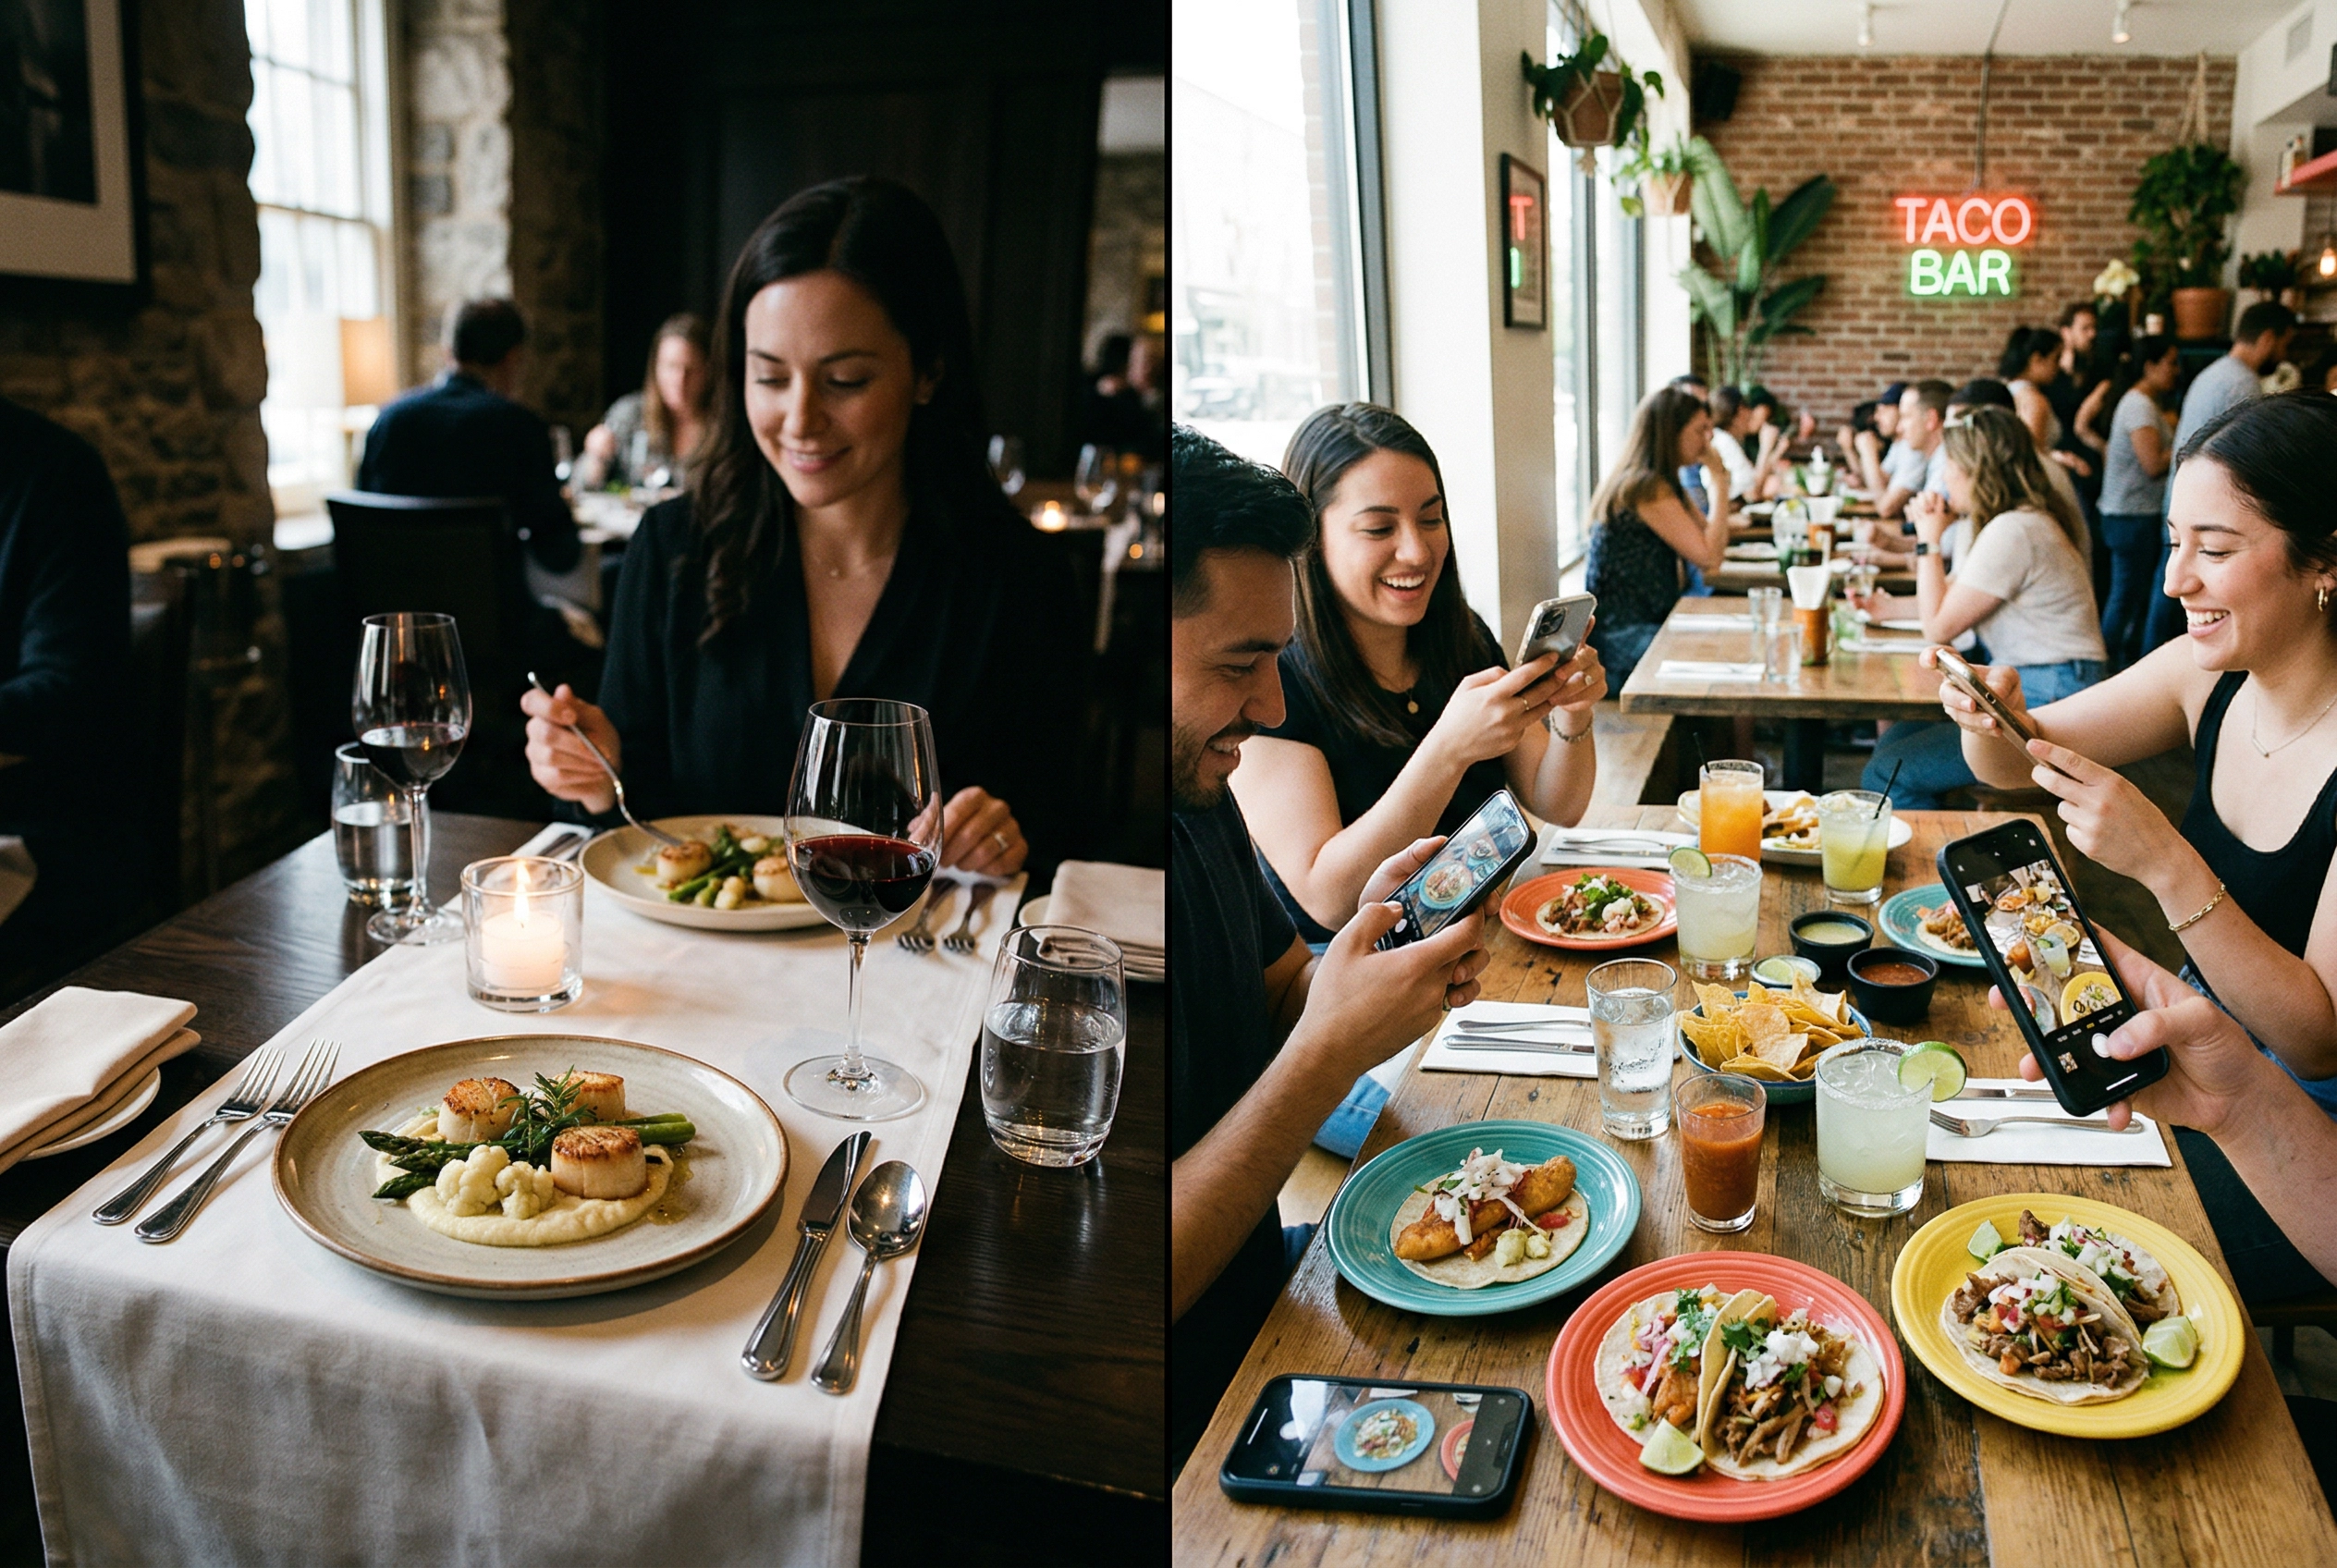 Contrasting photography approaches in fine dining versus casual restaurant settings
Creating a Photo-Friendly Restaurant Environment
If customers are going to photograph your food anyway, make sure the photos look good. A few changes to your environment can dramatically improve what shows up online.
Light is everything. Harsh overhead fluorescents make food look flat and unappetizing. Try seating customers near windows when possible — natural light is universally flattering for food photography. If your space is dim, warm-toned lighting (tungsten or soft LEDs) creates a more photogenic atmosphere than cold, bright alternatives. Our food photography lighting guide breaks down exactly how to evaluate your restaurant's light quality.
Plate with the camera in mind. Height creates drama in food photos. A flat plate of brown food photographs terribly no matter the light. Add vertical elements — stacked garnishes, a drizzle of sauce from height, herbs placed deliberately. Color contrast matters too: a vibrant green herb on a white plate pops on camera. For more on this, try our food styling guide — the same principles chefs use for professional food shoots work in everyday plating.
Keep surfaces clean and interesting. Your table setting is the backdrop of every customer food photo. Textured wood, quality tableware, and a clean surface free of clutter all help. Some restaurants have added distinctive restaurant branding elements that become recognizable in photos — turning their tabletops into subtle billboards.
Consider a designated photo spot. A neon sign, living wall, or distinctive mural gives customers a reason to photograph your space beyond the food. These "Instagram walls" aren't tacky if they fit your brand — they're strategic. Every tagged photo is a free impression on social media. Check our Instagram food photography guide for what makes food content perform well.
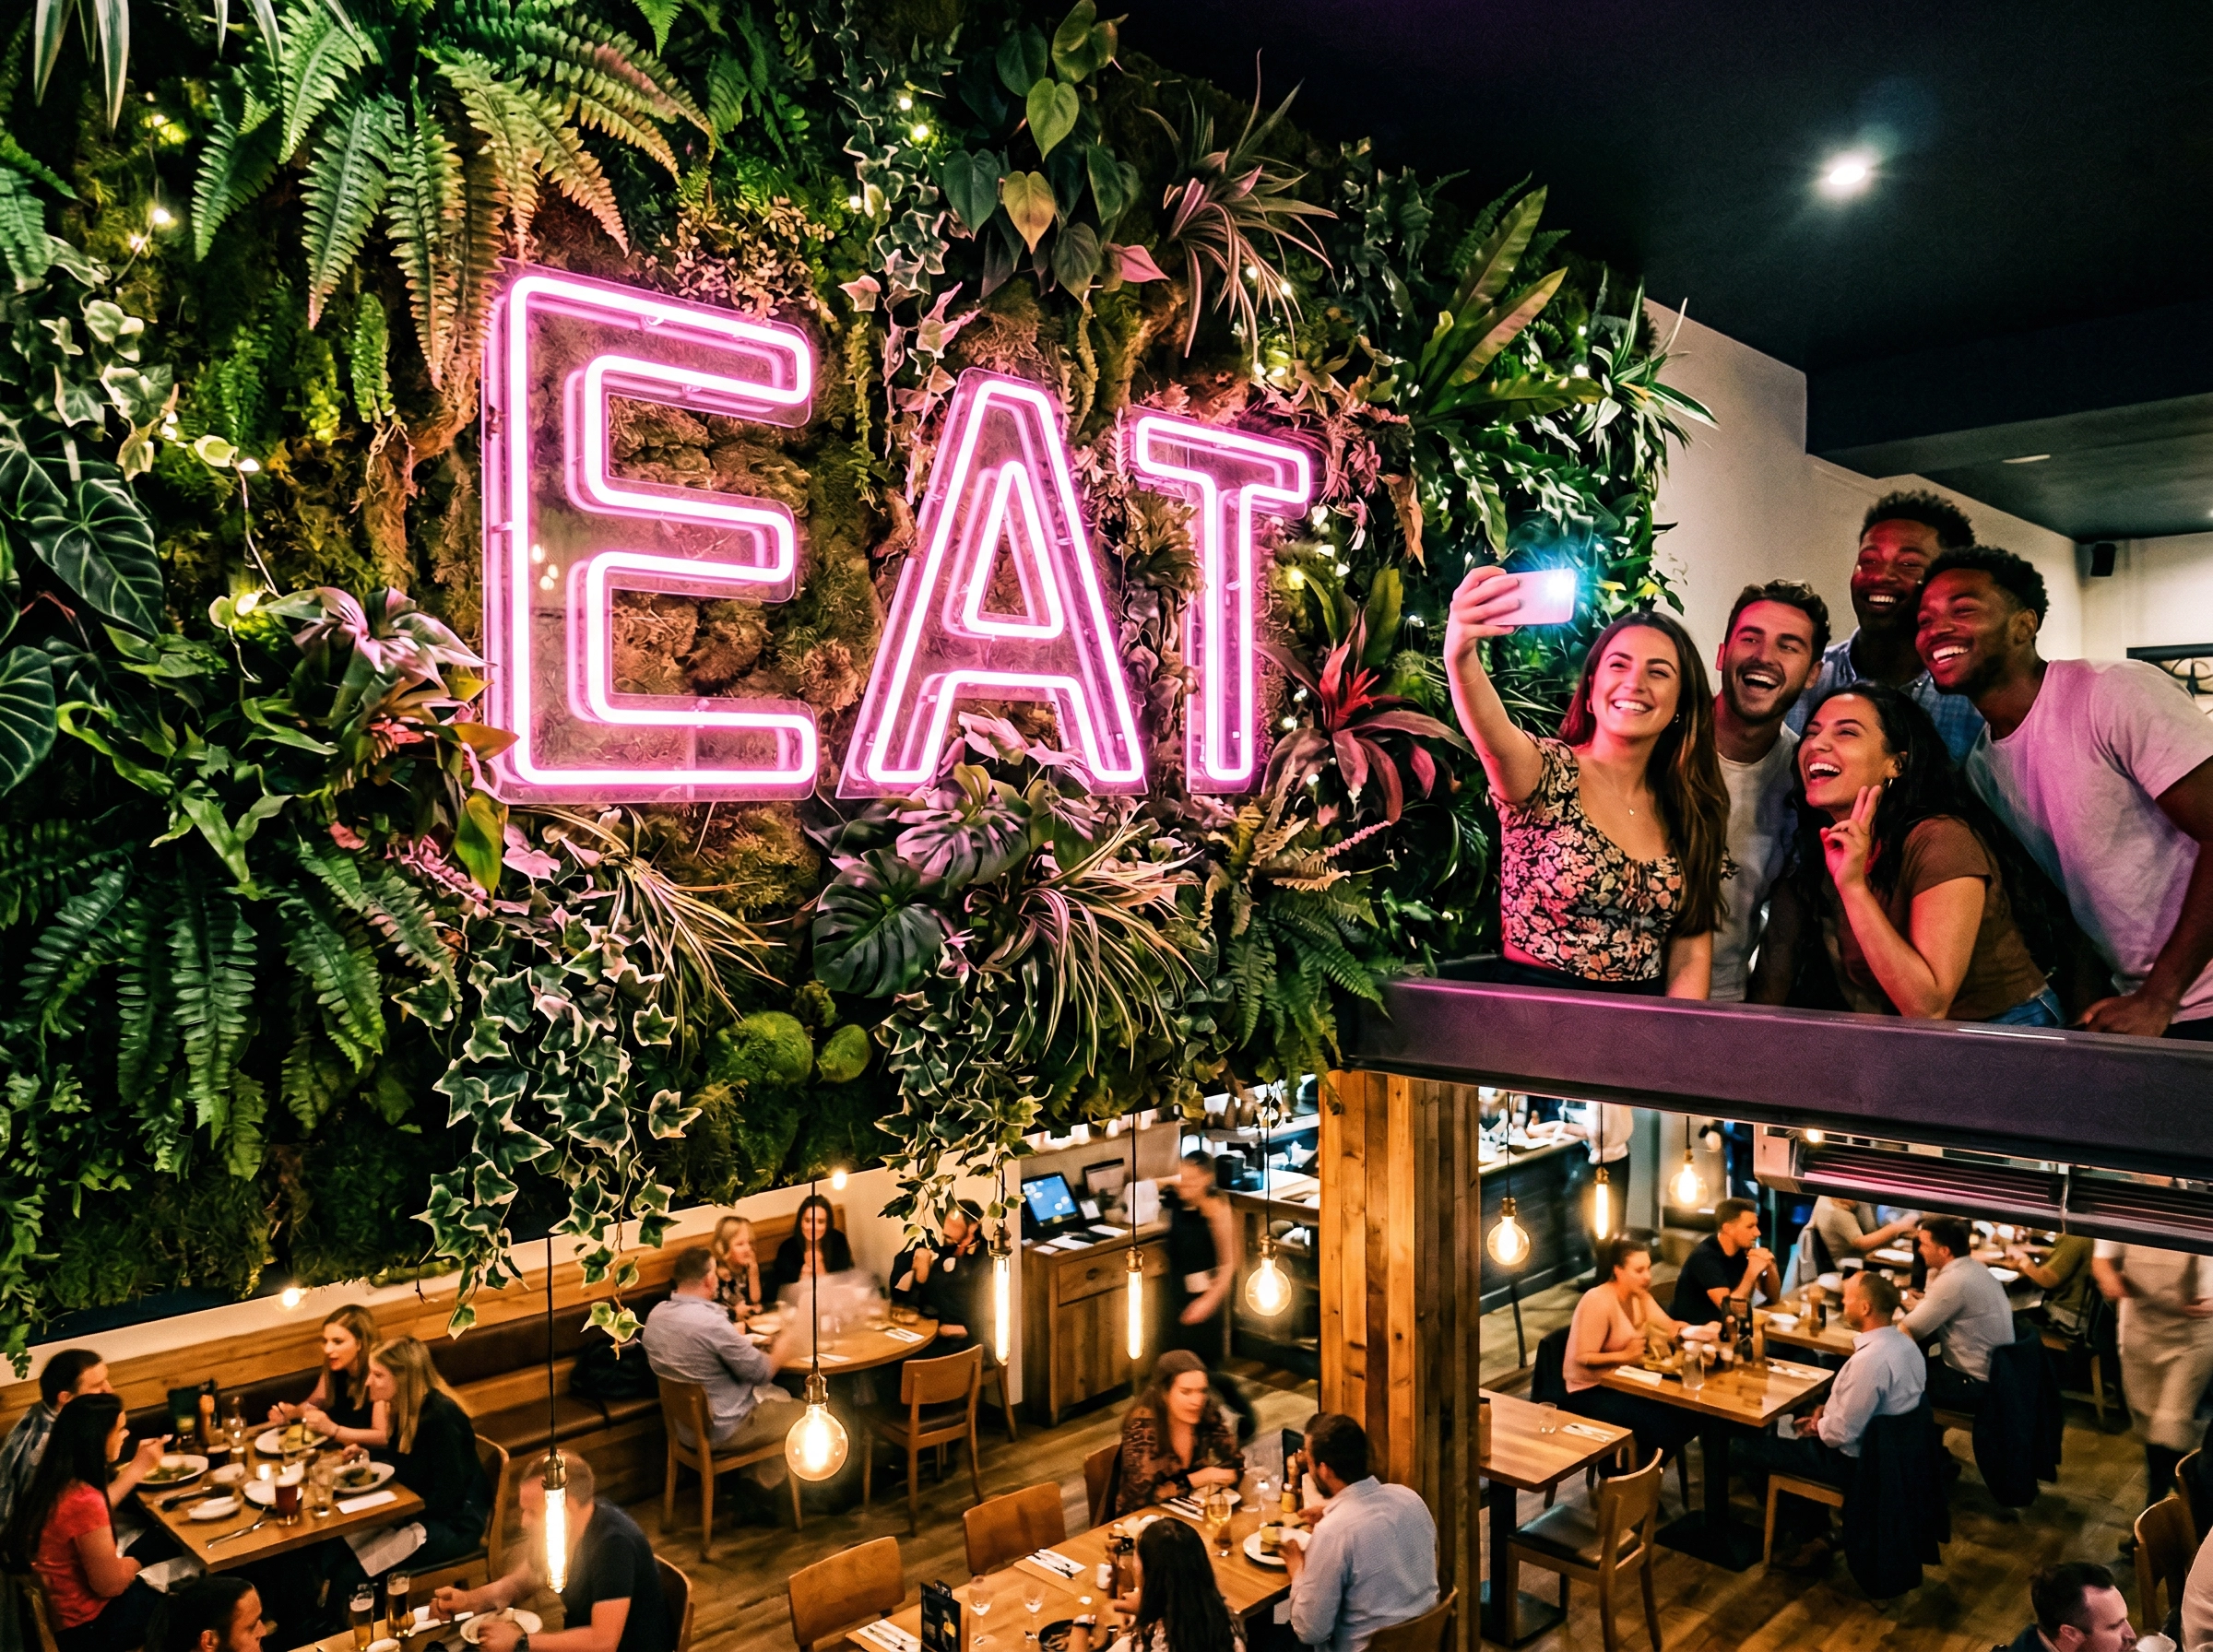 Instagram-worthy restaurant neon sign and living plant wall creating a photo-friendly environment
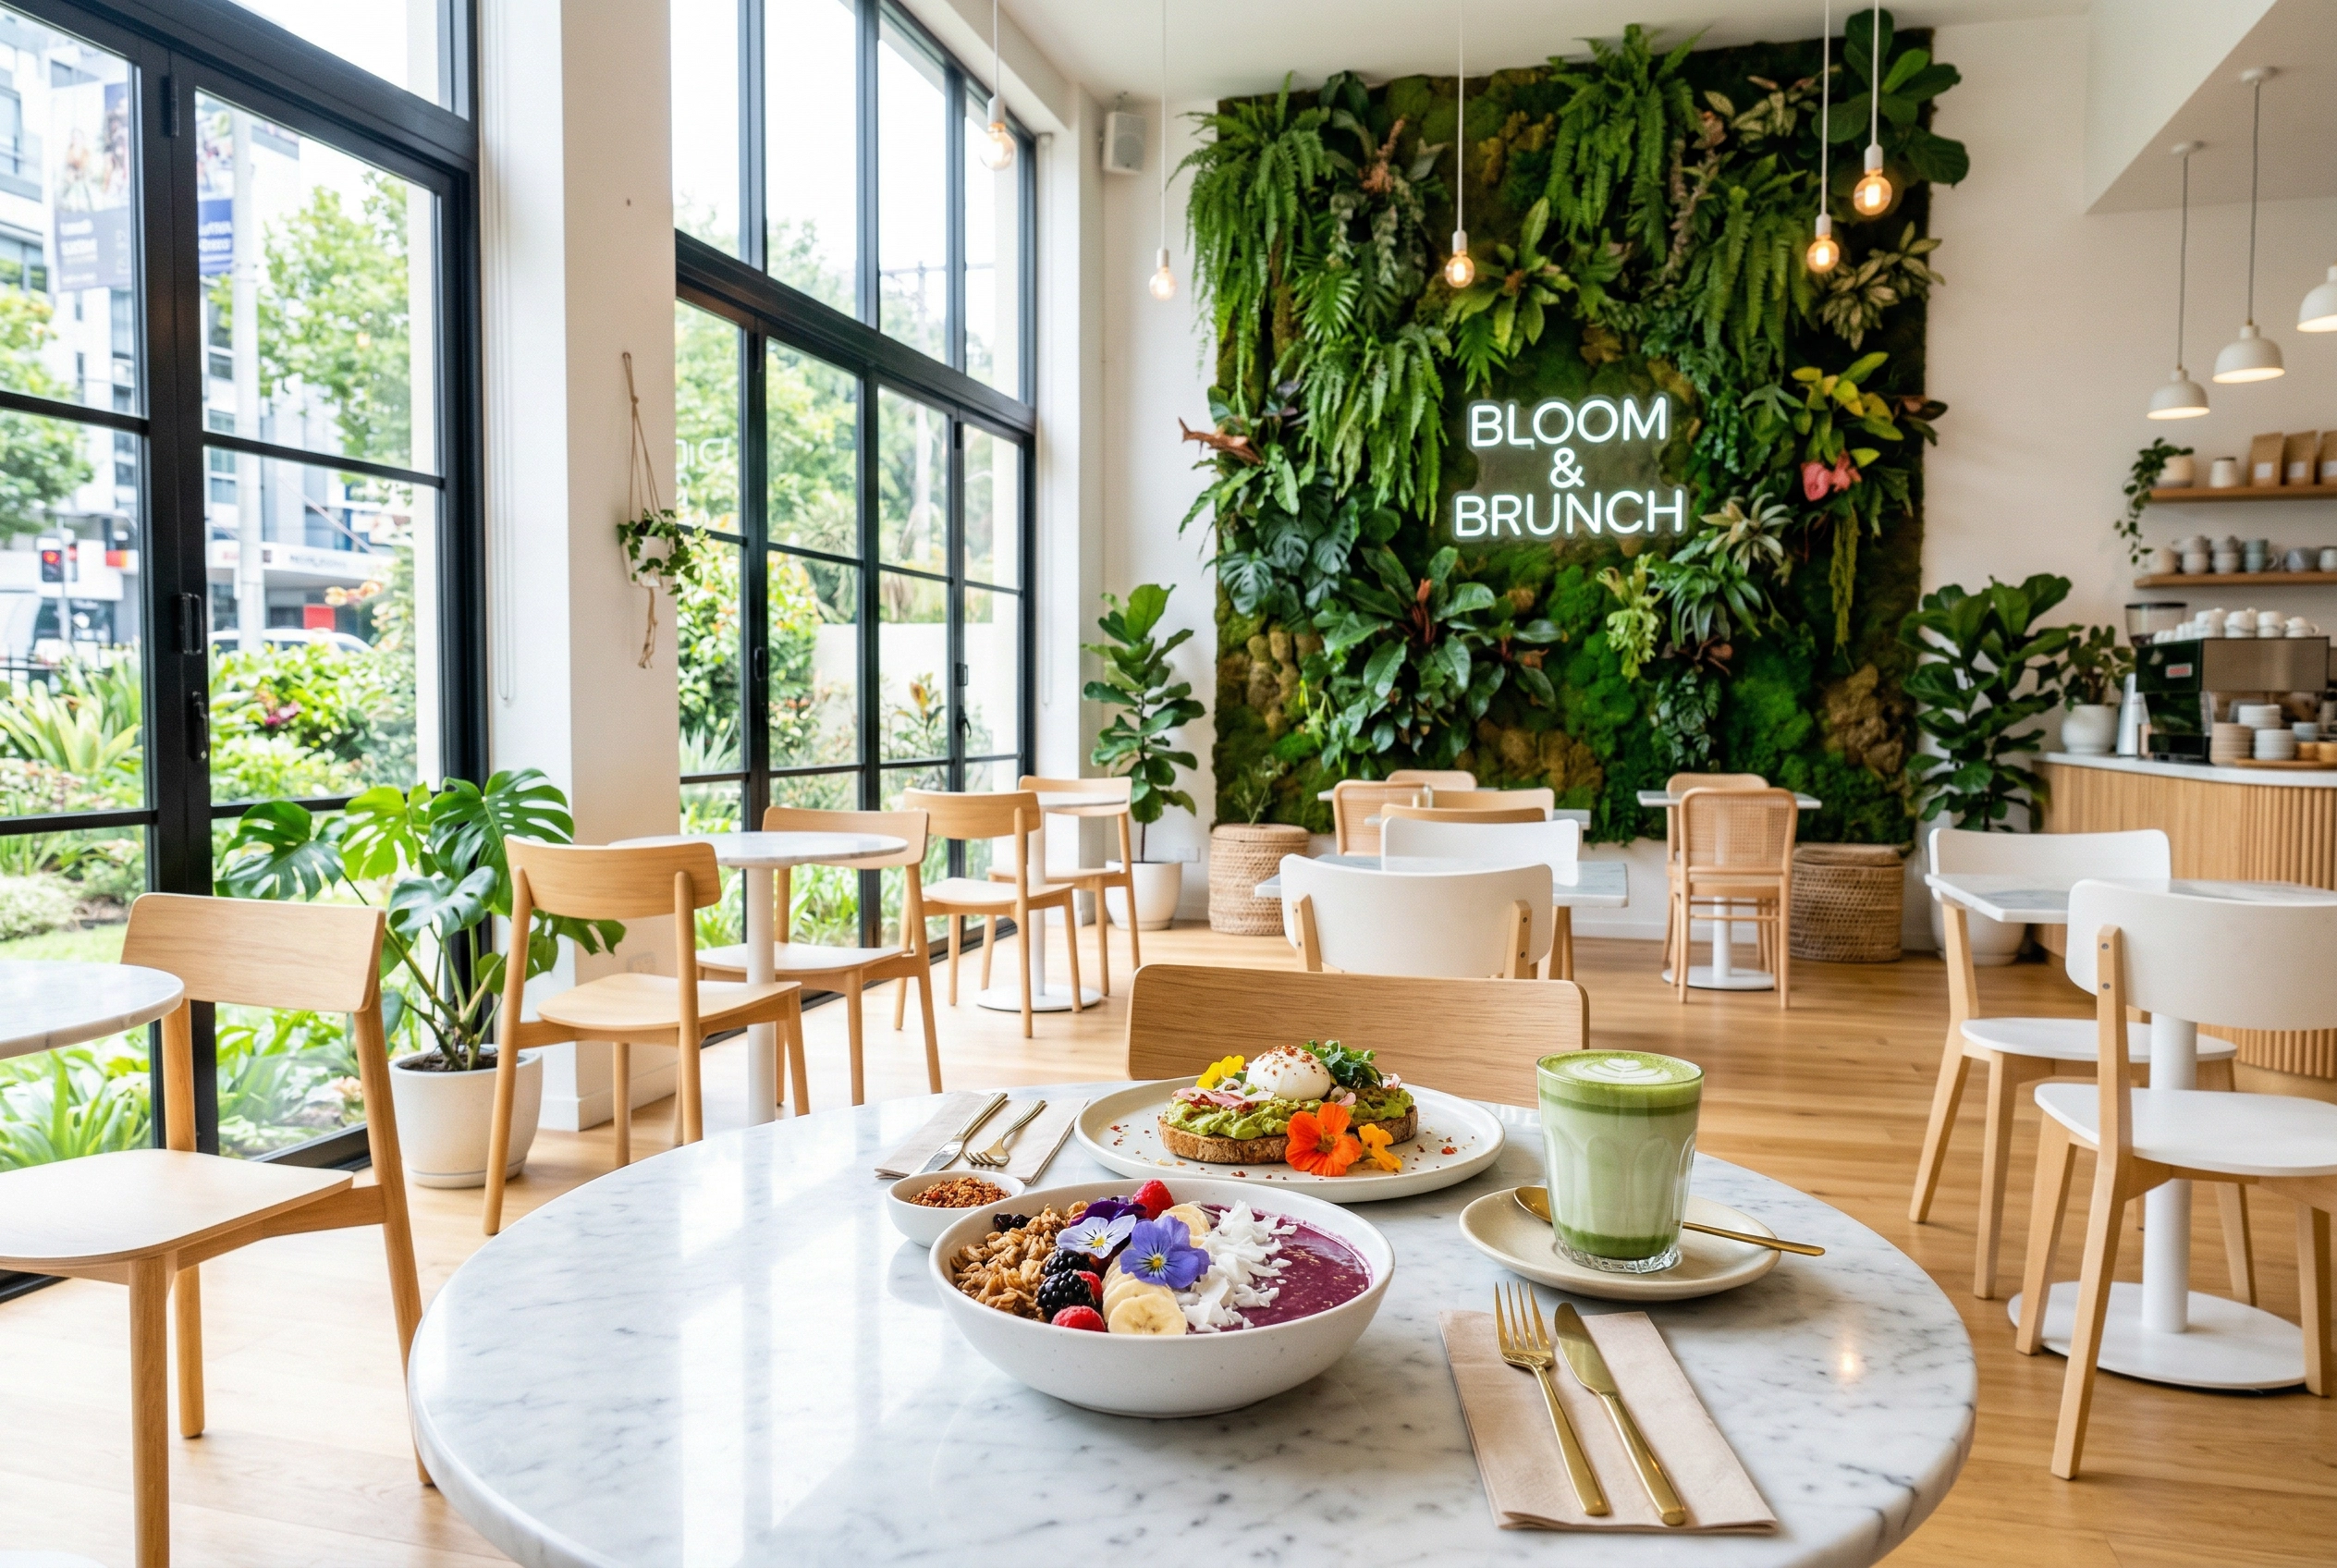 Photo-friendly restaurant interior with natural lighting, colorful dishes on marble tabletop near large windows
Setting Smart Restaurant Photography Policies
You don't need to ban photography in restaurants. You need guardrails. Here are practical restaurant photography rules that protect the dining experience while keeping the cameras welcome:
No flash — ever. This is the one universal rule. Flash disrupts other diners, annoys your staff, and ironically produces worse food photos. According to The Guardian's coverage of the food photo debate, even chefs who welcome photography draw the line at flash. Post this policy on table cards or your website.
No tripods or camera rigs during service. If a food blogger wants to set up equipment for a proper shoot, they should arrange that during off-hours. During regular service, phone and handheld camera shots only. As one professional photographer on Reddit put it: "Do not offer to do it DURING their service time."
Encourage a "photo moment." When servers deliver a beautiful dish, they can say, "Take a moment to admire it before you dig in." This gives an implicit green light for photos while keeping the time brief. Some restaurants do this naturally during tableside presentations — the flambé, the dome lift, the poured sauce.
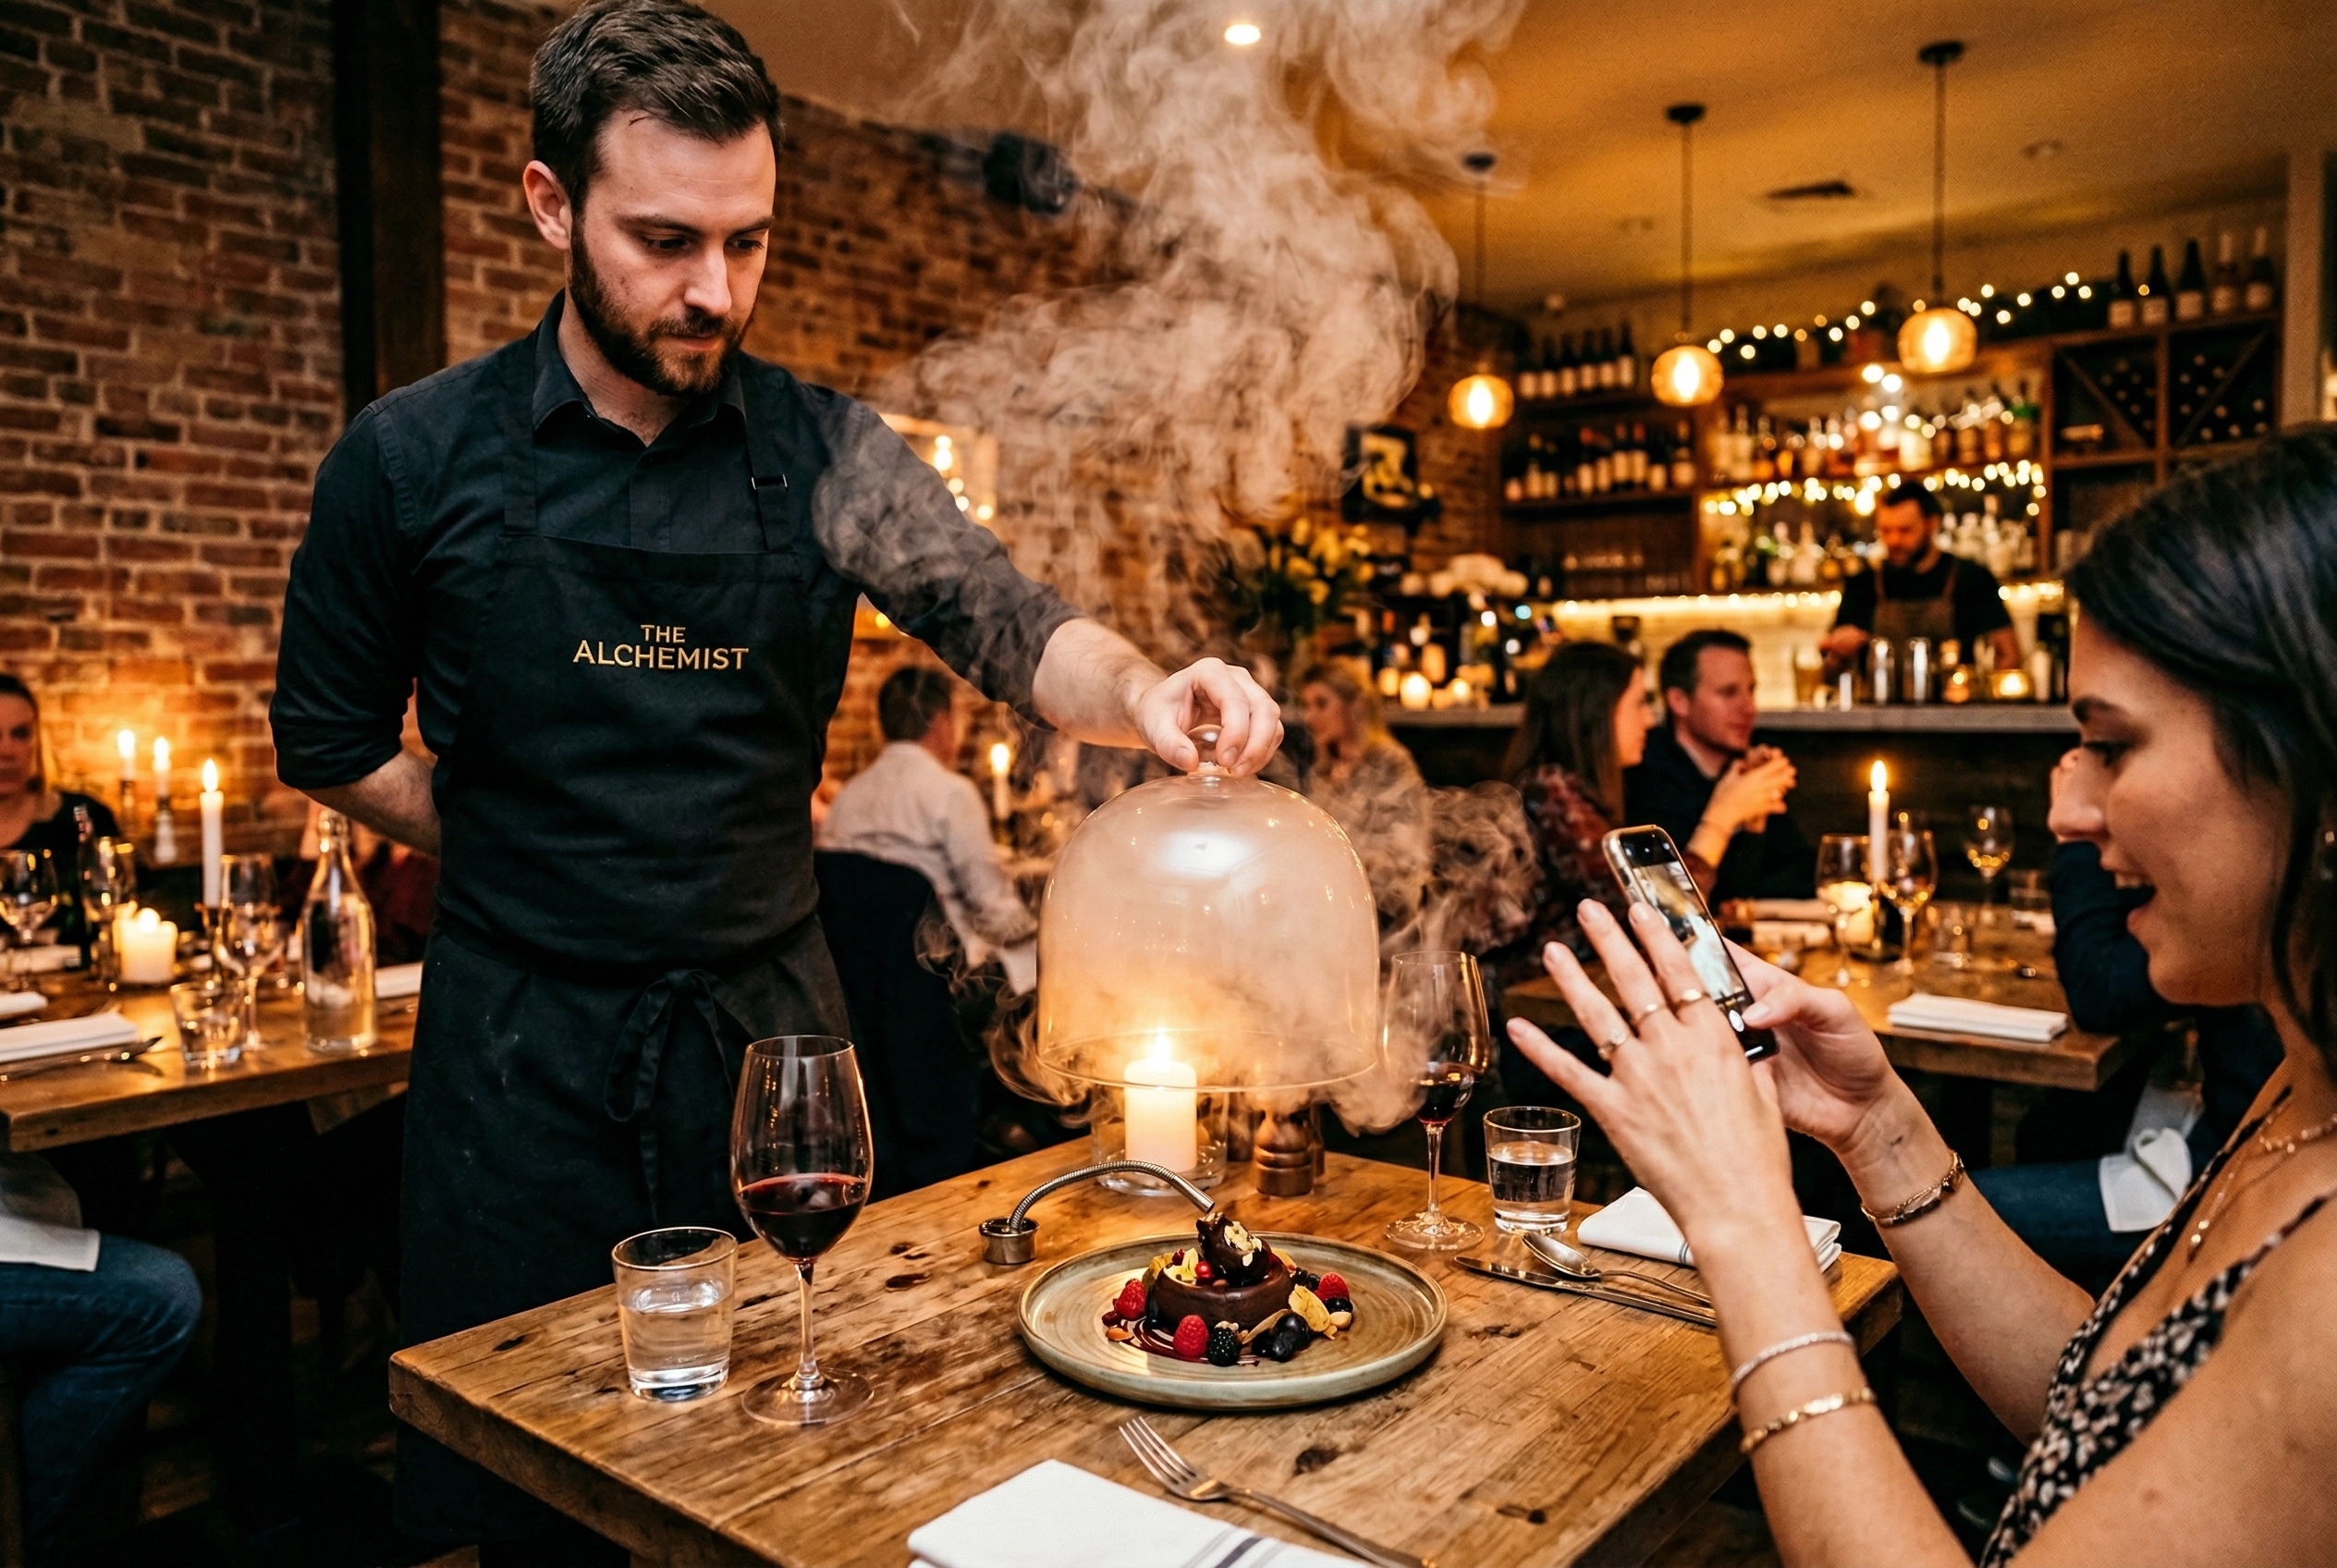 Restaurant server lifting cloche for tableside presentation as diner reaches for phone to capture the moment
Communicate clearly. Print your photography policy on the menu or put a small card on the table: "We love when you share your experience! Just one ask: no flash, please." Clear, friendly, done.
Be flexible with food bloggers. If someone contacts you in advance as a blogger or content creator, try accommodating them — a window seat for better light, or permission to shoot a few extra minutes. Their content reaches a targeted local audience. Check out our guide on how to promote your restaurant on social media for more strategies.
Turning Customer Photos Into Marketing Gold
Getting customers to take food photos is step one. Turning those photos into an ongoing marketing engine is step two — and it really doesn't require much budget or time.
Create a branded hashtag and display it everywhere. Menu, table cards, receipt, entrance sign. Make it short and memorable. #JoesNYC is better than #JoesPizzaNewYorkCity.
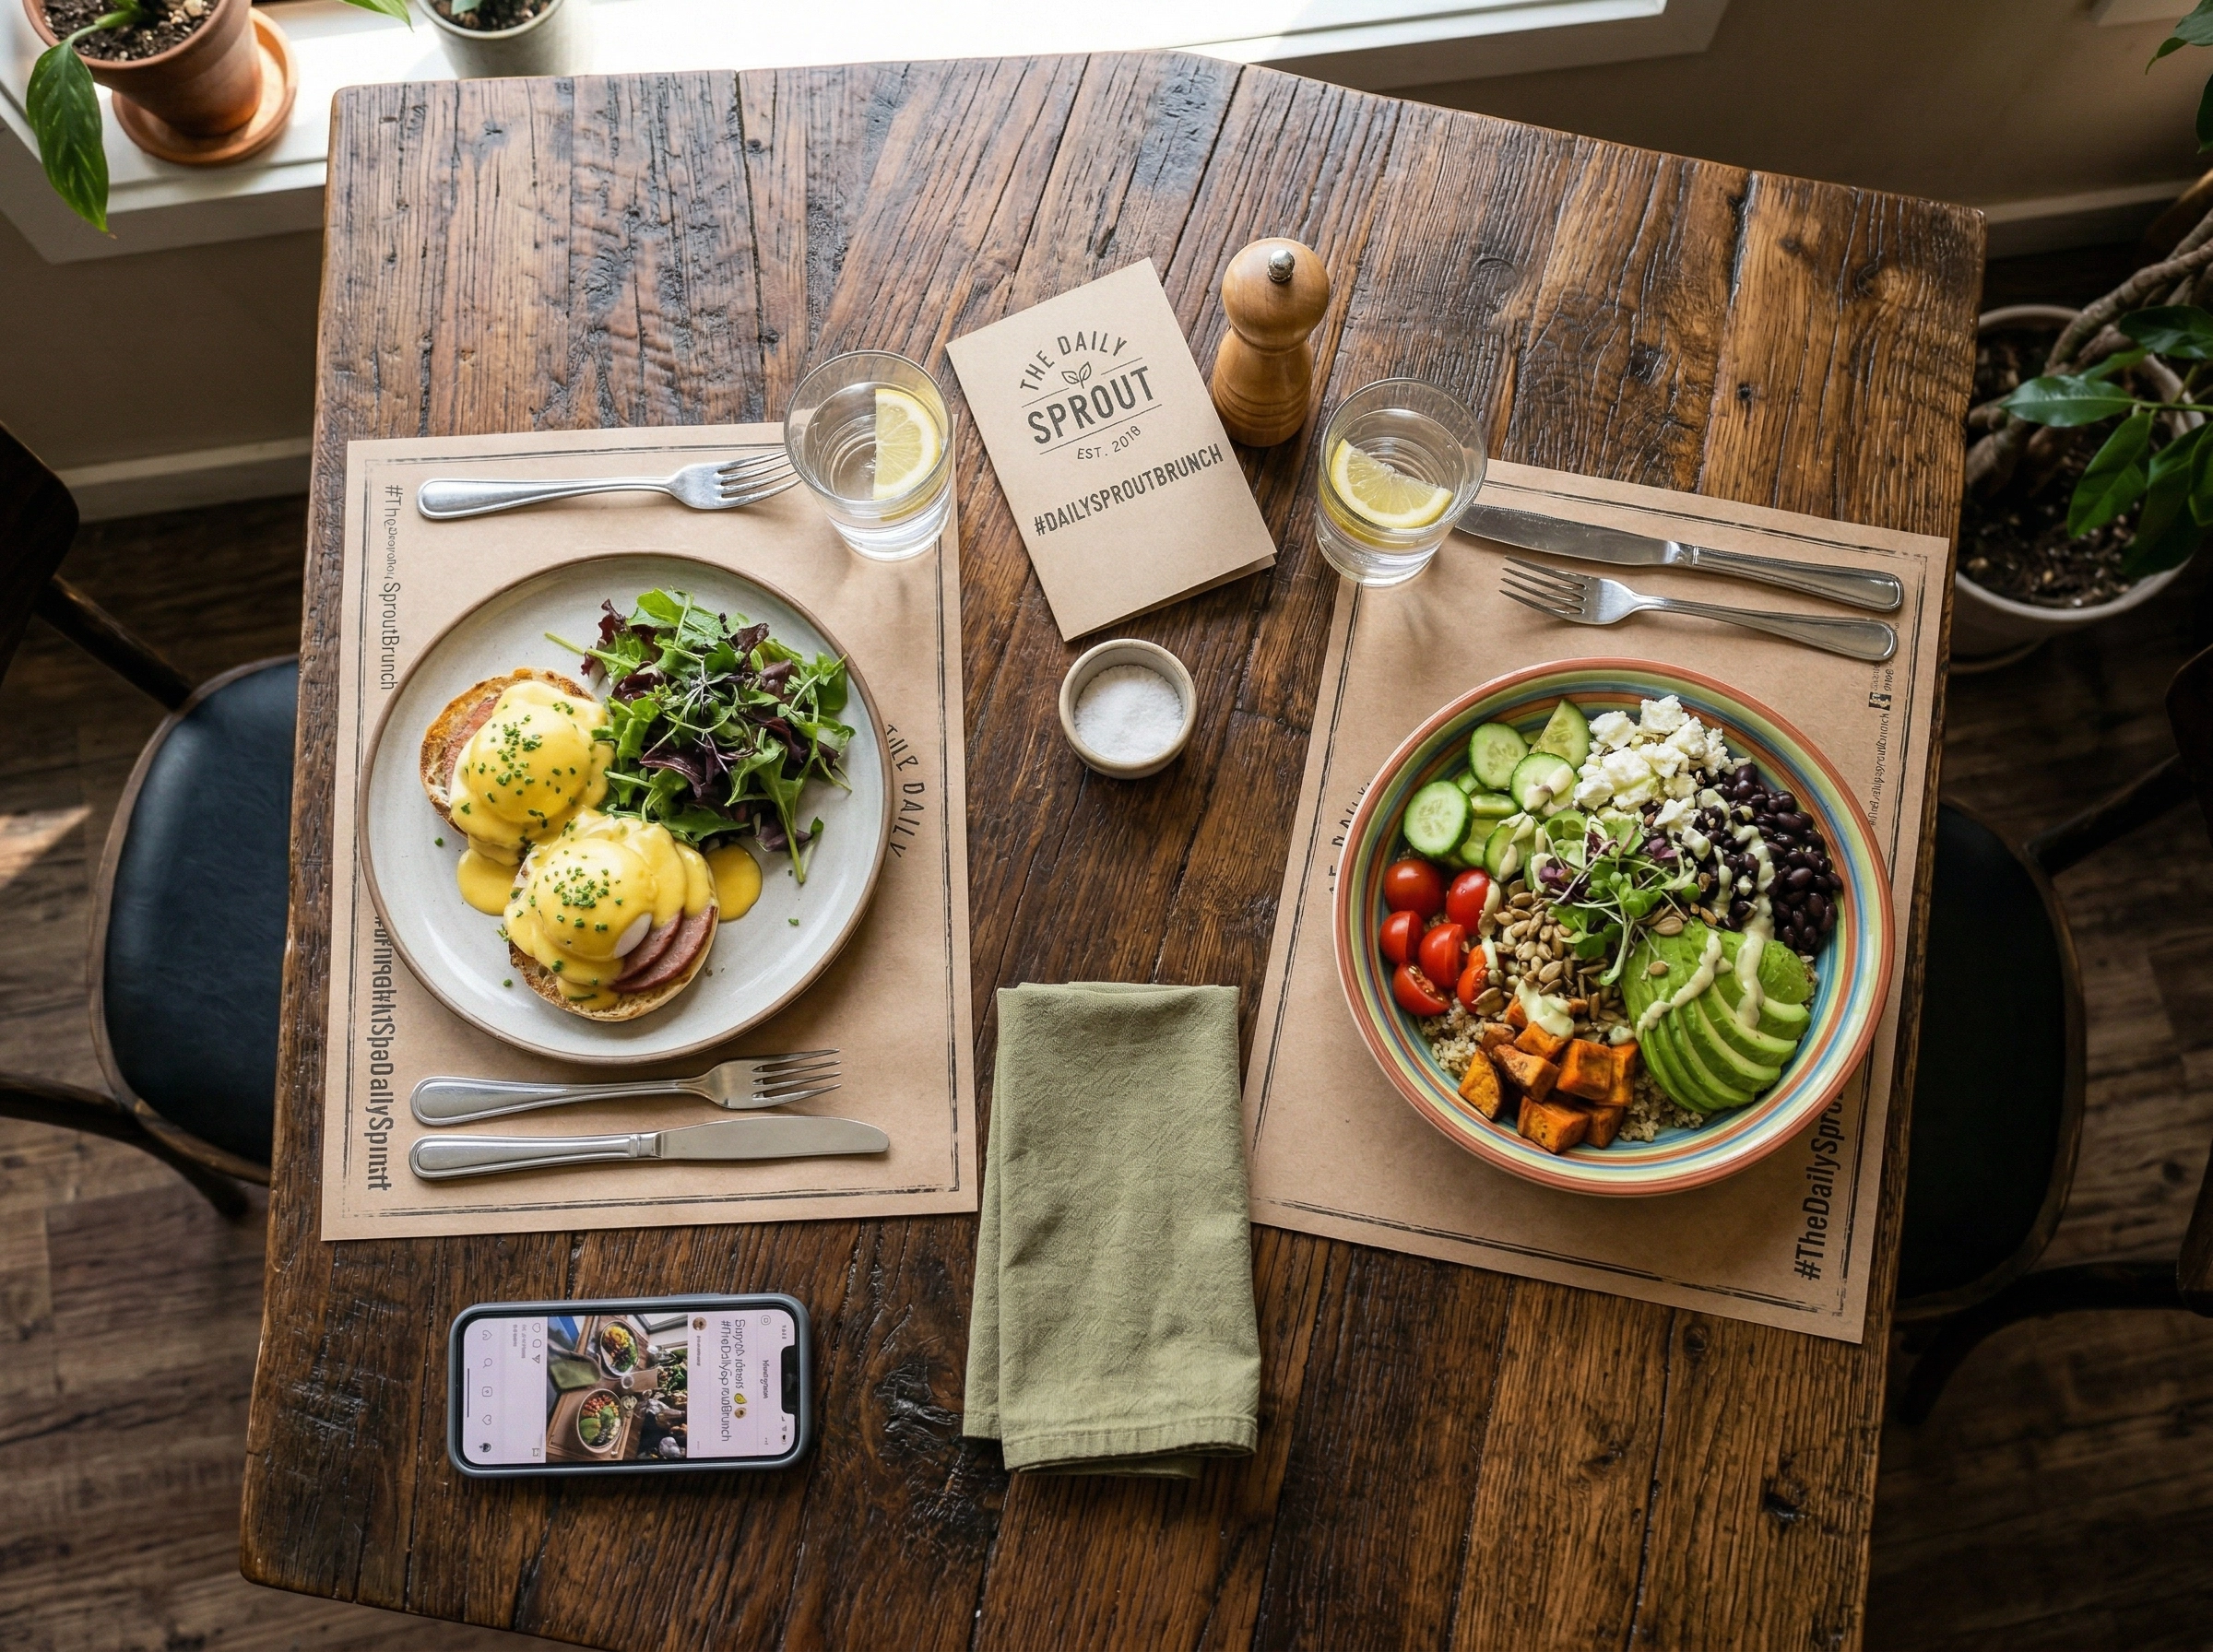 Restaurant table with branded hashtag card alongside plated brunch dishes encouraging customer photography
Run photo contests. "Best photo of our [signature dish] this month wins a free dinner" is low-cost and high-reward. Try making it a recurring monthly event. For inspiration, see our roundup of the best restaurant social media campaigns.
Repost UGC on your own channels. When a customer posts a great food photo from your restaurant, reshare it with credit. This rewards the customer, shows potential diners authentic experiences, and saves you from creating all your content from scratch. Our social media marketing guide for restaurants has a full playbook.
Design one dish to be photographed. Smoke-filled cloches, color-changing cocktails, desserts with a dramatic pour. When one dish becomes your "must-photograph" item, it generates consistent organic content. A 2026 restaurant marketing trends report confirmed that "diners want memorable experiences they can share both in person and online."
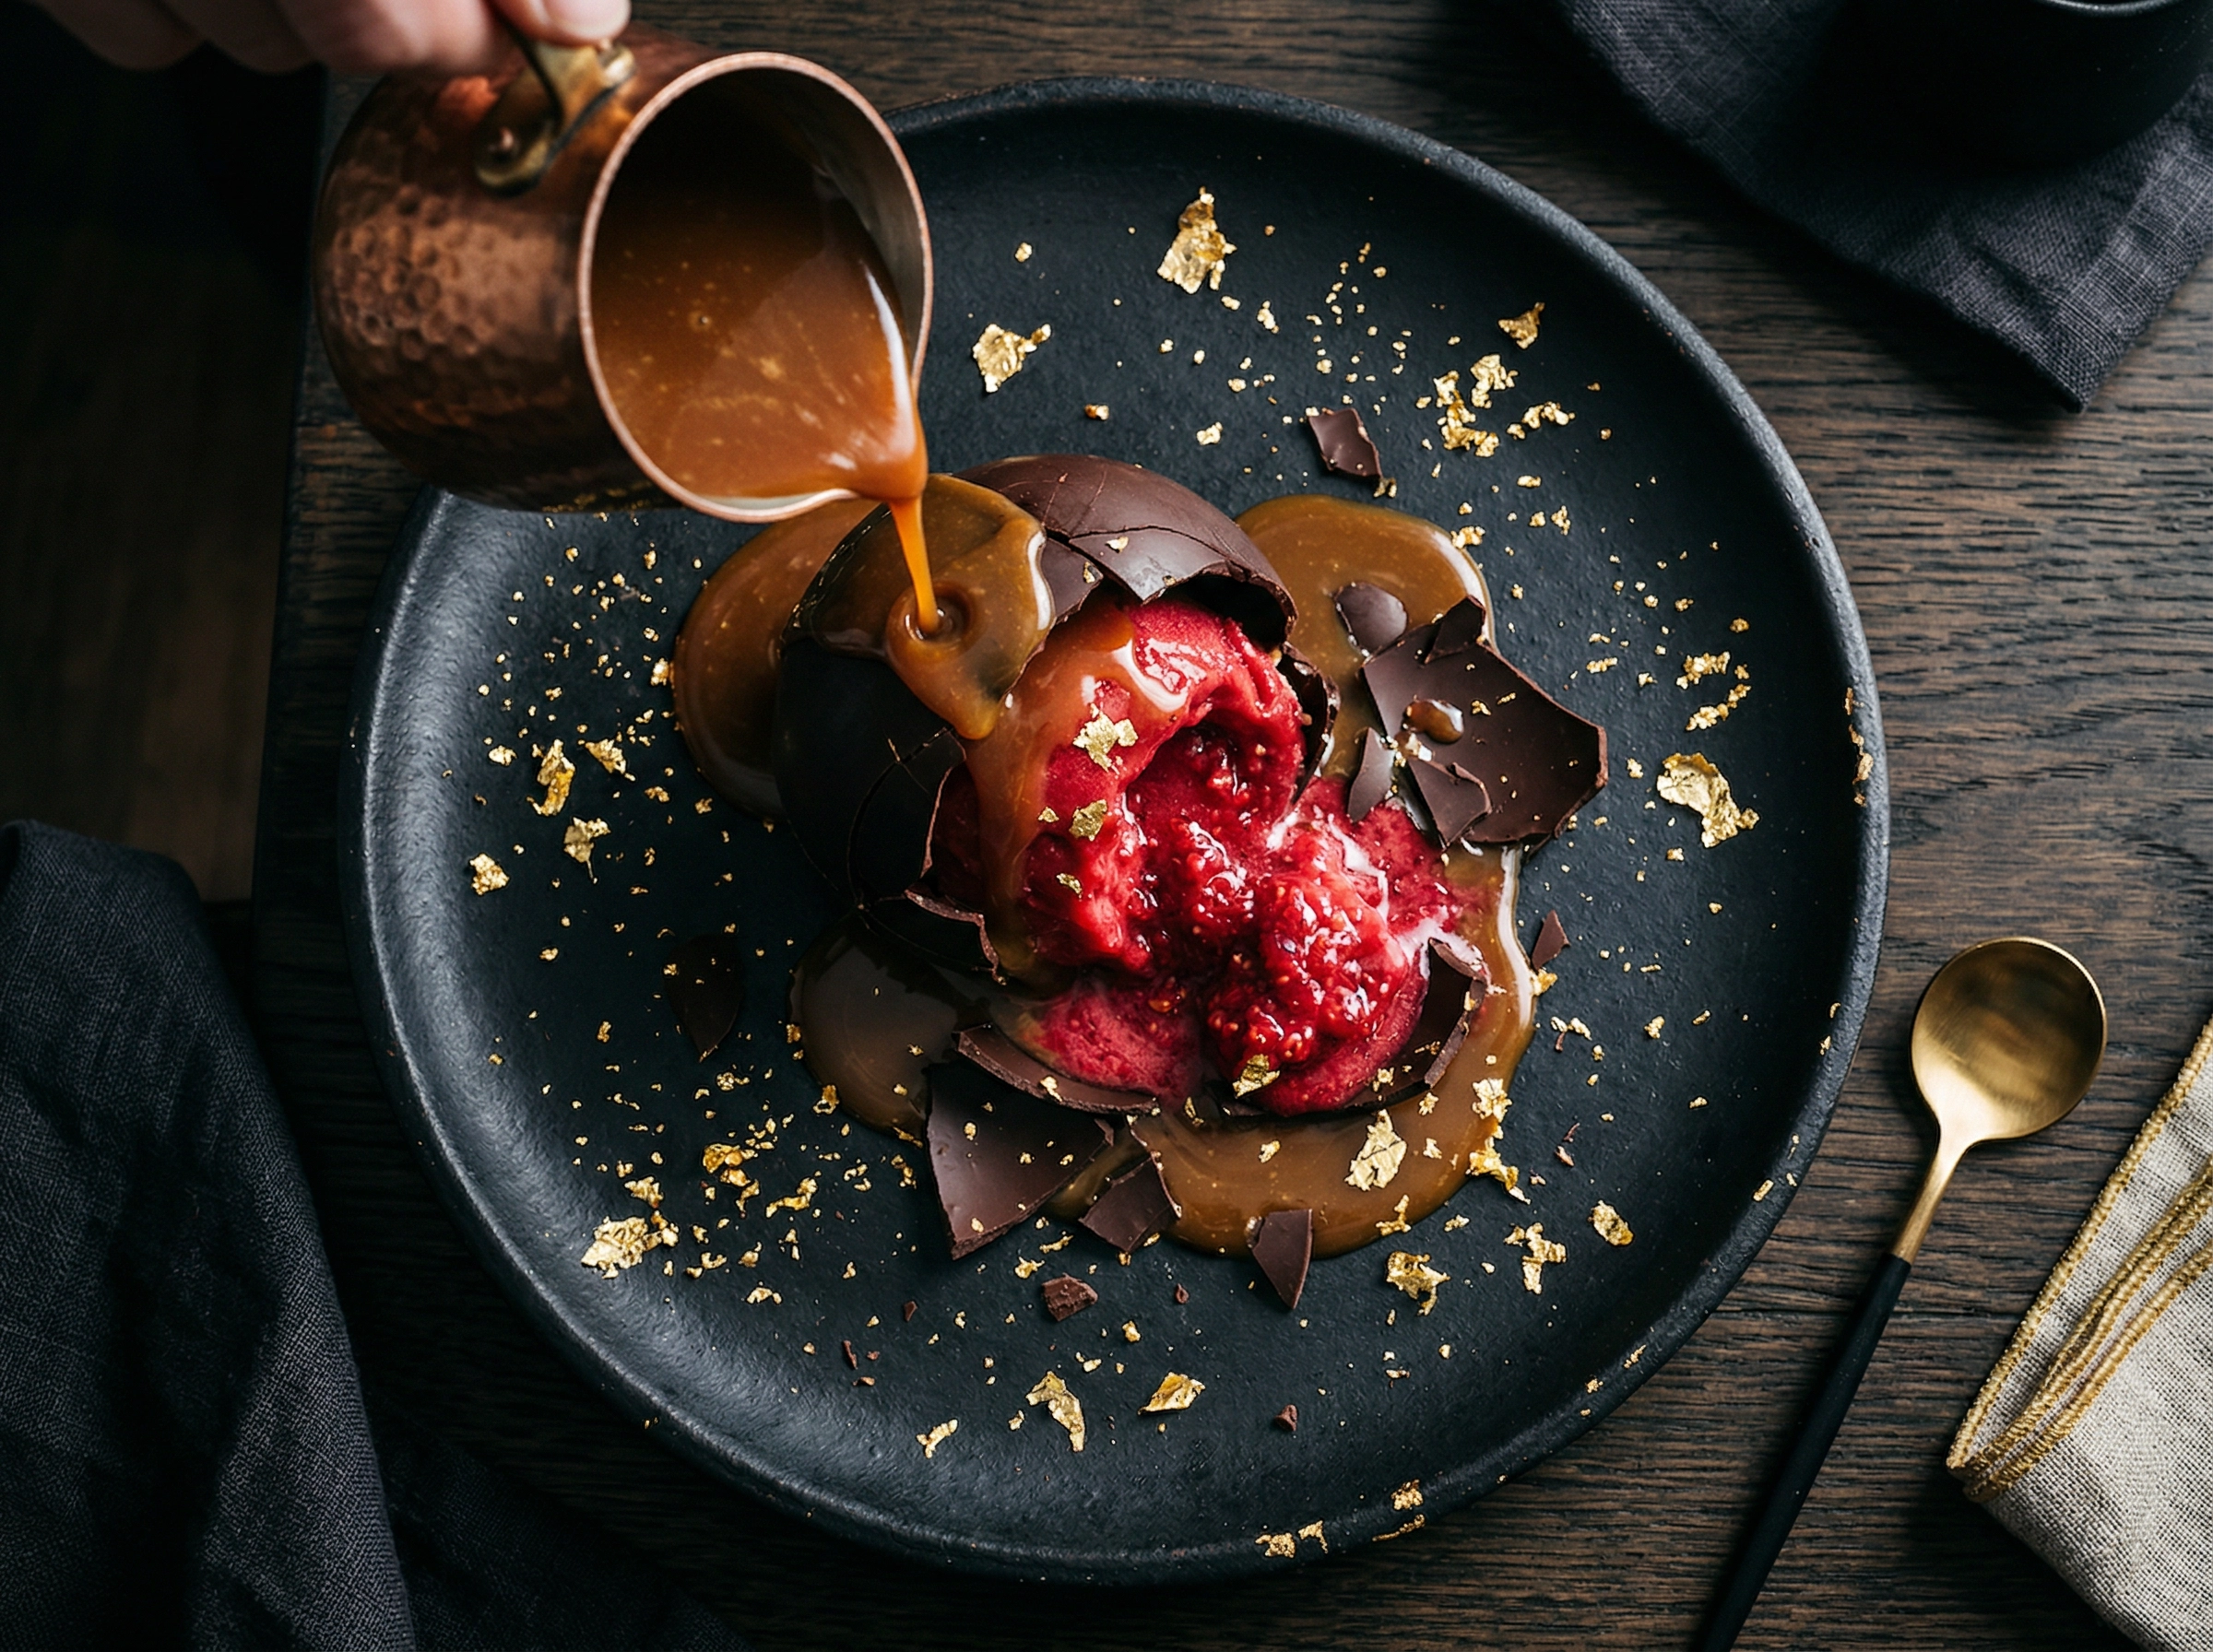 Dramatic restaurant dessert with chocolate dome and caramel pour designed for social media photography
Skip the Professional Shoot: Try AI Food Photography Instead
Traditional photoshoots are effective but logistically painful. You need off-hours time, a photographer ($700–$1,400 per session per our restaurant photography pricing guide), dishes that won't be served, and hope the shots match your brand.
AI food photography tools like FoodShot AI let you snap a quick phone photo of any dish during normal service and transform it into a professional-quality image in about 90 seconds. Adjust the light style, swap the background, change the camera angle — all from your phone.
This isn't about replacing all professional photography. It's about filling the gaps: delivery app photos, seasonal menu updates, promotional posters. AI handles these at a fraction of the cost and turnaround time. Our complete restaurant food photography guide shows how this fits into a broader visual strategy.
For Diners & Bloggers: Restaurant Photography Etiquette Everyone Should Follow
Now for the other side of the table. Whether you're a food blogger or just someone sharing dinner on Instagram, these restaurant photography etiquette rules keep you from being that person.
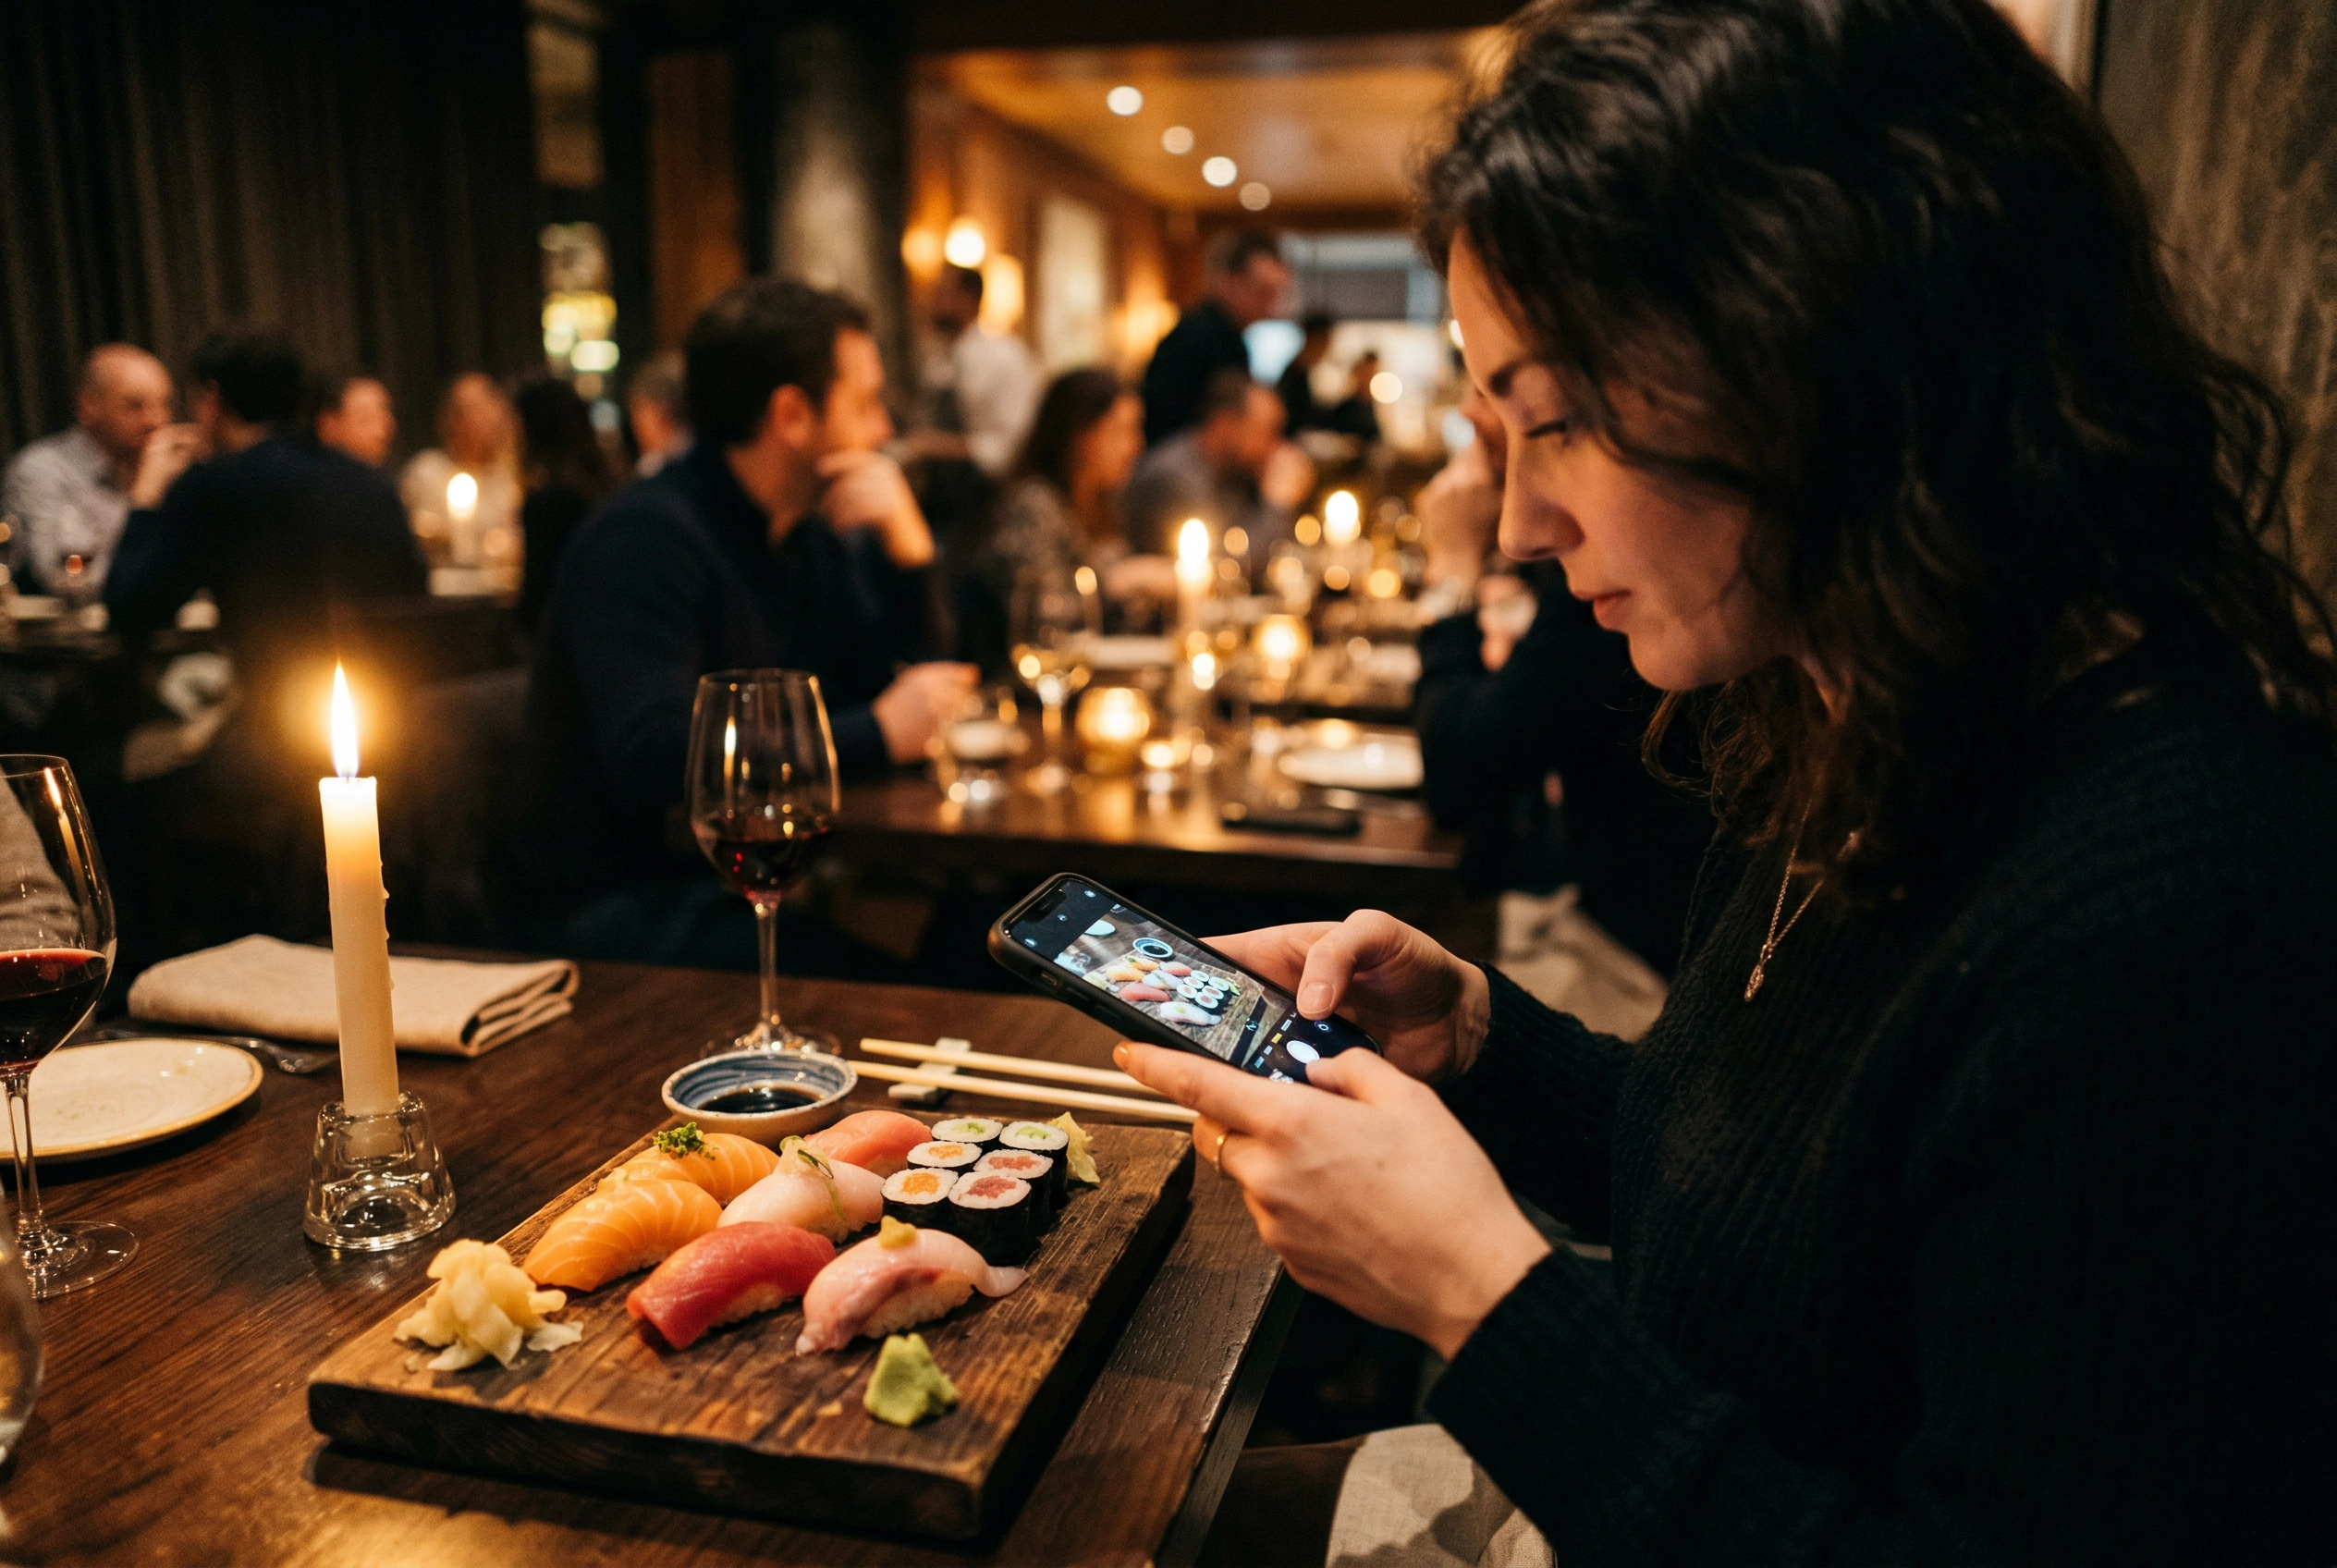 Diner discreetly photographing sushi platter with phone in dimly-lit restaurant setting
Be quick — 30 seconds max per dish. Take 3–5 shots from different angles, then put the phone down. Your food is getting cold, your dining companion is waiting, and other diners don't want to watch you art-direct your pasta. Time really matters when doing photography in restaurants.
Never use flash. It disturbs everyone around you and makes your food look terrible. Phone camera flashes create harsh, flat light that washes out food colors. Just don't.
Don't rearrange the table. Moving your friend's wine glass or sliding your plate disrupts everyone. Photograph the dish as it arrives — that's how the chef intended it to look.
Don't stand on chairs for overhead shots. Hold your phone above the dish at arm's length. That's high enough for a good food photo.
Don't hold up your server. If your server arrives with the next course while you're still shooting, stop and let them work. Servers on a busy night don't have time to wait while you try to find the perfect angle.
Keep it quiet. If you're directing the table like a full photo shoot, you're disturbing neighboring diners. Shoot quickly and silently.
For more on getting great food photos with your phone, our phone food photography guide covers everything from angles to composition.
Phone Camera Settings for Dim Restaurants
Restaurant lighting is one of the hardest environments for phone photography. Here's how to get the best food photos without any extra camera equipment:
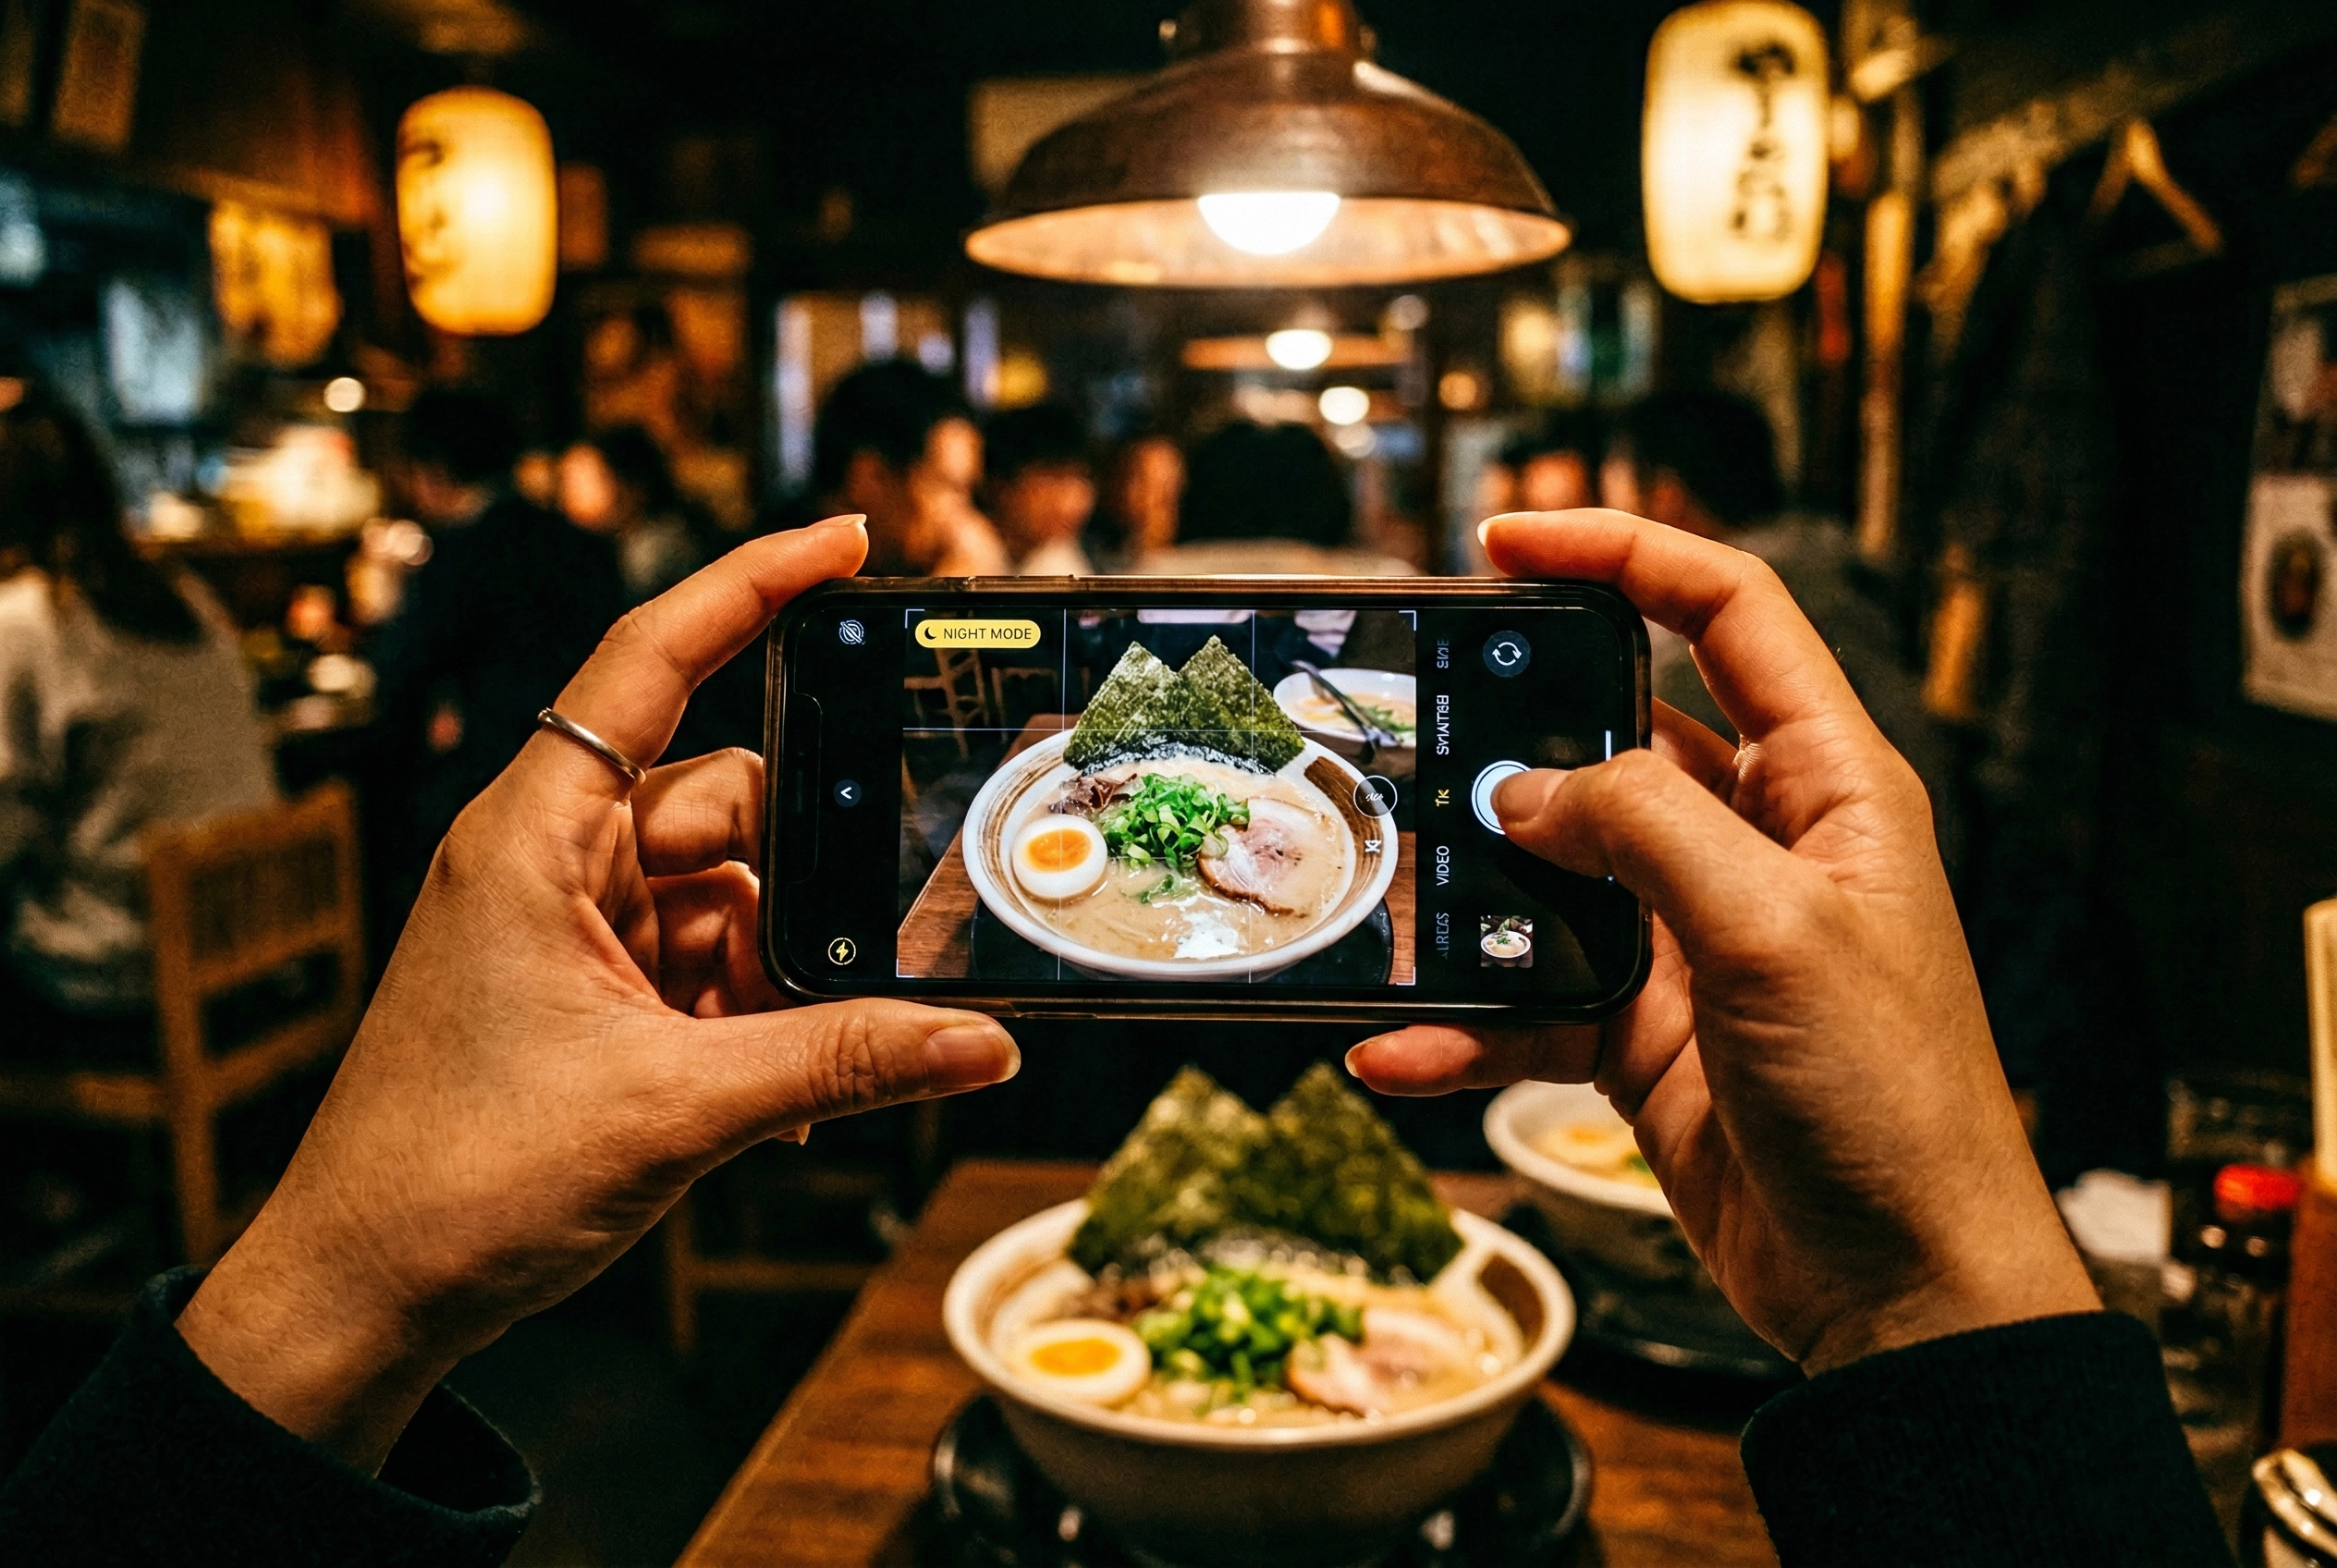 Hands holding phone using Night Mode to photograph ramen in a dimly-lit Japanese restaurant
Turn off the flash. Go to your camera settings and disable it entirely so it doesn't fire automatically. Flash is the number-one mistake with photography in restaurants.
Use Night Mode. On iPhone, Night Mode activates automatically in low light (the moon icon). On Android, Night Sight works similarly. These camera modes brighten the image computationally without flash harshness. Try holding your phone steady for 2–3 seconds while the shot processes.
Lock focus and exposure. Tap and hold on your dish to lock focus. Slide your finger up or down to adjust exposure. In dim restaurants, bumping exposure up slightly often saves a shot from being too dark.
Brace for stability. Rest your elbows on the table or press your phone against a glass. In low light, even slight hand tremors cause blur. Take your time — a steady shot is worth a rushed one.
Shoot in RAW. RAW files preserve more detail in shadows and highlights, giving you flexibility when editing. This is especially valuable in tricky mixed light at restaurants.
Adjust white balance. Restaurant tungsten lighting skews everything orange-yellow. If your phone has a pro or manual camera mode, shift white balance toward cooler tones. For a complete walkthrough, try our iPhone camera settings guide.
Try portrait mode for close-ups. The shallow depth of field really helps with photography in restaurants — it blurs out distracting backgrounds and focuses attention on the dish, producing food photos that look surprisingly professional.
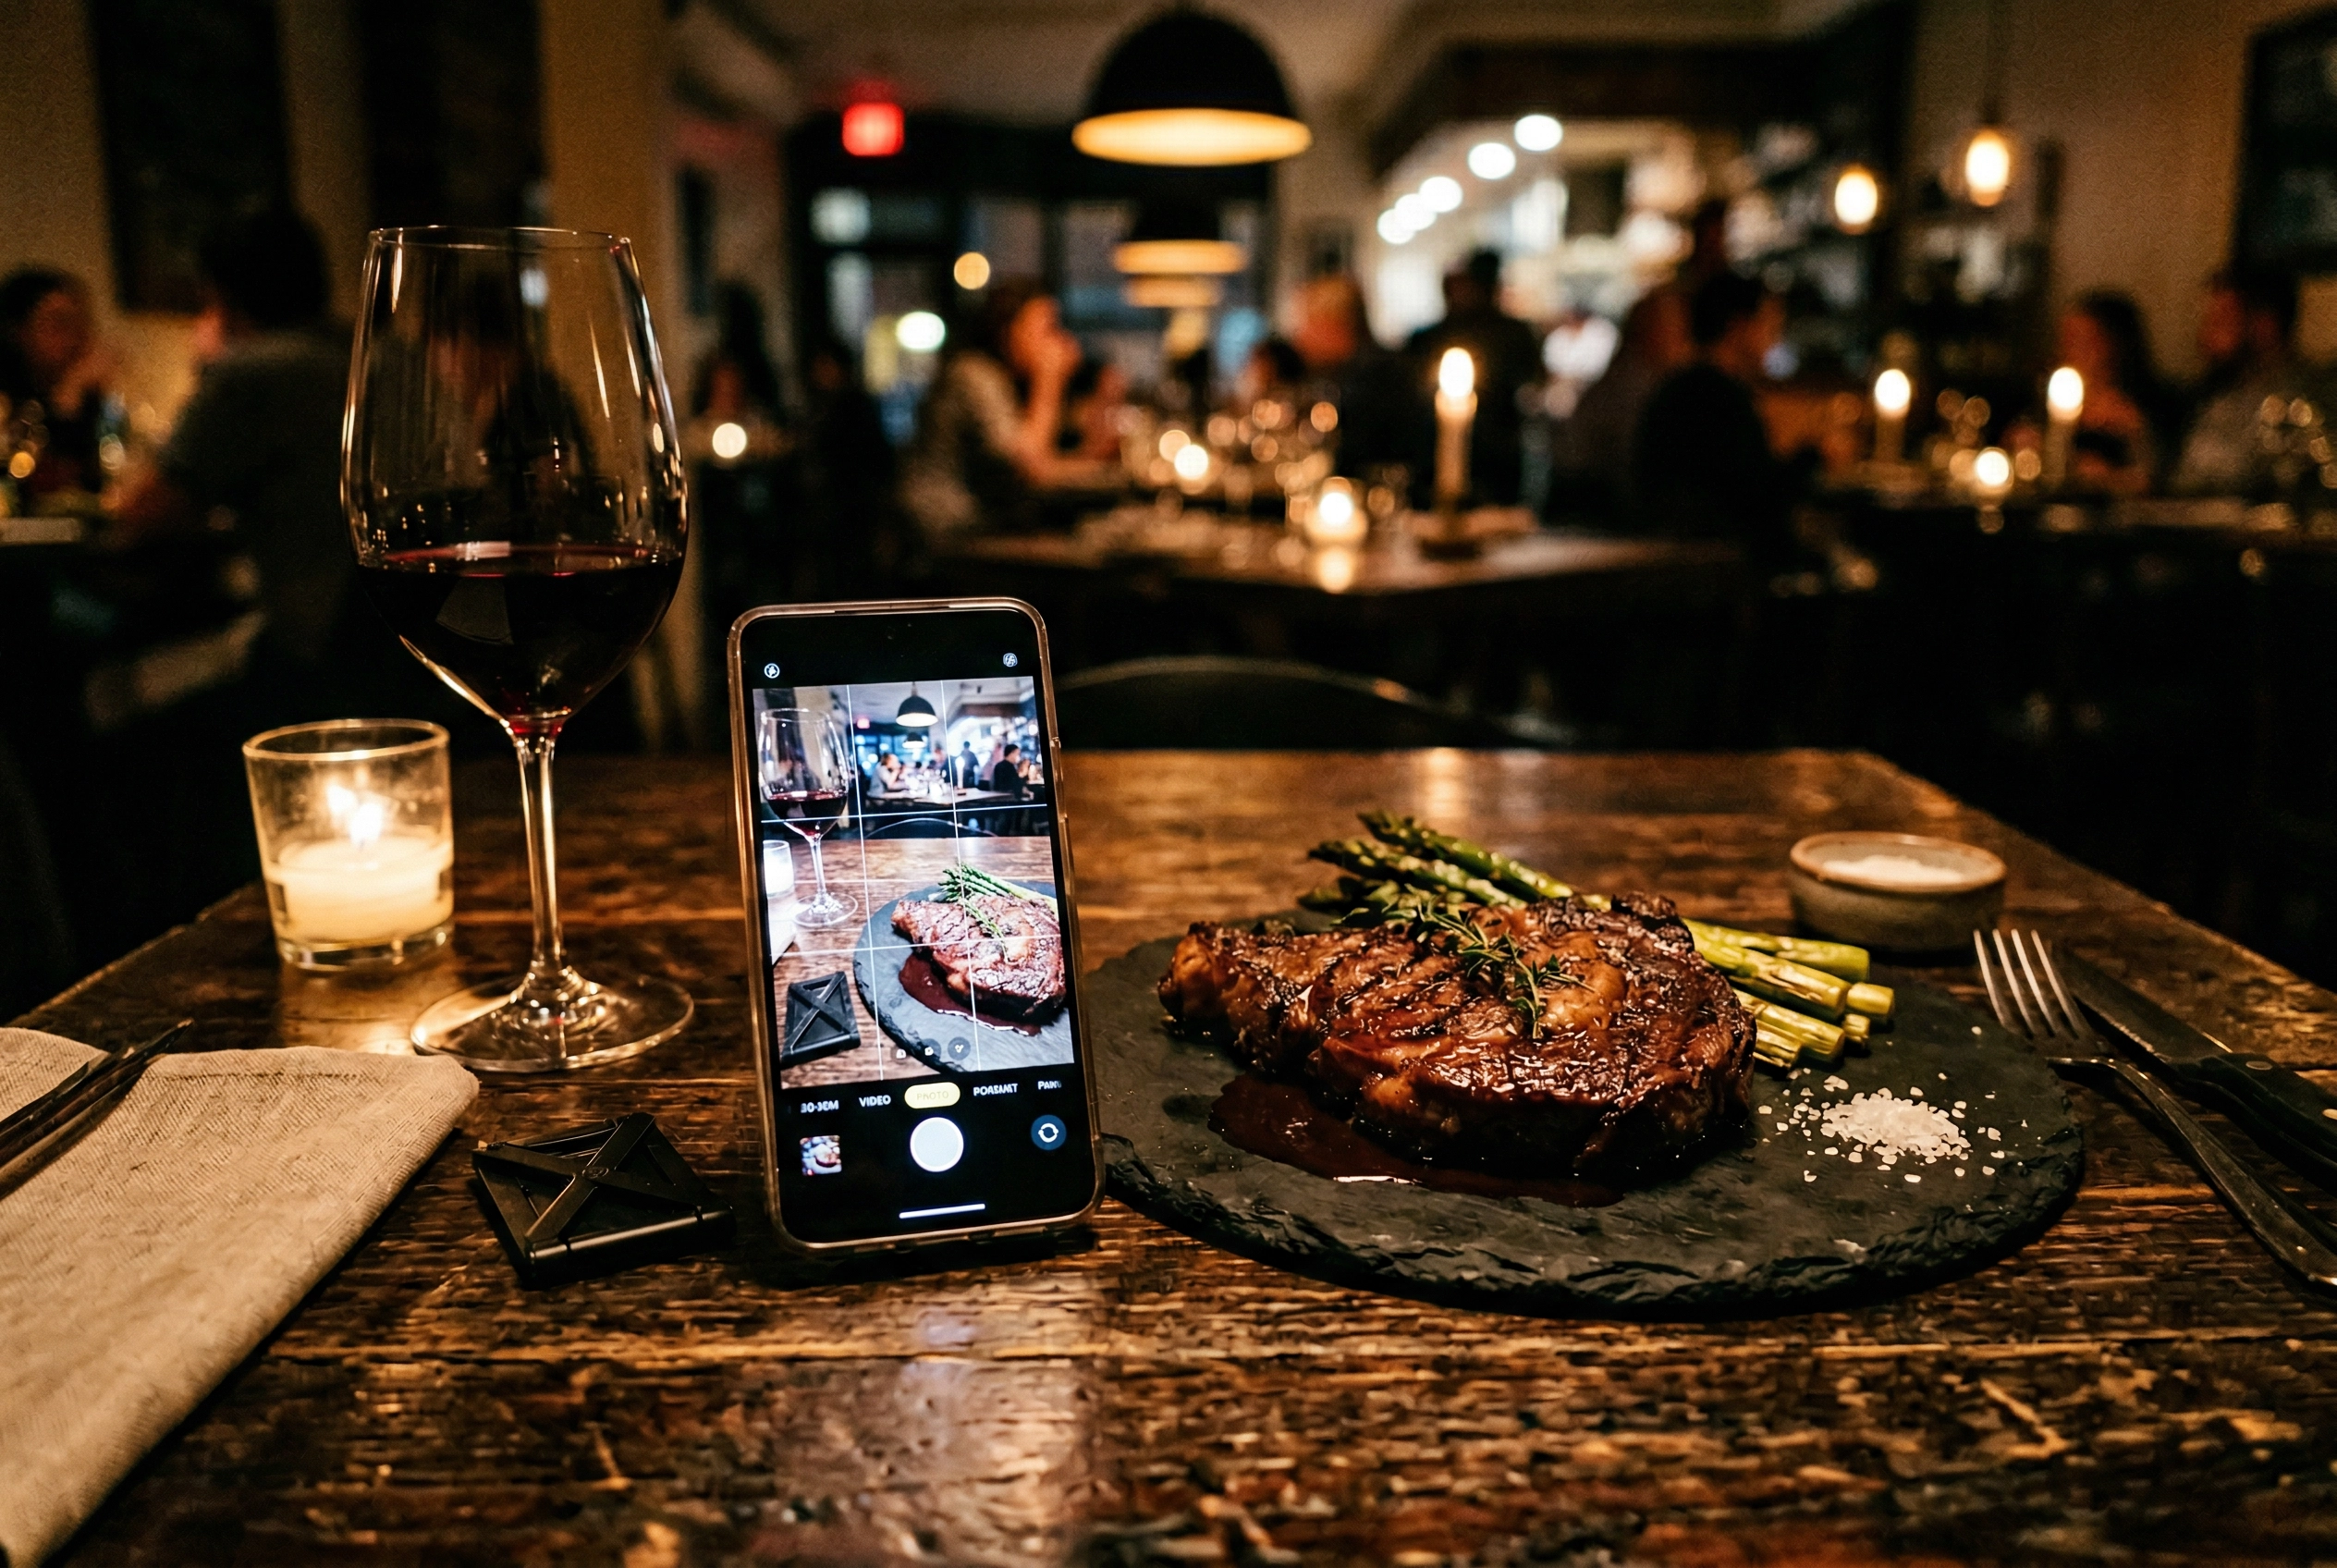 Restaurant table with phone and beautifully plated steak showing photography-friendly ambient lighting
Improving Restaurant Food Photos After the Fact
Even professional food photographers get mediocre shots in restaurant conditions. Mixed light, cramped tables, zero control over the environment — it's genuinely hard. The good news? A photo that looks average from your camera can look fantastic after editing.
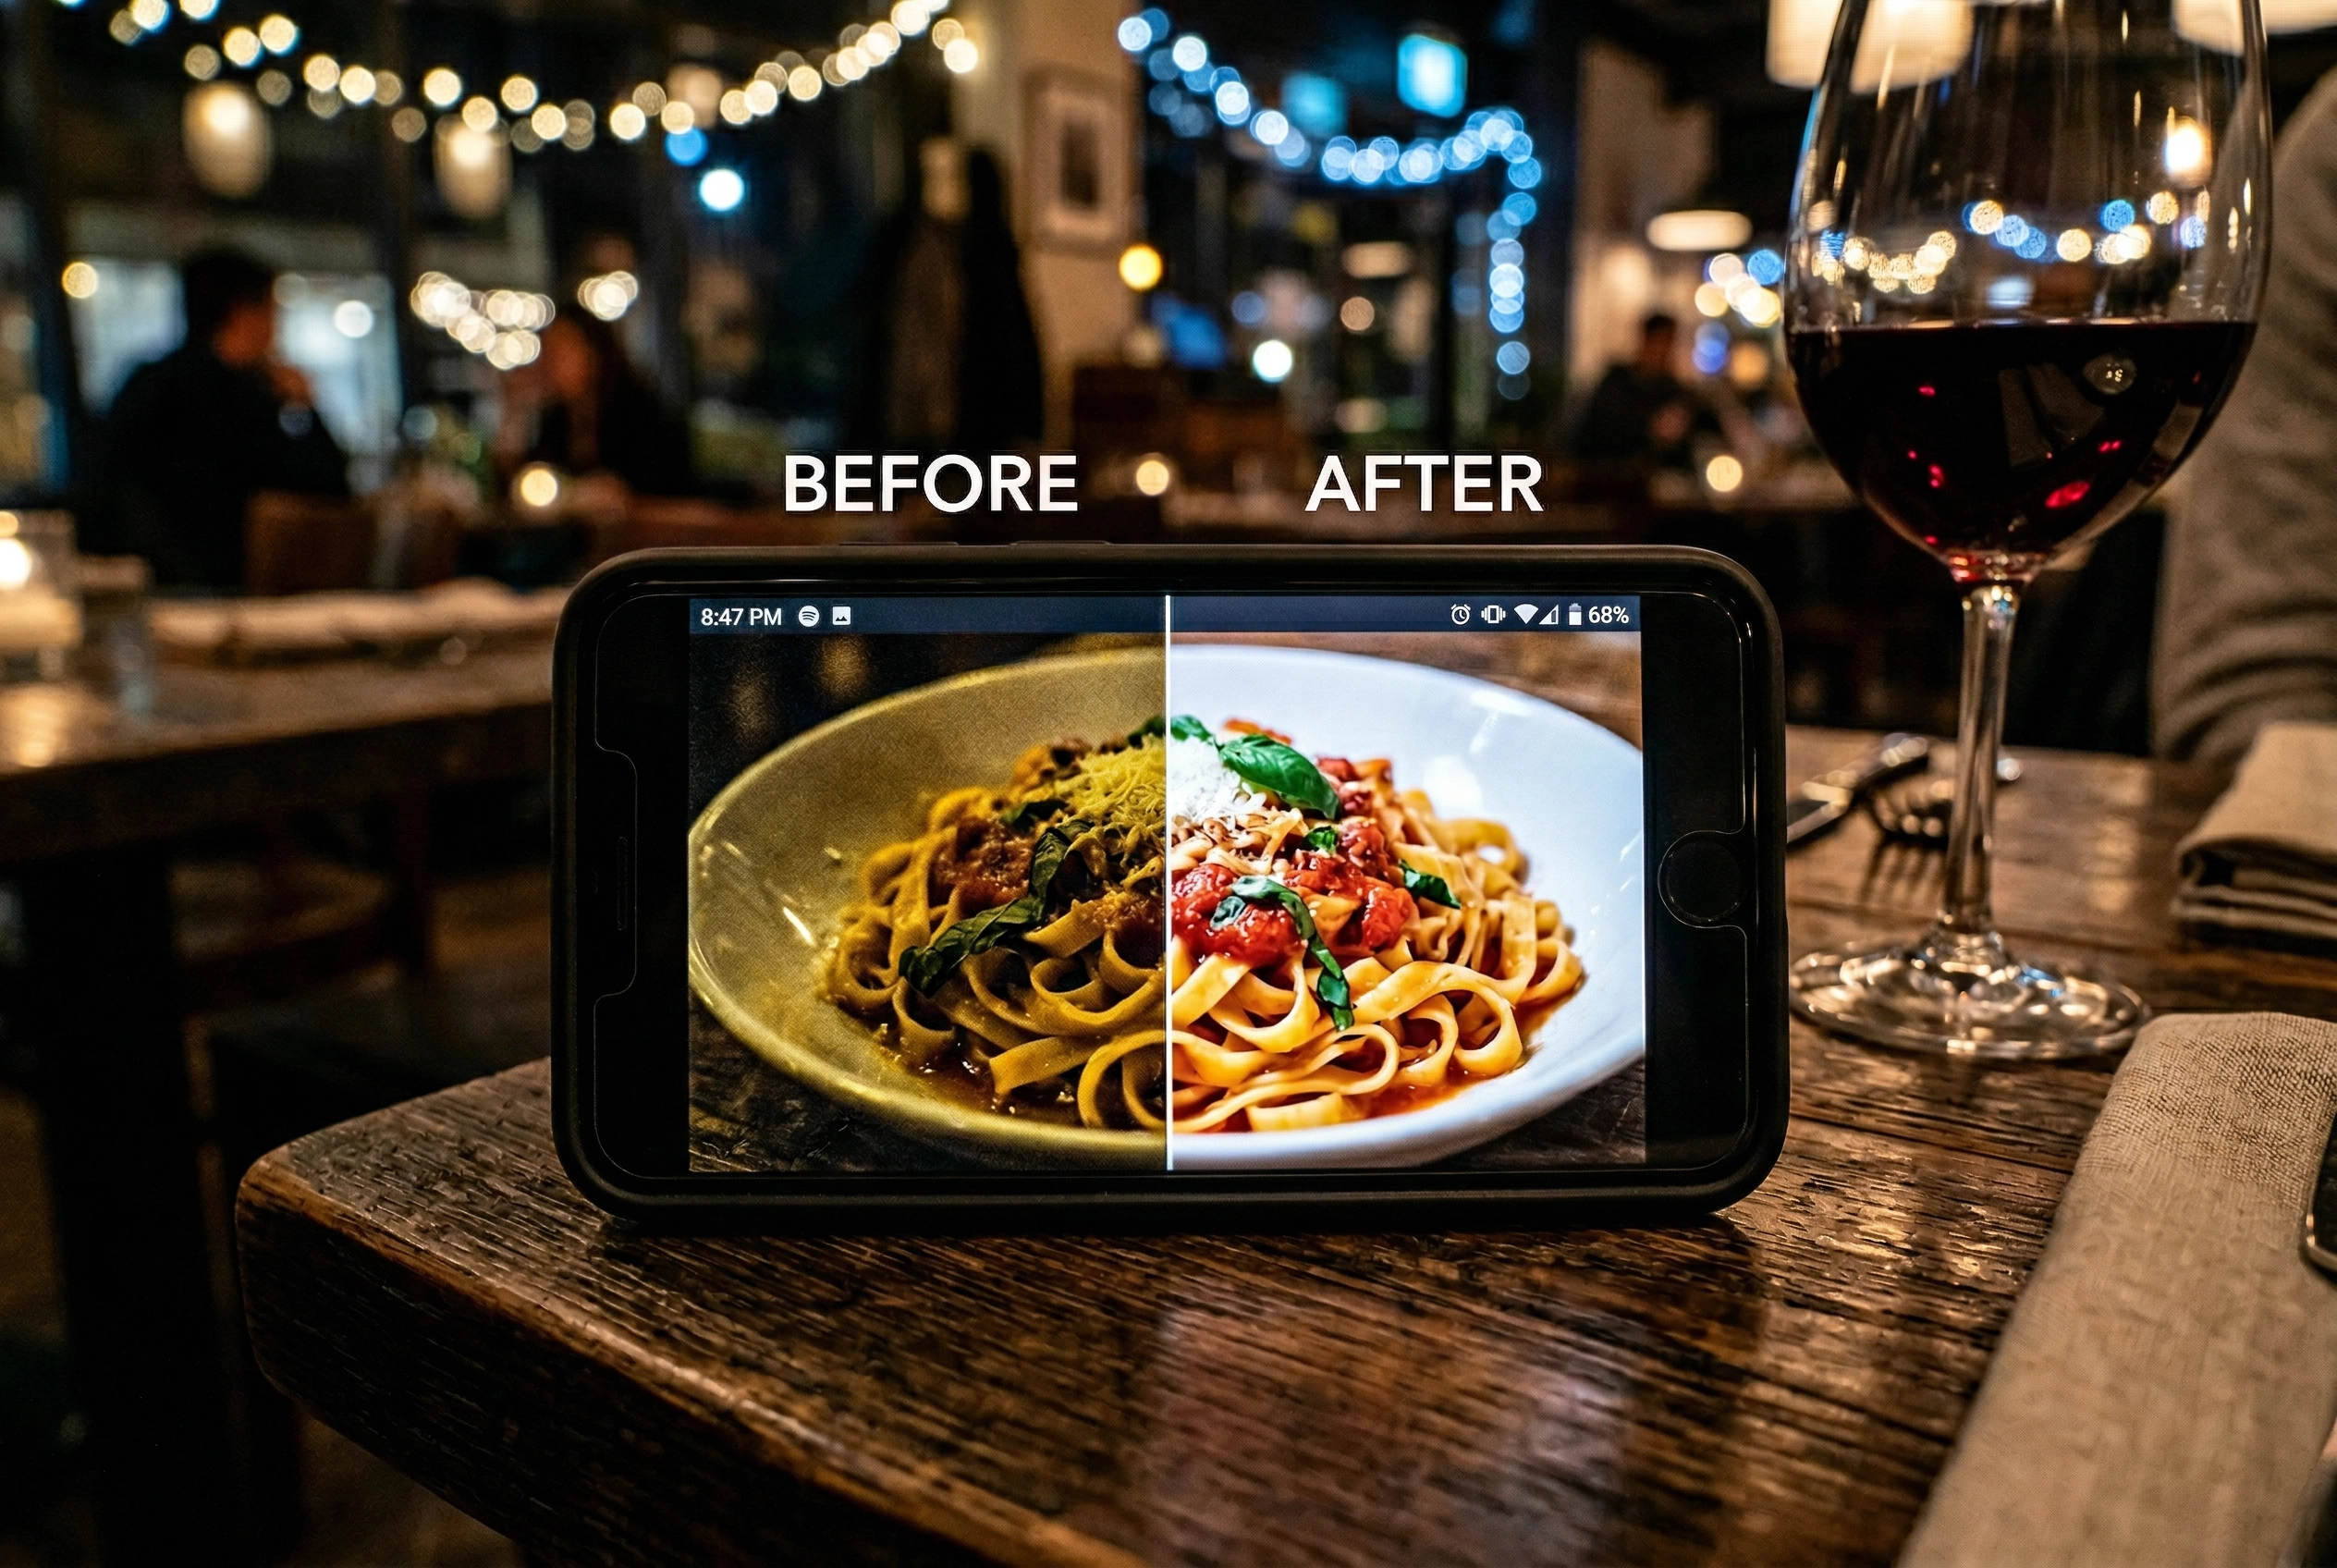 Phone displaying before and after food photo editing comparison in restaurant setting
Basic adjustments that make the biggest difference:
- Brighten shadows without blowing out highlights
- Boost saturation slightly (restaurant light often mutes food colors)
- Correct white balance to remove that yellow-orange cast
- Crop tightly to remove distracting table clutter from the shot
For those who shoot regularly in restaurants, AI editing takes this further. FoodShot AI can adjust the lighting style to look like natural light, remove distracting backgrounds, and enhance the overall presentation — specifically designed for food photos so results look natural, not over-processed.
This "shoot now, enhance later" approach is really practical for photography in restaurants. You're not going to set up a ring light at a nice dinner. Just try to snap the best photo you can, and fix the rest afterward. Our food photo editing guide walks through each step, and our guide on what food photography involves covers foundational techniques.
Frequently Asked Questions
Can restaurants legally ban photography?
Yes. Restaurants are private property, and owners can set any rules they choose, including banning photography. If a restaurant asks you to stop, respect their policy. Outright bans are rare and typically limited to ultra-exclusive fine dining establishments.
Is it rude to take photos at fine dining restaurants?
At most fine dining spots, discreet phone photos are acceptable — just be quick, silent, and never use flash. Some Michelin-starred restaurants (like The Waterside Inn and Ryugin) explicitly prohibit photography. When in doubt, try asking your server before your first course.
What's the best phone setting for restaurant food photos?
Turn off flash, enable Night Mode, and tap-to-lock focus on your dish. Shoot in RAW if your camera supports it for better editing later. Brace your phone for stability. These simple camera adjustments make a bigger difference than any filter. Our iPhone settings guide has the full breakdown.
How can restaurants encourage more customer food photos?
Create a branded hashtag displayed on menus and table cards. Run monthly photo contests. Design one visually striking "must-photograph" dish. Repost customer content on your social media with credit. Make your space photo-friendly with good light and clean surfaces. Our social media promotion guide has a complete strategy.
Do food bloggers need permission to photograph restaurant dishes?
Generally, no. You can photograph food served to you without explicit permission, and copyright law typically gives the photographer ownership. However, respect any posted no-photography policy. For professional-level tips, see our comprehensive food photography guide.
