Restaurant Photoshoot Ideas: Plan a Shoot That Fills Tables
 Ali Tanis15 min read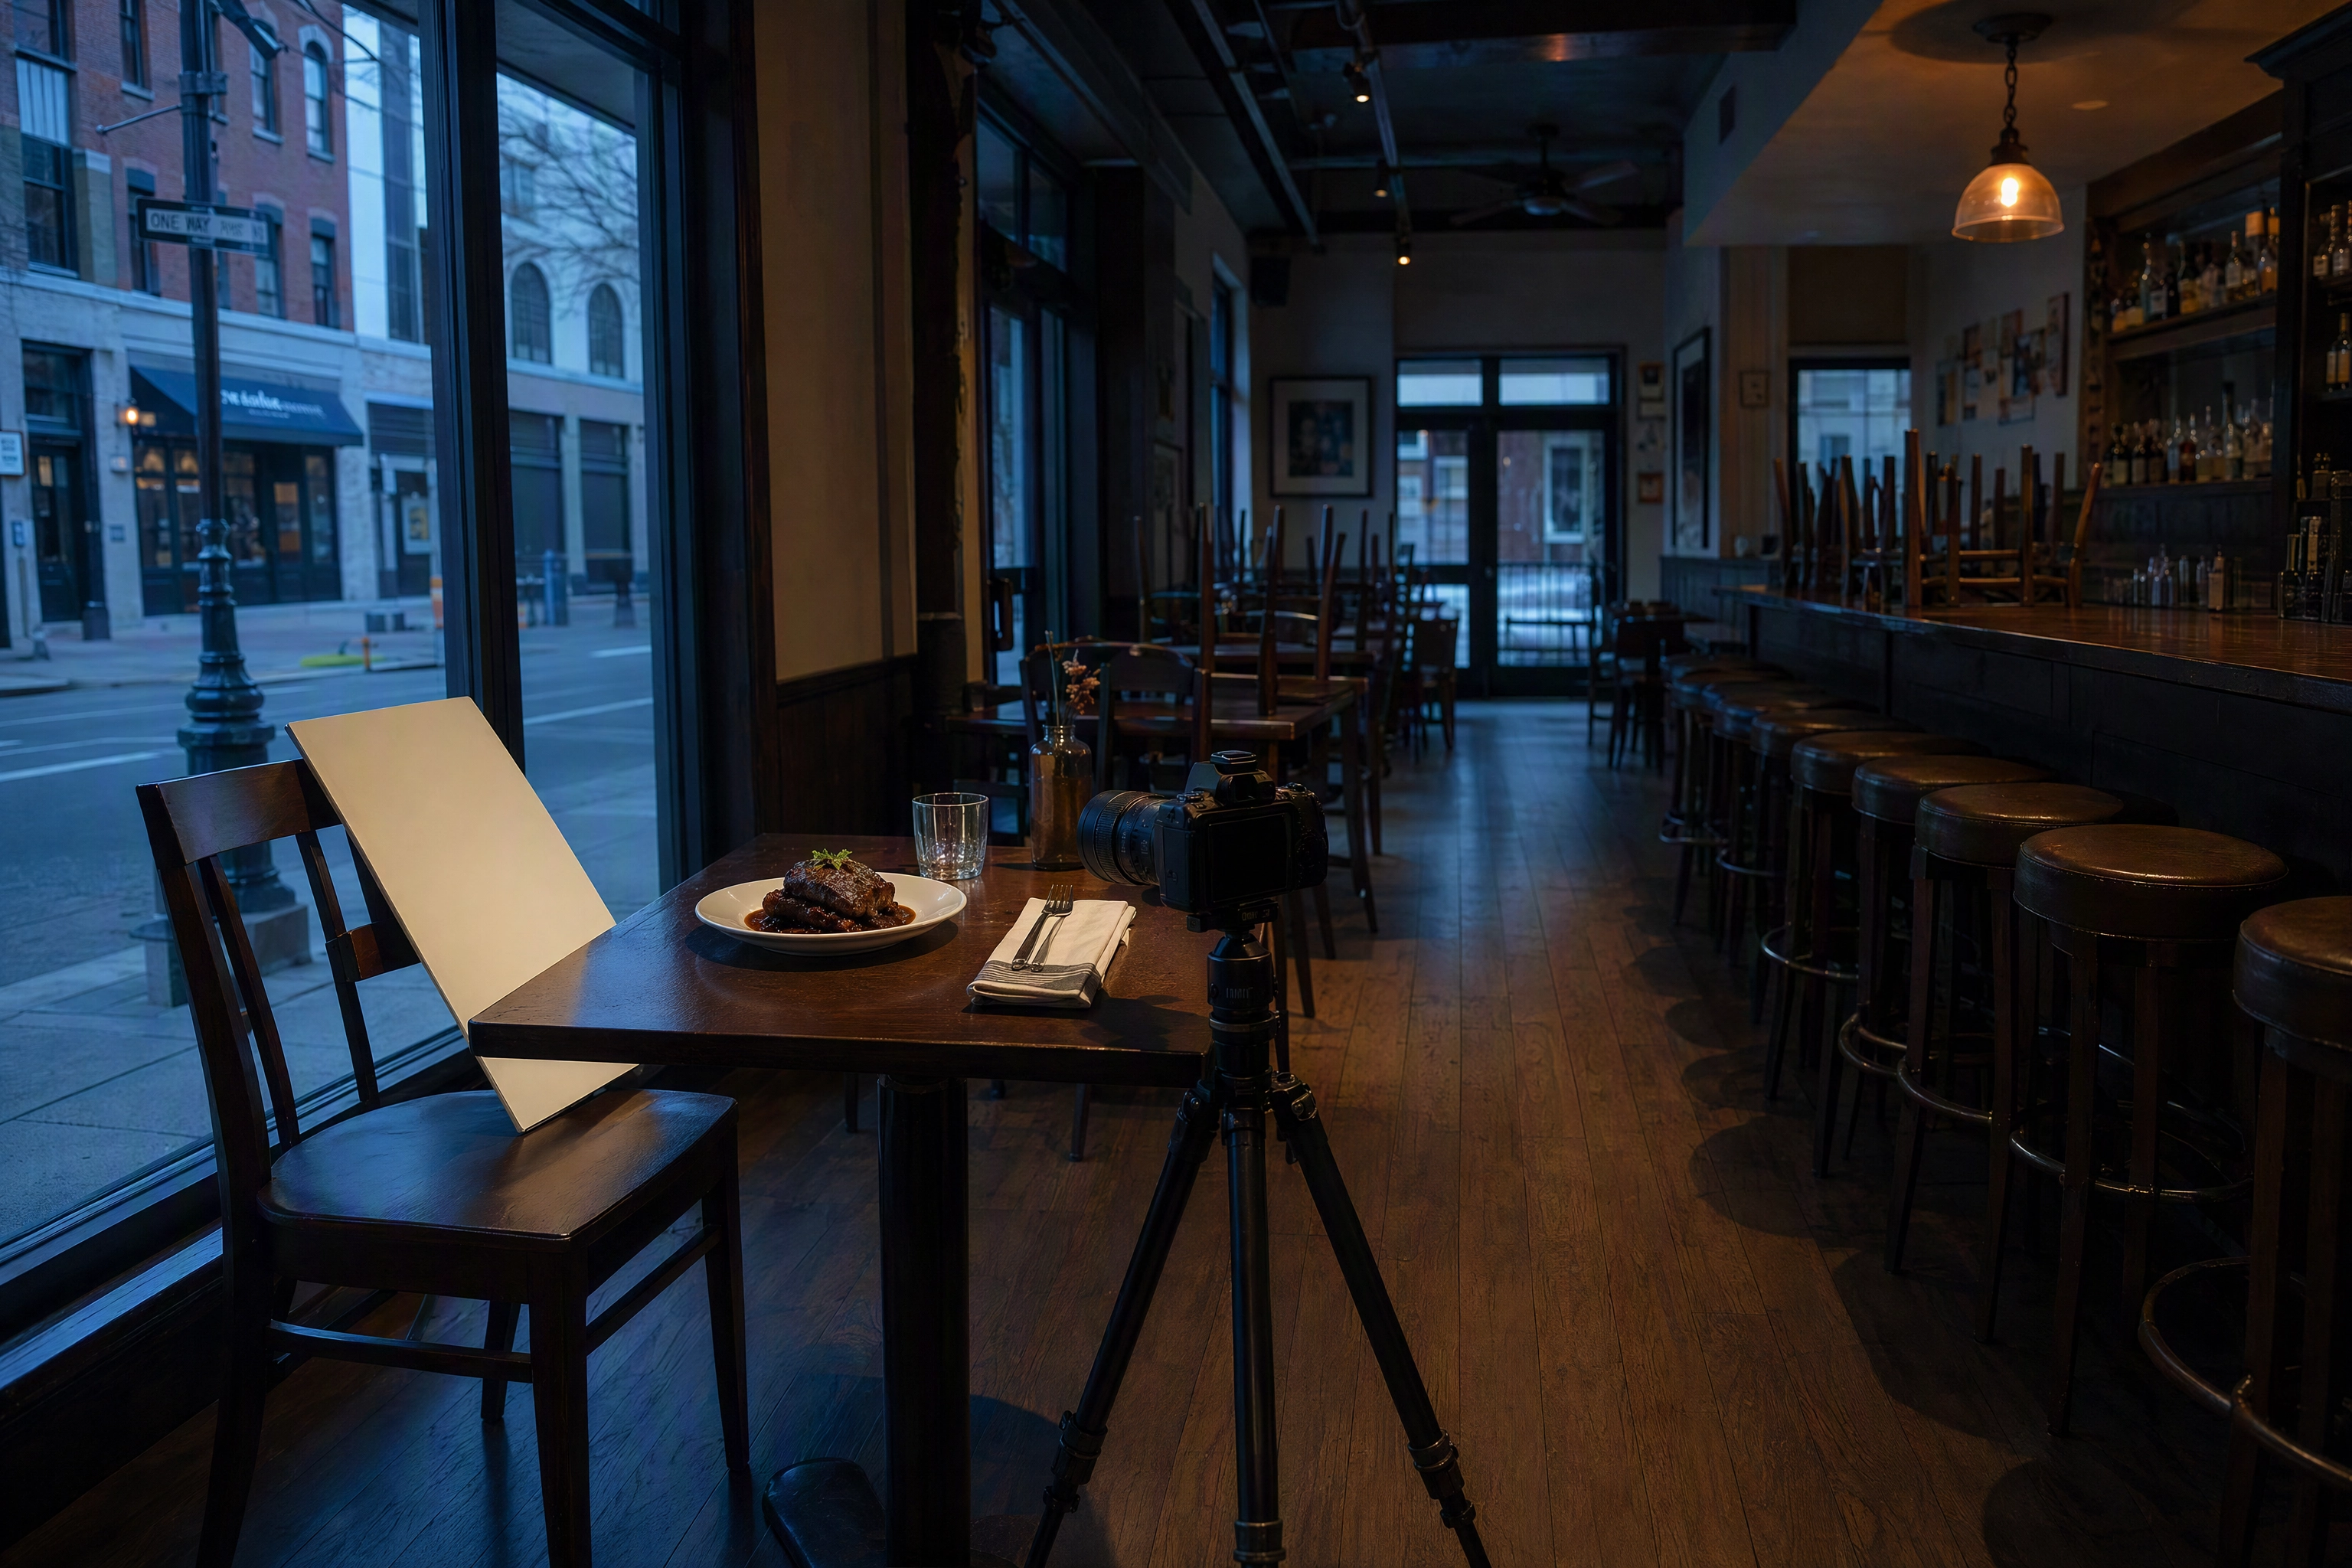
A restaurant photoshoot goes wrong in the planning, not on the day. The kitchen preps thirty plates, the corner you end up working in turns out to be the only spot with usable light, and by two o'clock you have four angles of the burger, nothing of the room, and an invoice. What separates a useful day from an expensive one is a piece of paper written a week earlier.
Below is that piece of paper: a restaurant photoshoot plan in seven blocks, in the order you should work them, plus the logistics nobody puts in their food photography tips.
Quick Summary: A restaurant photoshoot works when it is built on a shot list — 5-8 hero plates, one cross-section, drinks, interiors, the crew, texture details and empty-table frames — captured on a closed day with two of everything prepped. Budget $400-$1,200 for a half day with a professional, and expect 15-40 finished images.
Decide Where the Photos Will Live Before You Book Anything
Every frame needs a destination before it needs a plate. The destination sets the crop, the background and the styling. Food photography for a delivery tile and food photography for a printed poster are different jobs, and deciding which you need is more important than any gear decision you will make.
Write the destinations at the top of the list:
- Delivery apps. One item, centred, clean background, nothing written across it. Uber Eats' merchant photo guidance asks for indirect natural light, top-down framing for bowls and 45 degrees for stacked items — our Uber Eats photo requirements breakdown has the exact specs.
- Printed menu. Small reproduction. Tight crops survive the shrink; wide scenes turn to mud.
- Website header. Wide, with room for a headline across the left third.
- Social. Vertical, captured vertical on the day. Cropping a horizontal frame later loses the top of the glass every time.
- Posters, ads and email campaigns. Negative space is the entire point.
- Google Business Profile and press. The room, the entrance, the people who run it.
A frame with no destination is a frame nobody opens twice. Six destinations is a different brief from one, and it changes what a restaurant photoshoot has to deliver.
The Restaurant Photoshoot Shot List
Seven blocks, in the order you should work them. Print it and hand it to whoever is holding the camera — a staffer, an agency or a professional — then tick lines off as the day goes.
1. Hero Dishes: The 5-8 That Actually Drive Orders
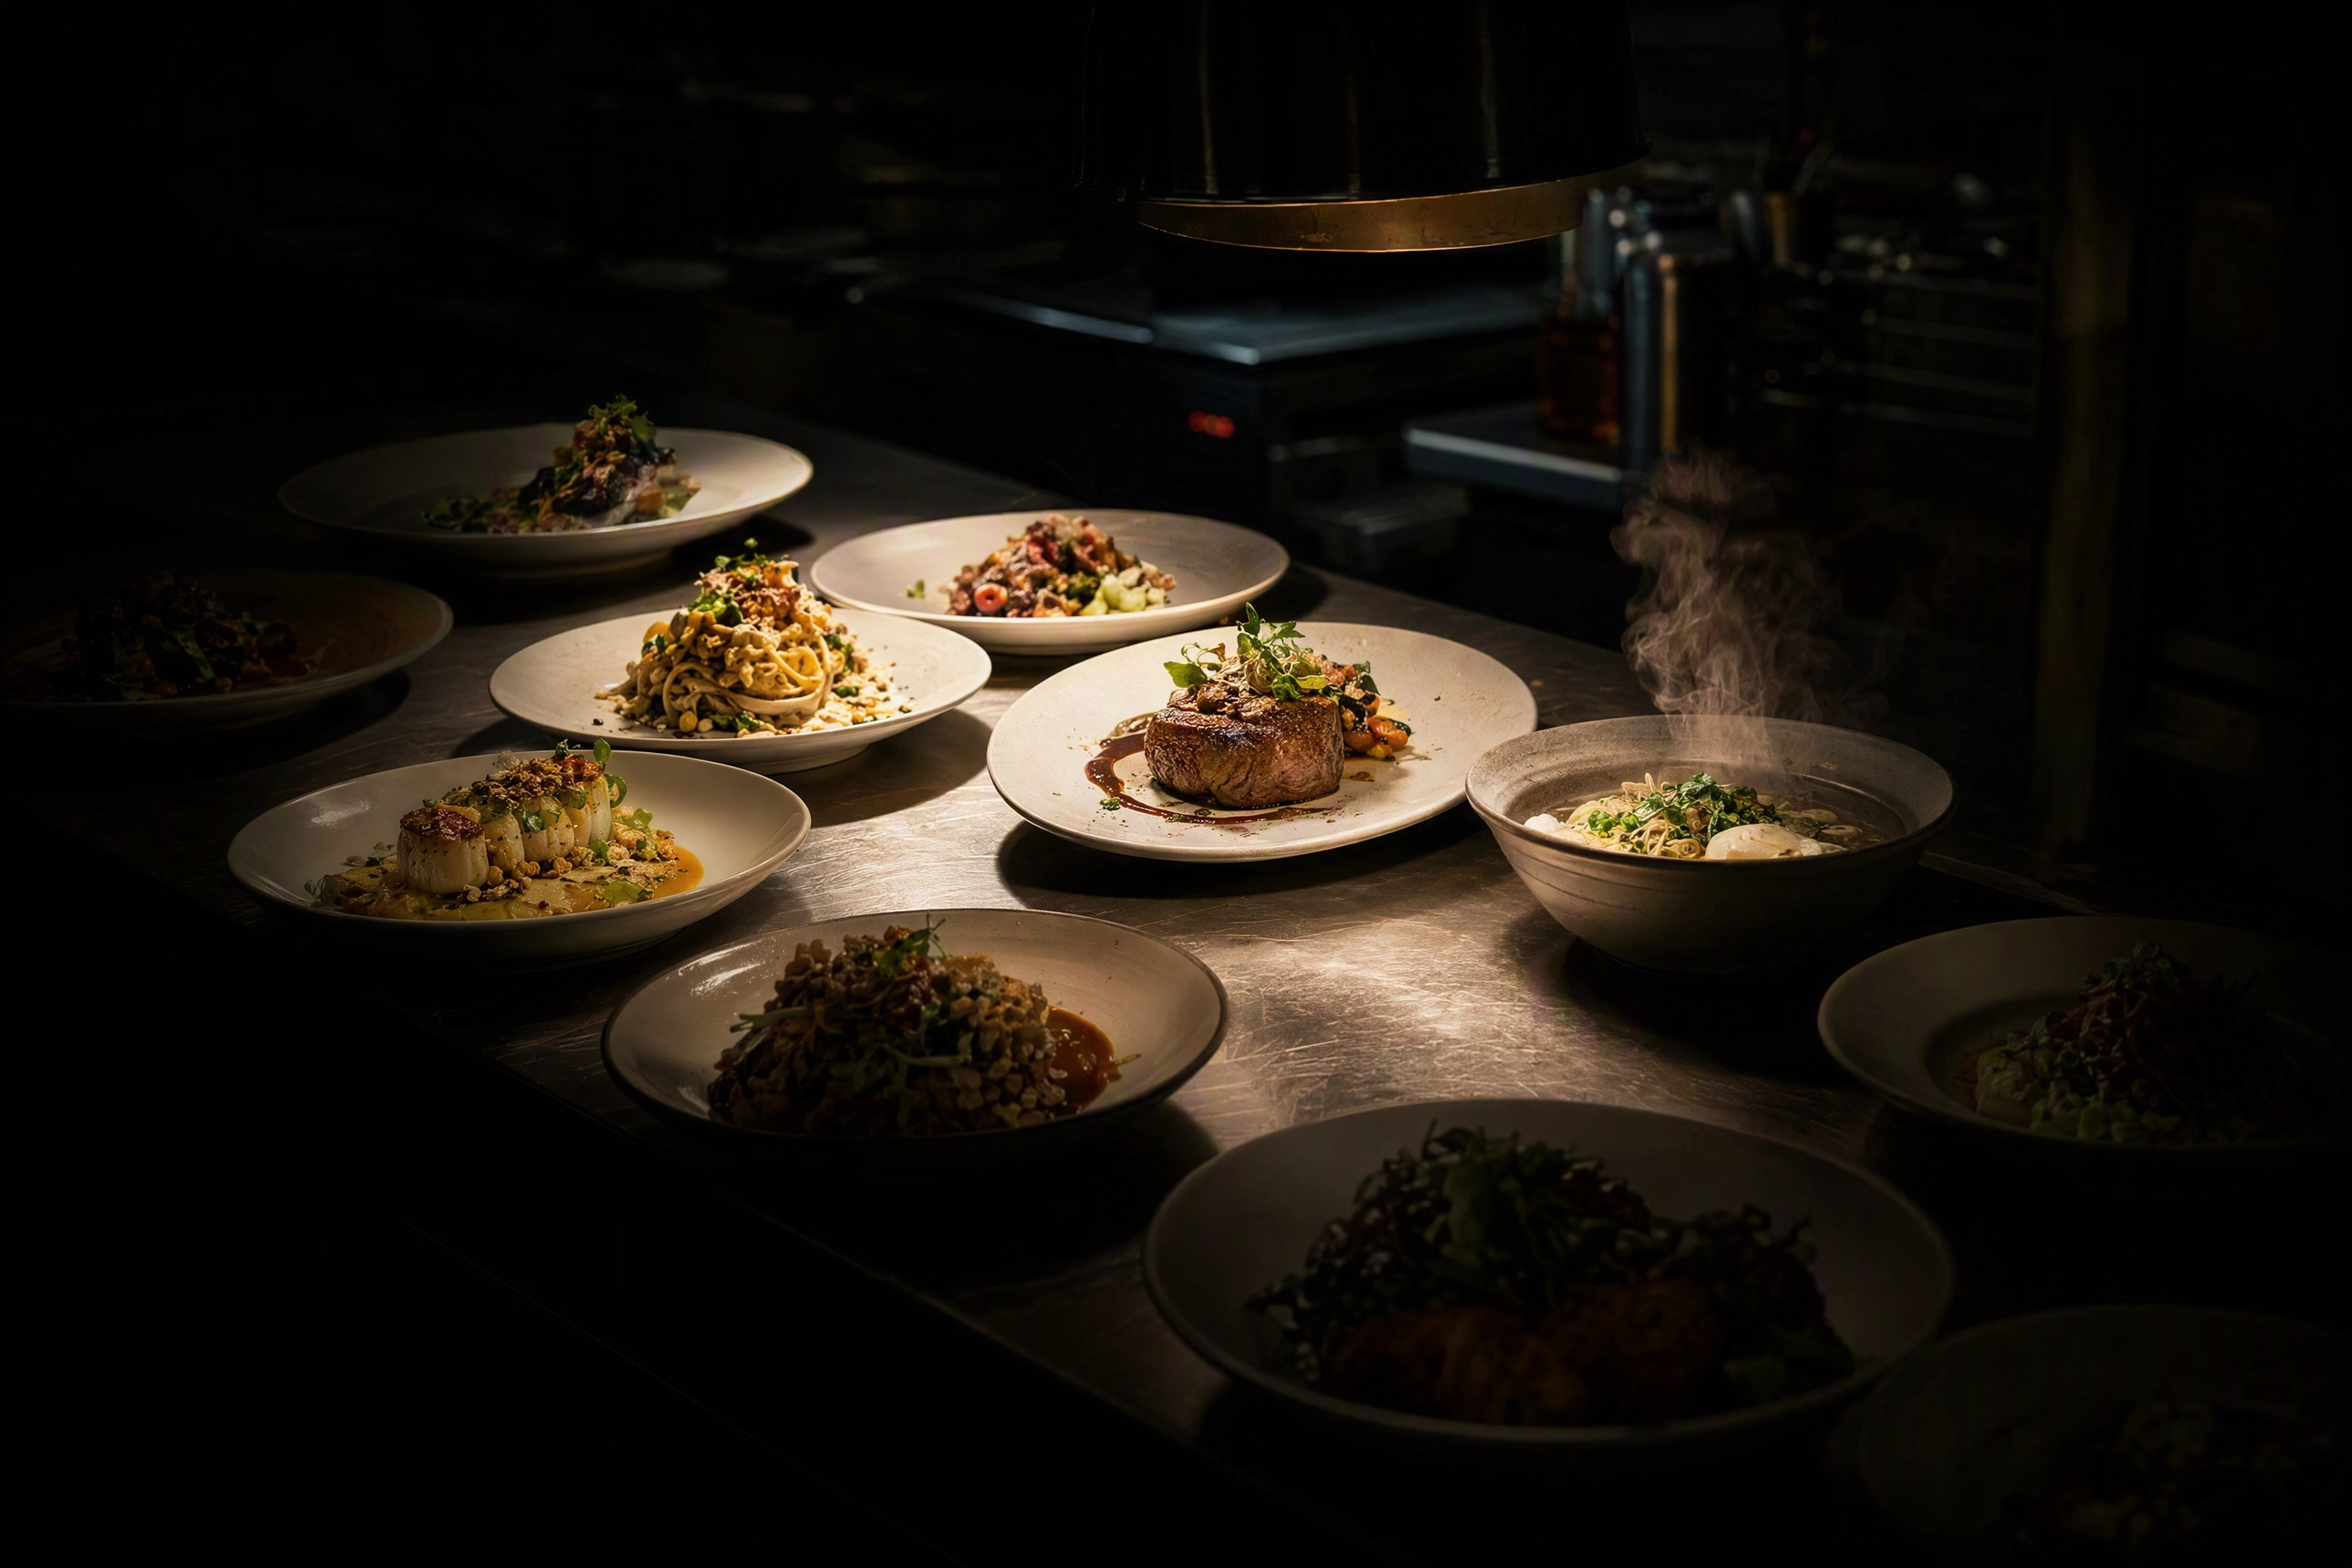
Pull the POS mix report for the last 90 days, cross it with margin, and pick the five to eight items that carry the business. Not the whole menu. Forty plates in one day is a fantasy that ends in forty mediocre frames.
Three shots each:
- 45 degrees, the angle a guest actually sees
- Straight overhead for anything served in a bowl
- One tight crop of the best-looking corner, for menu tiles and social
Long lenses flatten a stacked burger and short ones stretch the near rim, so agree the look before the plate lands.
Eight items captured properly beat forty rushed, because styling time is what makes a plate look expensive. If an item has never sold, photographing it will not fix that. This is the part of restaurant food photography that owners consistently get backwards. For angle and prop variations, our 27 food photoshoot ideas covers the creative side in depth.
 Six plated dishes lit on a restaurant pass while others sit in shadow, choosing hero dishes for a shoot
2. The Cross-Section Shot
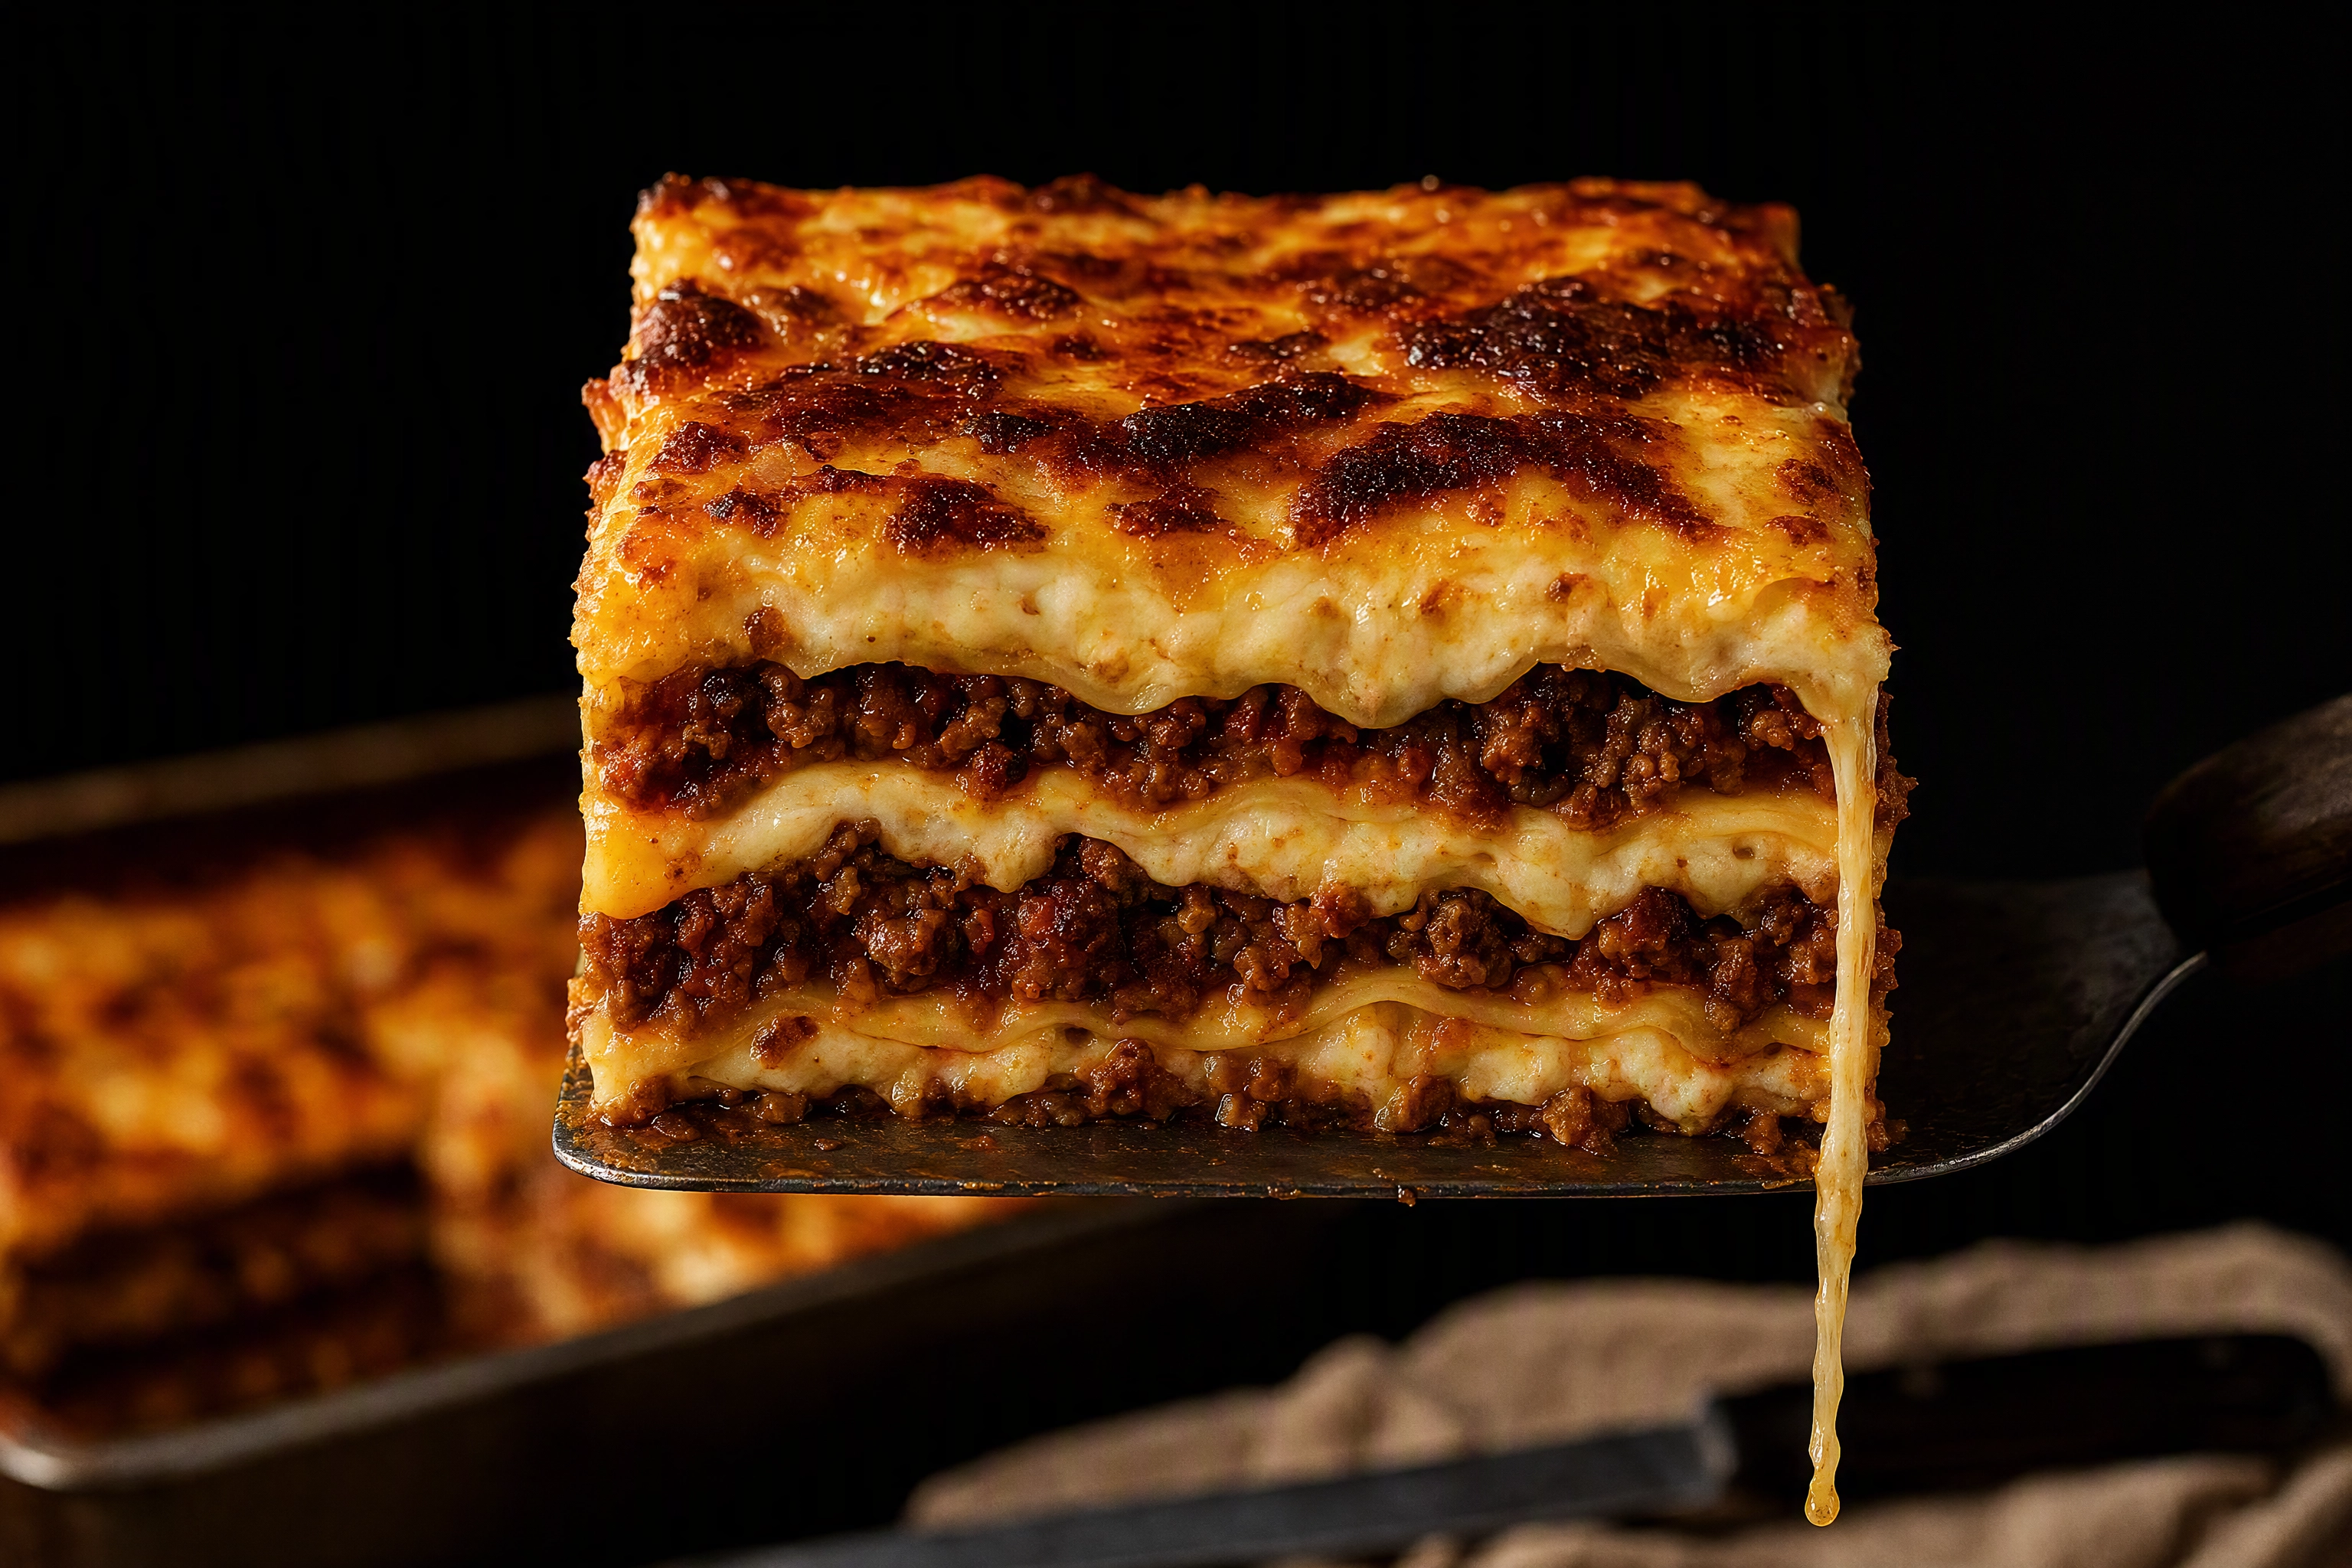
The most persuasive frame in food photography, and almost nobody puts it on the list. Anything layered earns one: the burger, the lasagne, the pie, the dumpling, the stuffed chicken breast, the club sandwich.
It needs a sacrificial second portion and a hot, thin blade wiped between cuts. Work it last for that item, because the cut destroys the plate. Square to the camera, sharp on the cut face, background dropped back. Macro lenses earn their keep here. Our sandwich cross-section photography guide walks through the knife work.
 Upright lasagne cross-section showing every layer, the cut shot every restaurant photoshoot needs
3. Drinks and the Bar
Drinks run on a different clock, and they take longer per item than food. Reflections, ice melt and condensation control all fight you, so budget 25-30 minutes each rather than ten — styling a glass is slower than styling a plate.
Four frames worth having: the signature cocktail straight on, a pour caught mid-stream, the house wine and draught on the bar, and one drink beside food so the pairing reads. Bar frames carry your evening social content for months. Our cocktail photography guide covers backlighting glass, which is where most people lose the frame.
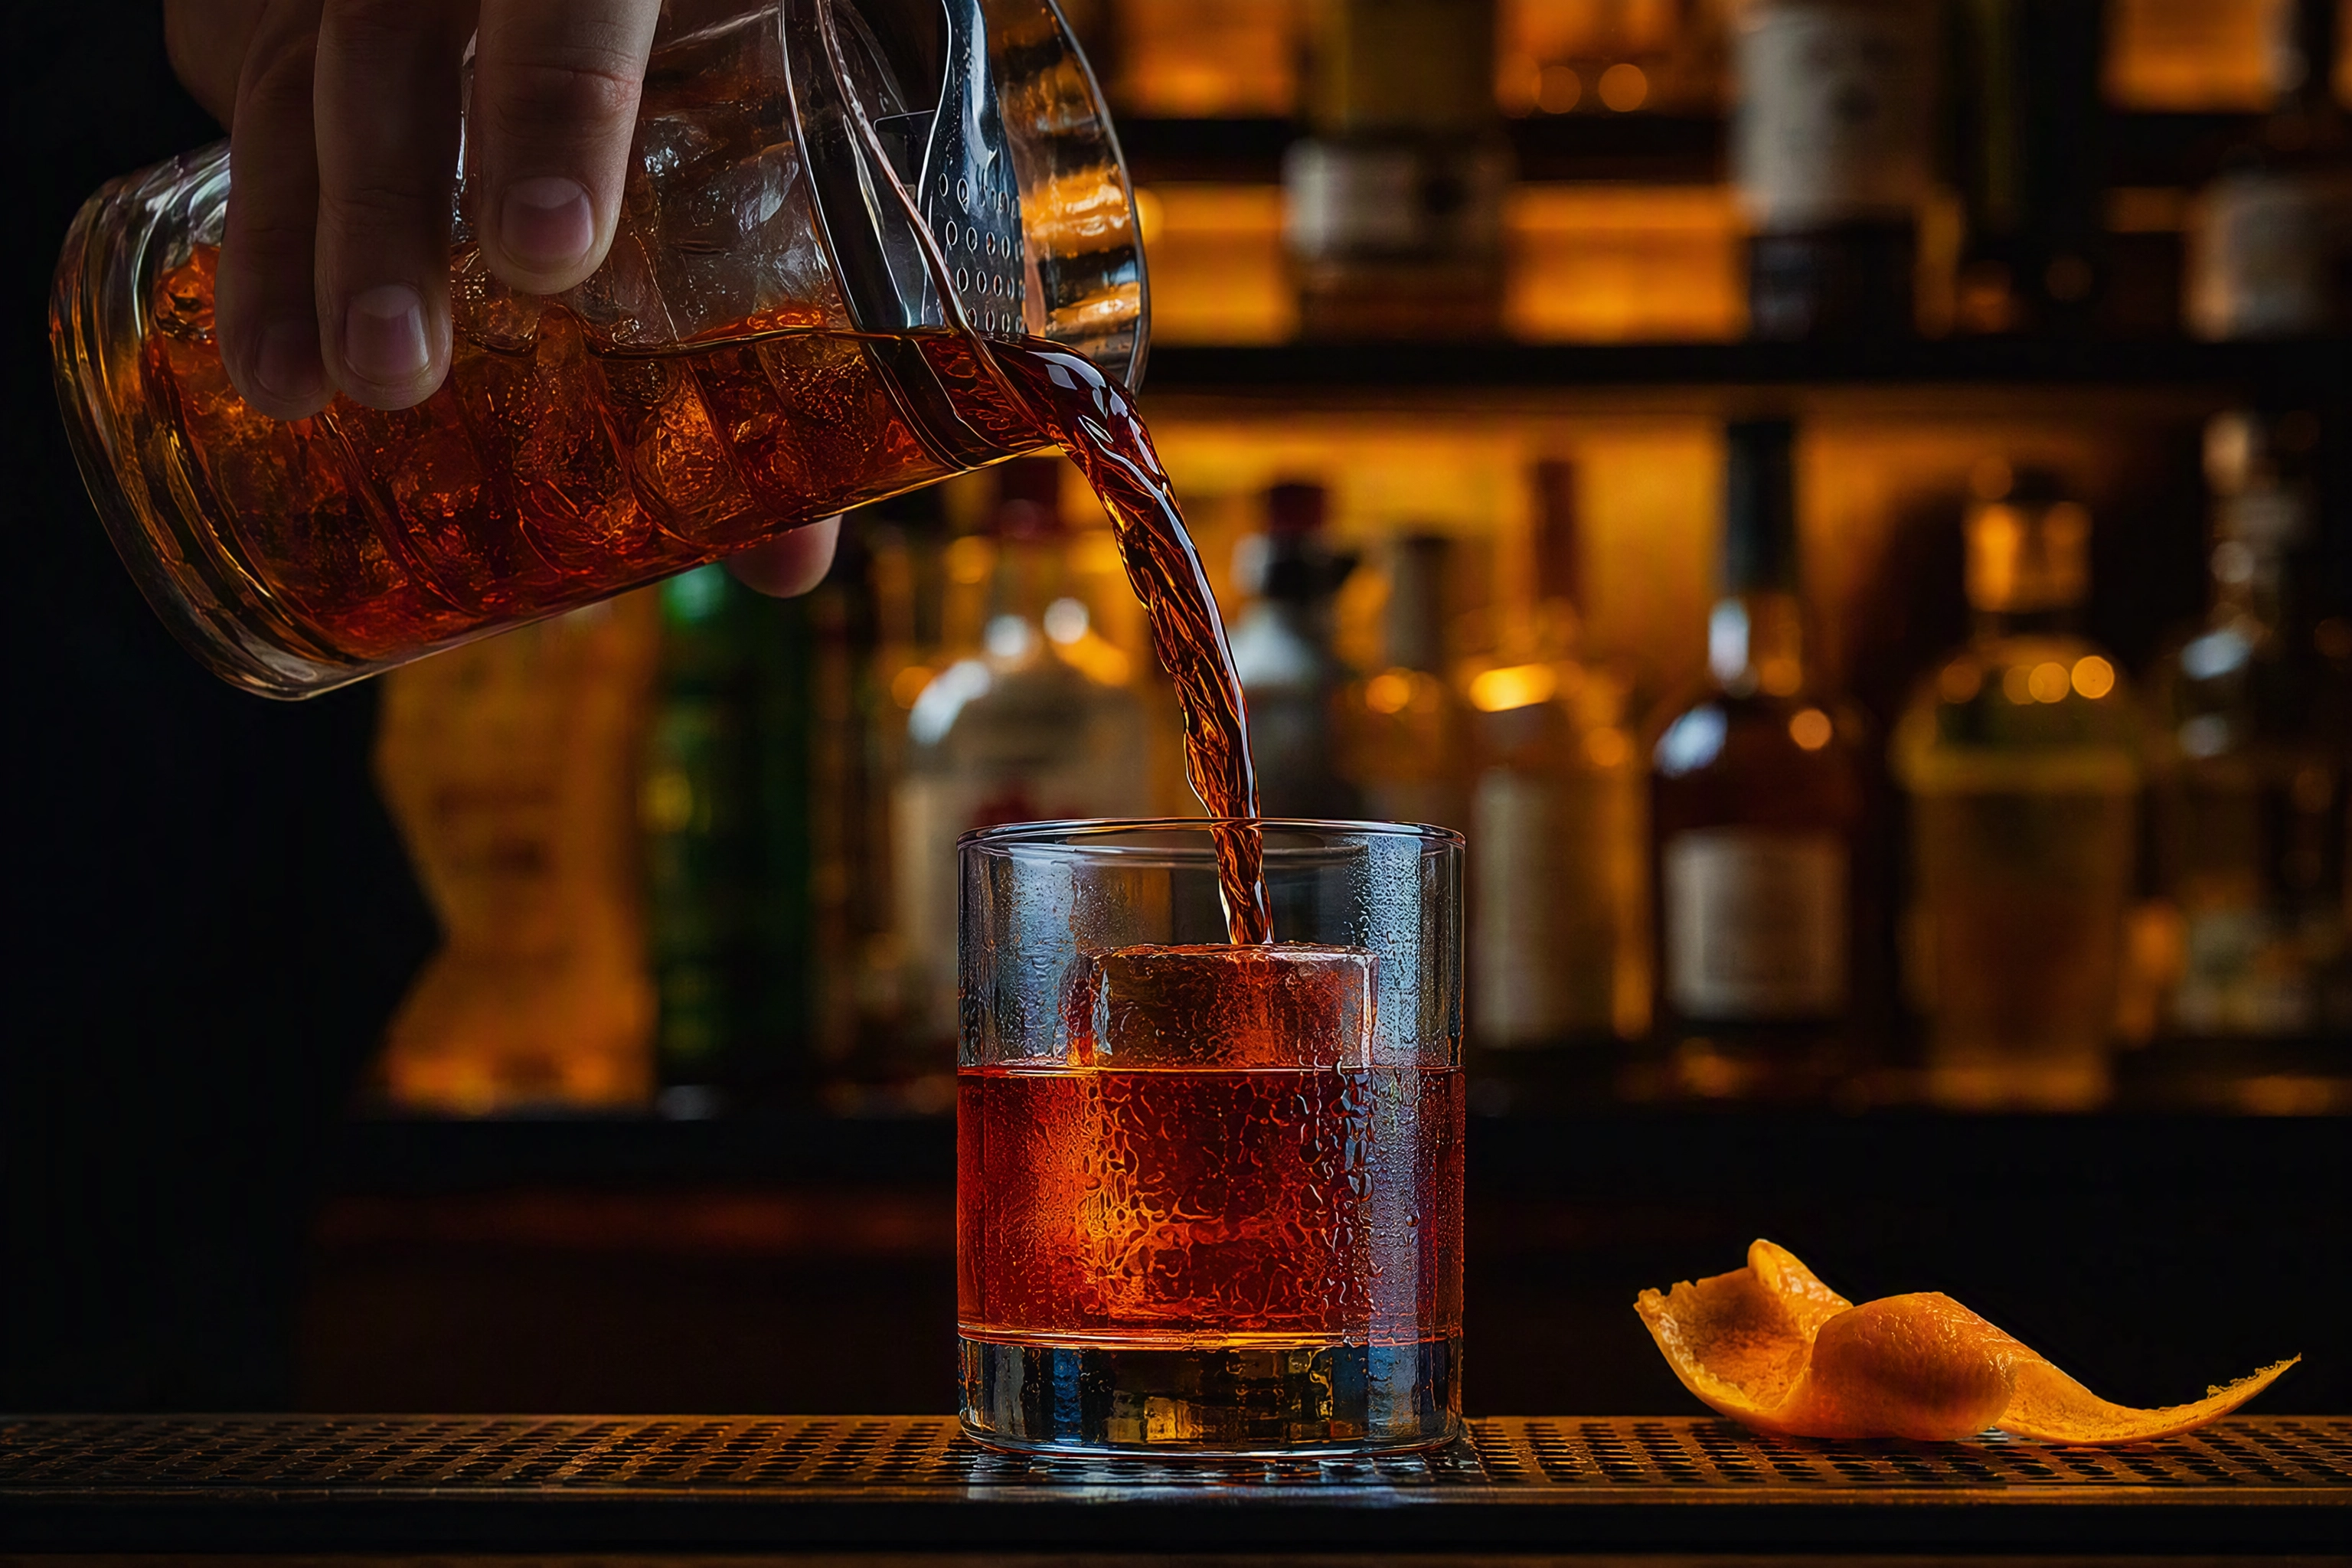 Negroni poured over clear ice with condensation at a dark bar, the drinks block of a restaurant photoshoot
4. Interior, Bar and Exterior Ambience
Capture the room first — clean, empty, before a single plate leaves the pass. Ambience sells the visit; plates sell the order, and you need both.
- A wide establishing frame from the entrance
- A two-top at seat height, set, with the room falling out of focus behind
- The bar corner with the bottles lit
- The exterior at dusk, lights on, ten minutes after the sun drops
A beautiful room photographs badly under midday sun and beautifully at dusk. That is the whole trick, and it is the natural reason the room gets its own slot in the running order — a dining room and a plate want completely different treatment.
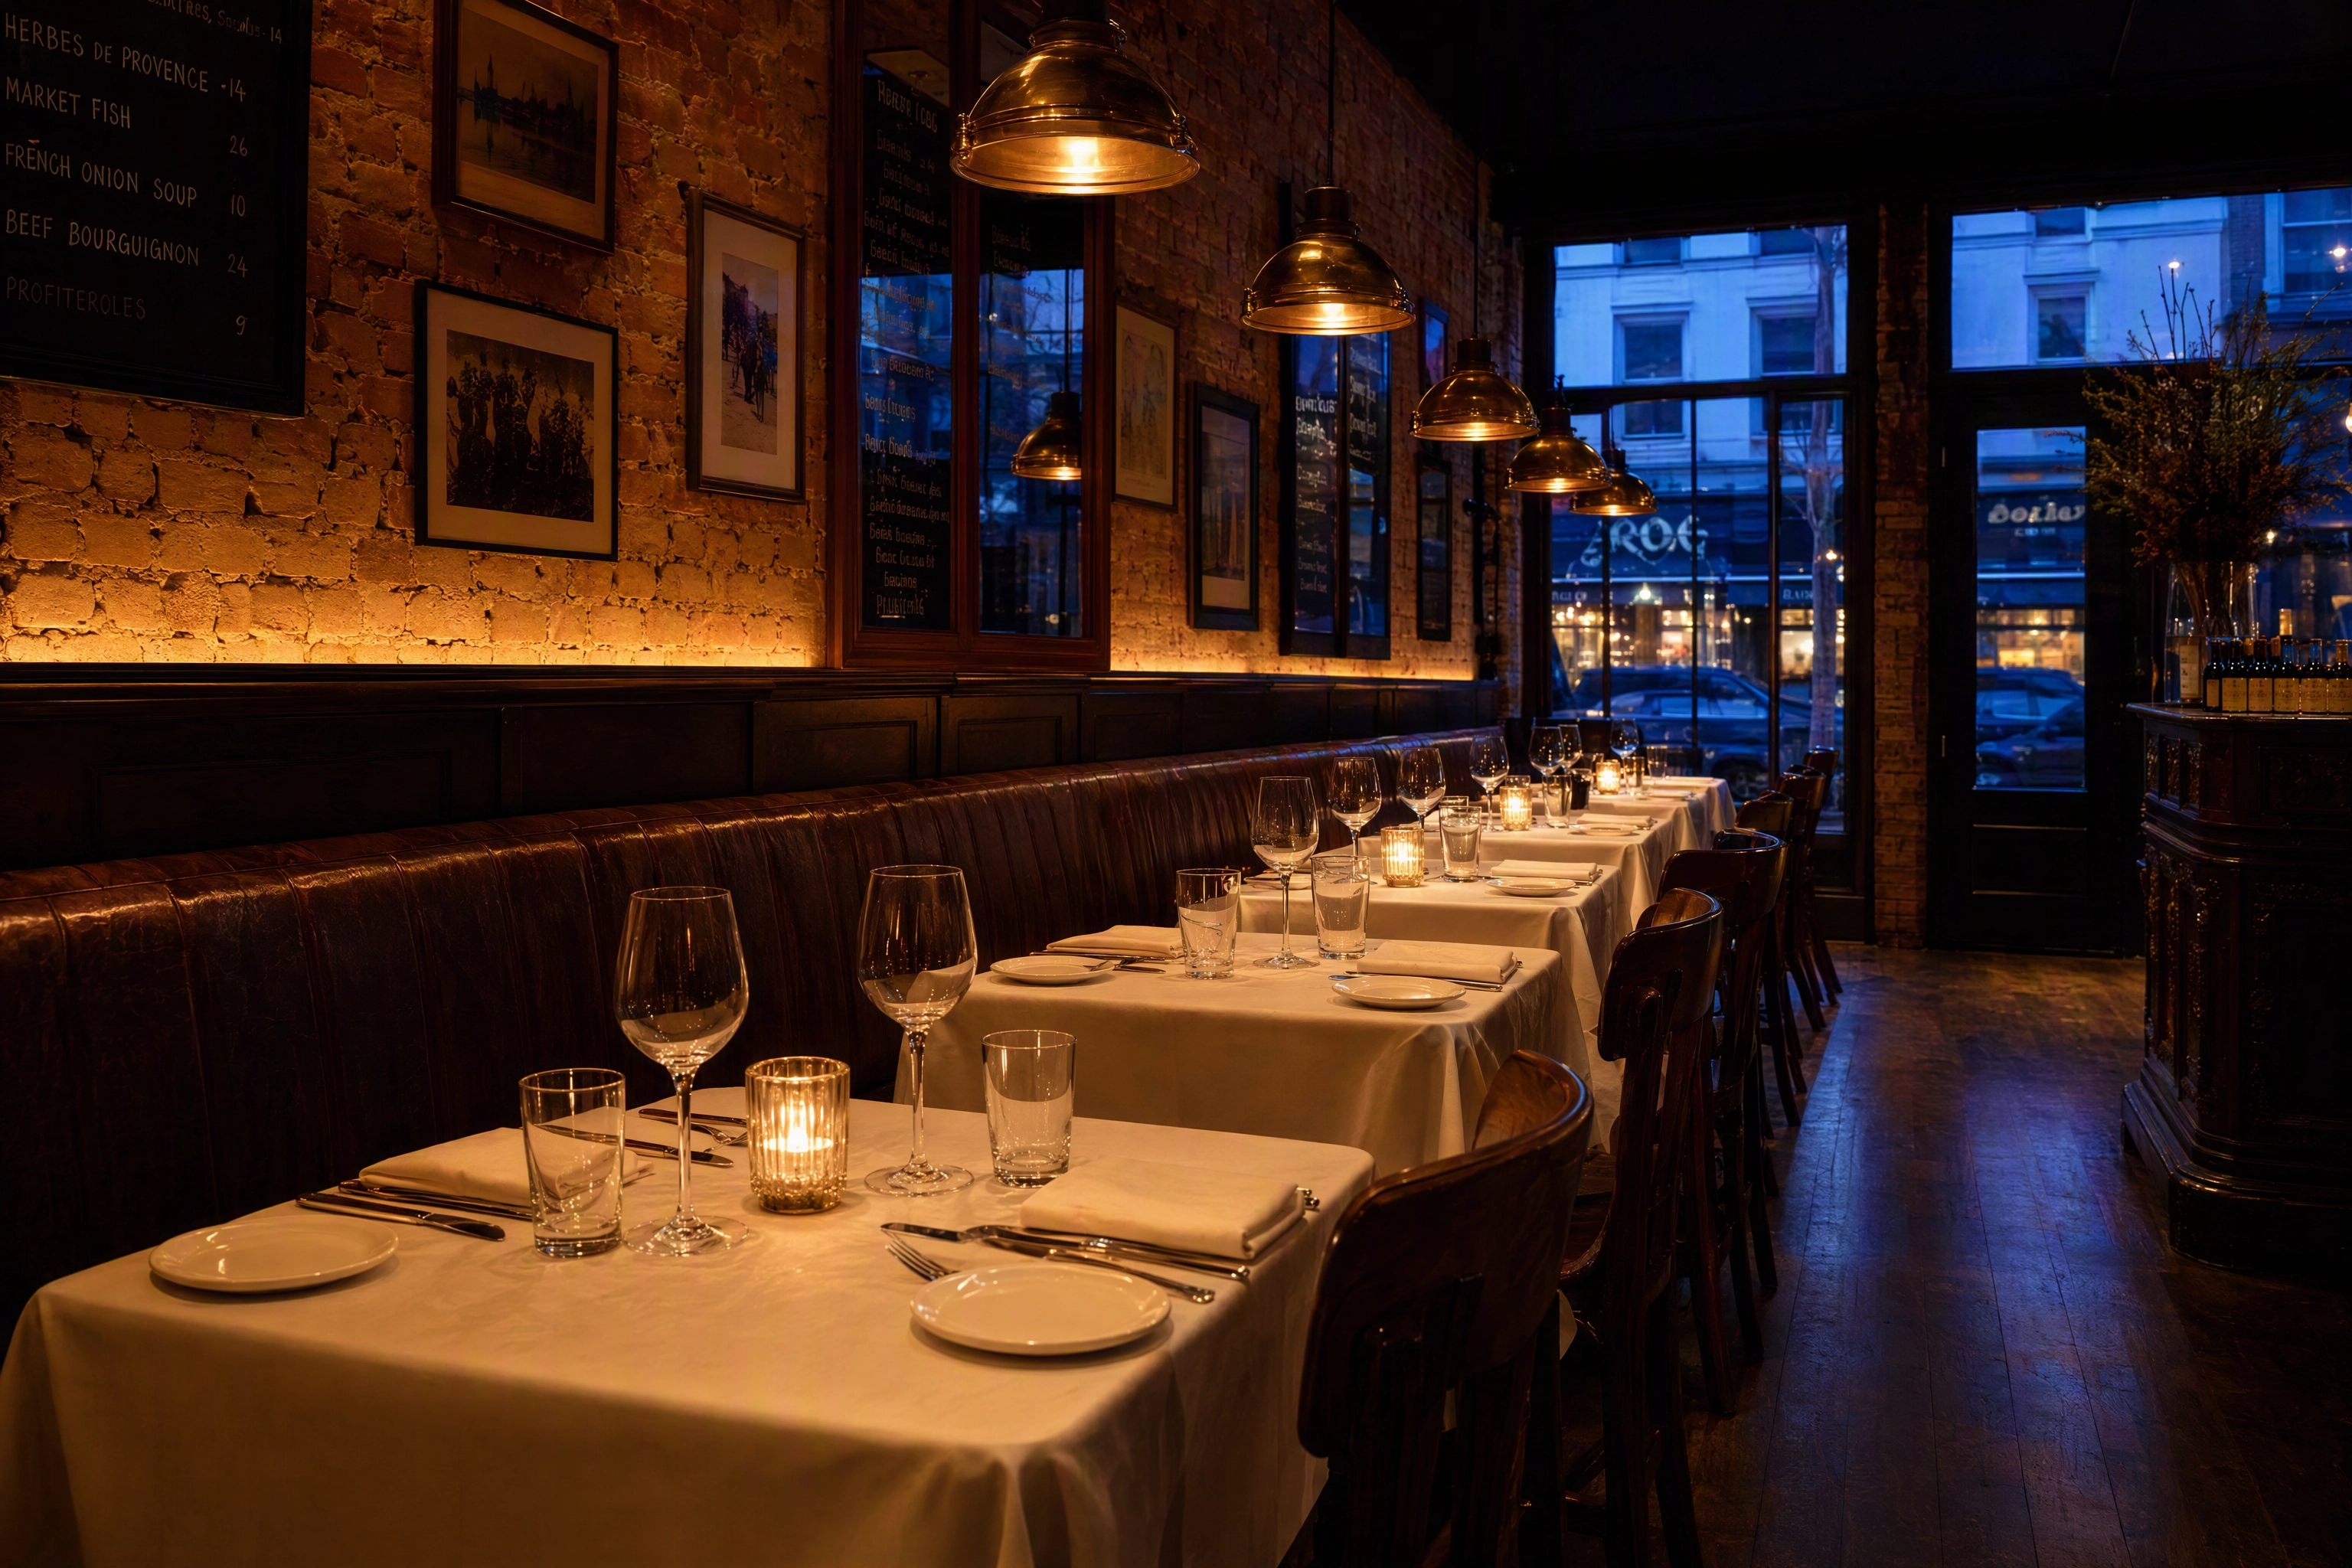 Empty bistro dining room set and lit at dusk, the interior ambience block of a restaurant photoshoot
5. The Team and the Chef at Work
This is the one part of restaurant food photography AI genuinely cannot do for you, and the block guests respond to hardest. Plating at the pass under the heat lamps. An environmental portrait of the chef in their own kitchen. A front-of-house moment mid-service — a plate landing, a hand pouring. These are the lifestyle frames that sell the experience rather than the menu.
Two rules. Get signed releases before anyone is photographed. And brief people to work, not to pose: the folded-arms lineup is the most dated frame in the business.
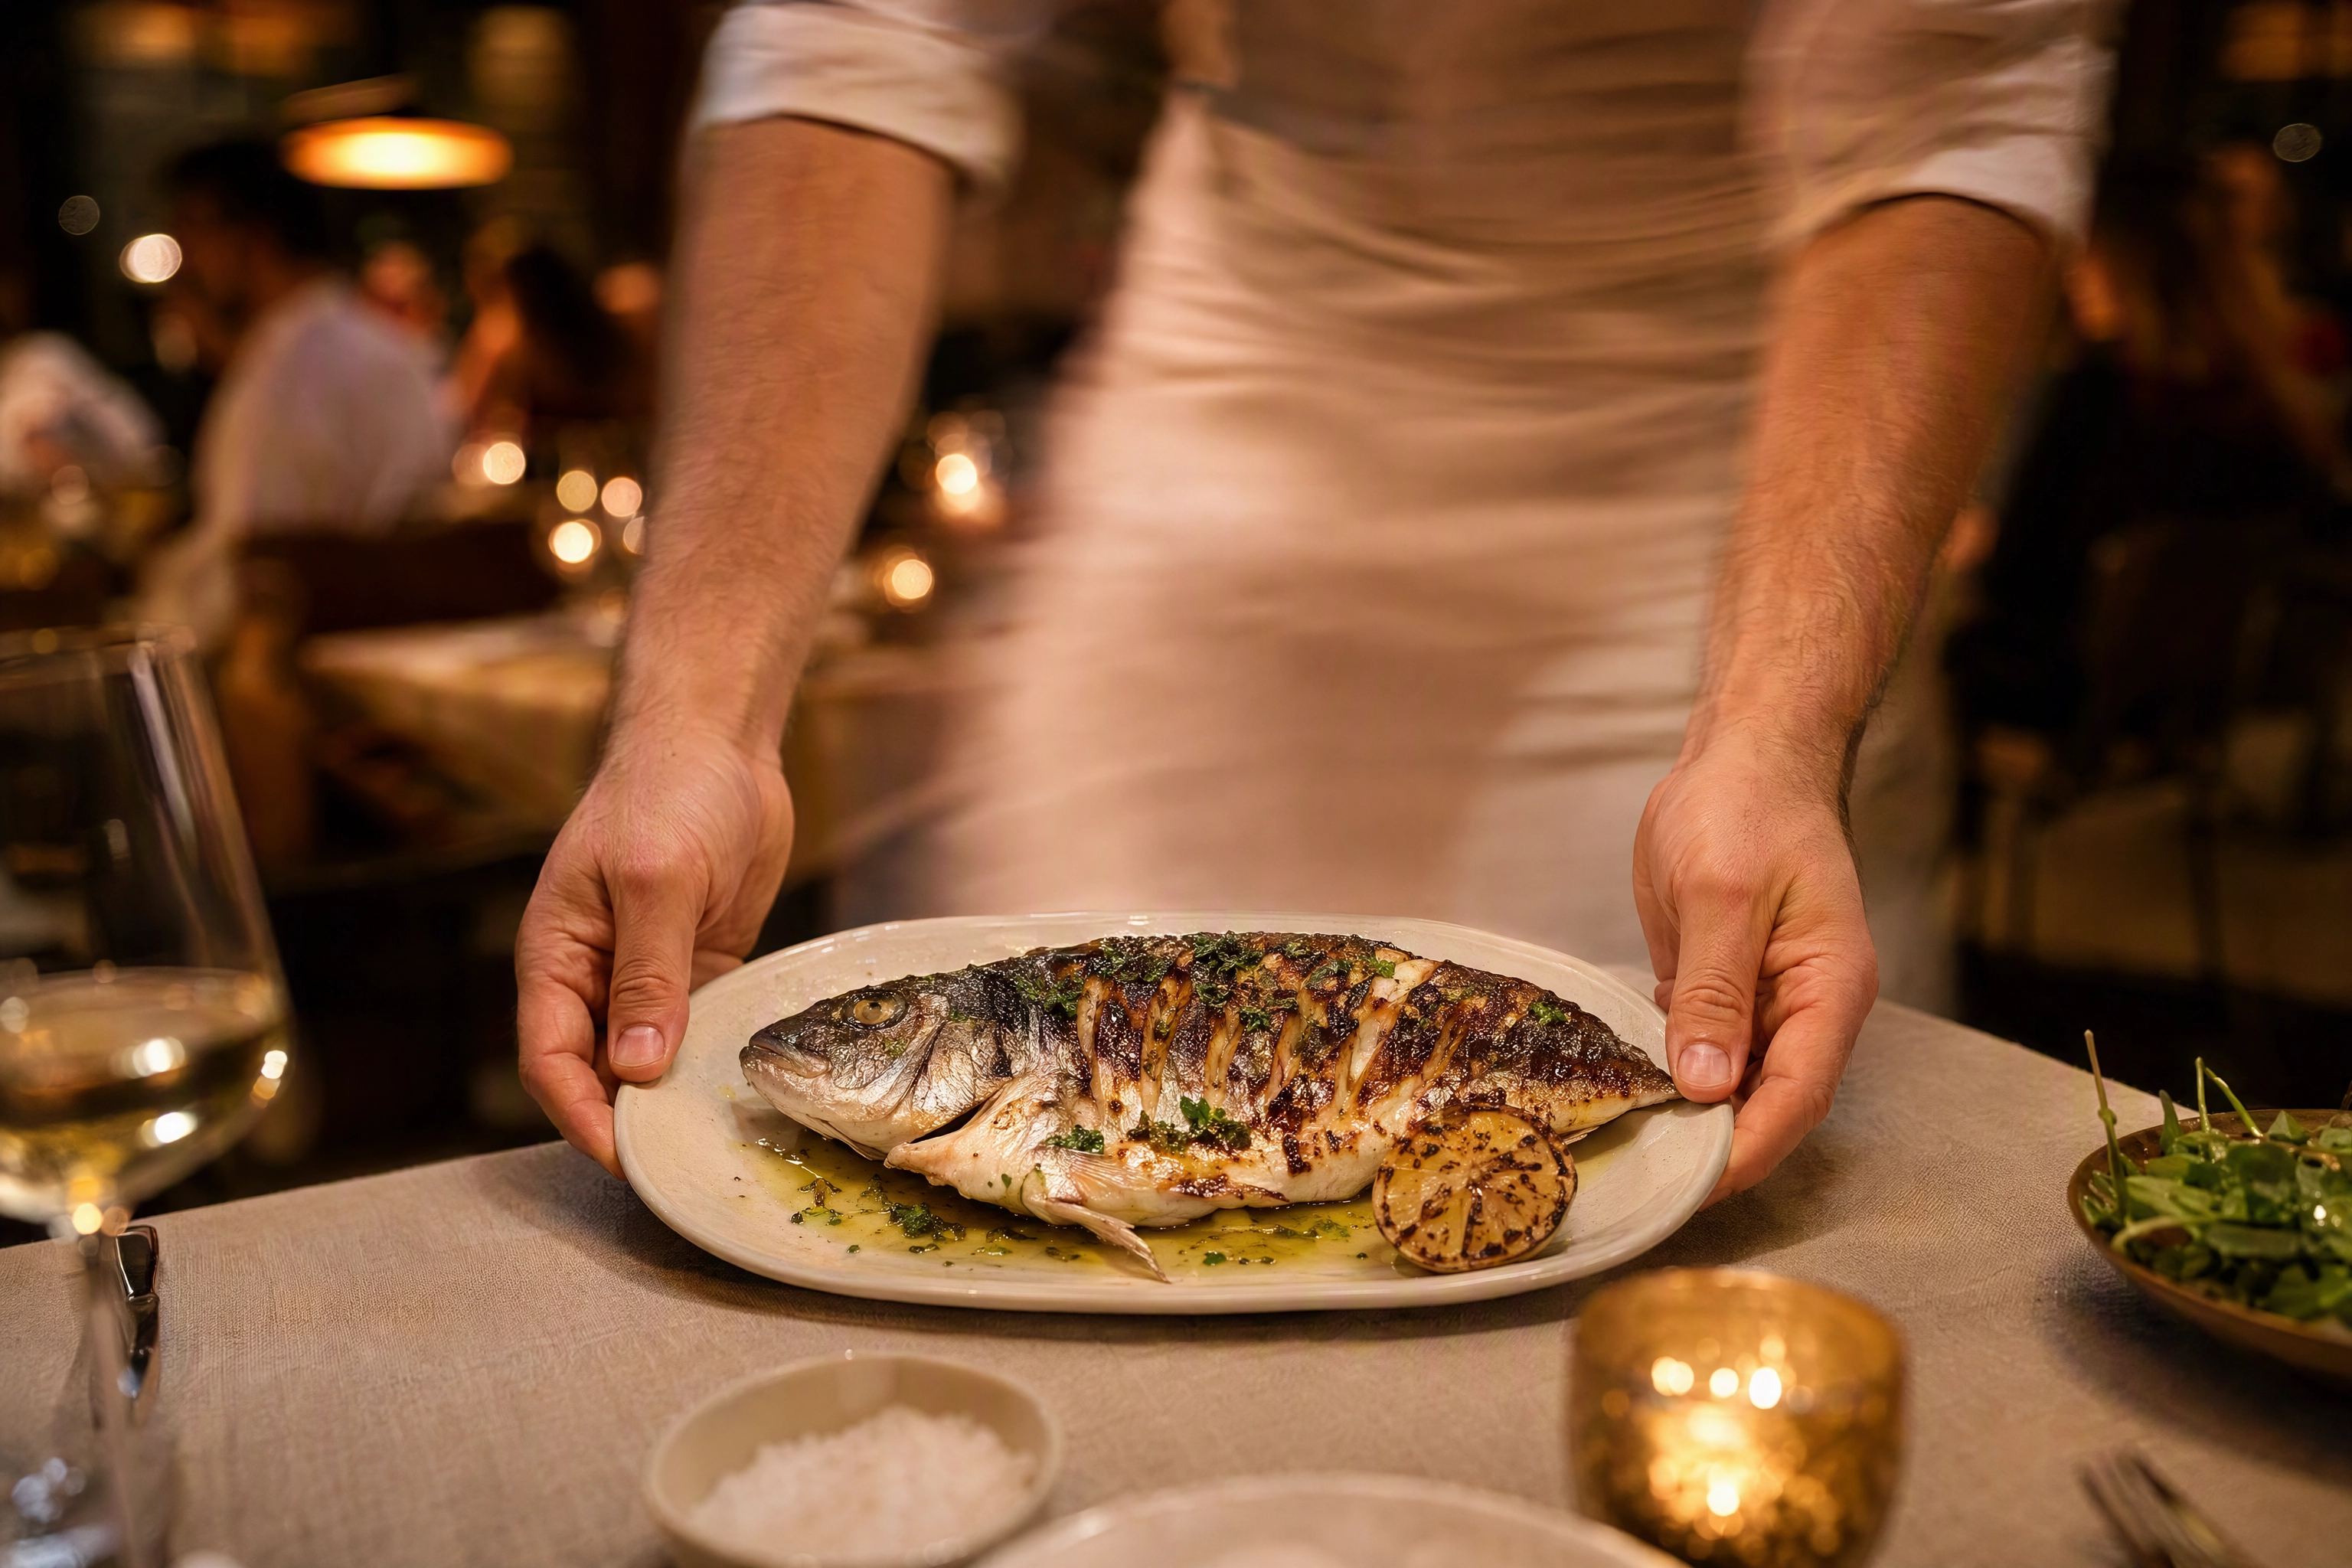 Server's hands setting down a plate mid-service with motion blur, the front-of-house frames in a restaurant photoshoot
6. Detail and Texture
The cheapest frames on the list, because they need no new food. The blistered crust, the sheen on a sauce, grill marks, a garnish macro, steam off a bowl.
These shots fill a month of social without another session, and they are the images a designer reaches for when they need a background that is not a whole plate. Ten minutes at the end of each block is enough.
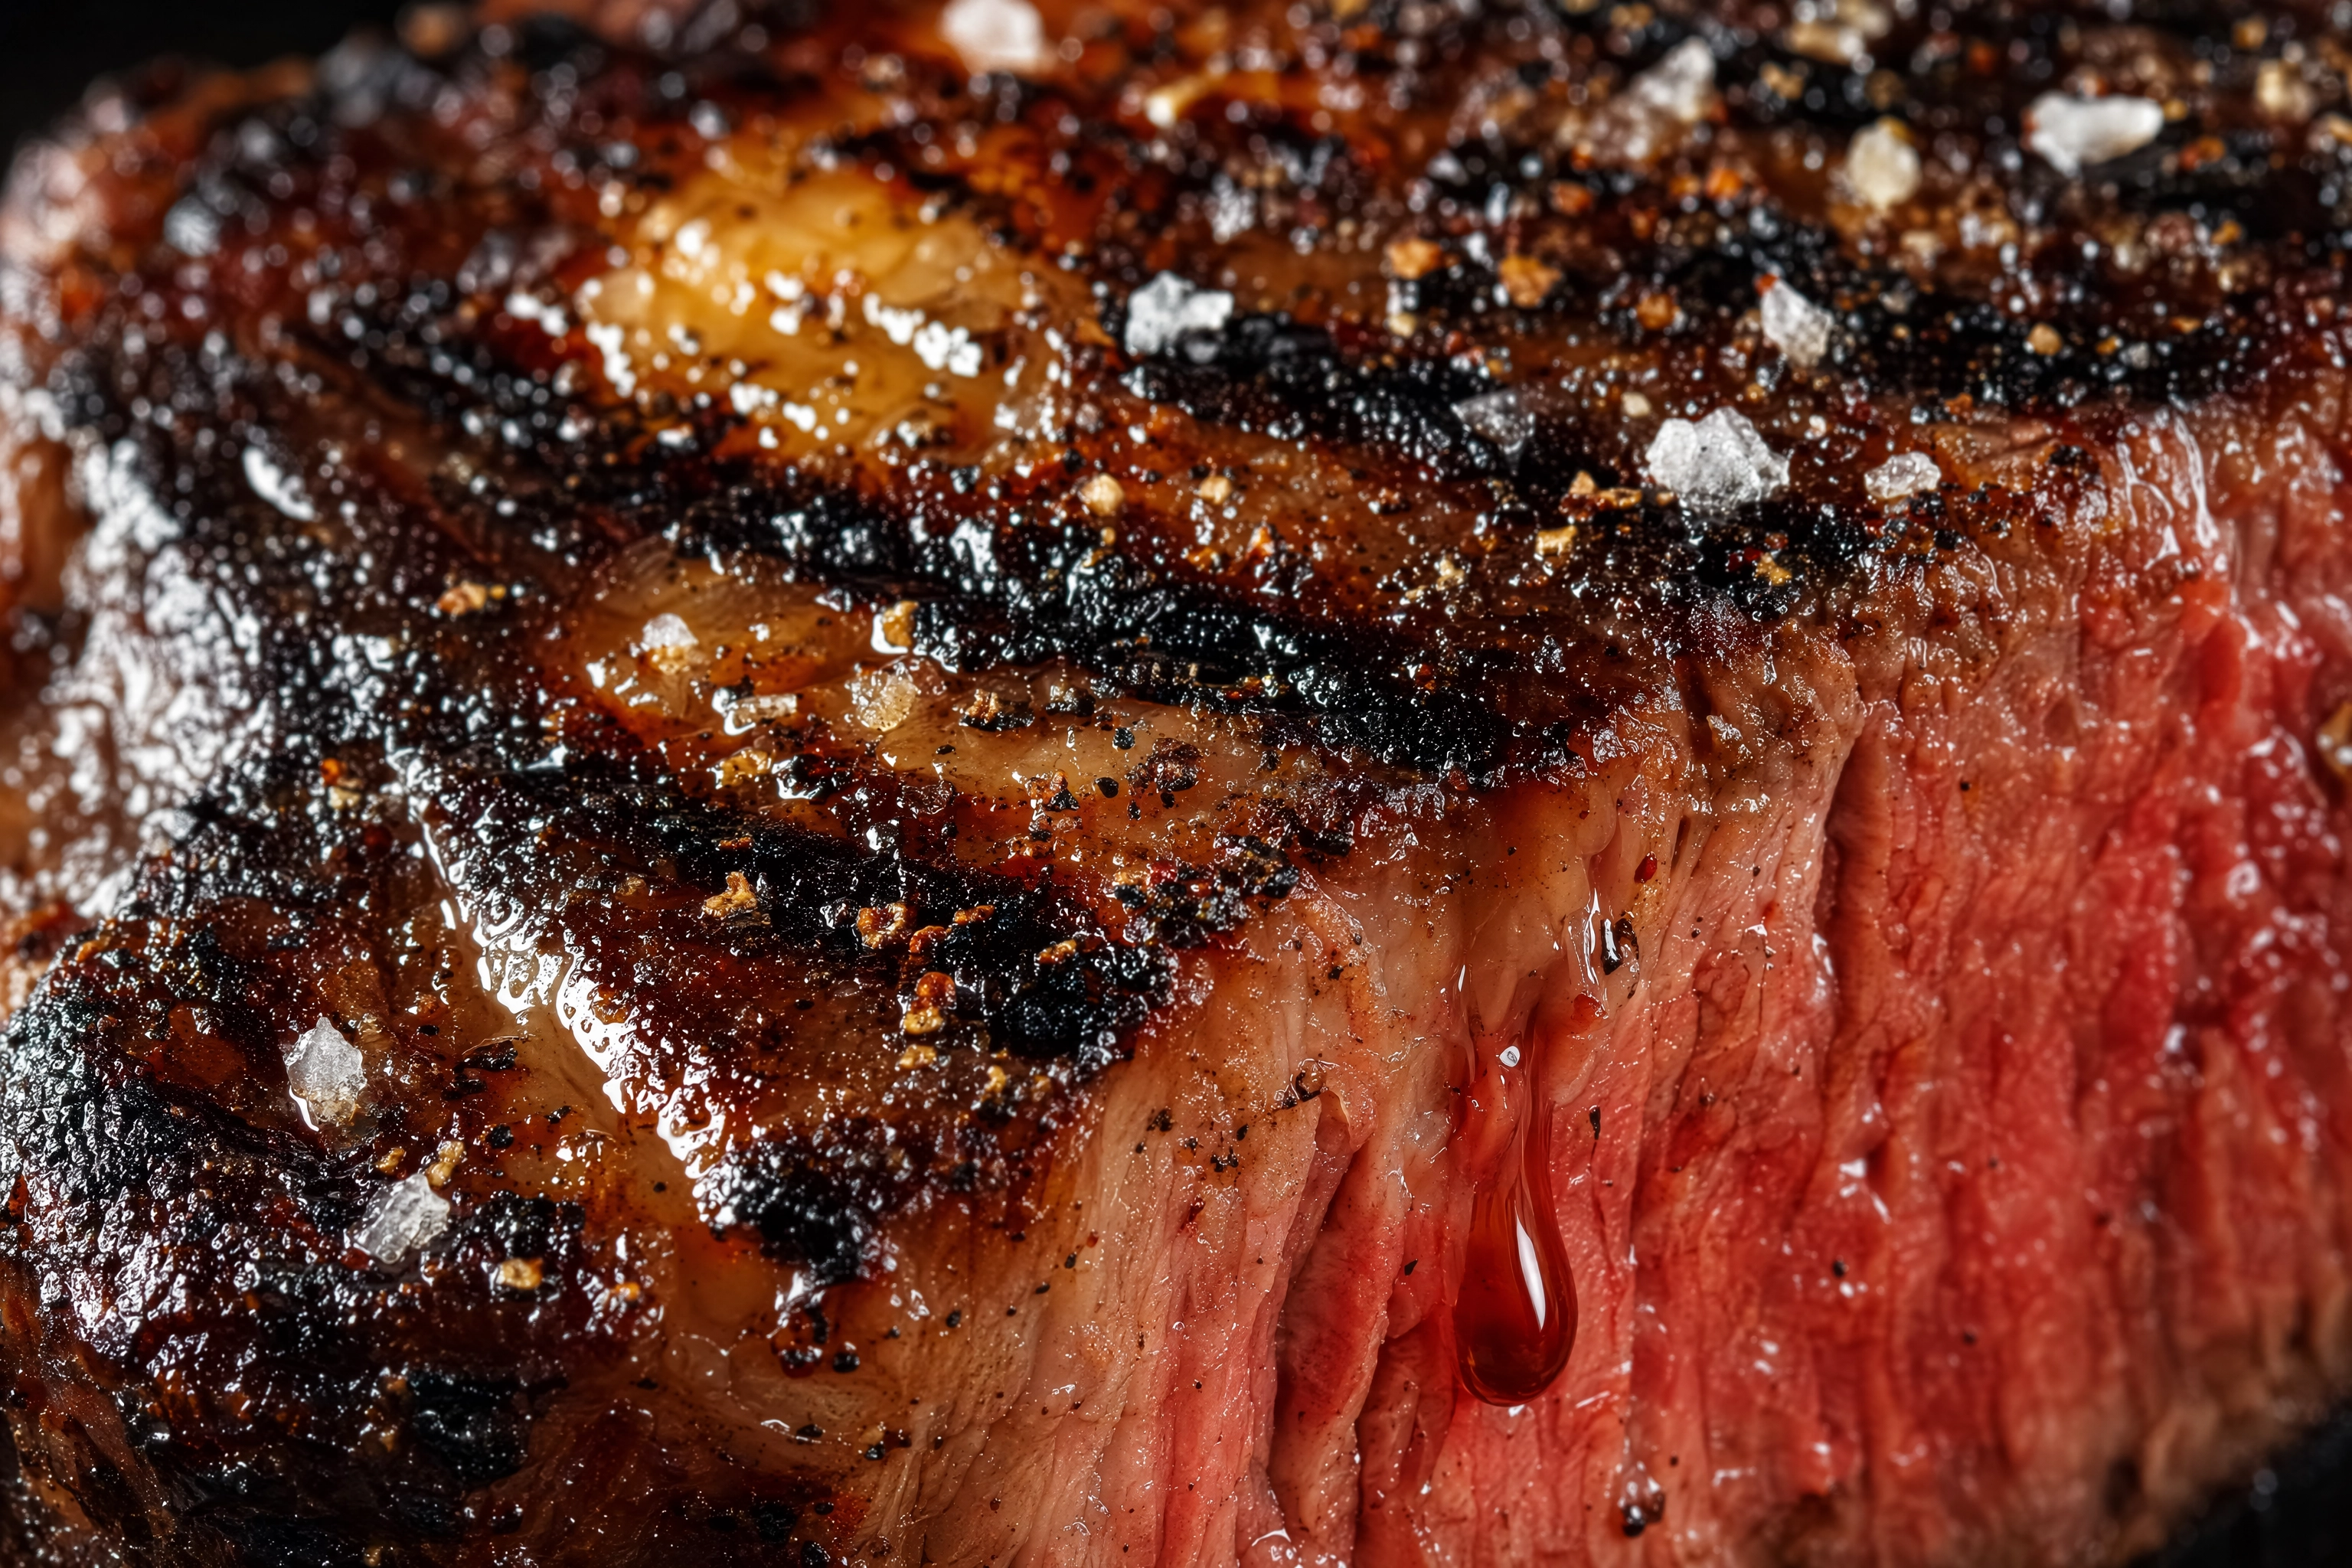 Macro of charred grill marks and glossy fat on a sliced rib-eye, the texture frames of a restaurant photoshoot
7. Empty Plates, Table Settings and Backgrounds
Nobody plans these, everybody needs them. Empty ceramics on the pass. A set two-top with folded linen. The bare bar top. A weathered oak surface with nothing on it at all.
These are the negative-space images your posters, menu headers, delivery banners and ad overlays get built on. Ten minutes at the end saves a designer weeks. Our how to stage food photography guide covers surfaces and props.
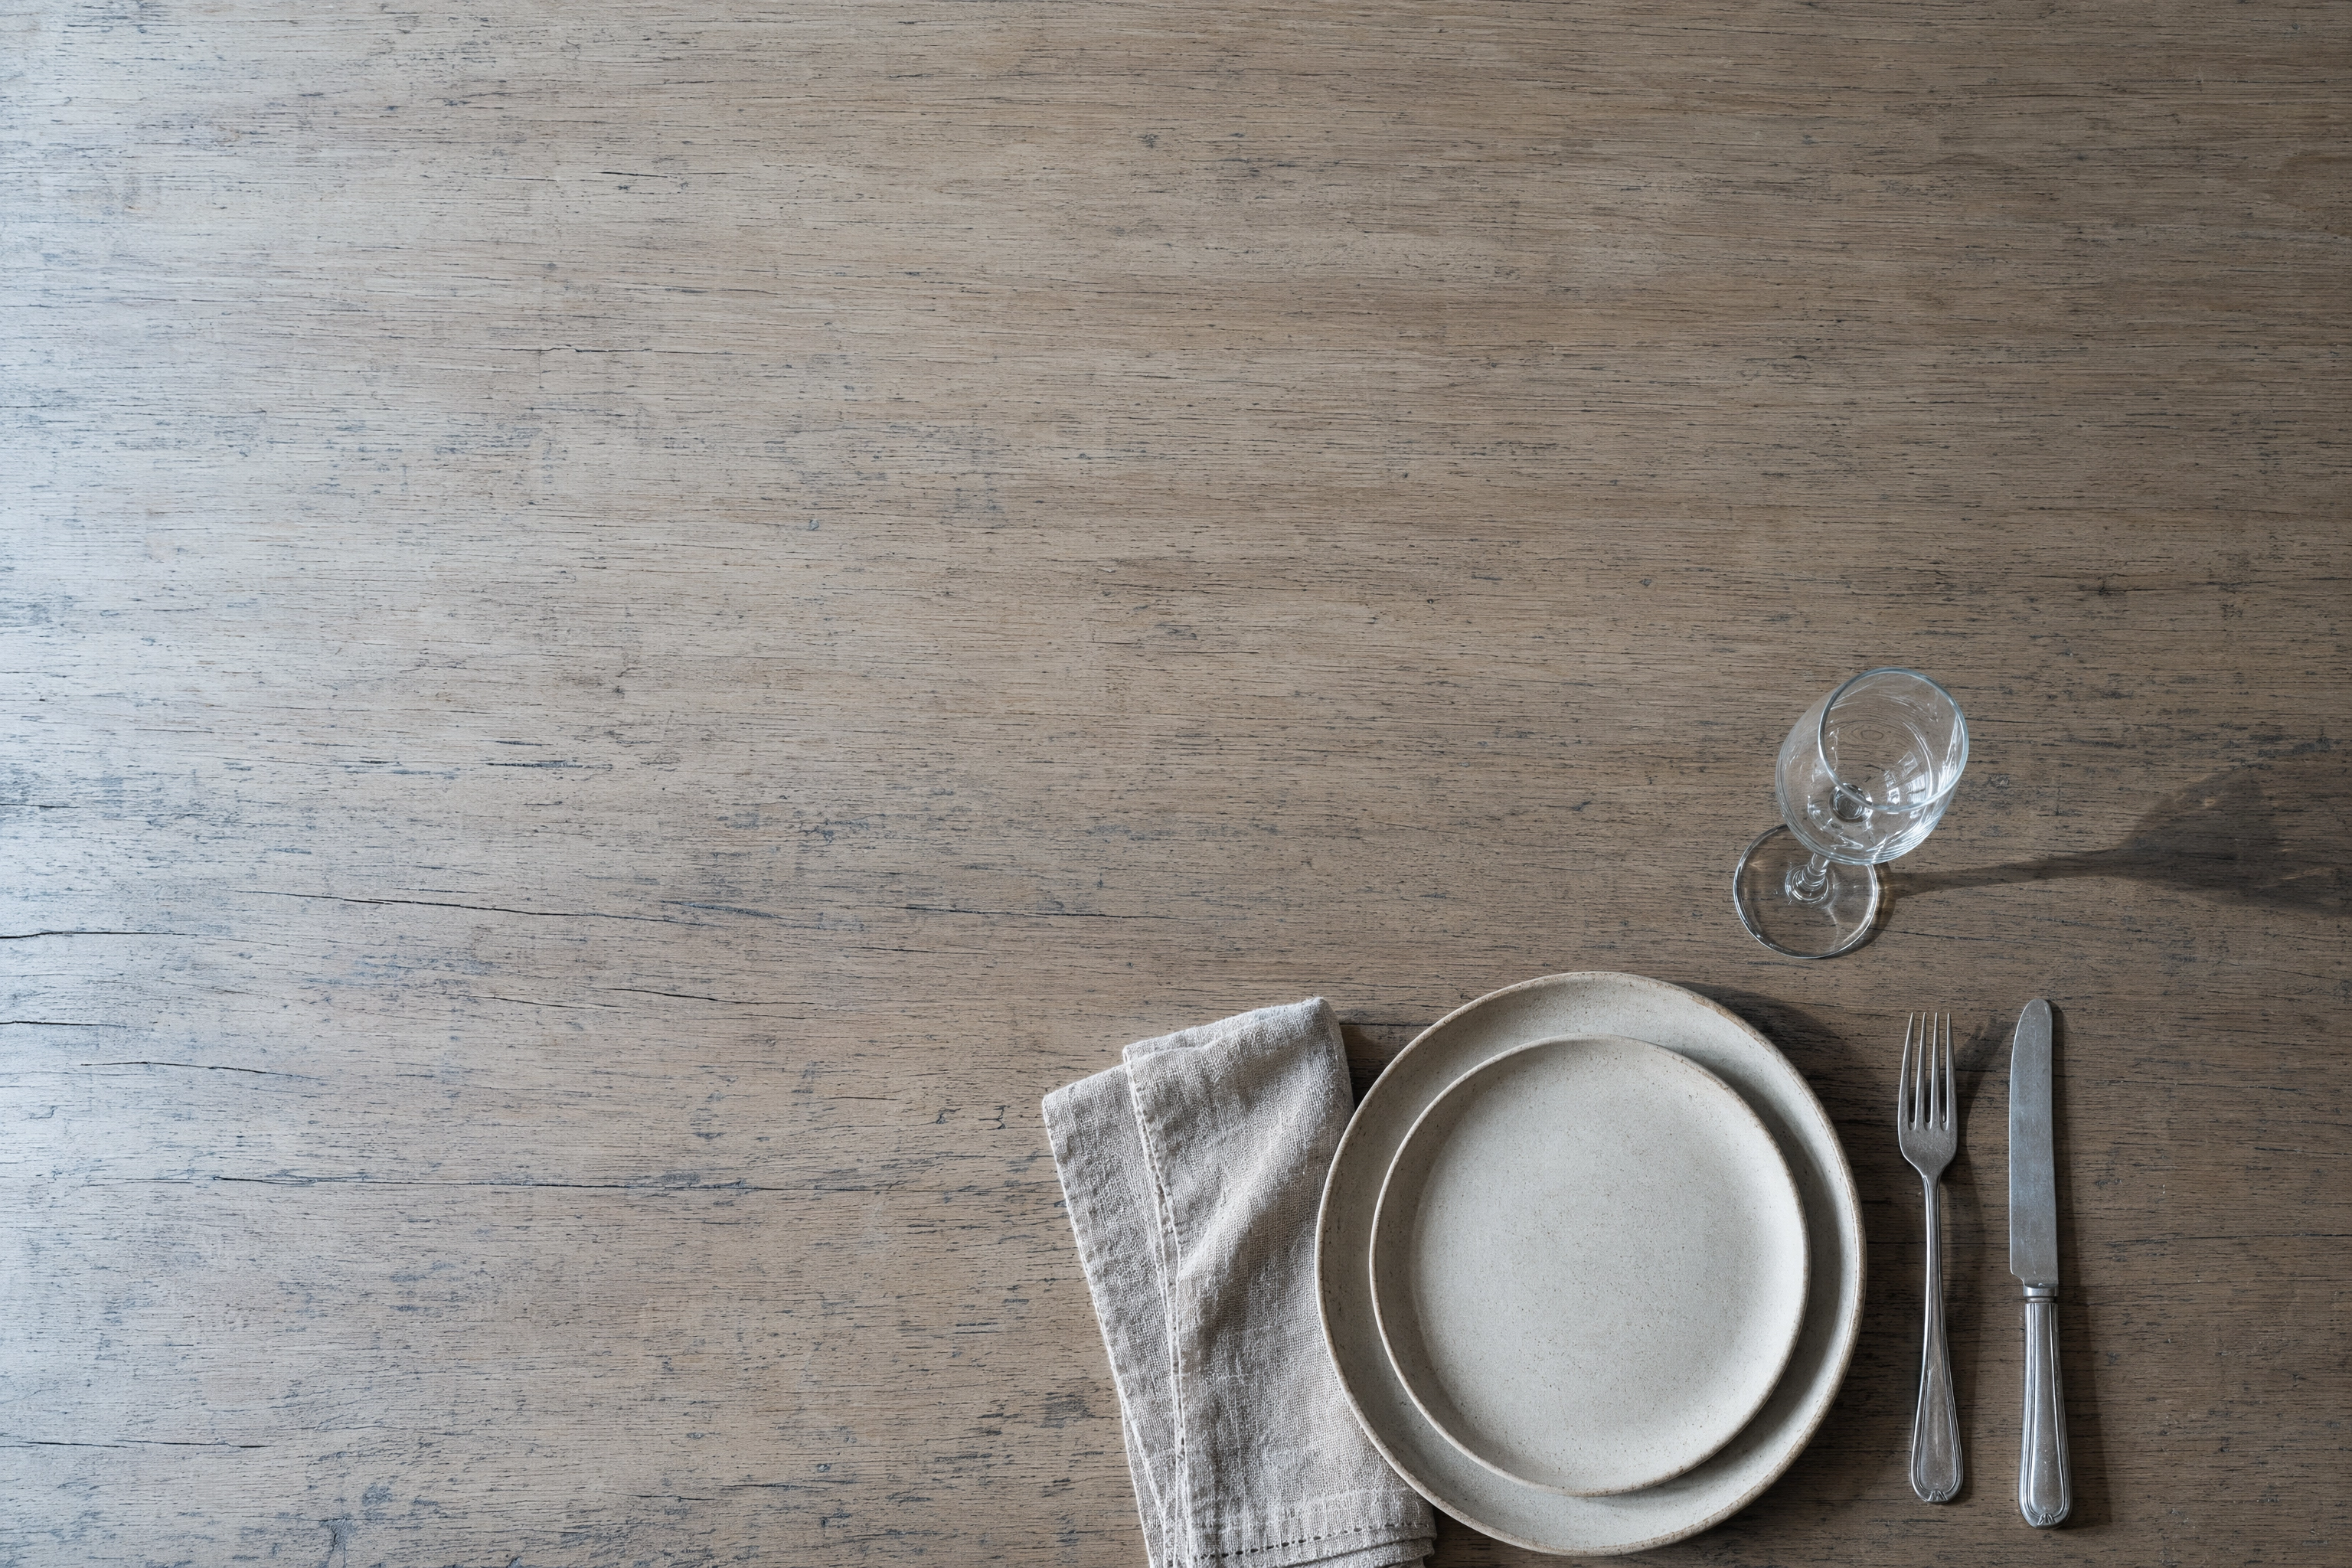 Overhead empty table setting on oak with large negative space, the background frames a restaurant photoshoot needs
Write the Shot List Before Anyone Picks Up a Camera
The best photography tips on the internet cannot rescue a day with no list. One line per frame, six columns:
| Item | Angle | Crop | Surface | Destination | Who plates |
|---|---|---|---|---|---|
| Short rib | 45° | 4:5 | Dark oak | Menu, Instagram | Head chef |
| Negroni | Straight on | 9:16 | Bar top | Reels | Bar lead |
Mark the shots you cannot re-create later — the cross-section, the pour, anything with steam. Then do the arithmetic. Twenty minutes per plated item is the honest average once the scene is propped and worked from several angles — so a morning gives you six to eight items, not twenty. A half day realistically returns 15-40 finished images.
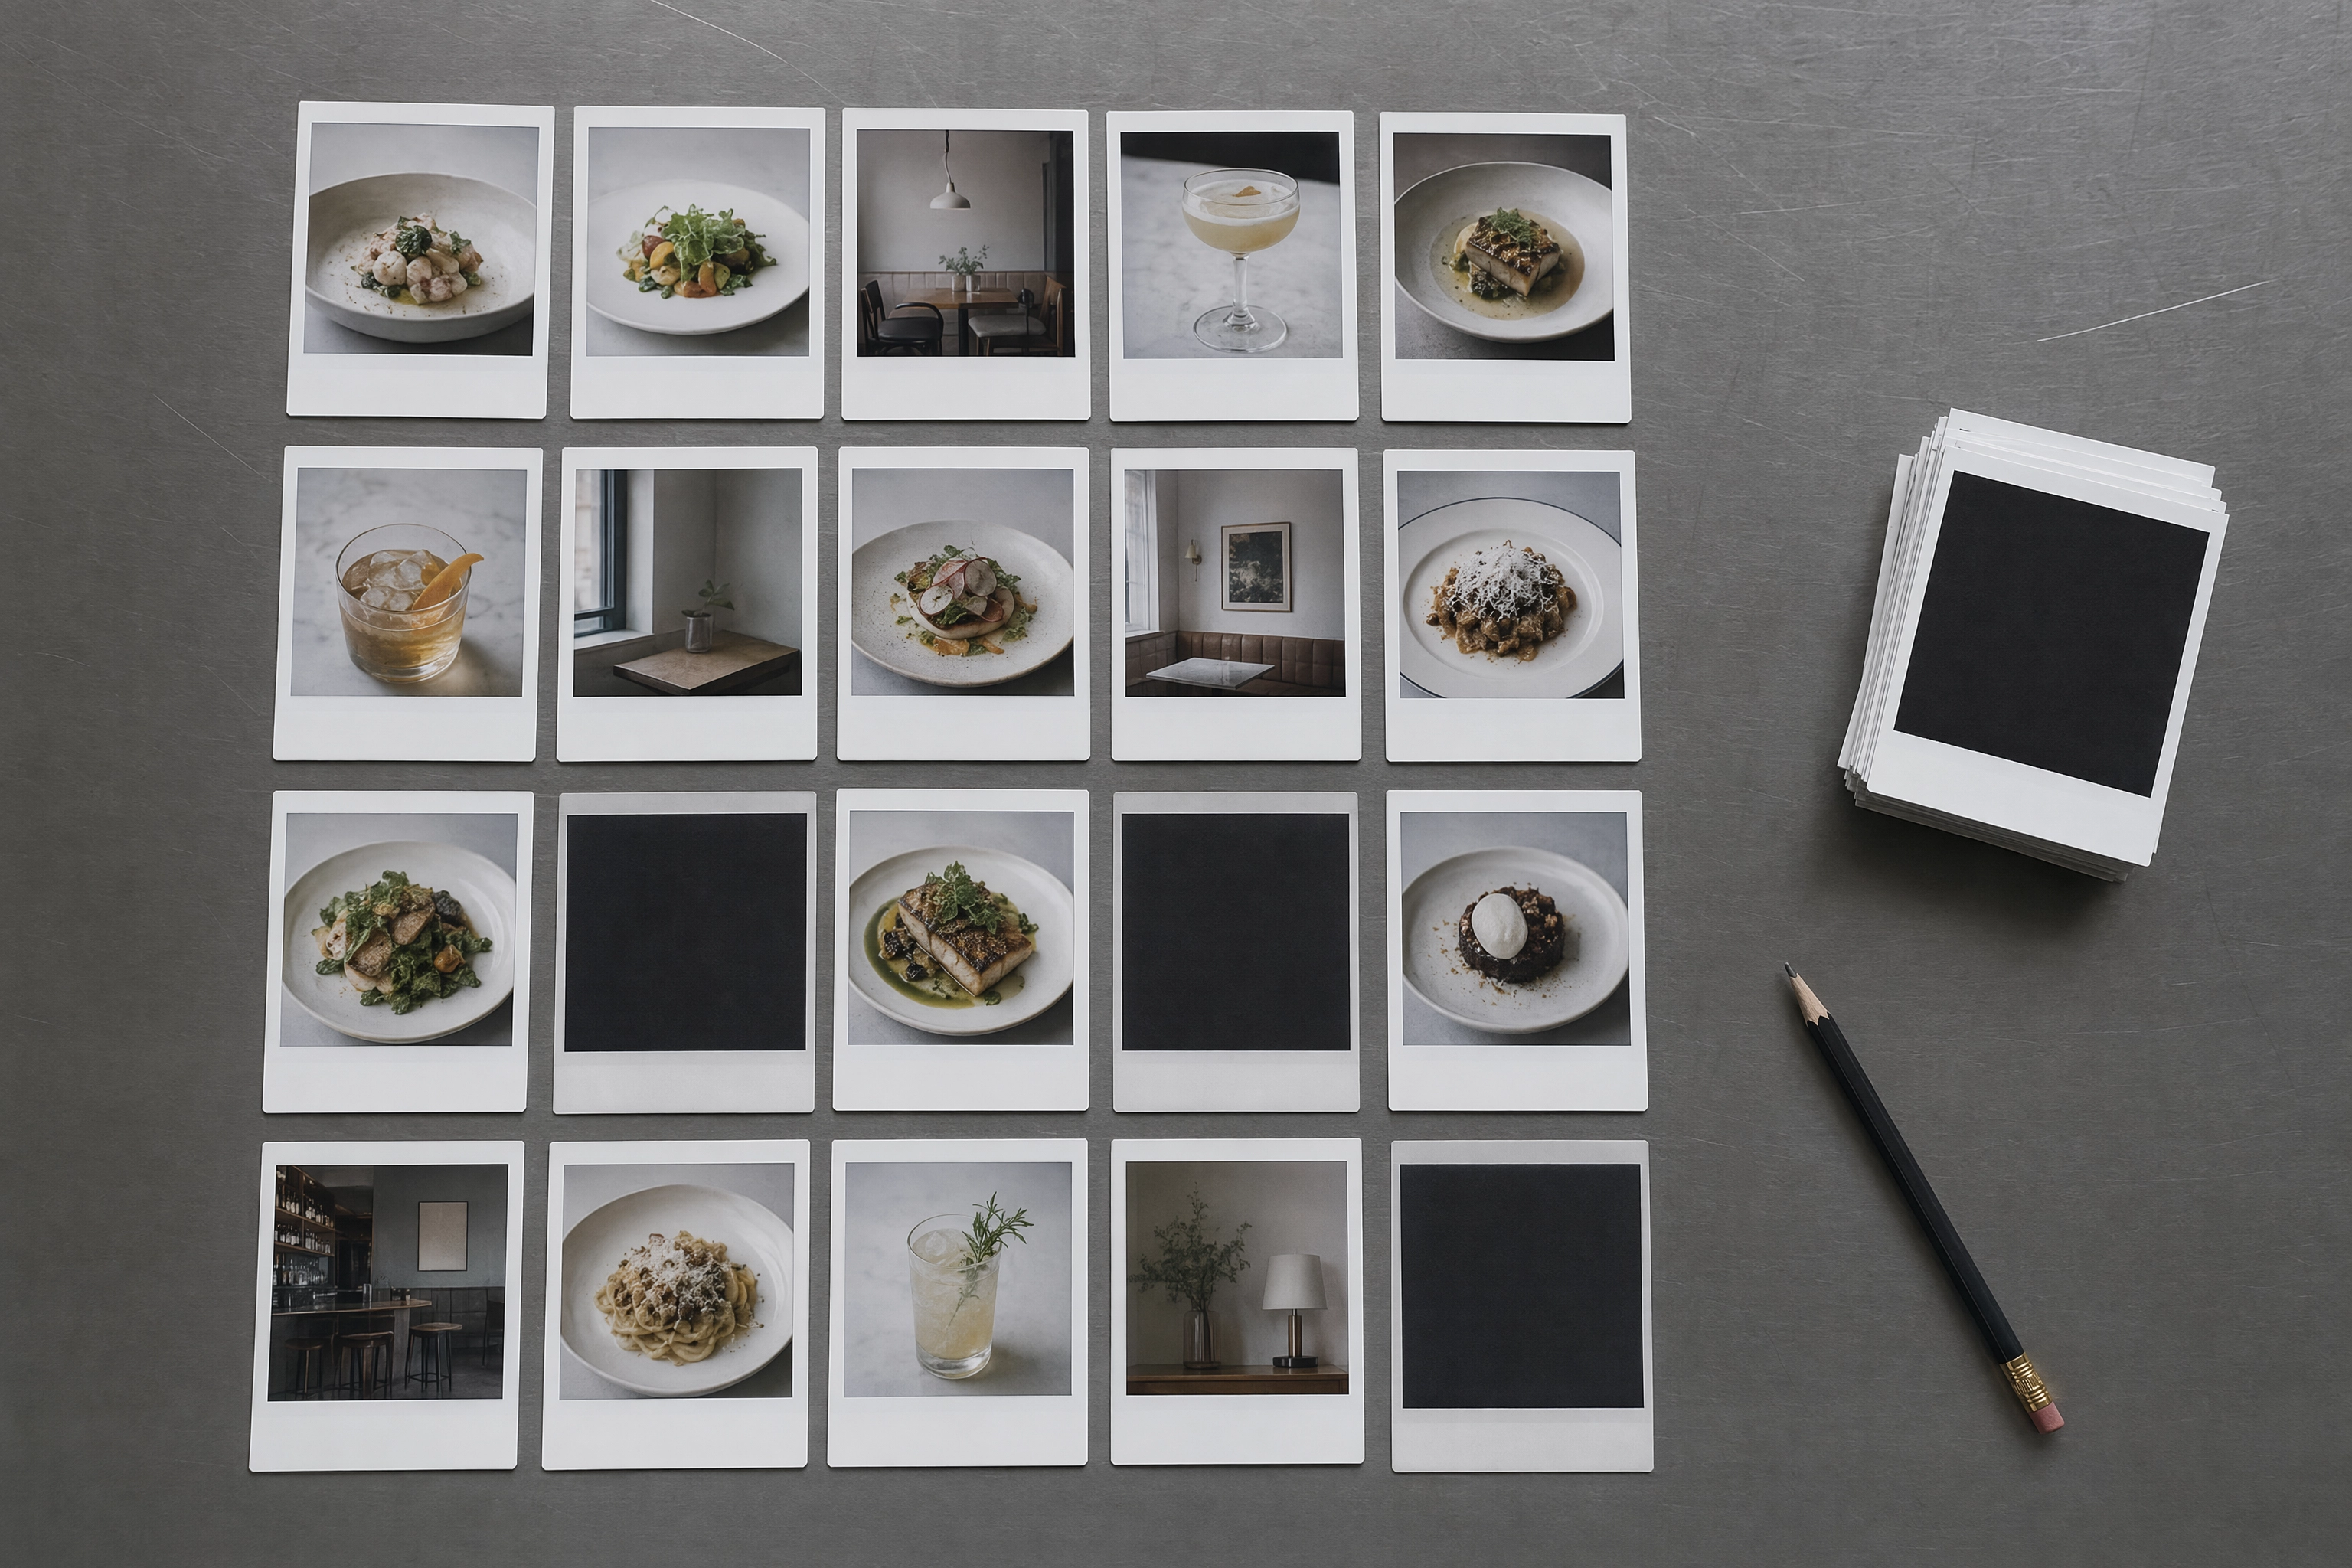 Instant-film prints of dishes laid out in shooting order like a restaurant photoshoot shot list
Order the list by light and by station, not by menu order. Print two copies: one on the pass, one at the set. The difference between a good restaurant photoshoot and a wasted one is almost never the gear.
When to Book the Restaurant Photoshoot: A Closed Day, or Before Service
Best case, a closed day. Second best, 8:00-11:30am, before prep peaks and while the light is still soft. Never during service — the pass will win that argument, and it should.
Most photography tips skip this part. Find your own window first. Watch the dining room for a week and note when the sun stops hitting the tables directly. Indirect daylight is what food photography wants; direct sun blows out sauces and throws hard shadows across a plate.
If the restaurant photoshoot is for a menu launch, book it two weeks before the menu goes live, not after. Retouching, approvals and print deadlines eat the gap, and a rushed second session costs more than the first.
Restaurant Photoshoot Logistics Nobody Explains
Four things decide whether the day works, and none of them are about the camera. Most restaurants over-plan the menu and under-plan these.
Order Two of Everything
Prep a stand-in and a hero for every item. The stand-in — same size, same shape, same colour — sets the framing and the lighting while the real plate waits in the kitchen. The hero only comes out for final frames, so it never sits under lights going grey.
This is the single biggest difference between amateur and professional food styling, and it costs you food, not time. Rule of thumb: double portions plus 30% extra garnish. Build that into the budget before you agree a fee.
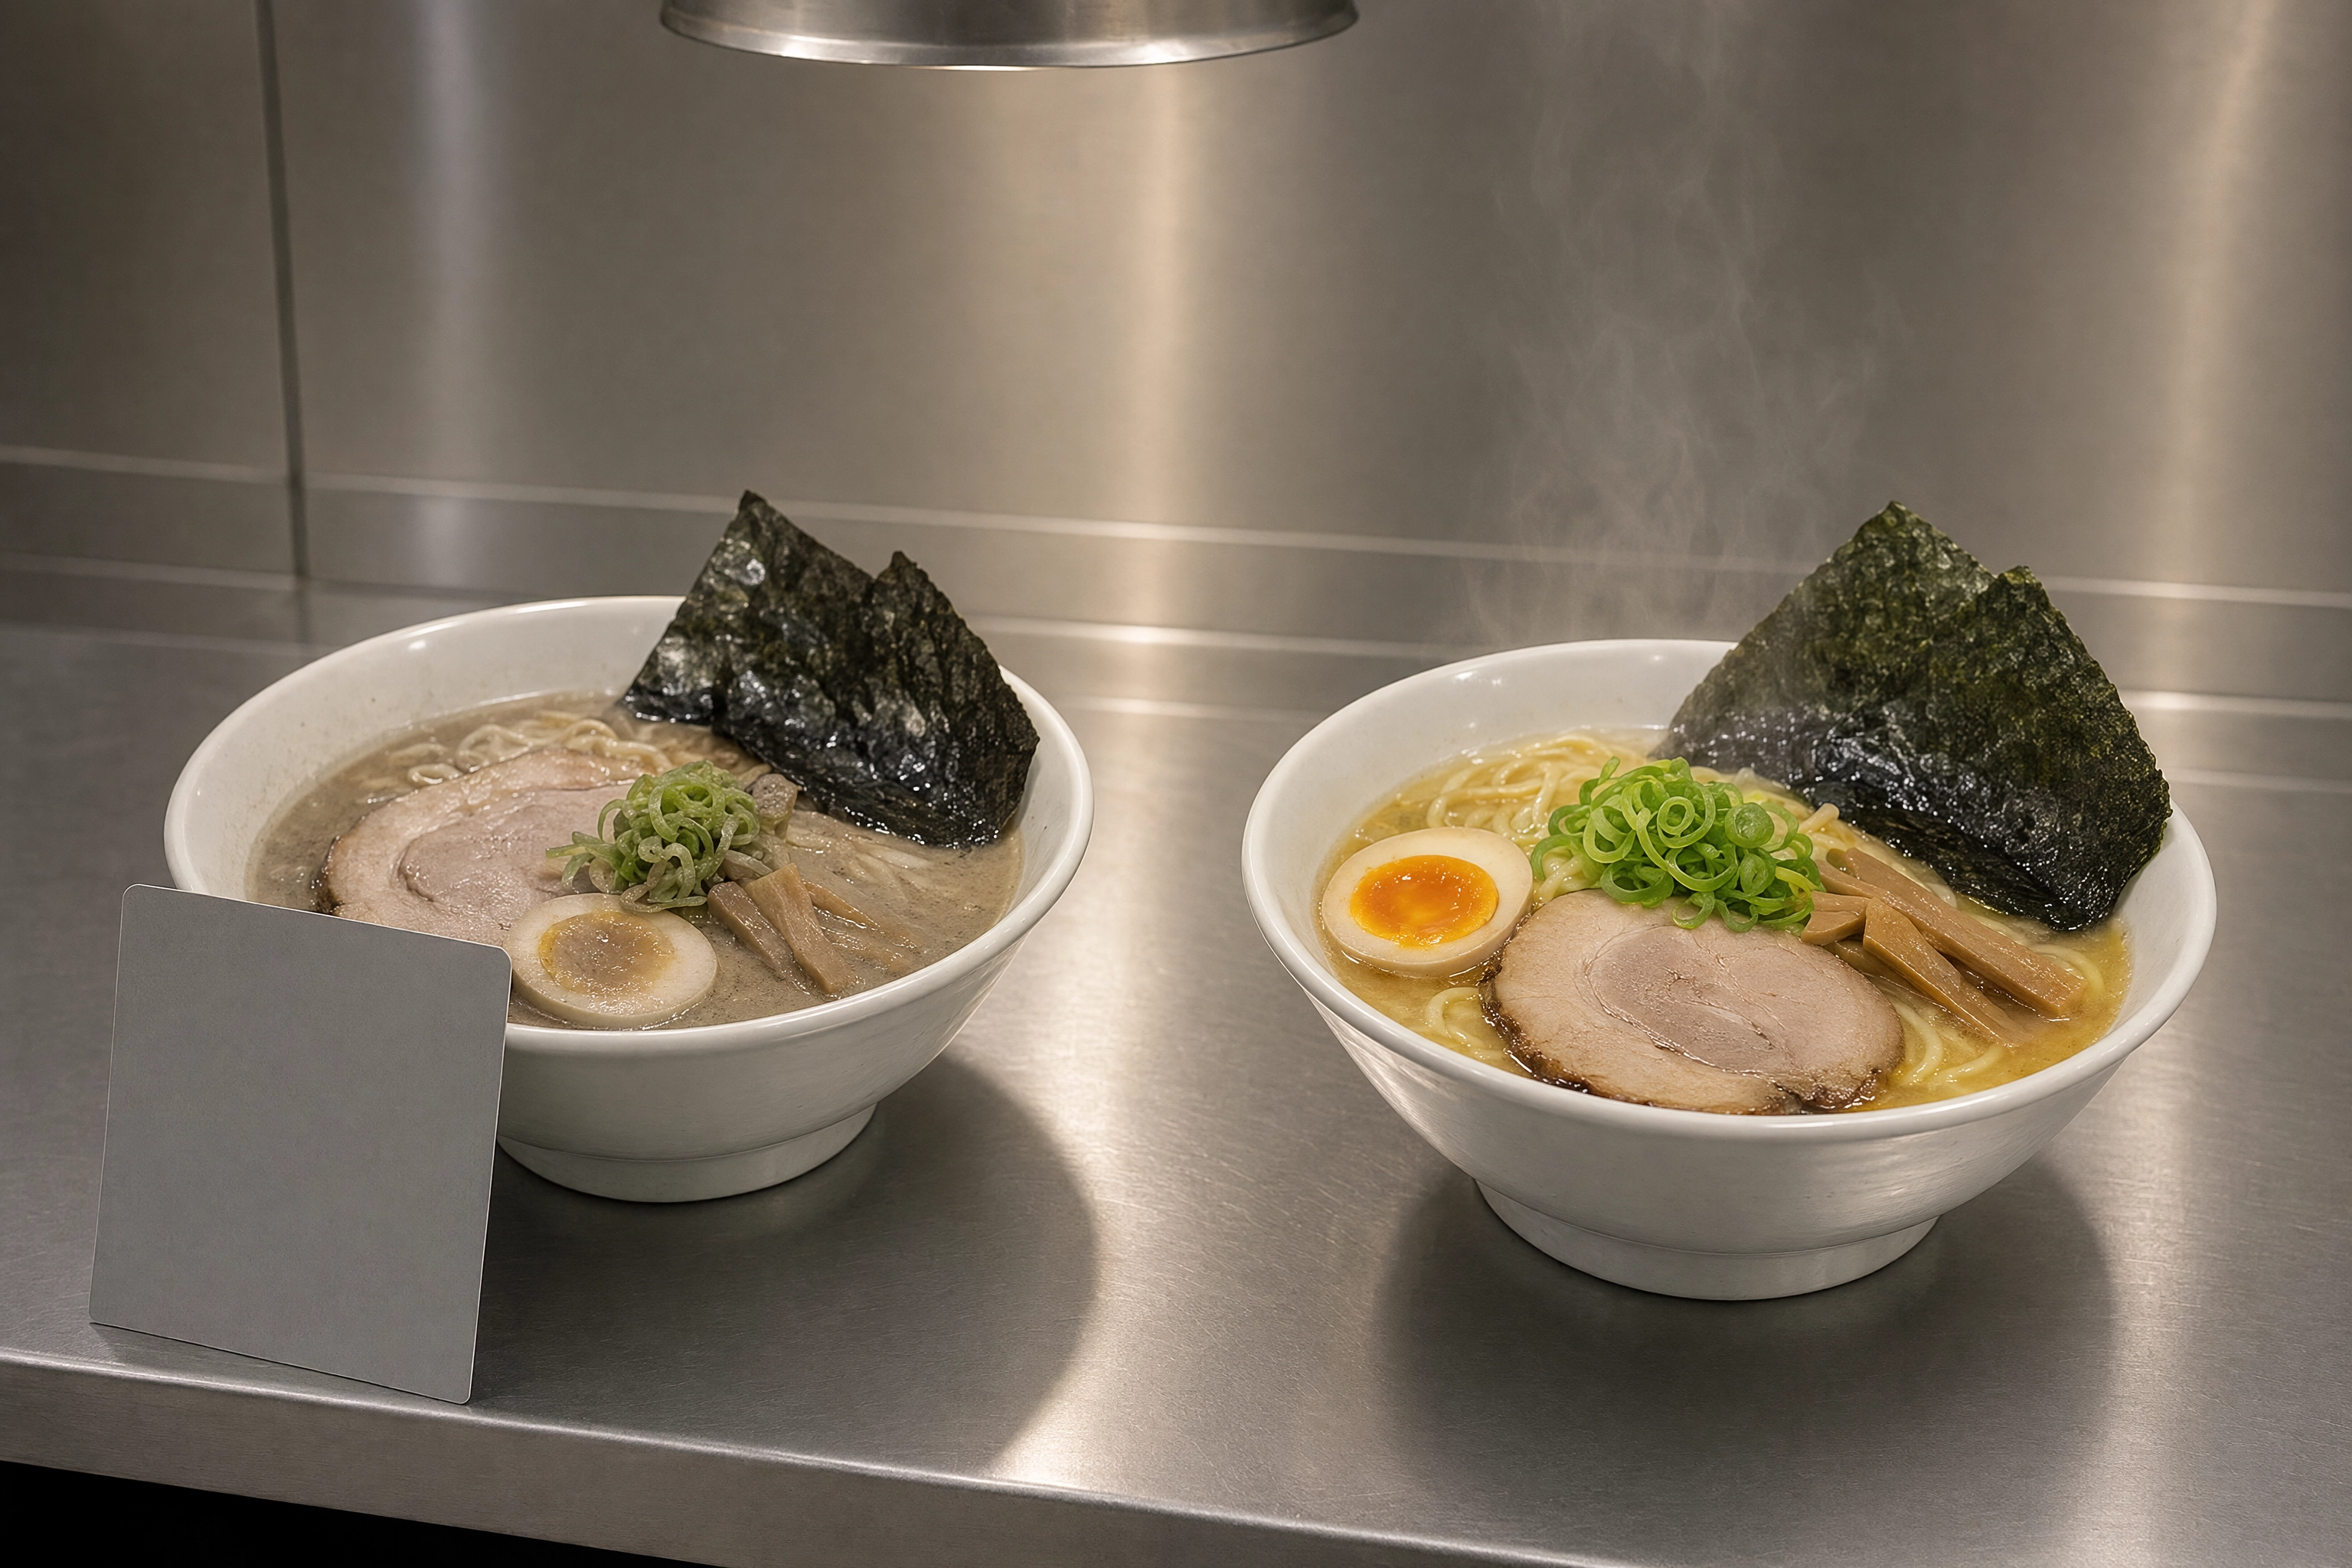 A dulled stand-in bowl of ramen beside a fresh hero bowl, the two-of-everything rule for restaurant photoshoots
Give Three People One Job Each
One plates. One runs and wipes — carrying, clearing, cleaning rims, holding bounce cards. One decides, approving each frame as it happens so nothing gets re-litigated in the edit two weeks later.
The important part is that one person owns the yes. Nobody on that team should also be prepping service. A chef who is half on the line will hand you plates that look like they were made by someone in a hurry, because they were.
What to Prep the Night Before
Every line here has eaten an hour of somebody's day:
- Reserve and hand-pick the produce — no substitutions in the morning
- Polish every glass and check for chips
- Deep-clean the corner you are working in, including the wall behind it
- Charge batteries, clear memory cards, check the tripod plate
- Clear the section completely — no menus, no reservation cards, no bin
- Agree the plating order with the kitchen and pin it up
- Gather props: linens pressed, boards, cutlery, the good ceramics
- Stack the surfaces where the set will be
- Print the list, twice
- Print the model releases
- Sort parking or loading access for whoever arrives with gear
- Kill the background music so nobody has to shout
The Running Order That Saves the Day
Room, then drinks, then hot food, then cold food, then details, then people. Hot food has a 90-second window before steam dies and cheese sets; everything else can wait. Drinks go early because ice does not negotiate, and the room has to be photographed while it is still spotless. This approach costs nothing and routinely saves an hour.
Should You Hire a Photographer? An Honest Answer
Yes — for the brand session. Interiors, the crew, the signature plates and the lifestyle frames are worth paying for, and a good professional brings lighting for a dim dining room that no phone can fake.
What that costs in 2026:
| What you're buying | Typical range |
|---|---|
| Half day, 3-4 hours | $400-$1,200 |
| Full day | $750-$2,500 |
| Per finished item | $25-$300 |
| Food styling, day rate | $200-$450 |
Practitioners on r/foodphotography quote around $400 for a 5-10 item session at the low end of the market. Our food photography cost and restaurant photography pricing breakdowns go line by line, and what a food stylist does explains that second fee.
Agree in writing before the day: usage rights and duration, delivery formats, the crops each destination needs, turnaround, how many finished images are included, who owns the creative direction, and whether a stylist is part of the fee. Ask which lenses and lights they bring for a dim room — the answer tells you how many restaurants they have really worked in, and years of experience with weddings is not the same trade. Ask to see twenty plates in the portfolio, not two.
Where it stops making sense is repetition. Rebooking four times a year for three specials each time is how a marketing budget disappears.
Keeping the Library Alive Between Sessions
Here is the gap no restaurant photoshoot budget covers. Six weeks after a great day you have a new special, a seasonal swap, a recipe that changed, and a delivery listing that needs a photo tonight. The next restaurant photoshoot is not scheduled, and the specials will not wait.
Two approaches work. First, keep the surfaces and the exact camera position from the session, so a phone photo of a new item at least matches the geometry of the rest — a discipline worth more than most food photography tips. Second, use AI food photography for restaurants to bring that snap up to the standard of the library: FoodShot AI turns a phone photo into a 4K, menu-ready result in about 90 seconds, from $15/mo, and Pinterest style transfer matches a look you already own. Our restaurant food photography guide covers technique; photography in restaurants covers guest photos and house policy.
Be clear about the limits. Stills only, food and drink only, and commercial use needs a paid plan. It does not replace the room, the crew or a proper brand day — it covers the weekly work no booking realistically can. For a full-menu rebuild, our menu photoshoot guide and commercial food photography pieces go deeper, while fine dining photography and delivery app photography cover the two ends of the register. If you would rather compare tools first, our best AI food photo editors roundup is the honest version.
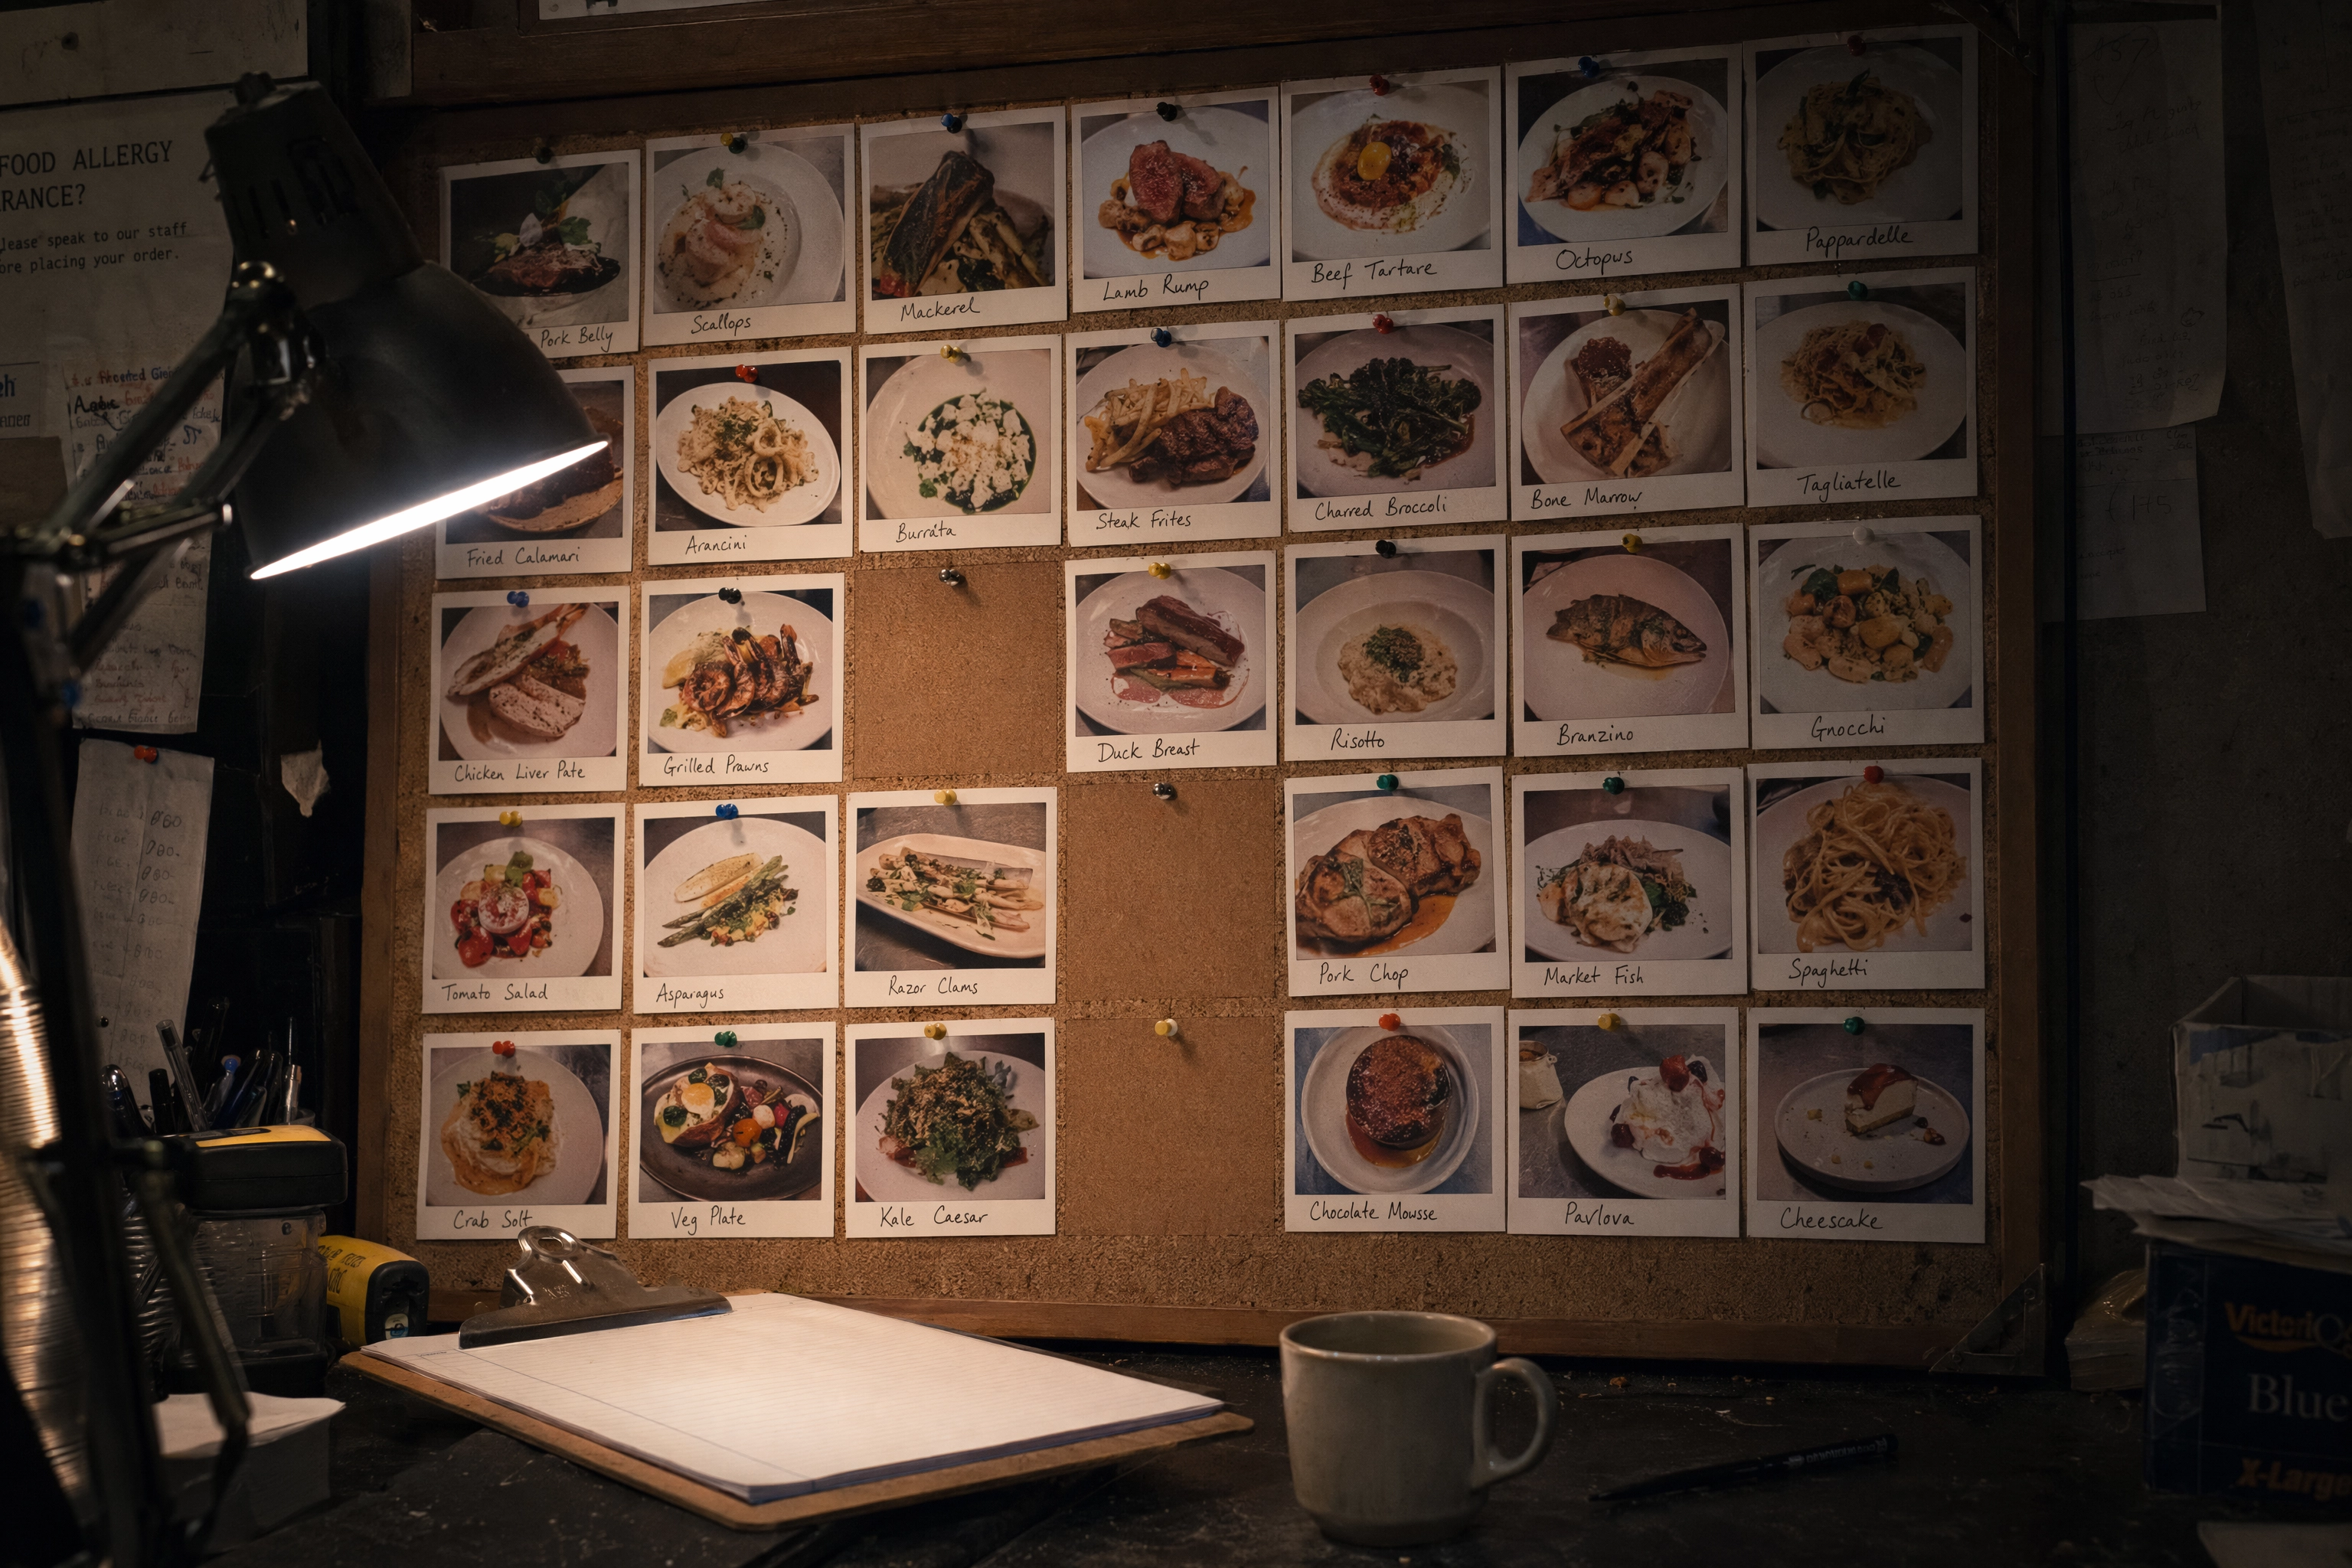 Back-office corkboard of printed dish photos with empty gaps where new specials are missing
Frequently Asked Questions
How many dishes can you shoot in one restaurant photoshoot day?
Five to eight properly, in a morning. Twelve to fifteen across a full day if the line is fast and the scene stays simple. The honest average is 20 minutes per plated item once you prop the scene and work three angles, and a half day returns 15-40 usable images in total.
How much does a restaurant photoshoot cost in 2026?
A half day with a professional runs $400-$1,200 and a full day $750-$2,500, with per-item pricing between $25 and $300. Add $200-$450 for a stylist and the food cost of doubling every portion. Most independent venues land between $700 and $1,800 for a single session.
Do I have to close the restaurant for a photoshoot?
No, but closing is the cheapest thing you can do for the result. A closed day removes every interruption. If you cannot close, take the 8:00-11:30am window before prep peaks and block the section you are working in.
Should the chef plate the food, or do I need a food stylist?
Your chef plates, always — nobody else knows how an item is supposed to look. Food photography is the only part of the day where the kitchen is not the expert. A stylist earns the fee on the food styling details that fail under a lens: the sauce that separates, the garnish that wilts in four minutes, the melt that has to be timed. For a first session, chef plus a careful runner is usually enough.
How often should a restaurant reshoot its photos?
A full brand session every 18-24 months, and a small refresh whenever the menu changes. Any item photographed before a recipe or plating change is actively misleading — for example, the pasta that lost its garnish two summers ago is the frame that generates the complaint.
What should be in a restaurant photoshoot shot list?
Item, angle, crop ratio, surface, where the frame is going and who plates it — one line per frame. Group by station and by light, sequence room first and people last, and mark which lines are essential so you know what to drop when the day runs late.