Natural Light Food Photography: One Window, One $2 Card
 Ali Tanis13 min read
Natural light food photography is the cheapest professional lighting there is. It is also the worst explained. Most guides say "shoot by a window" and stop, which helps about as much as telling a cook to add salt.
This is the specific version. Which glass. How far from it. Which side of the plate the light should hit. What to prop opposite. And the part nobody writes down: the exact hour in December when this method quits on you.
Everything below works with one window, one white card, and the camera you already own. No stands, no cables, no studio.
Quick Summary: Put the table 2 to 4 feet from north-facing glass, turn the plate so the light comes from the side or slightly behind, and prop a white foam card opposite to fill the shadow. That is most of natural light food photography. The catch is the clock: New York's sun sets at 4:28pm in early December, so a 7pm special gets nothing.
Why a North Window Is the Classic Natural Light Food Photography Setup
In the northern hemisphere, north-facing glass never sees the sun's disc for most of the year. It only sees sky. That one fact made it the painter's studio wall for centuries, long before anyone owned a camera.
Sky is a huge, even, unbroken light source. Huge and close means soft edges on every shadow. It also means the light barely shifts between 9am and 3pm.
Consistency is the real prize, and beginners miss it. A pretty frame of one plate is easy. Eleven dishes for a menu that all match is hard, and a drifting source is what breaks it.
Below the equator, flip it: south-facing glass does the same job.
Which Way Does Your Window Face?
Open the compass app on your phone, stand square to the glass and read the bearing. Anything within about 30 degrees of north is a keeper.
The lazy test works too. Watch the floor for a week. If a hard sunbeam ever crawls across it, note the hours it arrives and leaves.
Of course, every aspect is usable. Only the good hours change. East is beautiful before 10am. West is clean until early afternoon, then warm and hard. South is trickiest, because the sun crosses it during the hours you want.
Side Light and Backlight Beat Front Light Every Time
Put the source behind your camera and you get flat, dead food. Front lighting fills every dimple in a crumb and every ridge on a crust, erasing texture. It also drops your own shadow across the subject.
Move the light to the side instead. At 90 degrees it rakes across the surface, and every bump throws a small shadow. That is how a crust reads as crisp and a sauce reads as thick.
Push it further round, behind the food, and you get translucency. Backlighting drives light through broth, oil, syrup, ice and glass, which is why nearly every good drink photo is backlit. The physics has a name — subsurface scattering — and it is why a backlit cocktail glows while a front-lit one looks like a paperweight.
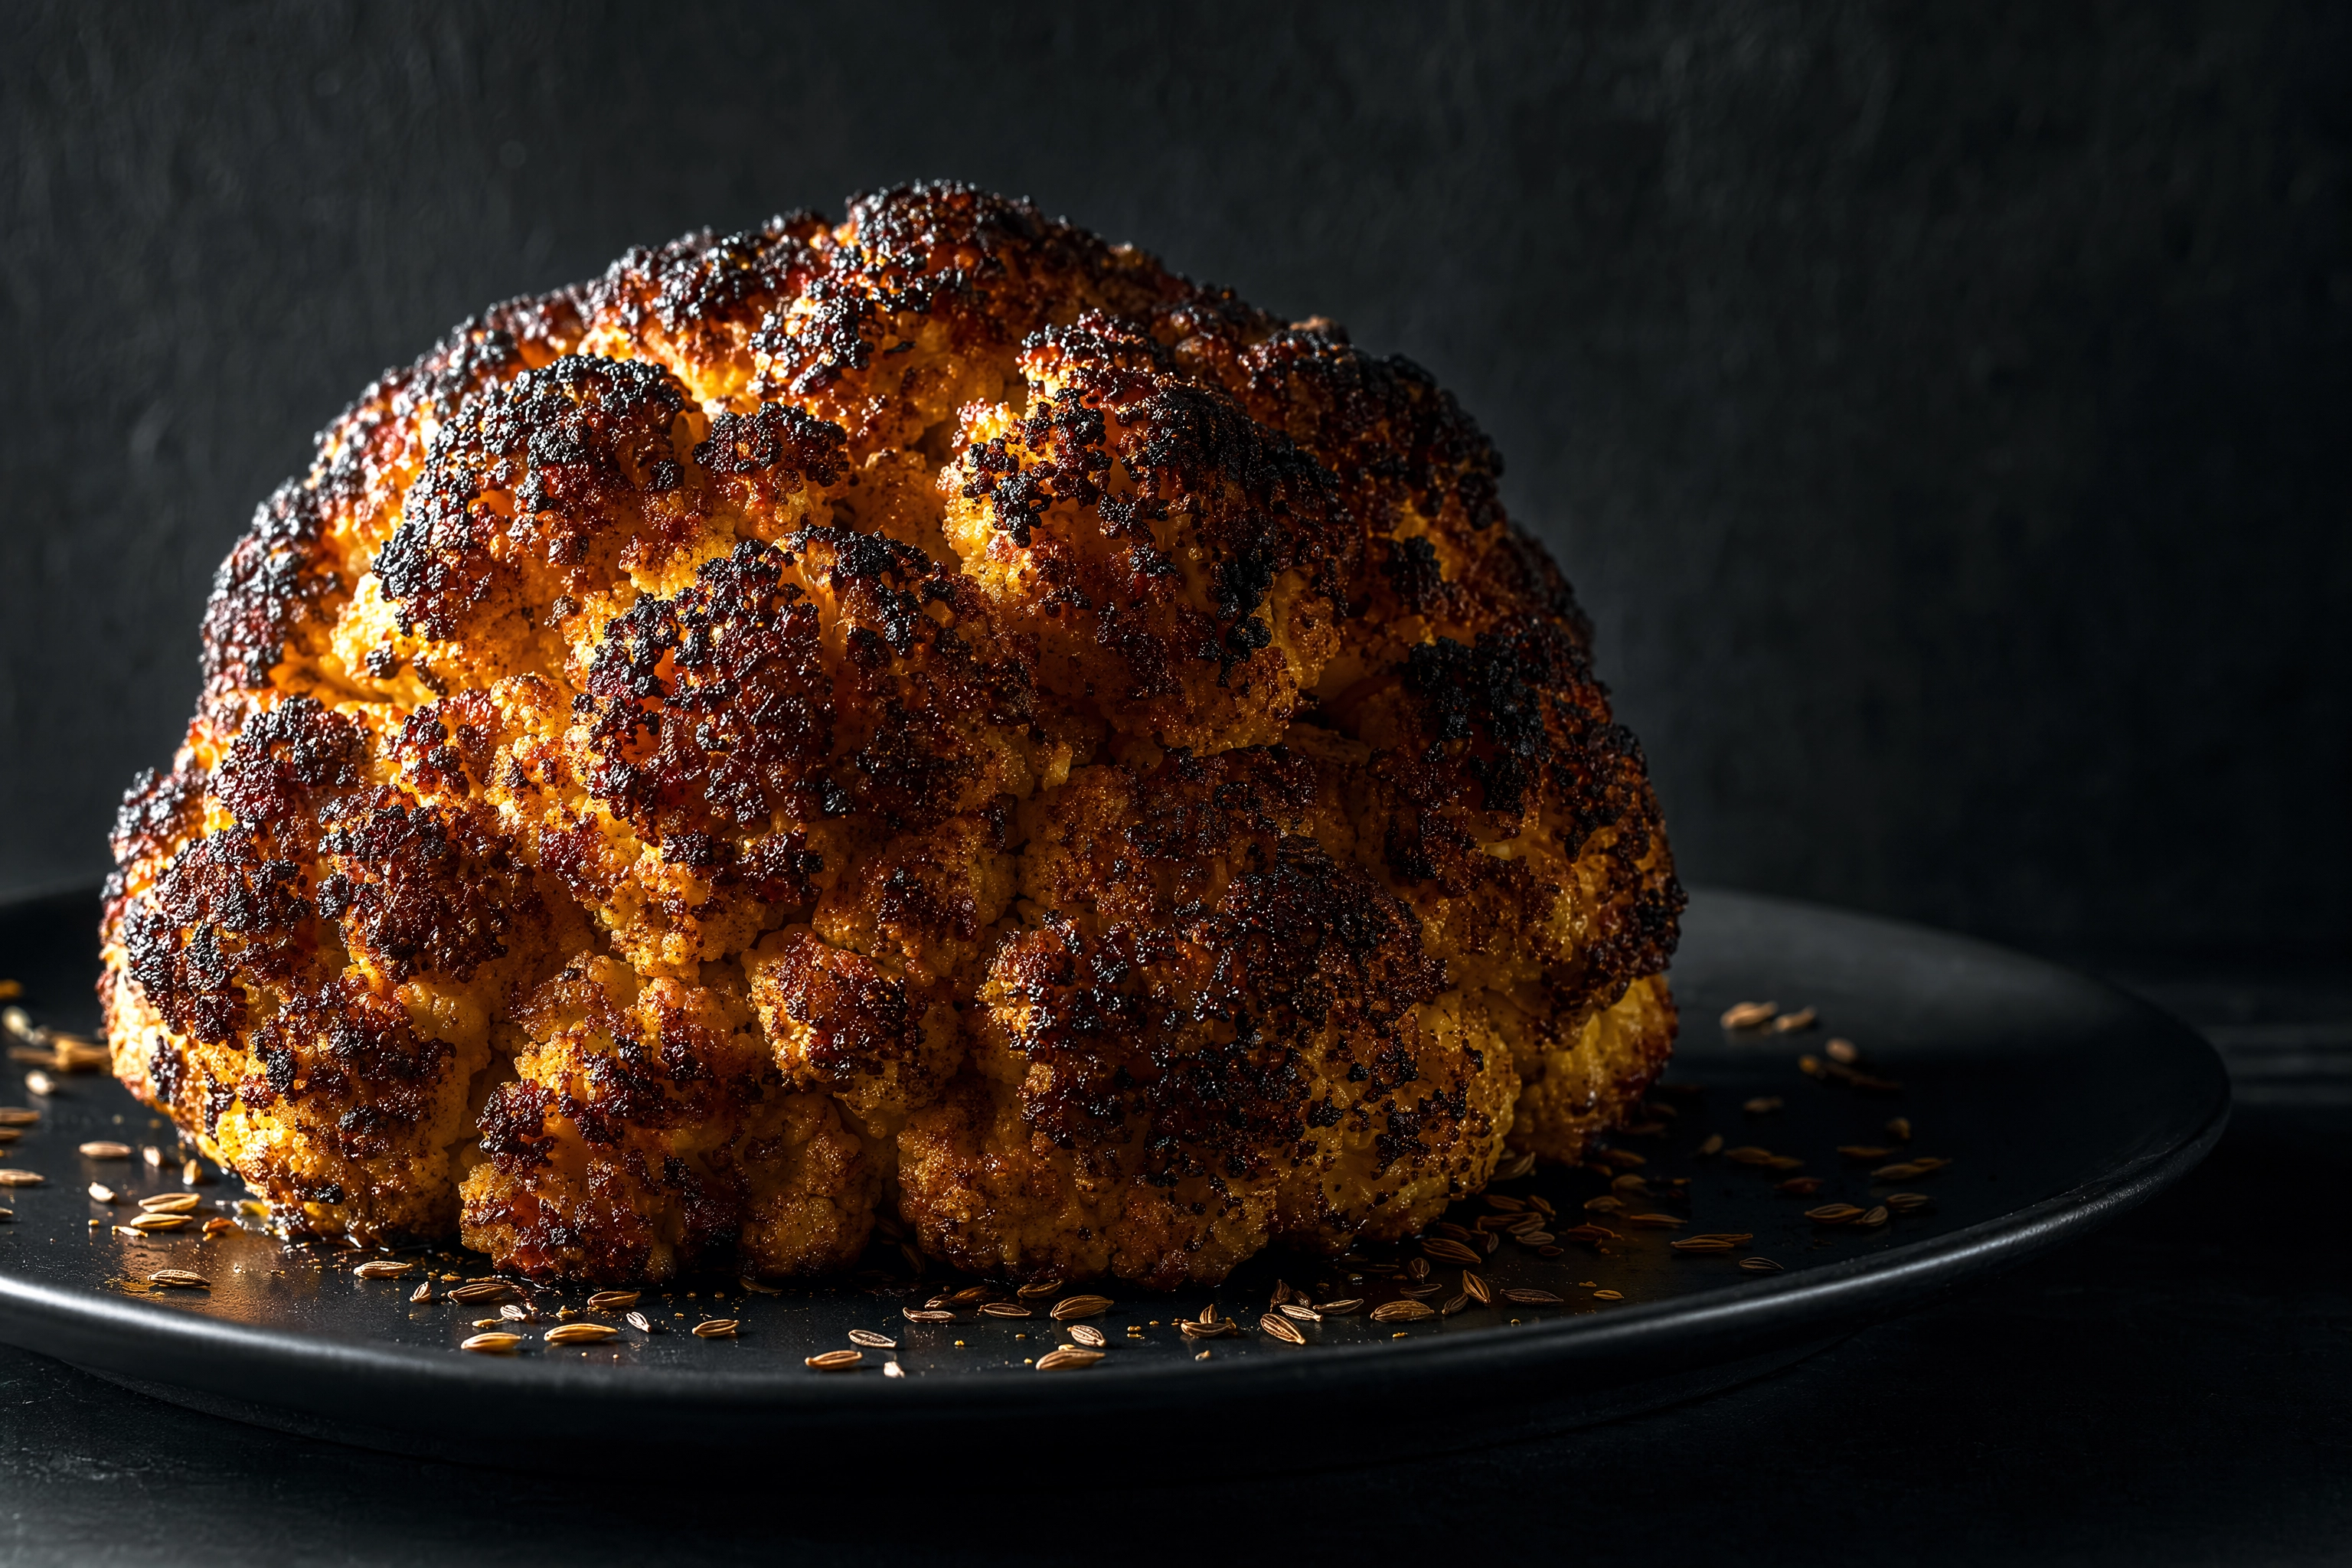 Raking 90-degree window light across a charred whole roasted cauliflower, every floret casting a long shadow
The Clock Face Method
Picture a clock with your camera at 6 o'clock and the plate in the middle.
- 9 o'clock: pure side light. Best for texture — bread, steak, anything with a crust.
- 10 to 11 o'clock: side-back. The workhorse. Texture plus a bright rim along the far edge.
- 12 o'clock: full backlight. Glow and steam, but the front goes dark unless you bounce.
- 6 o'clock: front lighting. Avoid.
You need not move the table to change position. Tilt the backdrop and rotate the plate instead. Photograph one dish at 9, 10 and 12 o'clock, then compare the three images. Ten minutes of that teaches more than a paid course.
Diffusion: Turning a Hard Window Into a Soft One
Tape something white over the glass and that fabric becomes your light source — not the sun, not the frame. A bigger source closer to the food means softer shadows.
Things worth using, in the order I reach for them: a sheer white curtain, a cotton bedsheet, a shower curtain liner, baking parchment. Nothing here costs more than a sandwich.
You are creating a bigger source, so expect to lose one to two stops. Fair trade: hard sun through bare glass is unusable for food, but through a bedsheet it is gorgeous.
One warning: creamy fabric tints everything warm. Buy plain white, and if it still skews yellow, fix it in colour grading rather than in camera.
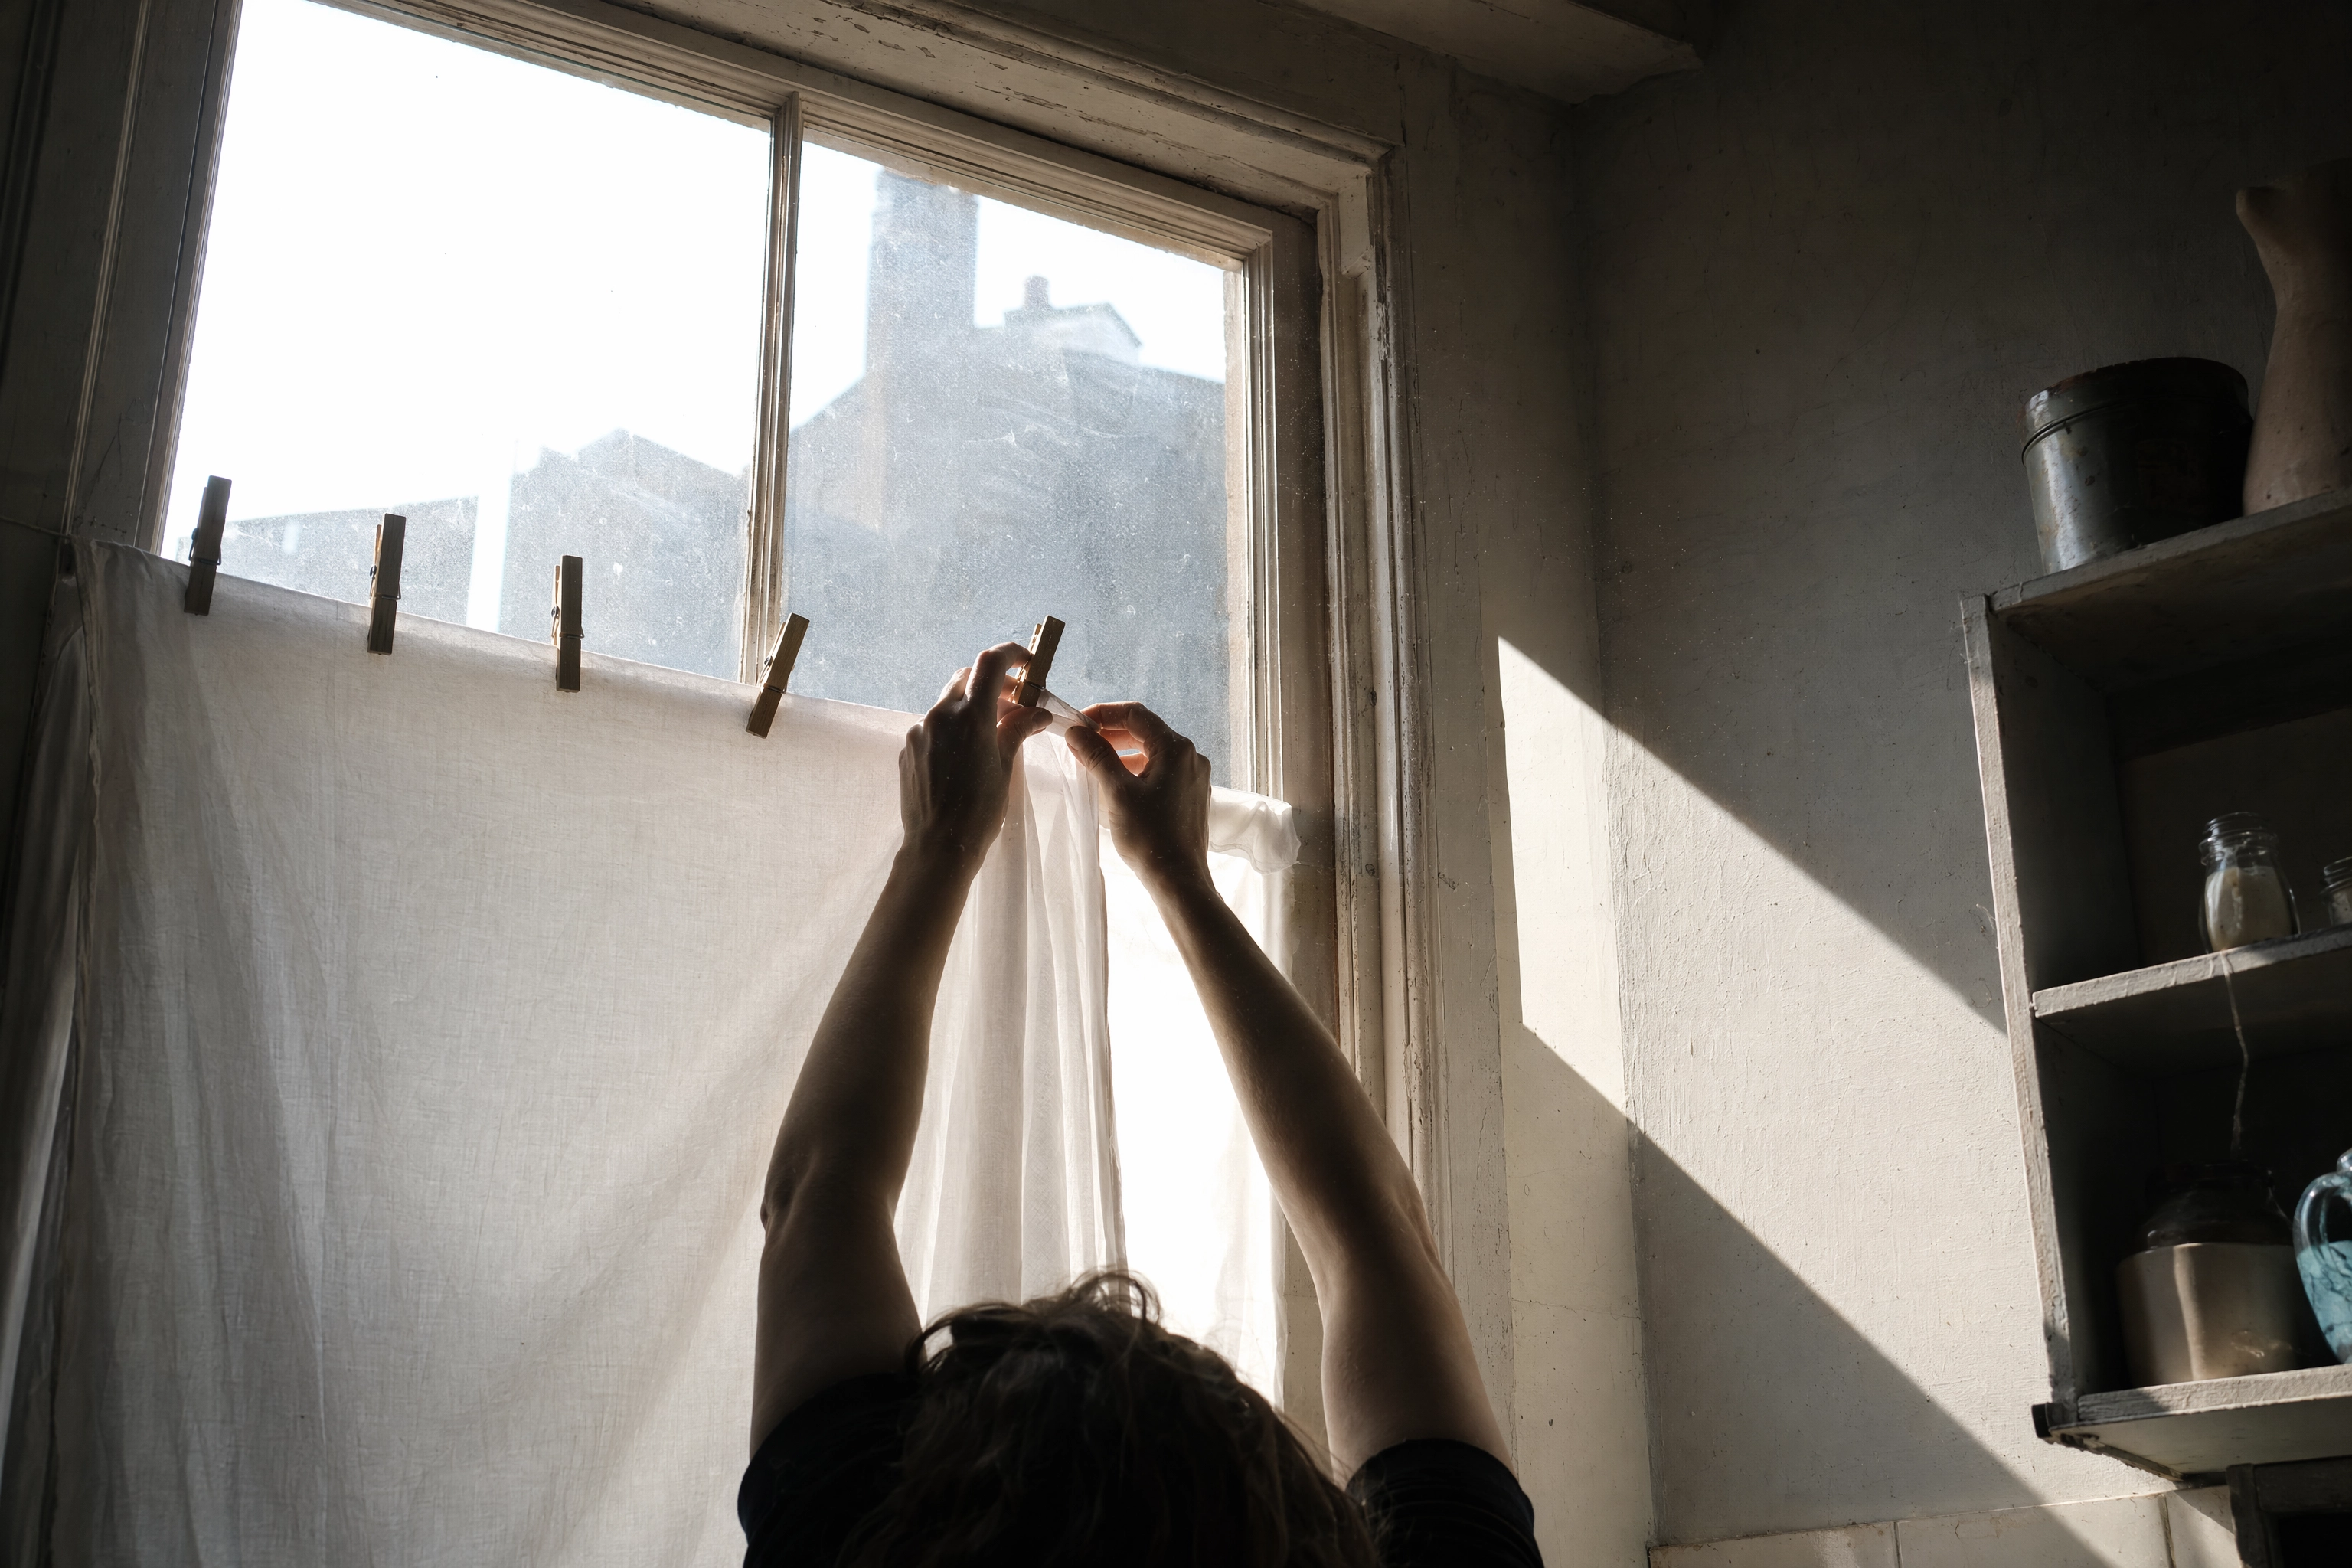 Arms clipping a plain white bedsheet across a window to diffuse hard sun for food photography
The White Bounce Card Is the Best $2 in Food Photography
Side light gives you a bright side and a dead side. Getting light back into that dead side is the whole job of a white card: it catches what crossed the plate and throws part of it back.
That is the whole tool. A sheet of white foam board from a craft shop, propped on a jar.
It is the highest-leverage purchase in natural light food photography, and it is not close. Two dollars fixes the most common failure in restaurant images: half the dish falling into black.
Distance is your only dial. Push the foam board in until it nearly touches the plate for a bright, airy look. Pull it back a foot for a moodier one. No batteries, no menus, no settings.
Negative Fill: The Black Card Trick
Flip the idea. Swap white foam for black and you remove light from the shadow side instead of adding it.
Pale walls bounce light everywhere and create a dull, flat frame. A black card kills that spill and deepens the shadow edge. If you love dark, moody work, this is the missing piece — same $2.
Distance and Falloff: Where to Put the Table
Two to four feet from the glass is the working zone.
Closer gives brighter, softer light with a gentle gradient. Further gives dimmer, harder light. That is falloff, and indoors it is more brutal than people expect.
Numbers to anchor it. Outdoors on a clear day you have around 10,000 lux. Next to the glass that often drops to about 1,000, and two metres into the room you can be under 200. Your eyes adapt and lie. Your camera does not.
So move the table, not the ISO. That habit rescues more dark food images than any lens upgrade.
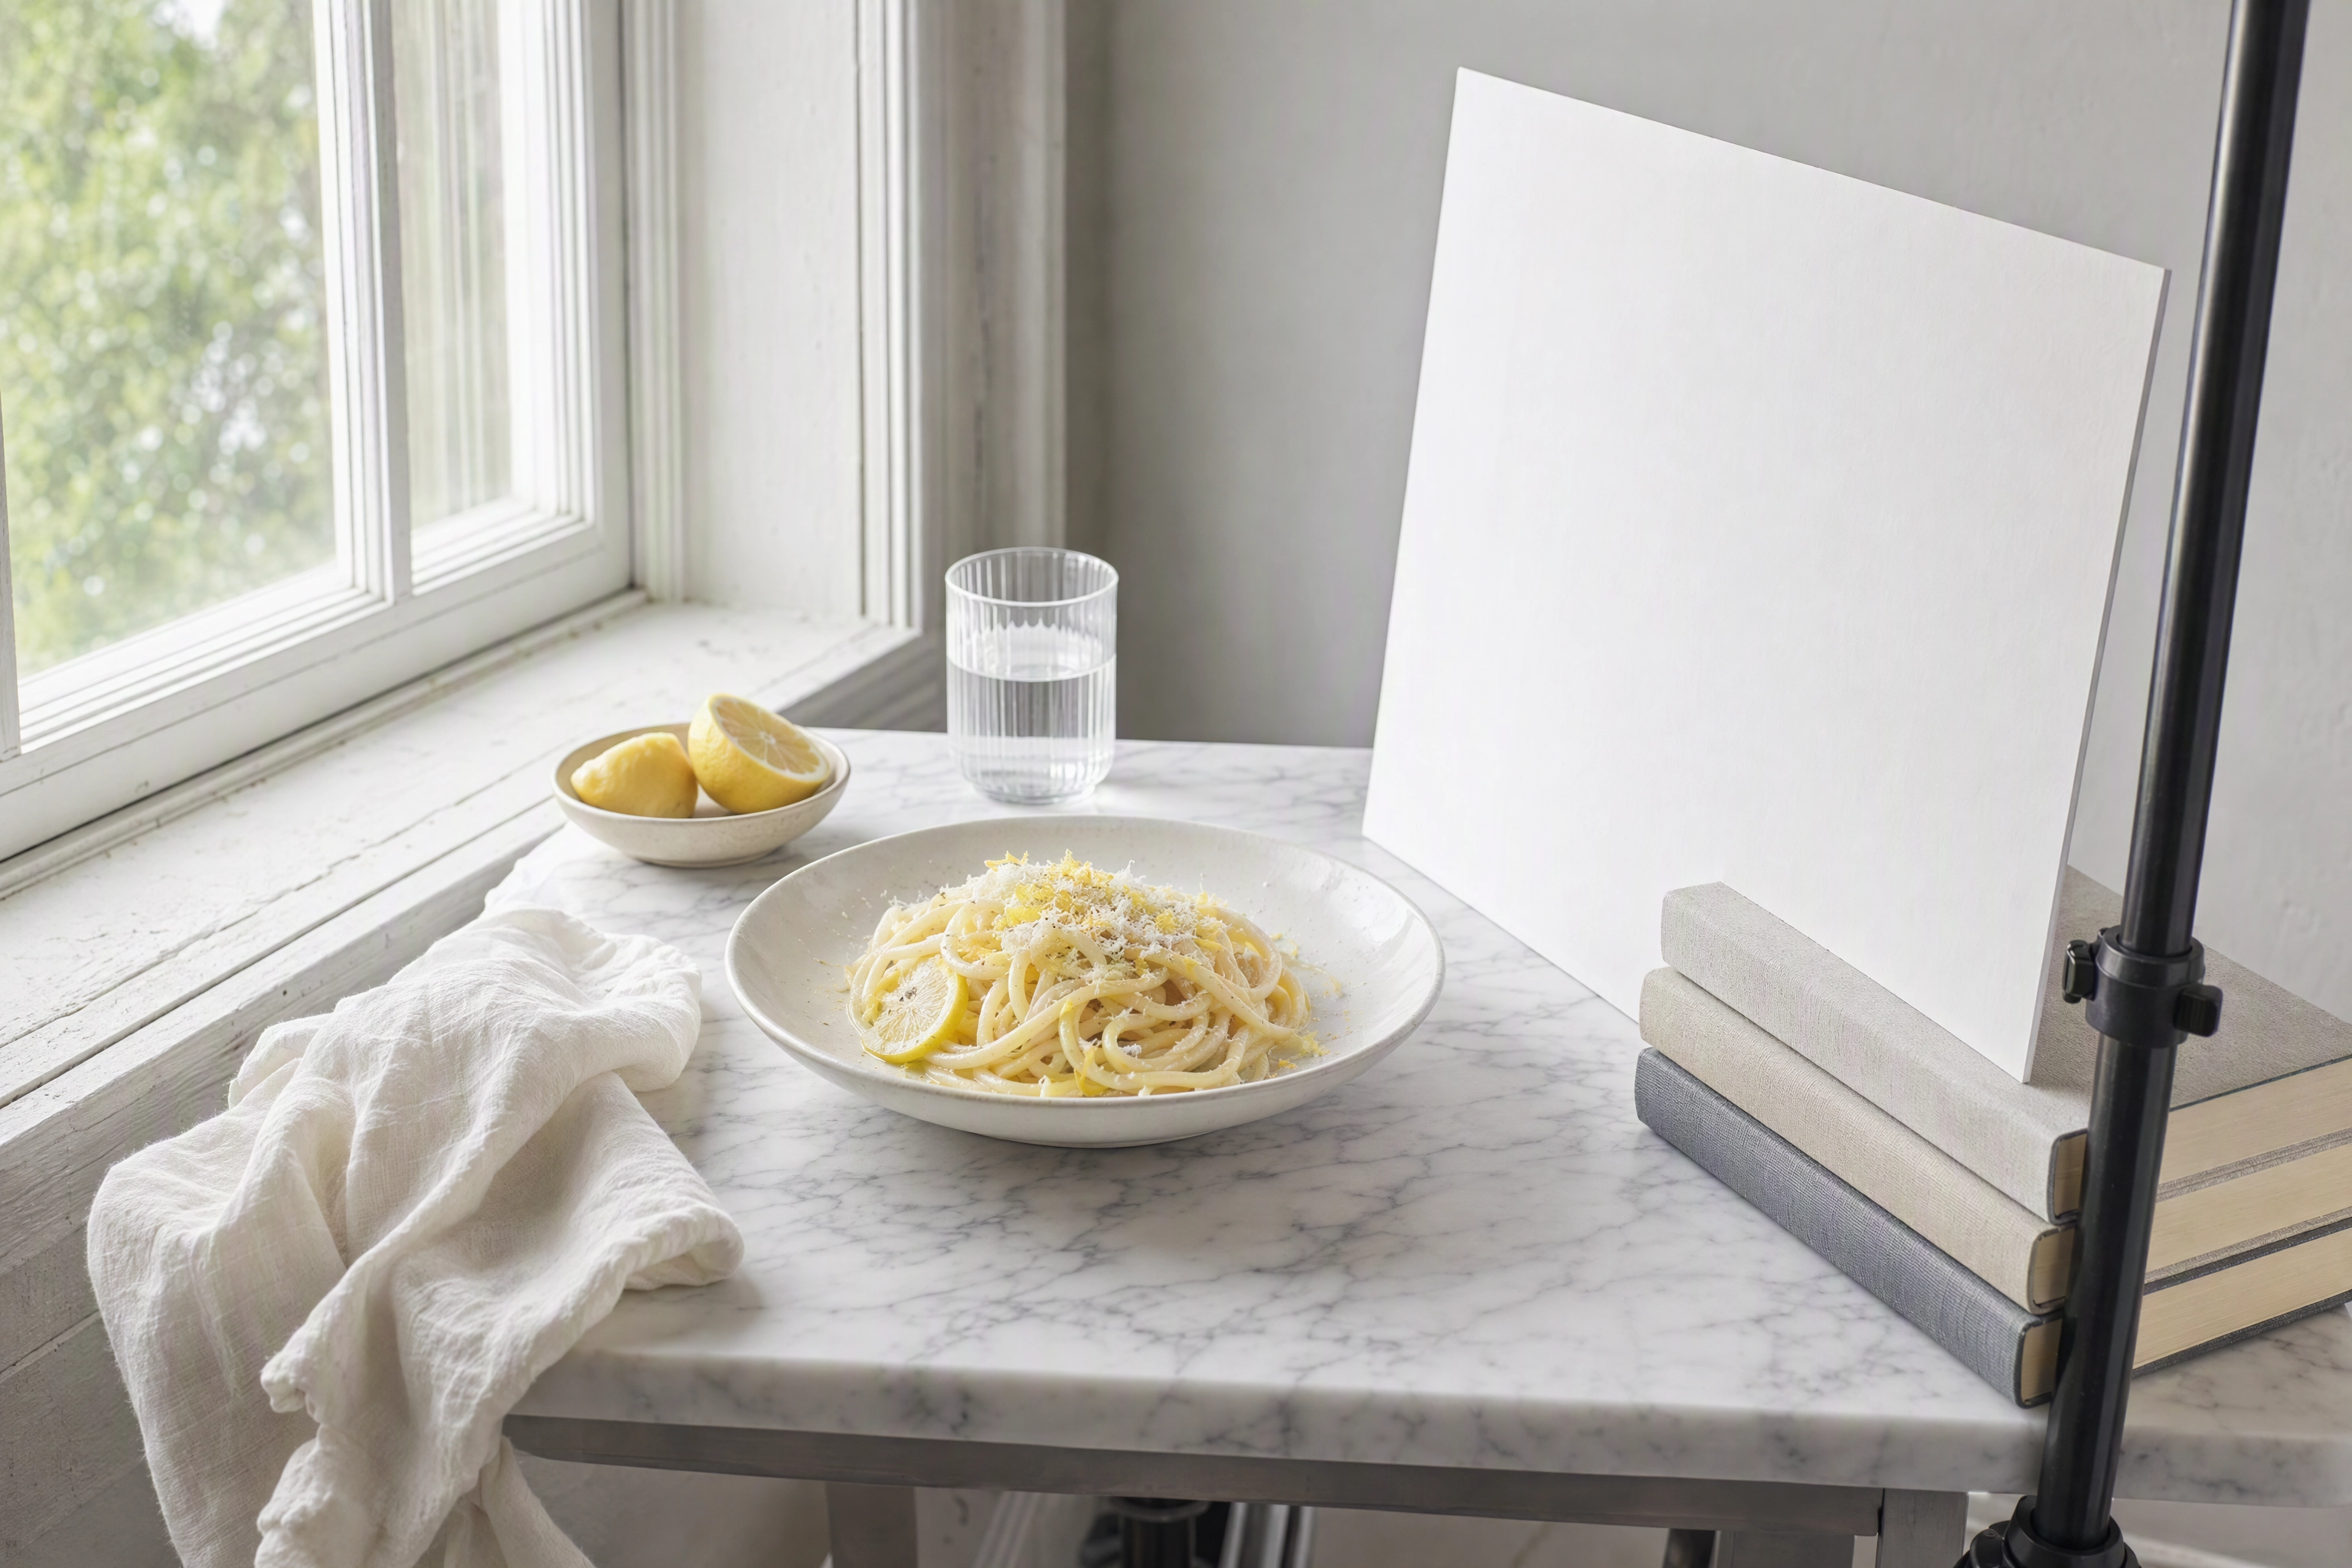 White foam bounce card propped opposite a window, lifting the shadow side of a plate of lemon pasta
Time of Day and Colour Temperature Drift
Daylight does not only change in brightness. It changes colour, and that is what wrecks a run of pictures meant to sit together.
Camera "daylight" balance is near 5500K, and the D65 standard is 6500K. Open north sky often reads 6500 to 7500K, which is visibly blue. At golden hour the same room can fall to 3000-4000K, which is properly orange. That is colour temperature drift, and nobody warns you.
Colour drift is the most under-discussed problem in natural light food photography. Photograph desserts at 11am and salads at 6pm and they will not look like one kitchen.
Three habits fix it. Use RAW. Take a custom white balance off a grey card before each dish. Re-check exposure when a cloud passes, because two frames a minute apart can differ by a full stop.
Why Direct Midday Sun Is the Enemy
A raw beam through bare glass is a small, hard light source. Small and hard is exactly wrong for food. Three things go bad at once.
Specular highlights clip. Glaze, oil and sauce throw mirror-bright hot spots that blow to pure white. Those pixels hold no data, so nothing in editing brings them back.
White plate rims blow out. The rim is the brightest thing in frame and the first to die, especially against a white background.
Shadows turn ugly. Hard shadows with frame lines across a plate read as a snapshot, not a photograph.
The fixes: diffuse it, pull the table back, wait for a cloud, or change rooms. Artificial lighting is the fourth option, and our guide to food photography lighting breaks it down.
Camera Settings for Window Light
If you are using a proper camera, start here and adjust:
- ISO 100-400. Go higher only once the table is as close to the glass as it will go.
- f/4 to f/8 for a whole plate. Wide-open f/1.8 leaves one crouton sharp and the rest mush.
- Tripod below 1/60s. Daylight indoors is dim, and a tripod buys three stops free.
- Expose to the right, but protect the highlights. Turn on the blinkies and back off when the sauce flashes.
Two tips for phones. Tap the brightest part of the food and hold to lock, then drag down a touch. Our notes on iPhone camera settings and phone food photos go deeper; DSLR food photography covers bigger bodies.
Shooting Near Restaurant Windows During Service
Photographers love restaurant windows. They are the best light in the building and the worst place to work.
Those tables earn money. No manager gives you the corner two-top at 1pm on a Saturday, so book the room before doors open. Between 9am and 11am is the sweet spot, which is what most photoshoot plans assume anyway.
People walk through the beam. A server crossing it changes exposure mid-frame, so work in bursts and check the histogram often.
House lamps contaminate everything. Warm downlights and cool LED strips mix with daylight, and mixed lighting is a nightmare in post-processing. Kill every artificial lamp within a few metres.
The Winter Problem: The Light Is Gone Before Dinner Service
Here is the honest limit of this method, and the reason many kitchens give up on it.
Natural light food photography is free, beautiful and completely unavailable on demand.
New York's earliest sunset lands at 4:28pm, around 7-8 December. London's is 3:53pm on 12 December. Neither falls on the solstice, which is 21 December.
Sunset is not really the deadline either. Indoor levels die faster than outdoor ones, so usable daylight for food is gone 30 to 45 minutes earlier. Call it 3:50pm in New York, 3:20pm in London.
Dinner service starts at 5pm or 6pm. A chef finishing a new dish at 7pm on a Tuesday in late November has none of this. Not weak light — none. That is not a skill gap you can practise your way out of. It is the calendar.
What Kitchens Actually Do About It
Natural light food photography has three honest workarounds, and good operators use all three.
Batch and bank. Block one bright morning a month, photograph every new dish at once and hold the frames. Cheap, but it cannot cover a special invented on Thursday.
Learn one lamp. A single LED panel through a diffusion frame copies this look closely enough that no diner notices. It is a real skill and it takes weeks. Our equipment guide covers what to buy.
Restyle the snap. Photograph the dish on a phone under whatever you have, then let AI food photography rebuild the lighting, surface and background afterwards. It will not replace good glass at 11am and it is not meant to. It covers the 7pm-in-November case, which for most kitchens repeats weekly. See our pricing for what that costs.
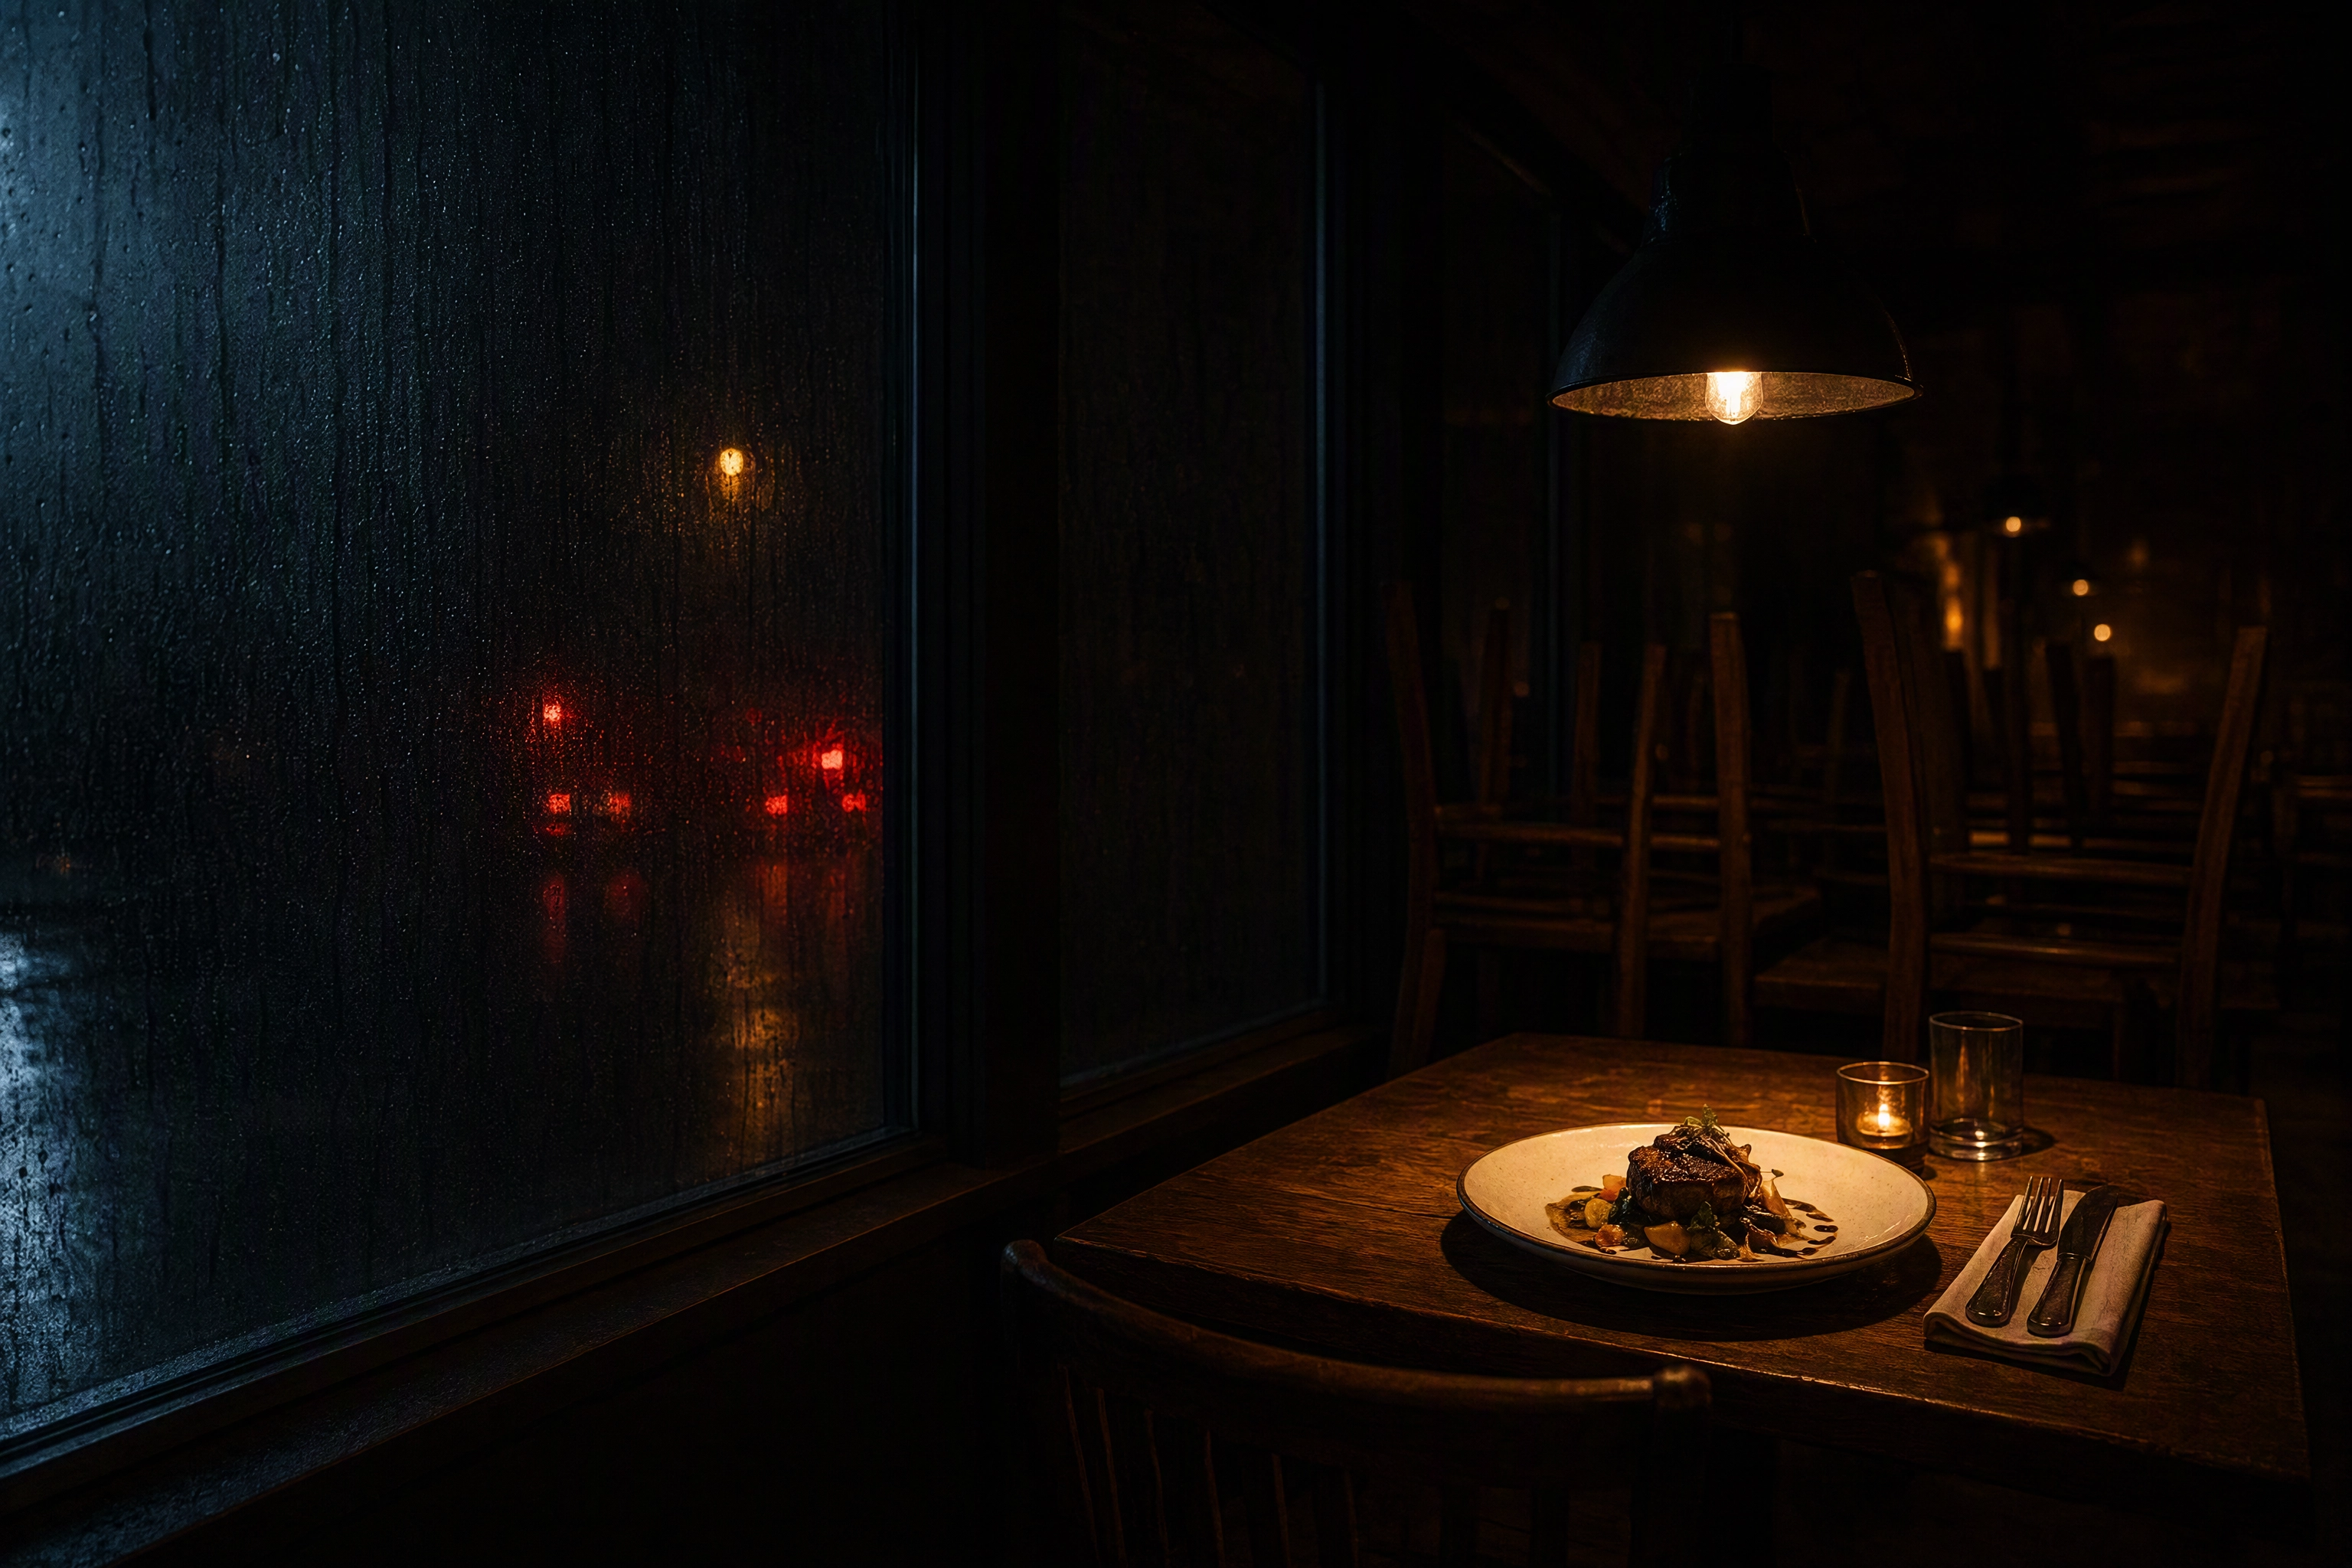 Restaurant window already black at 4:30pm in November with a plated special lit only by a warm interior lamp
A Daylight Setup You Can Copy Today
Ten steps. Under $10 of gear. Repeat it for a whole menu.
- Pick the north-facing glass. Clean it.
- Put a small table 3 feet away.
- Tape a white bedsheet over the pane if the sun is direct.
- Kill every lamp in the room.
- Turn the surface so the light hits from 10 o'clock.
- Prop white foam board opposite, about 12 inches from the plate.
- RAW, ISO 200, f/5.6, tripod.
- Grey card, one frame, at the start of each dish.
- Photograph at 45 degrees and overhead, then pick.
- Repeat the same staging and props for every dish so the run matches.
That is natural light food photography in ten steps, and it will beat most paid shoots on soft, honest light. Most tips online stop at "find a window" — these do not. What you still need is styling and a plan, which our food photography tips and creative ideas both cover.
Frequently Asked Questions
Is natural light really better than artificial light for food photography?
No — it is easier and cheaper, which is not the same thing. Daylight is free, forgiving and hard to make ugly once diffused. Artificial lighting wins on control: the same look at 7am and 11pm, every day of the year. Most working pros start free and add one lamp later. The parent guide on food photography lighting runs the full comparison.
What time of day is best for natural light food photography?
With north-facing glass, roughly 9am to 3pm — the light barely moves. With east, west or south aspects, aim for hours when the sun is not shining straight in. Mid-morning is the popular slot: kitchens are prepped, the room is empty and the colour has settled after sunrise.
Can I get good natural light food photos on my phone?
Yes, and it is the most helpful thing on this list. A modern phone beside good glass beats an expensive body in a dark room, because light quality beats sensor size. Lock exposure on the brightest food, keep steady, and stop using the flash. Plenty of food blog owners shoot their whole archive this way.
Do I need a diffuser, or is a sheer curtain enough?
A curtain is enough — I have shot entire menus using one. A purpose-made panel is more even and quicker to clip on and off, but the difference in the final shot is small. Spend the money on a second white card and a decent surface instead.
Does window light work for food video as well as stills?
It does, and the rules are identical: side or back light, diffuse anything hard, bounce the shadow side. Video is stricter about drift, because a cloud crossing mid-take shows up as a brightness ramp. Note that our own tools produce still images only — we do not create video.
What do I do when there is no daylight at all?
Three options, in cost order. Move the session to the morning and bank the shots. Buy one LED panel and a diffusion frame. Or photograph the plate on a phone and restyle it after — that is the case AI was built for, and it is why this blog post sits next to our restaurant photography guide rather than in place of it. Photographers on Reddit argue about it constantly, and the honest answer is that all three get used.