How to Get Your Restaurant on DoorDash in 7 Steps
 Ali Tanis22 min read
Knowing how to get your restaurant on DoorDash takes ten minutes of reading. Launching a store people actually order from takes a little more planning. You fill in a short form, pick a commission tier, decide how tickets reach your kitchen, and DoorDash builds your menu, verifies your business information and bank details, then switches you on. DoorDash's help center puts the average setup at 1–5 days.
The official online guides split this across a dozen pages: one for documents, one for pricing, one for hardware, another for photos. This guide puts it in one place: the paperwork to gather, the 7 steps in order, a day-by-day timeline from sign-up to first ticket, one launch checklist, and the six mistakes that slow approval or quietly hurt your first weeks. Photos get their own step, because the platform's own data ties them to first-month sales more than almost anything else you control. If you still need delivery app menu photos, that's the task to start today.
Quick Summary: To get your restaurant on DoorDash, apply through DoorDash for Merchants with your legal business name, EIN, owner details and bank account, choose Basic (15%), Plus (25%) or Premier (30%), pick a tablet, POS or email, then review your menu and activate. Most stores go live in 1–5 days, and DoorDash says stores with 25+ menu photos see close to 2x the sales in their first four weeks.
How Do You Get Your Restaurant on DoorDash?
You get on DoorDash by applying through DoorDash for Merchants, the merchant side of the food delivery platform. Signing up costs nothing, there is no contract, and you pay a commission only when a sale comes in. The whole process breaks into seven steps:
- Submit the sign-up form with your restaurant's name, address, email and phone.
- Pick a commission tier: Basic, Plus or Premier.
- Decide how tickets arrive: a DoorDash tablet, a POS integration, or email with phone confirmation.
- Build a delivery menu with prices, descriptions and modifiers.
- Upload menu photos, a logo and a header image.
- Set store hours, prep times and pickup instructions.
- Activate the store and run a first-week promotion.
DoorDash says 40% of small and mid-sized restaurant merchants onboard the same day they sign up, and an onboarding partner contacts you within 24 hours. DoorDash is rarely the bottleneck. Missing paperwork, a name mismatch or a menu that isn't ready usually is.
What Do You Need Before You Sign Up for DoorDash?
DoorDash's sign-up checklist starts with six pieces of information: your legal business name, your Employer Identification Number (EIN), the owner's name and date of birth, your bank routing number and your bank account number. That list comes from DoorDash's own sign-up guide. Bring a business license, your hours and a current menu too, and you're ready.
| What to prepare | Where to find it | Why DoorDash asks |
|---|---|---|
| Legal business name | IRS Form SS-4, CP 575 notice or a filed tax return | Must match your bank and tax records |
| EIN (Canada: GST/HST) | The same IRS documents | Tax reporting on your payouts |
| Owner's full name and date of birth | Government ID | Identity check |
| Routing and account details | Business checking | Weekly deposits |
| Business license or permit | Your city or county | Proof you operate at that location |
| Current menu | A link to your online menu or a photo of the printed one | DoorDash builds your first menu from it |
| Hours and phone | Your Google Business Profile | Customers only see you while you're open |
You don't need special software, and you only need an alcohol license if you plan to sell alcohol. If you don't have an EIN yet, the IRS issues one online at no cost.
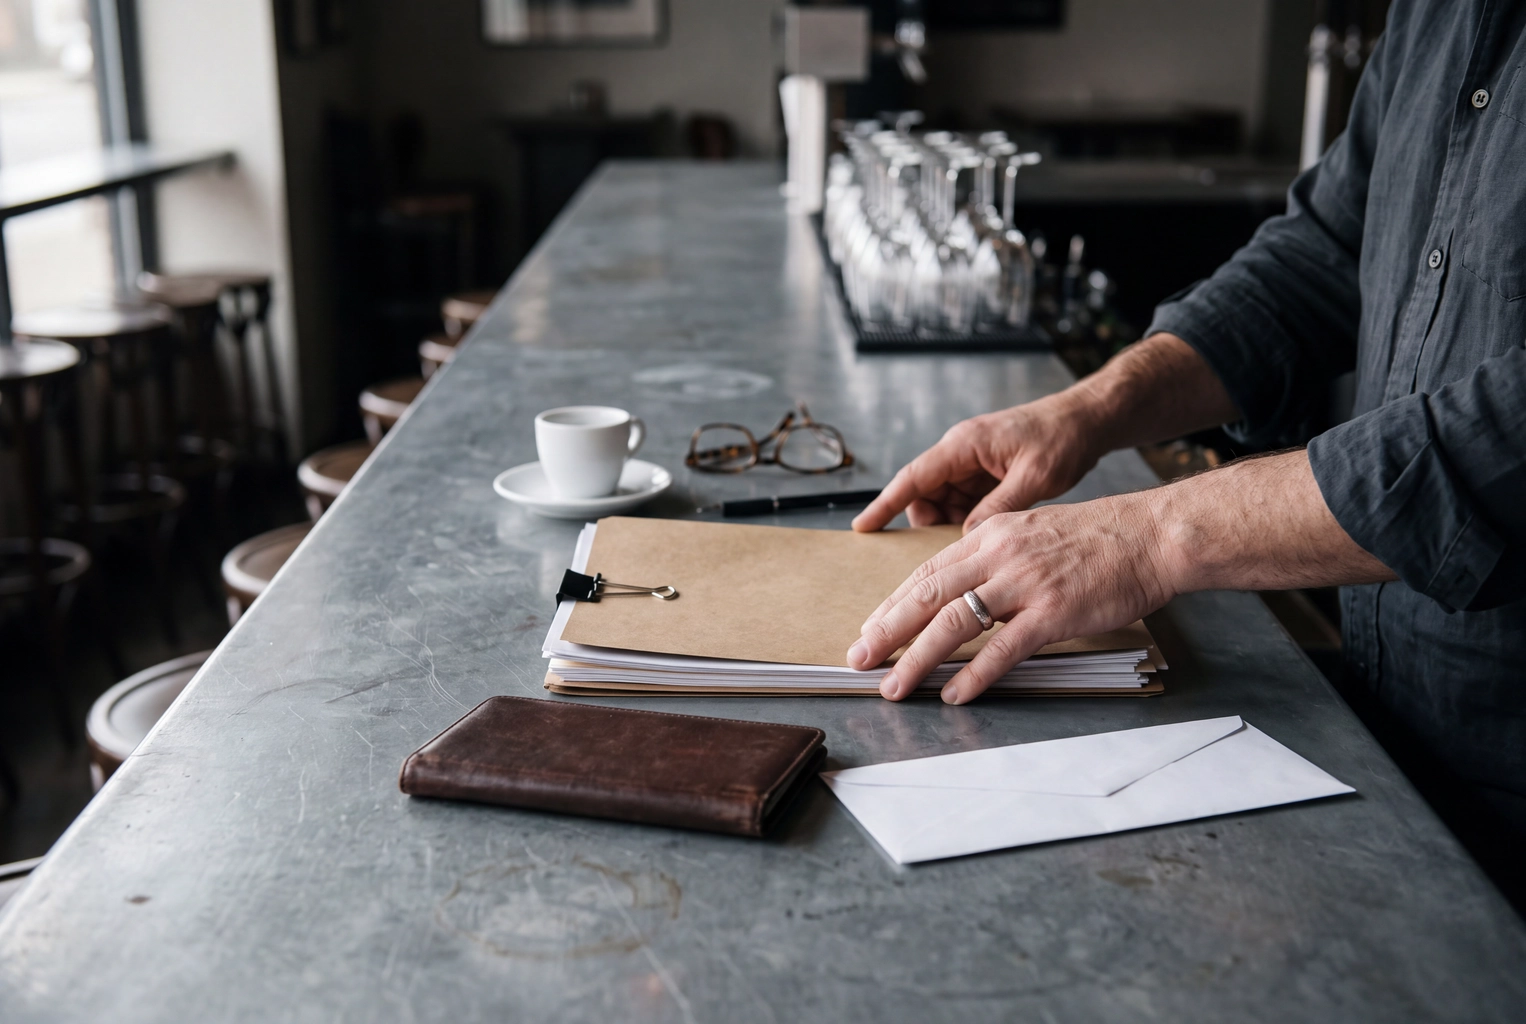 Owner's hands squaring a paperwork folder, checkbook and bank envelope on a bar top, gathering documents to sign up for DoorDash
The legal-name check that stalls applications
The most common snag is a legal business name that doesn't match character for character across your IRS record, business license and bank. "Rosa's Kitchen LLC" at the bank and "Rosas Kitchen" on the tax form is enough to send your application back for another look. It's a check every restaurant DoorDash onboards goes through, so get it right before you start.
DoorDash's banking guide tells you to enter the legal name exactly as it appears on IRS Form SS-4. Lost that form? Call the IRS Business & Specialty Tax Line at 1-800-829-4933 and ask for a 147C letter, which confirms the name and EIN on file. DoorDash asks for that same letter when a tax ID fails to match later, so keep a copy with your launch paperwork.
How to Get Your Restaurant on DoorDash, Step by Step
Each step below covers what you do, where it happens and what to have ready, in the order DoorDash's onboarding runs.
Step 1: Submit the DoorDash restaurant sign-up form
Go to the DoorDash restaurant sign-up page and enter your restaurant's name, address, email, phone and business type, then create a username and password for the Merchant Portal. From there you continue to the full application: ownership details, bank details, commission tier and order method.
DoorDash's advice is to sign up yourself rather than wait for a listing to appear on its own, because signing up puts you in control of your menu, photos and hours. Within 24 hours an onboarding partner reaches out. Use that call to confirm your tier, your order method, and whether your menu will be built from a link or a photo.
Step 2: Choose a commission plan
DoorDash's commission for restaurants is 15% on Basic, 25% on Plus and 30% on Premier for each delivered sale, and 6% for pickup on every tier. There are no activation or monthly fees, and new partners get a 0% commission trial: 7 days on Basic and up to 30 days on Plus or Premier.
| Tier | Delivery commission | Pickup | What the higher rate buys | 0% trial |
|---|---|---|---|---|
| Basic | 15% | 6% | Smallest delivery area, no DashPass | 7 days |
| Plus | 25% | 6% | Larger delivery area, DashPass members | Up to 30 days |
| Premier | 30% | 6% | Largest area, DashPass, automatic ads, Growth Guarantee, photoshoot credit | Up to 30 days |
These are the published US rates for restaurants with 75 or fewer locations, checked in our breakdown of DoorDash fees for restaurants.
Which tier to pick? If you're testing demand, Basic keeps the commission lowest. If you want the 30-day trial to tell you something, start on Plus or Premier and compare weekly volume before it ends. On a $30 ticket you keep $25.50 on Basic, $22.50 on Plus and $21 on Premier. You can switch later in the Merchant Portal; changes take up to five business days.
Step 3: Pick how tickets reach your kitchen
DoorDash offers three ways to receive tickets: a DoorDash tablet, a direct POS integration, or email with phone confirmation. Rent the device if you have no POS system, connect the integration if you already run Toast, Square or Clover, and use email only as a stopgap while hardware ships.
- DoorDash tablet. It should arrive within seven business days of your confirmation email and rents for $6 a week in the US once the trial ends. Tickets appear on it, and you confirm prep time from it.
- POS integration. Delivery tickets drop straight into the system your kitchen already uses, so nobody retypes them. DoorDash connects with Toast, Square, Clover and middleware such as Deliverect, and the activation tracker in the portal tells you when the link is live.
- Email with phone confirmation. No cost and immediate, but someone has to watch the inbox every open hour.
The choice matters more than it looks. It decides whether a ticket lands in the kitchen's own system or on a screen behind the register, and missed tickets turn into cancellations. DoorDash doesn't pay for a sale you cancel, even when the food was already made.
Step 4: Build a delivery menu, not a copy of your dine-in menu
Your online menu should be a shorter, travel-proof version of the one in your dining room. DoorDash's guide to adding delivery suggests starting with 15–20 of your most travel-friendly, operationally simple dishes, priced close to in-store, each with a description and the modifiers customers expect.
DoorDash builds the first draft from the link or photo you sent. When the tracker says it's ready, open Menu Manager in the Merchant Portal and fix four things:
- Cut to what travels. Fries that wilt in 20 minutes, soups without sealed lids and dishes finished at the table belong on the dine-in menu only.
- Price within 10%. DoorDash recommends keeping any delivery increase under 10%. Its 2023 study of more than 4,500 small restaurants found marked-up menus saw up to 37% fewer sales and up to 78% lower reorder rates. Our menu pricing formulas show how to absorb commission without a big markup.
- Write descriptions. DoorDash's menu guide says online menus with item descriptions earn up to 18% more each month. Name the protein, the sauce, the portion and the heat level.
- Build modifiers. Sizes, sides, extra protein, no onions. Modifiers let customers order the way they would at your counter, and every paid option is an up-charge. French fries were the #1 item ordered on DoorDash in the US in its 2025 Delivery Trends Report, so a "make it a meal" fries option is the easiest upsell you have.
One rule catches new merchants: item names and descriptions can't mention other food delivery apps or steer customers to your own website with a lower price. If you run more than one concept from the same kitchen, read our rules for virtual brands on DoorDash before you build a second menu.
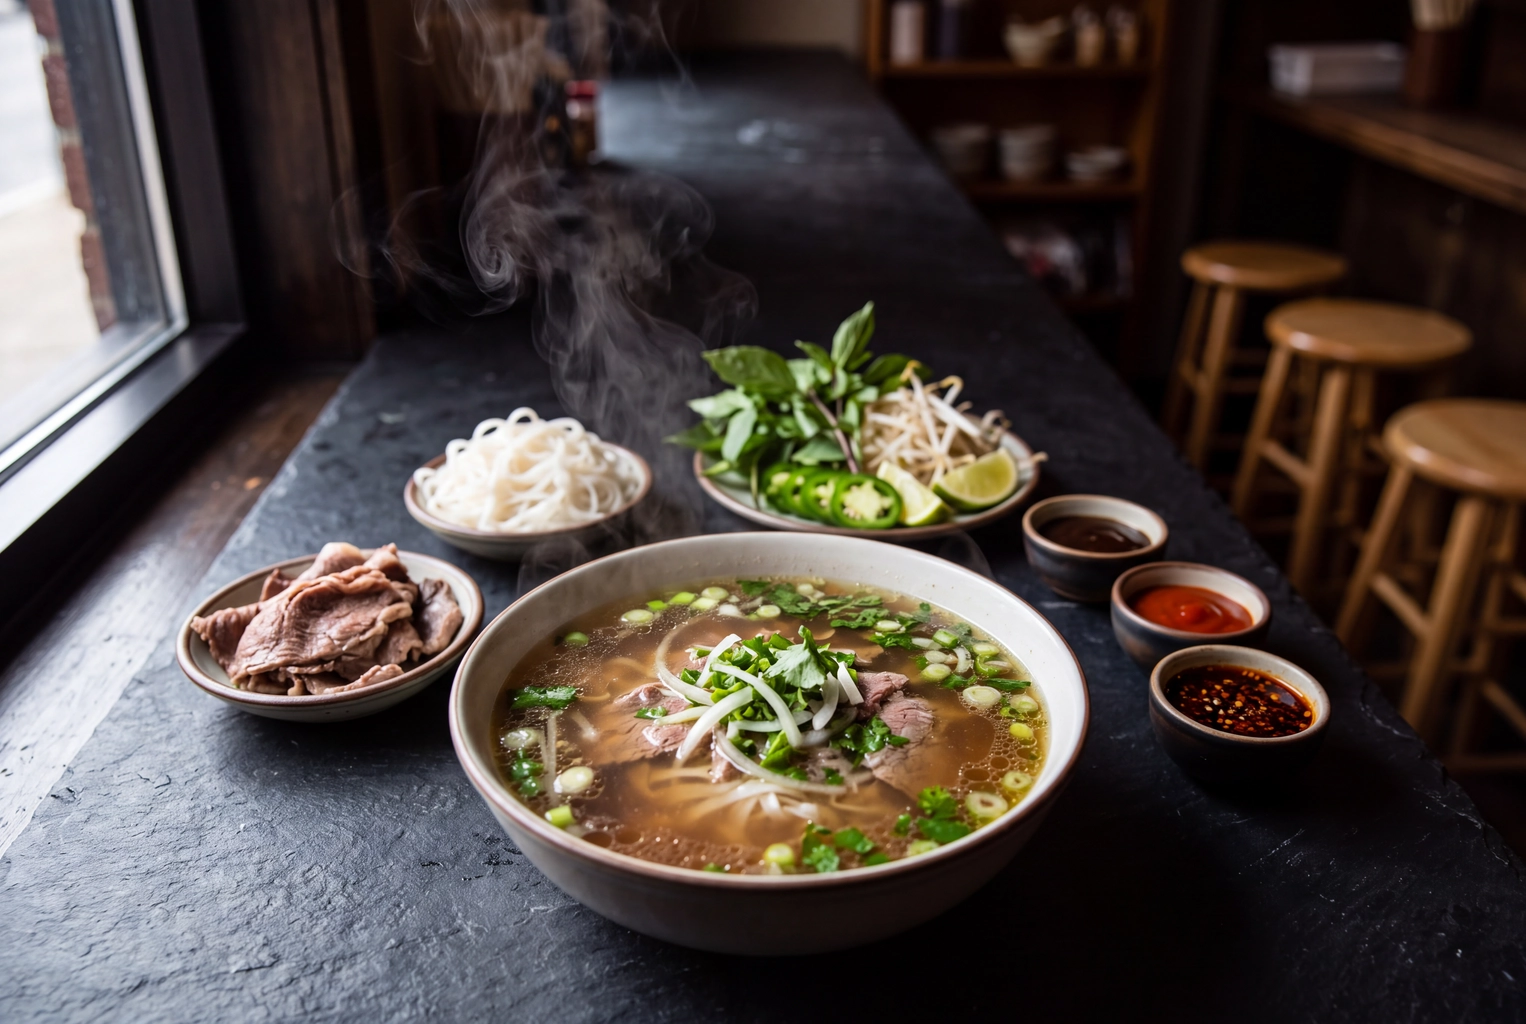 Beef pho surrounded by extra brisket, noodles, herbs and sauces, the add-ons a DoorDash menu offers as modifiers
Step 5: Add menu photos, a logo and a header
Photos are the step most restaurants skip at launch, and the one DoorDash's data rewards most. DoorDash reports that merchants with at least 25 menu item photos see close to 2x more sales in their first four weeks than merchants with fewer or no photos, and its menu guide says item photos lift monthly sales by up to 44%.
The reason is how a new store gets found online. DoorDash says that in 2025, over 55% of first orders at new restaurants came from browsing, not a specific search. The first photo of each restaurant DoorDash shows in the feed is what a hungry, scrolling customer judges, and a gray placeholder loses to a glossy smash burger every time.
Every picture passes a review first. The core specs:
- Menu item photos: at least 1400 x 800 px, landscape 16:9, JPG or PNG, under 2 MB
- Logo: at least 230 x 230 px, square
- Header: at least 1400 x 800 px, shown 4:1 on the web and 16:9 in the app
- Content: no text overlays, borders, watermarks or people; one dish per photo, exactly as served
All eleven rejection reasons are in our DoorDash photo requirements guide. Logo and header go in Store Settings; dish photos go in Menu Manager.
There are three ways to have 25 photos ready by launch:
| Route | What you pay | How fast it's live | The catch |
|---|---|---|---|
| DoorDash's photoshoot | The food and prep labor; Premier gets a $200 credit | Booking wait, then up to 7 days after the shoot | Up to 20 dishes, one session, DoorDash-only use |
| Hired food photographer | A day or per-image rate (see restaurant photography pricing) | Days to weeks to book and edit | You pay again whenever the menu changes |
| Phone photos + FoodShot | 25 photos for $15 a month | About a minute per photo | You still shoot each dish yourself |
That shoot is worth booking if the Book a Free Photoshoot button shows in your portal; we weigh it honestly in is the free DoorDash photoshoot worth it. It rarely happens before launch, though, and its photos can't follow you to Uber Eats or Grubhub.
The fastest route for launch week is the phone in your pocket. Shoot each dish by a window with the phone held sideways and the plate dead center, so both the 16:9 frame and the square thumbnail DoorDash crops from it keep the whole dish. Then run the shots through FoodShot, which turns each phone photo into a studio-quality food photo in about a minute while keeping your actual dish. Use one style for the whole menu, or match photos you already like with My Styles, so 25 dishes look like one restaurant. Output is 4K, so export a 16:9 JPG copy under 2 MB for DoorDash. FoodShot's Starter plan covers 25 photos for $15 a month, the same count DoorDash ties to near-double first-month sales.
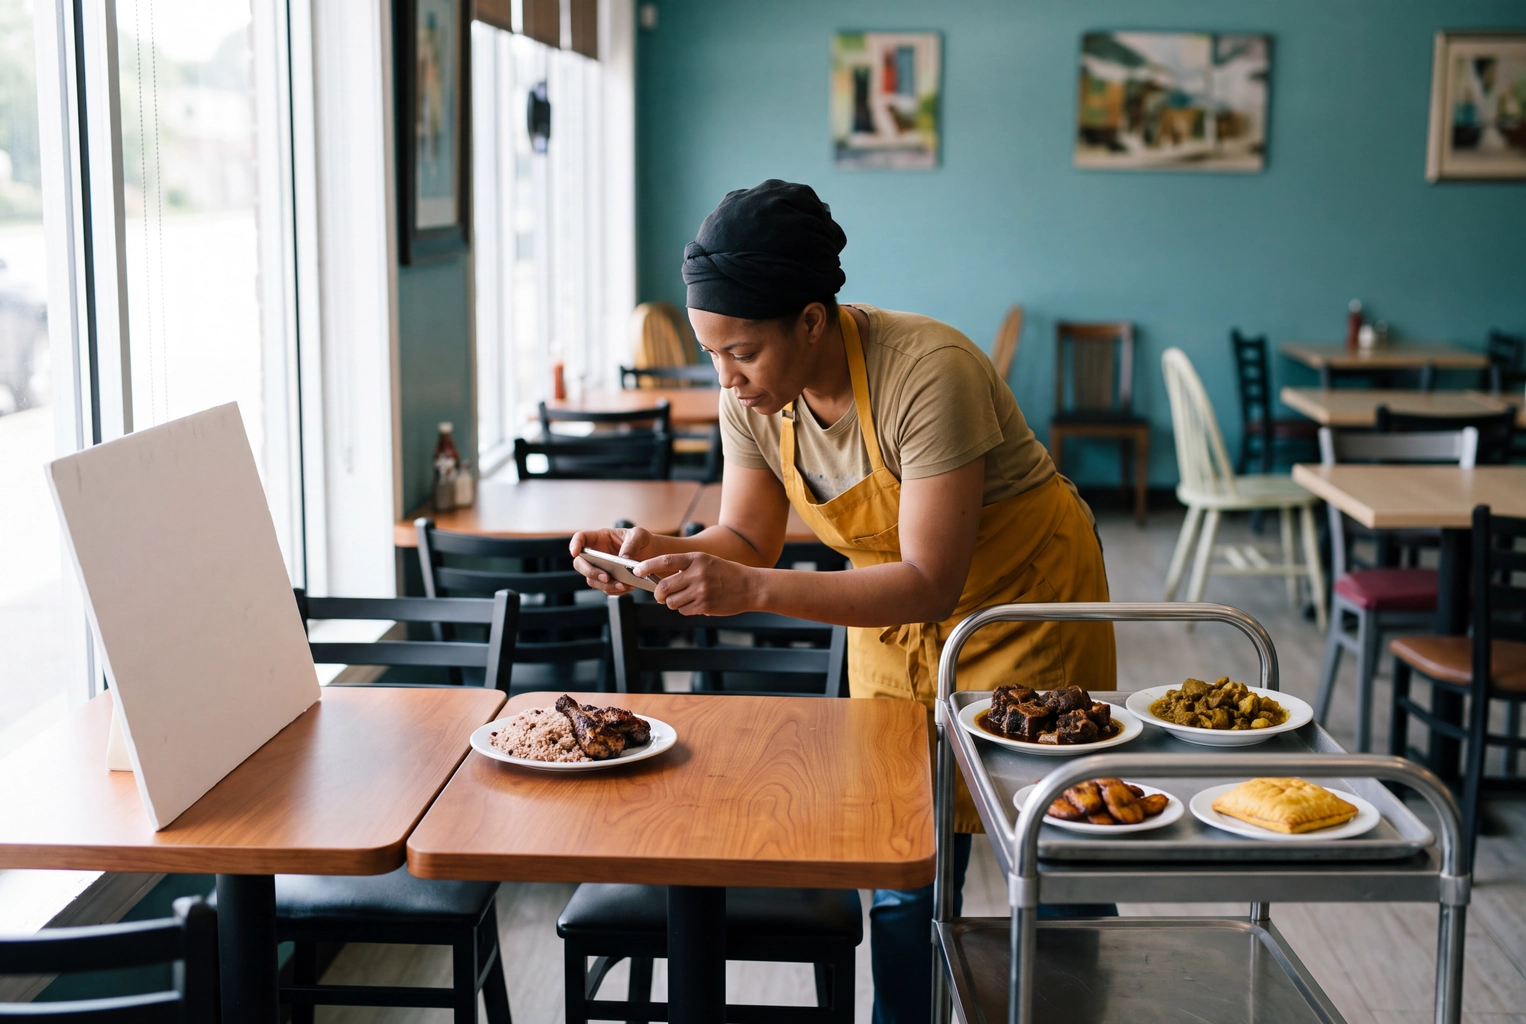 Cook photographing a queue of plated Caribbean dishes in landscape by a front window, shooting DoorDash menu photos before launch
Step 6: Set hours, prep times and pickup instructions
Set store hours that match when your kitchen can really cook for delivery, then set item-level prep estimates from a typical service, not your slowest rush. Those estimates decide when the Dasher arrives: too short and drivers crowd your counter, too long and food sits under a heat lamp.
Three settings to get right before you open:
- Hours. Match the hours on your door and your Google listing, and set holiday hours ahead of time. If the line gets out of hand, pause the store for a few minutes rather than accept tickets you can't make on schedule.
- Prep times. Set them per item in the Merchant Portal. DoorDash's prep-time guide warns that updates can take up to two weeks to fully reflect in Dasher pickup timing, so a wrong estimate at launch keeps hurting after you fix it. Start with your most popular and slowest dishes.
- Pickup instructions. Tell Dashers where to park and where bags wait. DoorDash tracks "avoidable wait", the minutes a Dasher waits after your stated prep window has passed, counted once they're within 25 meters of your door. A dedicated shelf by the entrance keeps it low.
During service, you can extend a single ticket in five-minute steps. Tap Ready for pickup as soon as the bag is sealed, not when the Dasher walks in.
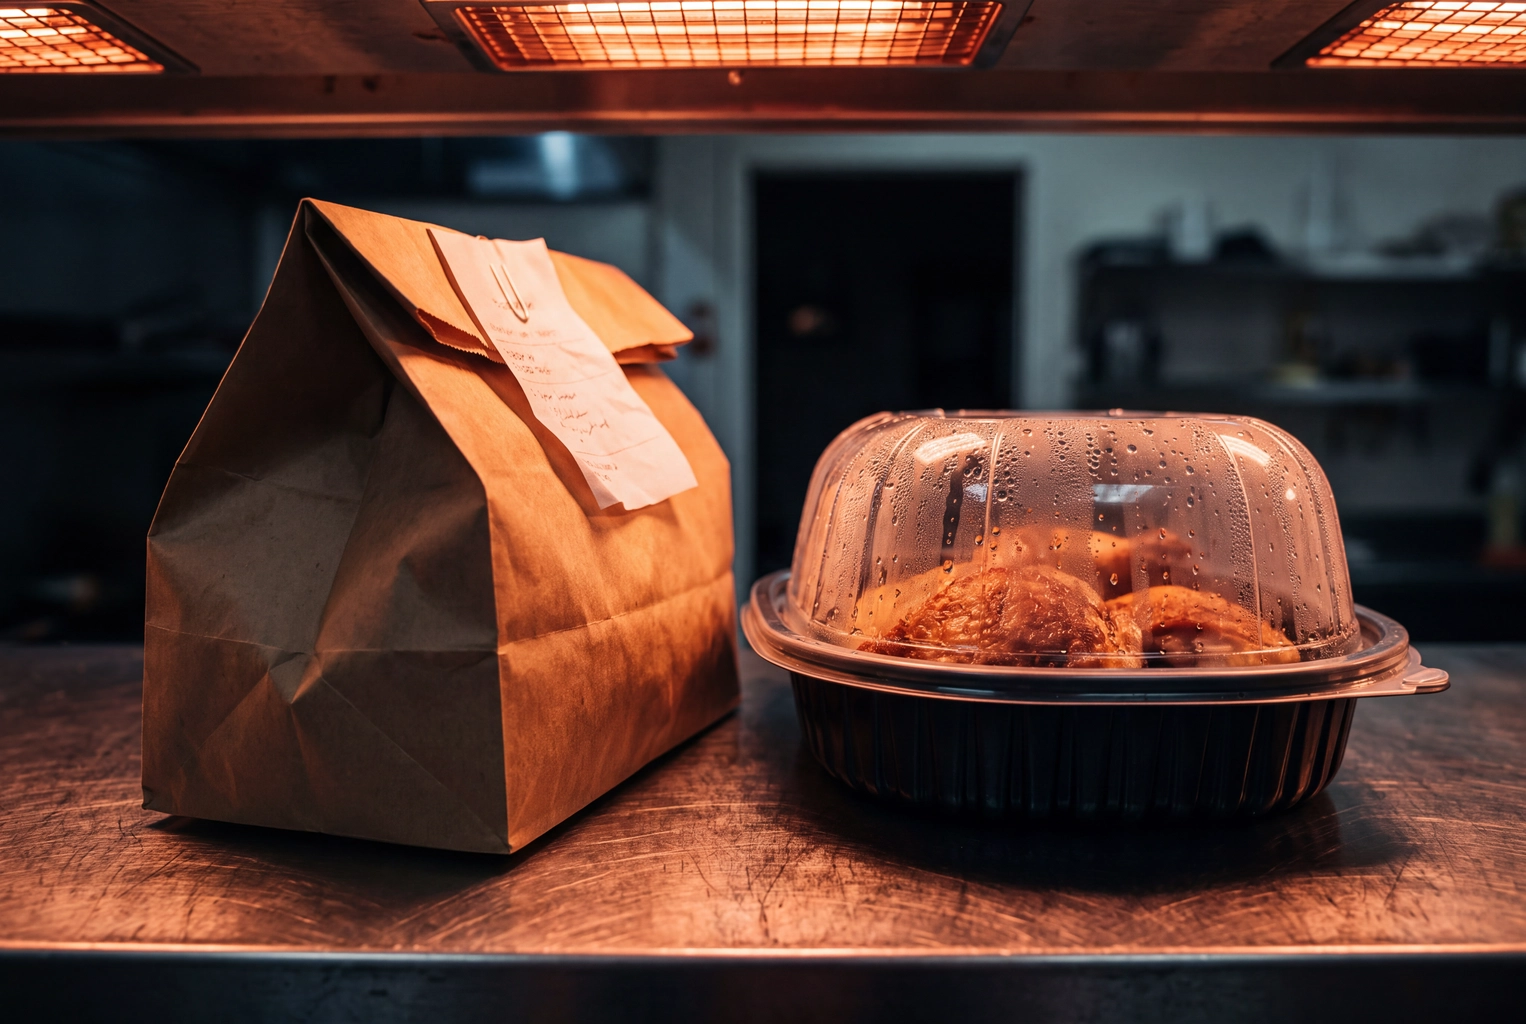 Sealed takeout bag waiting under a red heat lamp as condensation fogs a lid, what a too-long DoorDash prep time does to food
Step 7: Activate the store and run a first-week promotion
Activation is the moment your restaurant appears in the DoorDash app. On the tablet, tap Review My Menu to check dishes and prices, then Open My Store. A banner in the Merchant Portal confirms the store is active and ready for its first ticket.
Then give first-time customers a reason to try you. In the portal, go to Marketing, then Run a campaign, and pick an order discount (spend $X, get $Y off), an item promotion (BOGO or a free item) or free delivery. DoorDash's promotions guide lets you target new, existing or lapsed customers and cap the average weekly budget, so a launch offer can't outspend what you set aside. You fund the discount plus a $0.99 marketing fee on each redeemed sale. DoorDash says stores that run promotions see 20% higher sales on average.
Keep the first offer simple: free delivery on a first purchase, or spend $25 and get $5 off. Both say you're worth trying without training anyone to wait for discounts. The playbook for weeks two to twelve is in our guide to getting more orders on DoorDash, and catering trays get their own tactics in big DoorDash orders.
Once the Marketplace store runs smoothly, DoorDash also sells Online Ordering for your own website. Online orders placed there carry no commission, only card processing of 2.9% + $0.30 on the Boost and Pro packages. Marketplace is the prerequisite, so treat it as a month-two decision; our DoorDash Storefront review covers the setup.
How Long Does It Take to Get on DoorDash? A Day-by-Day Timeline
Getting on DoorDash takes 1–5 days on average, according to DoorDash's help center, and its merchant blog says most restaurants are live within 3–5 days when the menu, banking information and business details are ready at application. Hardware is usually the slowest piece: the device can take up to seven business days to arrive.
Here's how the week plays out if you prepare first:
| Day | What happens | Your job |
|---|---|---|
| Days −3 to −1 | Prep | Gather documents, check the legal name, shoot 25 dishes, write descriptions, set prices |
| Day 0 | Sign-up | Submit the form, pick a tier and order method, connect your bank, send the menu link or photo |
| Day 1 | Onboarding call | Confirm the setup with your onboarding partner and answer any verification email the same day |
| Days 1–3 | Menu built, details verified | In Menu Manager: fix prices, build modifiers, descriptions, prep estimates, photos, logo and header |
| Days 2–7 | Tablet ships or POS connects | Set up the device and train staff to confirm tickets and tap Ready for pickup |
| Go-live day | Store activates | Review My Menu, Open My Store, launch the first-order promotion |
| Live days 1–7 | First sales | Watch avoidable wait and cancellations, adjust prep, fix any rejected photo |
| Live days 8–30 | 0% trial window | Compare weekly volume and settle on a tier before the trial ends |
With a POS integration or email confirmation, you don't have to wait for hardware before you open.
The DoorDash Launch Checklist
The official online help spreads these tasks across separate pages. Here they are in one table; when every row is done, your store is ready to open.
| Launch task | Done when | Where |
|---|---|---|
| Documents | Legal name, EIN, owner birth date and bank details match across IRS, license and bank | Sign-up form |
| Commission tier | You know which tier you're trialing and the date the trial ends | Sign-up form; switch later in the portal |
| Menu build | 15–25 travel-friendly dishes, prices within 10% of in-store, a description on each | Menu Manager |
| Modifiers | Sizes, sides, extras and removals set; required choices marked required | Menu Manager |
| Photos | 25+ dish photos at 1400 x 800 px or larger, 16:9, under 2 MB; logo and header live | Menu Manager, Store Settings |
| Order method | Device or POS system set up; staff can confirm a ticket and tap Ready for pickup | Tablet or POS |
| Hours | Regular and holiday hours match your door and Google | Store settings |
| Prep estimates | Item-level estimates set from a typical service | Merchant Portal |
| Pickup instructions | Parking and pickup spot described; shelf cleared | Merchant Portal |
| First-week promotion | First-order offer with a weekly budget cap, set for go-live day | Marketing |
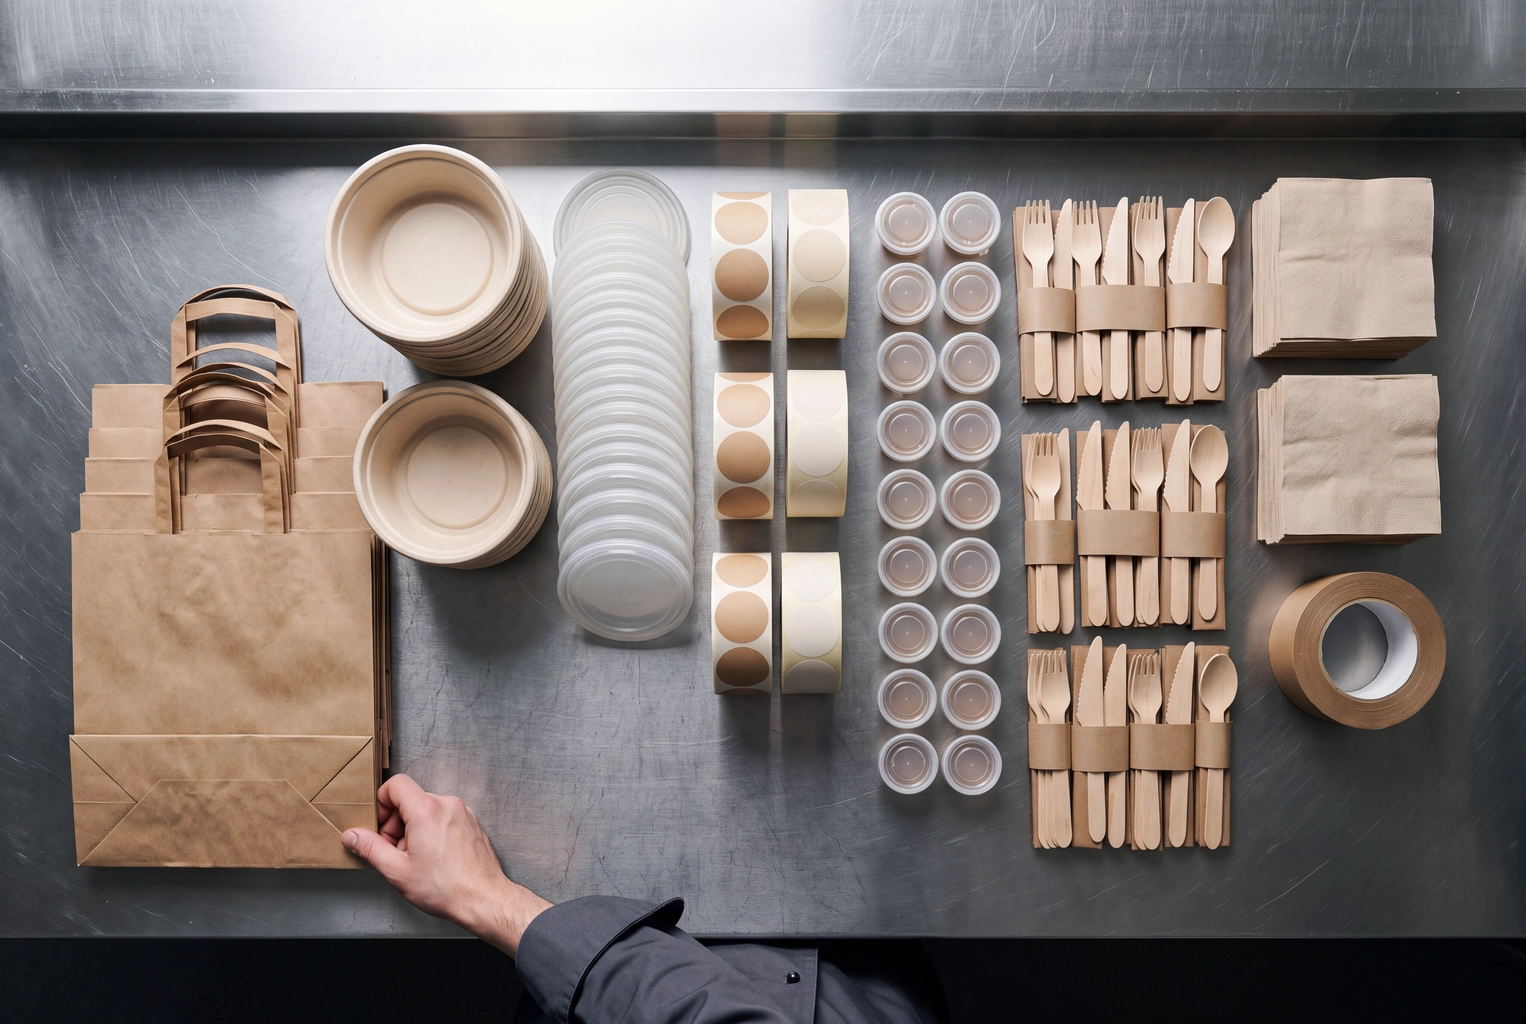 Delivery packaging lined up like mise en place on a steel pass, launch-day prep from a restaurant's DoorDash checklist
6 Mistakes That Slow Approval or Hurt Your First Weeks
Six mistakes do most of the damage in a DoorDash launch. The first slows approval; the other five cost you sales after you're live, often without any warning from the app. Each is easy to avoid if you know about it before Day 0.
1. A legal name that doesn't match your tax records
The application or your payouts stall while DoorDash verifies you. Copy the name exactly from your SS-4 or 147C letter, including "LLC" and punctuation, and make sure your bank uses the same name.
2. Opening with missing photos
Every new restaurant DoorDash activates opens into browsing traffic, and a store with four photos has almost nothing to stop the scroll. DoorDash ties 25+ photos to close to 2x first-month sales. Vertical phone shots get rejected outright because DoorDash only accepts landscape 16:9, so turn the phone sideways. Our list of delivery photo mistakes covers the rest.
3. Prep set for the rush, or not set at all
Too long and food goes soggy; too short and Dashers wait at your counter. Because item-level changes take up to two weeks to reflect fully, a bad setting on launch day shapes your whole first fortnight. Clock five tickets for each popular dish during a normal service and use the middle value.
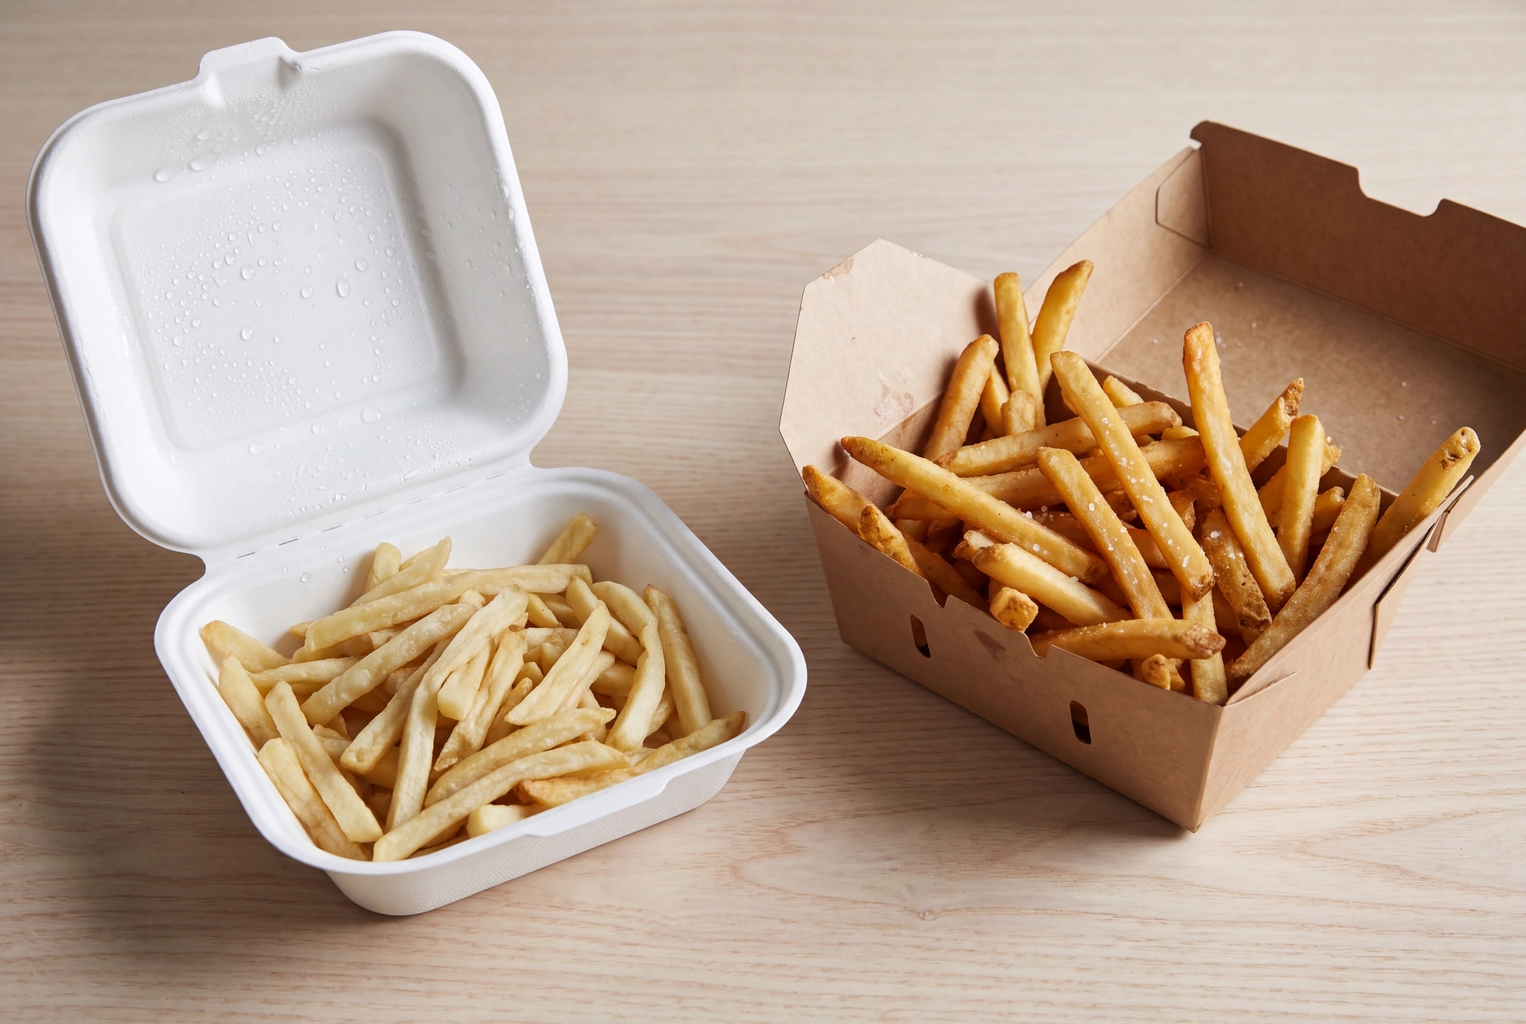 Limp fries in a sealed foam clamshell beside crisp fries in a vented paper tray, a delivery prep mistake new DoorDash stores make
4. No modifiers
Without modifiers, customers can't say "no onions" or add a side. They either type special instructions your line misses, or they don't order. Build the options you already offer at the counter, mark size and protein as required, and price the paid extras.
5. The full dine-in menu, marked up
A 60-dish menu slows the line and buries your best sellers, and a steep markup costs both sales and reorders. Launch with 15–25 dishes priced within 10% of in-store, then grow it once you know what sells.
6. Letting the 0% trial end unmeasured
The trial is your one cheap test of which tier pays. Note weekly sales during it and run the break-even math from our fees guide: Plus needs about 23% more sales than Basic to earn the same profit, and Premier about 39% more, assuming ingredients and packaging run 32% of menu price. Our food cost calculator gives you that percentage for your own dishes.
Start With the Paperwork and the Photos
Everything else in DoorDash onboarding can be fixed after go-live. Your legal name and your first impression can't: a mismatch costs days before launch, and an empty menu loses the online customers who decide in the first scroll.
So do two things today: check the legal name on your SS-4 against your bank, and photograph your 25 best sellers. If Uber Eats or Grubhub is next, use photos you own so the same set works everywhere; our Uber Eats photo requirements and Grubhub photo requirements list each app's specs. FoodShot is built for exactly that job for restaurants and ghost kitchens: phone photos in, consistent menu photos out.
Frequently Asked Questions
Is it free to put my restaurant on DoorDash?
Yes. Signing up is free, with no activation fee, monthly fee or contract. DoorDash takes a commission only on sales: 15%, 25% or 30% on delivery depending on tier, and 6% on pickup. Optional costs are the tablet rental at $6 a week after the trial, promotions and ads.
Can I get on DoorDash without a tablet?
Yes. If your POS system integrates with DoorDash, as Toast, Square and Clover do, tickets flow straight into it. You can also receive them by email with phone confirmation, or manage them in DoorDash's Business Manager app.
Do I need an EIN or business license to sign up for DoorDash?
For a US company, yes. DoorDash's sign-up checklist asks for your legal business name and EIN, and its merchant blog lists a business license and tax ID among what you'll typically need. Individuals can enter a Social Security number in the tax settings instead, and Canadian restaurants use a GST/HST number.
How many photos does a new DoorDash store need?
Aim for at least 25 dish photos plus a logo and header before you open. That's the threshold at which DoorDash says new merchants see close to 2x the sales in their first four weeks. Start with your best sellers and anything ordered as a combo.
Can my restaurant be on DoorDash and Uber Eats at the same time?
Yes. DoorDash itself calls listing on several apps common and generally additive to revenue. Photos from DoorDash's shoot can't be used on other food delivery platforms, so use photos you own. Compare the apps in DoorDash vs Uber Eats vs Grubhub, then read how to win more orders on Uber Eats.
How soon after activation can customers order?
Right away. DoorDash's merchant blog says that once your account is live, a restaurant DoorDash has activated appears in the app and customers can place orders immediately. How fast the first ticket arrives depends on your area, hours and photos, which is why a first-order promotion on go-live day helps.